Installing the 6 solar panels
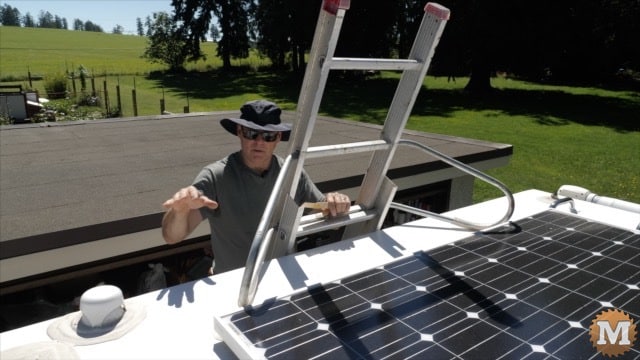
This morning I unboxed my six 100 watt panels and starting to bring them up on the roof and figure out where they’re going to go. This is the existing 100 watt panel that came with the RV. I’m going to remove that but, first with a plastic scraper I’m going to remove the white lap sealant and then remove the screws.
The solar charge controller is in the closet basically directly below were the wiring from this existing panel is. I’m going to use that same hole for wiring the new panels.


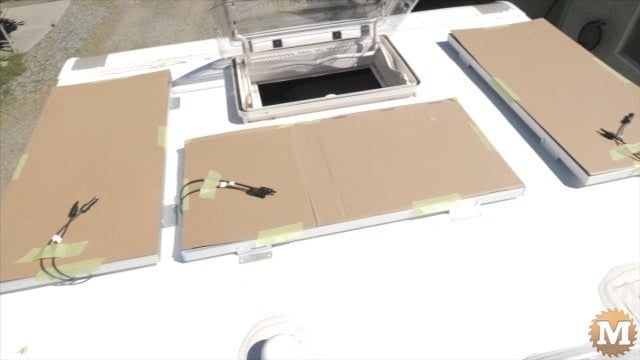
Laying out the solar panels
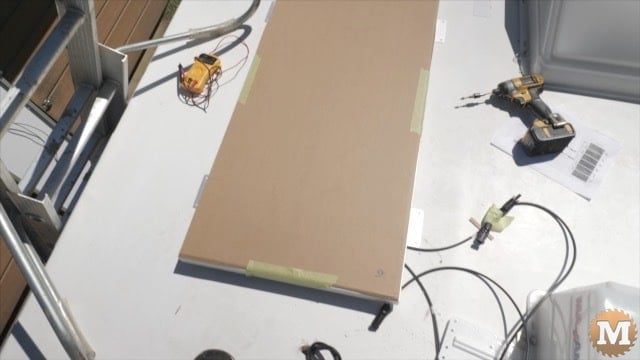
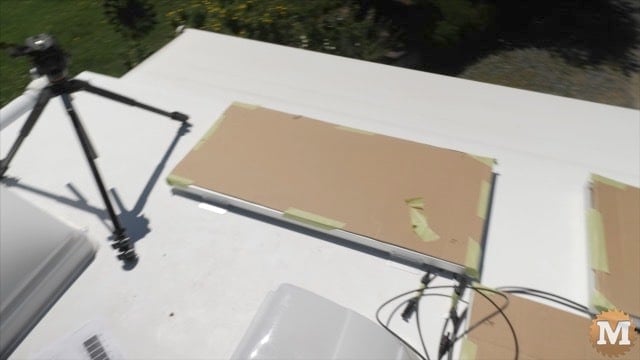
Here’s the first three panels that I have brought up on the roof. And I think this is one of my configuration options for this group that is wired in series. I have them covered with a cardboard so there’s no voltage to worry about.
Those three are going to be wired in series then connected to another three and then put the two groups into parallel. Then the wires are going to come over and run underneath this existing panel that I’m going to remove.
Remove the existing single solar panel
It’s very bright and hot out here today but, it’s a good day for removing this lap sealant because it’s so flexible. There’s only four screws holding this panel down and I don’t know, that doesn’t seem adequate. I did see a wasp under here so I’m gonna have to just be a little bit careful that I don’t get stung. I’ll have to get something to prop this up with while I undo those connectors.

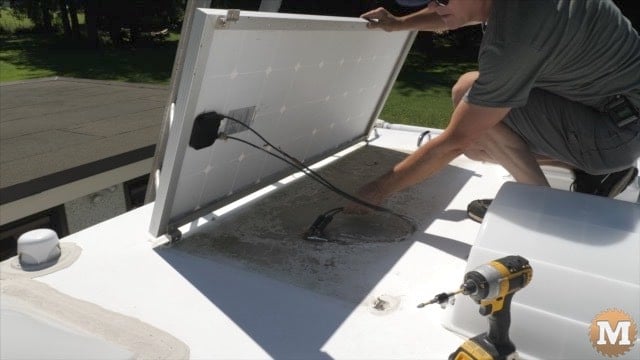

I got the old panel off and safely down from the roof of the camper. Turns out it’s a 165 watt panel, not a 100 watt that I thought.
(Disclaimer: As an Amazon Associate I earn from qualifying purchases. Thank you for helping to support my content this way. )
Wiring roof penetration
I have a new gland for going through the roof. There was only some lap sealant where the wires ran through to seal the opening but, I want to make a better connection than what was there.
I’ll give this a good clean up. The screw holes from the old panel will have to be sealed. I’ll put some Eternabond tape and lap sealant over them before I install the new panel in this location.
And here’s the final configuration of the 6 panels.
I had to make some extra cables to come over to connect to the last one here. I’ve also opened up the hole that goes through the roof.
Wire the panels to the charge controller
These are the two cables that go down into the back of the closet where the disconnect is. Now, I’m going to connect everything up and check to see that all my voltages are correct before I attach the panels to the roof.
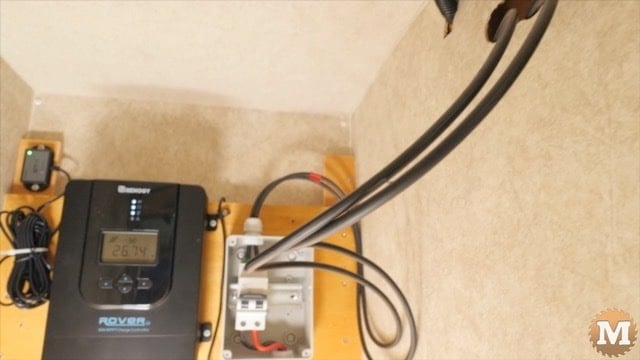

I have everything wired to the controller now and all the panels uncovered and it’s pulling about 30 amps right now. Everything looks like it’s working well. I double checked all my connections and now its just a matter of screwing all these down.
Install the transfer switch
The charge controller is just under 27 amps. I need to tidy up the wires that come down through the hole. I’m just about ready to install the transfer switch. This is “TS-30” made by GoPower. It’s a little intimidating at first. There’s a lot of connections and it takes a little while to wrap your mind around how it actually works. It’s going to go into this location just above the batteries.

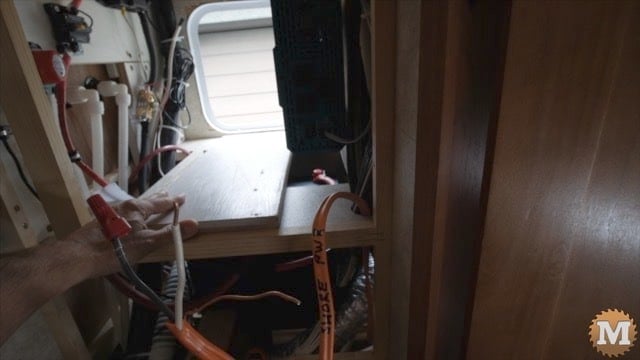
I’ve put a small piece of plywood that will sit over top of the battery compartment. Then the transfer switch box is going to sit on top of that.
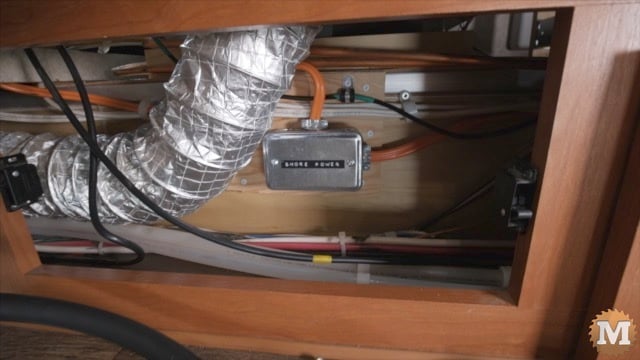
Cut into the shore supply line
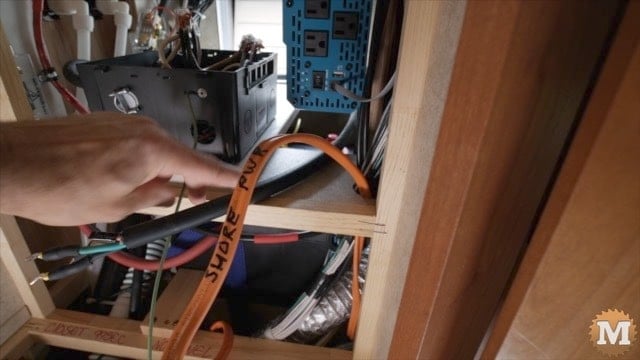
In preparation, I’ve cut into the shore power line and put in a box and extra wire. That way I can separate the shore power wire from the connection outside (that you plug the camper in with) from the wire that goes to the electrical panel.


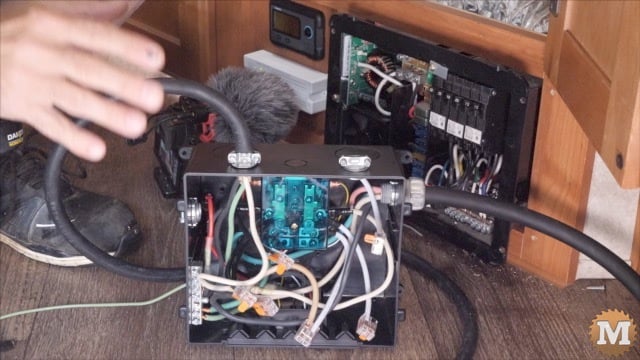
Principle of a transfer switch
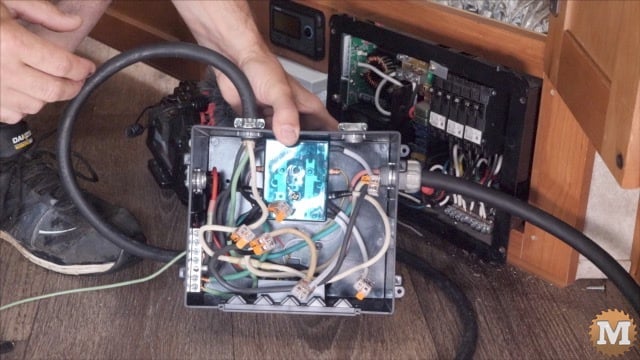
What the transfer switch does is automatically detect when you’ve plugged in the trailer (camper) to shore power and switch from either a generator (or in my case an inverter) — so the inverter can then run all the AC appliances and outlets. The transfer switch looks fairly complicated because there’s a lot of wire packed in there.
The one I have comes with Wago quick connectors (which is really convenient). I’ve done some pre-wiring ahead of time — I’ve added a wire to bypass the connection for the converter, and only run the converter when we’re plugged into shore power. I’ve also run a cable to go to the inverter. It was easier to do the connections just in the shop on my bench.
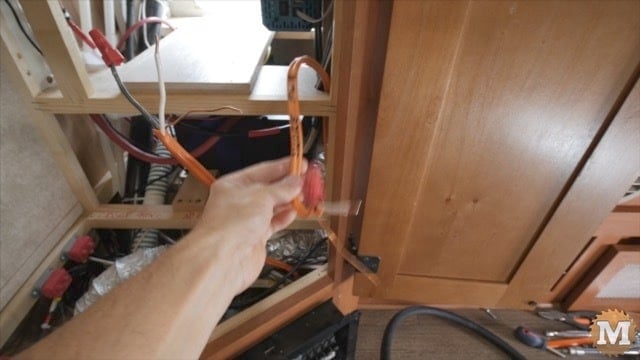
Additional fuse required

I’ve also added an inline 15 amp fuse — as I’m bypassing the fuse from the panel. I learned a lot about transfer switches from a couple videos I watched online. Michael Bracewell has a great video on how to install one of these as well as Will Prowse. And Brian from “RV’ing with Tito” also has a really good video on how to install transfer switches. Their videos are excellent so I’m going to leave out a lot of the details but, it’s a lot easier once you’ve started working on it.