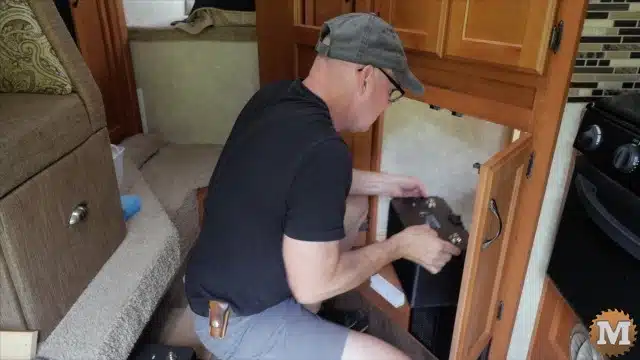
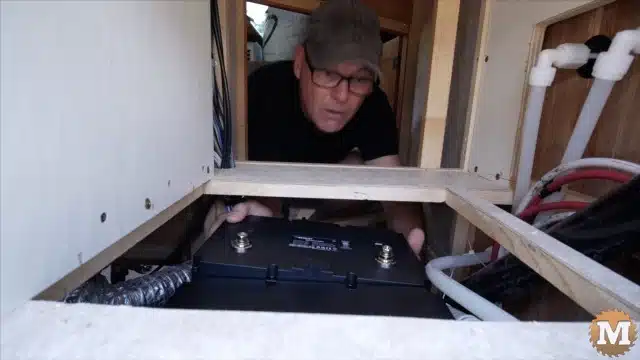
Setting the new batteries in place
With the plywood attached I can set the batteries in place. These new batteries are much lighter than the ones that came with the camper so, they’re way easier to install.
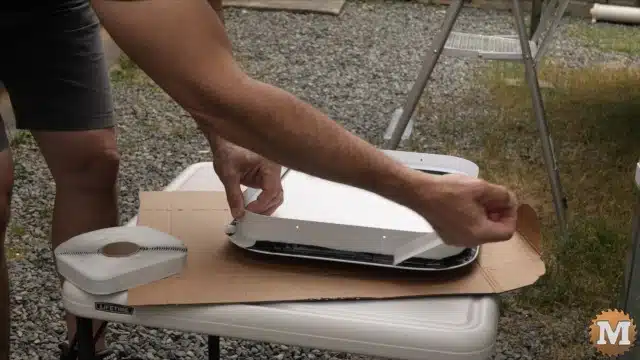
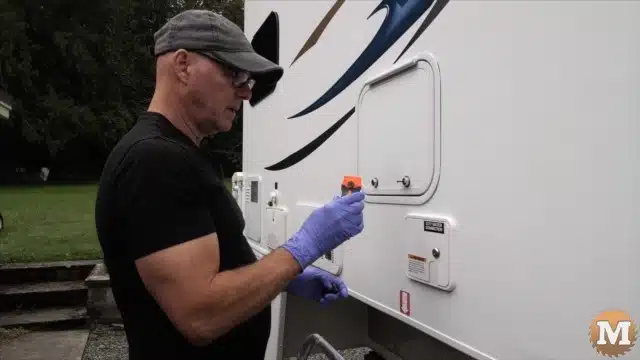
New access hatch door for the battery compartment
I was able to find a door that should fit this opening — it’s pretty close at 16″ by 14″. A 16″ by 16″ would have been a little bit better but, they didn’t have any in stock and I need to move forward with this project.
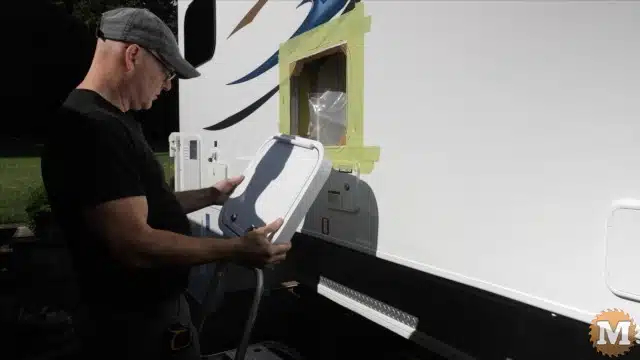
I’ve made a template from cardboard and traced it on some painters tape to show me the inside cut line. This door should then fit right in (hopefully).
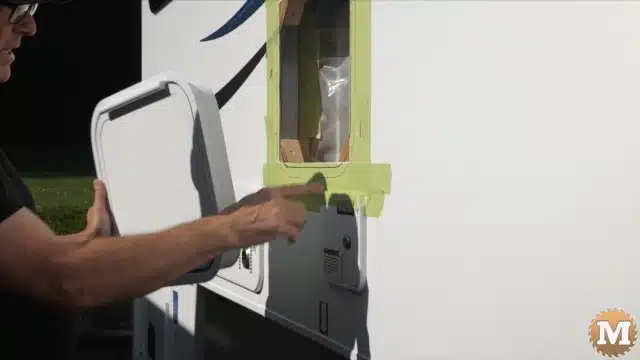
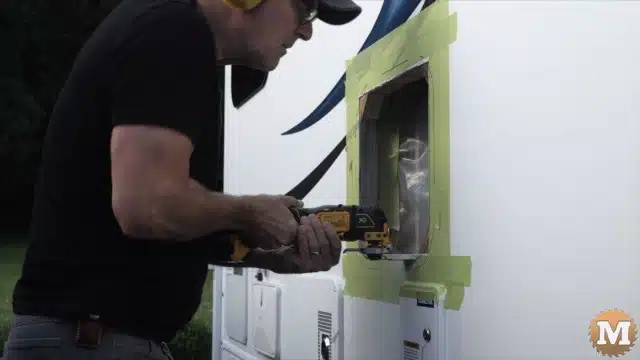
Cutting the wall of the camper for the new storage door
For making this cut I was thinking about using a jigsaw but, I have a pipe really close on the right side. The left side I don’t need to do really any cut at all because there’s some aluminum tube framing there. Along the top I need to just clean up this cut line from before.
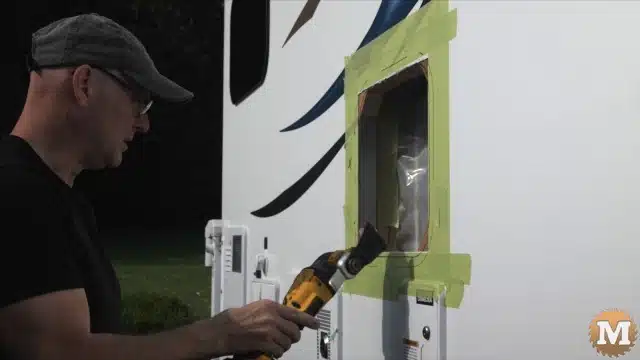
I thought I’d use my oscillating plunge tool to make these cuts. It’ll be a bit rough around these corners but, I think that should work fine.
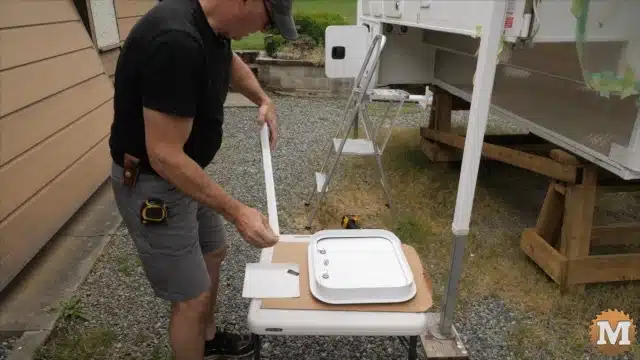
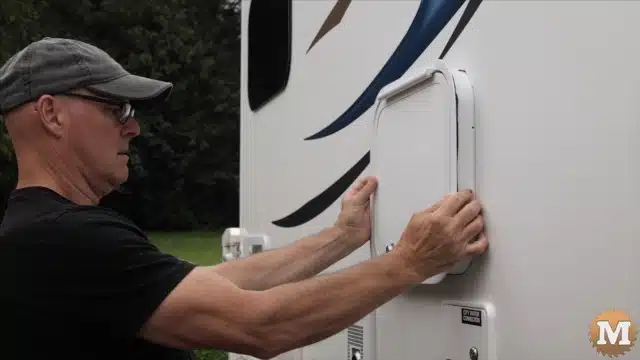
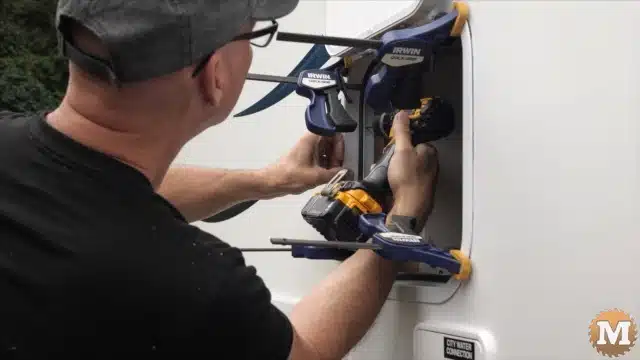
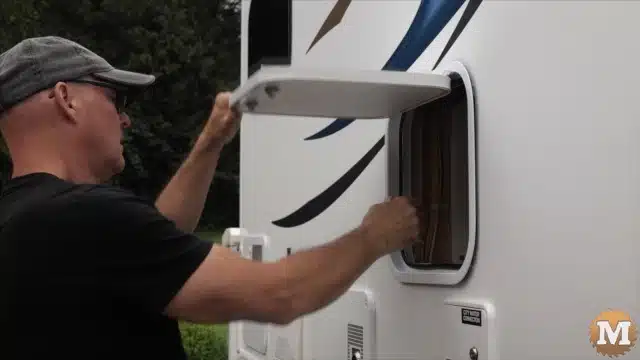
Prepping the door frame for installation
I have butyl tape to go onto the inside edge of the door before I put it in place. I start at the top and work my way around and get it to sit just on that edge. This is the first time I’ve installed an RV hatch or compartment door so, I was happy that it fit well and matched other doors on the camper.
Caulking the door frame
I drilled pilot holes, then secured it with screws through the frame.
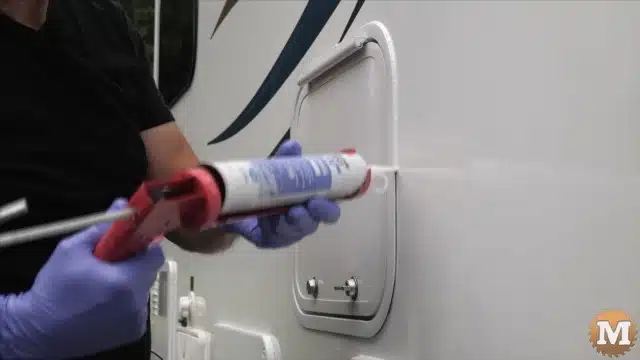
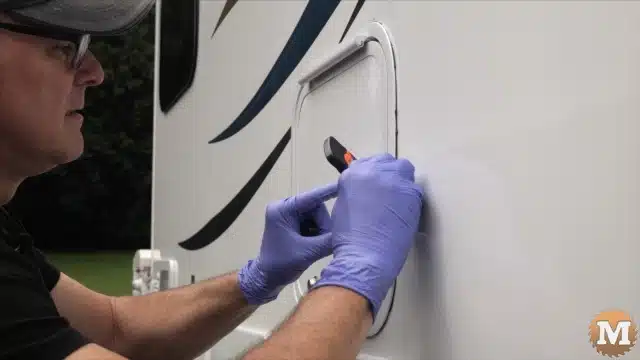
I then need to add some caulking around the edge of the frame but, first I’m going to scrape off any extra butyl. I have one of these plastic razor blades and they work well for getting any extra butyl off without scratching the fibreglass gel coat. There’s a little bit that oozed out overnight and since it’s black, you’ll probably be able to see that if I miss with the caulking.
(Disclaimer: As an Amazon Associate I earn from qualifying purchases. Thank you for helping to support my content this way. )
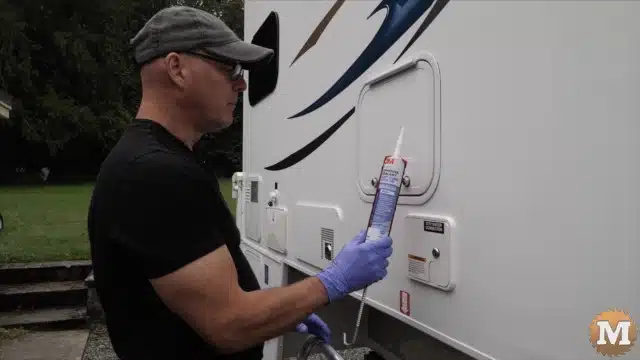
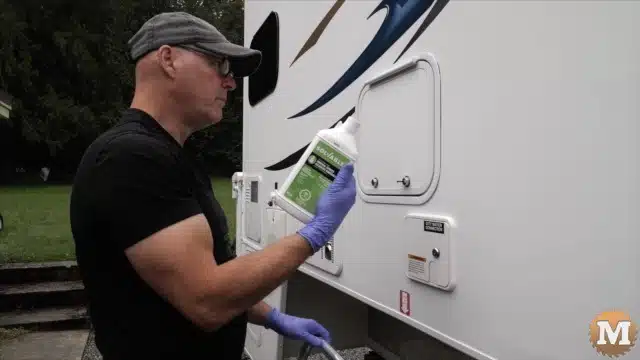
Then I’m going to use some mineral spirits on a rag to make sure that there’s nothing else left on the RV wall. For the caulking I’m using 3M Marine Adhesive Sealant — this is the Fast Cure 4000. I have a wet rag to clean up any extra. I want to put on the smallest bead that I can and try to keep it as uniform as I can.
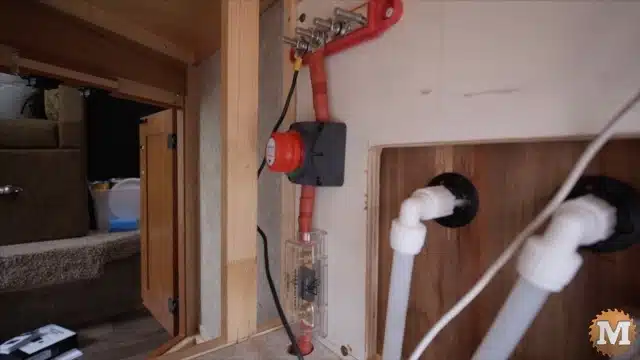
Testing the new converter charging the new LiFePO4 batteries
I’m a few days into the wiring now. I have the batteries in place and I have the camper running off battery power. Now I’m about to test the new converter to make sure it’s charging the batteries.
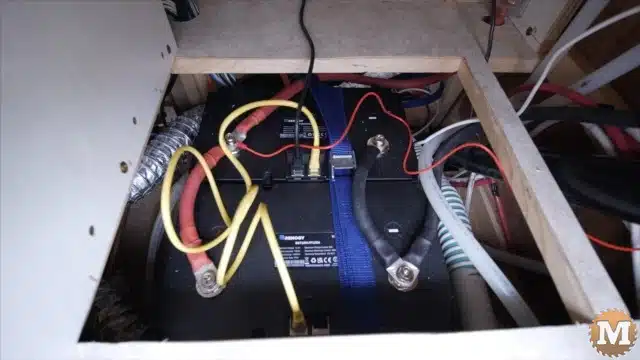
Here we have the two batteries connected in parallel. The yellow cable is the communication between the two — and the black cable from this side goes to a battery monitor.
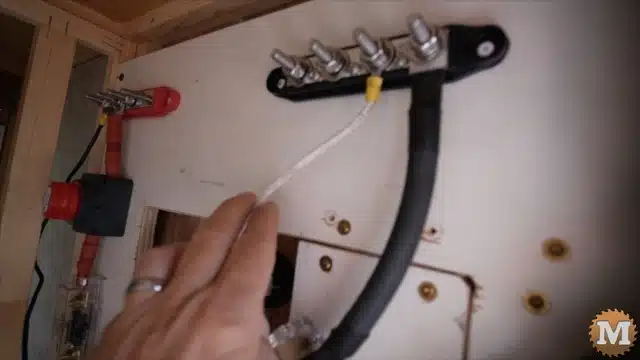
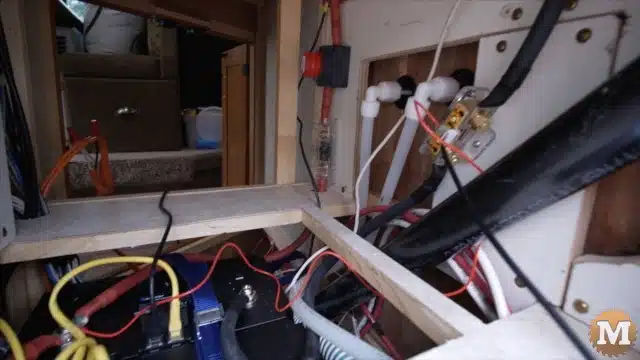
Then one the positive side I first go through 200 amp fuse up to the disconnect — and then to the positive bus bar.
On the negative side I first go to the terminal on the shunt. Then from the shunt up to the bus bar. And then this is the negative, and over there the positive connection, that used to go to the previous battery that was in here. The shunt is connected to another monitor that I haven’t mounted yet.