This is the Sketchup Drawing Plan download page for the Firewood Drying Shed shown in my YouTube video.

Download the plan I used: Firewood Drying Shed Plan and Cut List
Sketchup Animation Match Photo Setup
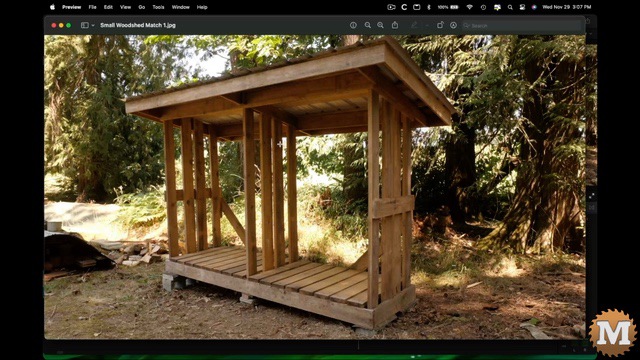
When I shoot a video for a project, I try to have at least one shot on a 30 degree or so angle, showing the entire structure. I do this to create a fade from a live shot and into the equivalent 3D model.
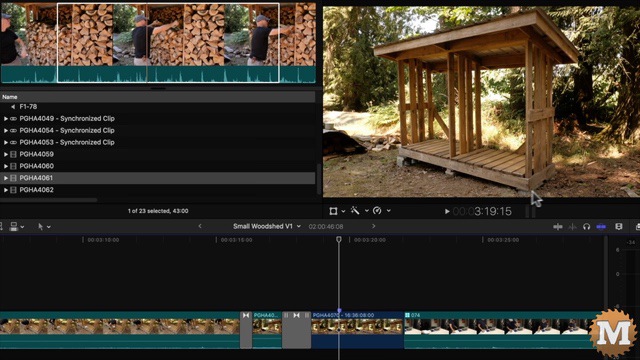
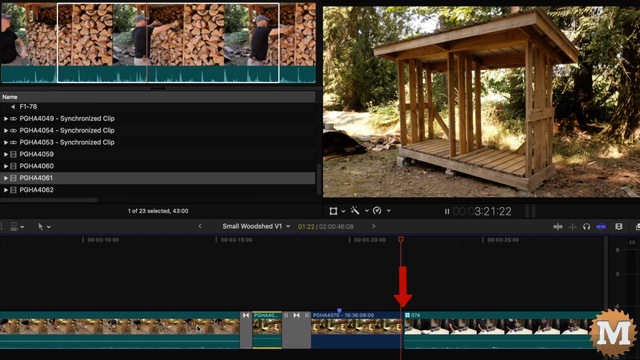
Here is a scene from Part 1 where I am taking measurements of the empty firewood drying shed. It’s a short static shot with the wind blowing the trees. It’s a bit too short for my liking but I can add a freeze frame (the blue clip) and do a fade (or cross dissolve) into it. And make it longer.
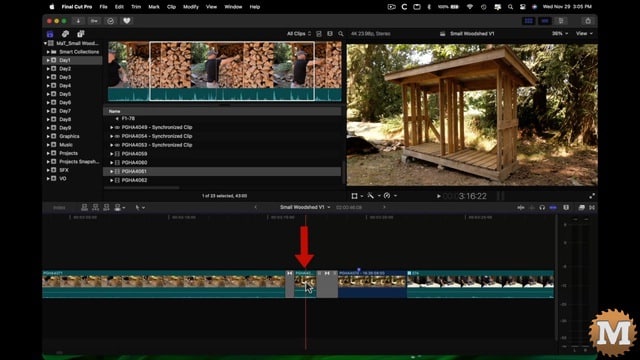
Next, I go to a shot of me at my kitchen island working on the model. Between those two is where I want to add my animated sequence.
Export a Still Image from Final Cut Pro
I’ll export a still frame of that scene to a jpeg file. And I’ll put that in a folder where I have my sketchup model. And here is that image. Now, I’ll get out of Final Cut and go into Sketchup.
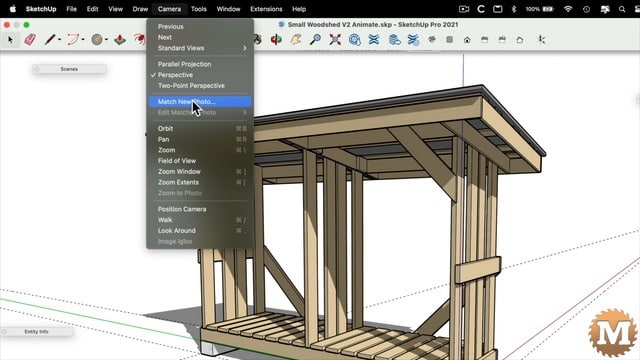
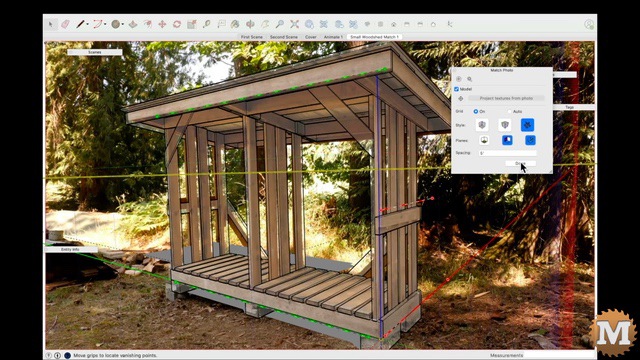
Match Photo in Sketchup Pro
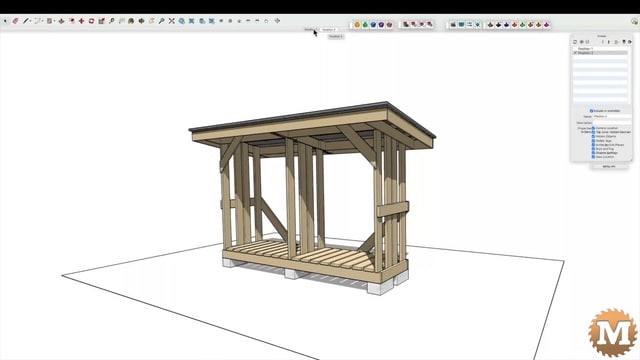
I have the origin of my model axis set to the front corner of the model. At the top of the concrete block. I’ll select Match New Photo from the Camera drop down and select the image.
It drops the photo behind the model. I will first position the model axis to the corresponding point of the photo. Then scale the model up along the blue (or vertical) axis. I’m slowly edging the model to match the photo.

On the left side of the axis there’s two green dashed lines. I will try to align them with parallel lines in the image. To the right of the blue axis are two dashed red lines. I will try to line those up with parallel lines in the image on the right side. It won’t work off the edge of the sloped roof so, I’ll try the wall cross member. And the other one on the edge of a floor 2×6.
(Disclaimer: As an Amazon Associate I earn from qualifying purchases. Thank you for helping to support my content this way. )
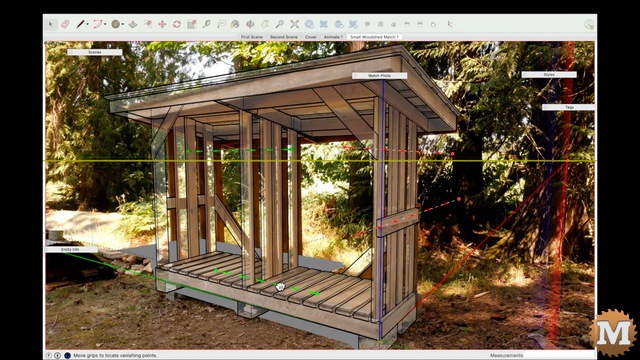
It takes some adjusting and readjusting to line everything up. Also, my model is a bit different than the shed I built. It’s similar, so I should be able to pull off a pretty close match.
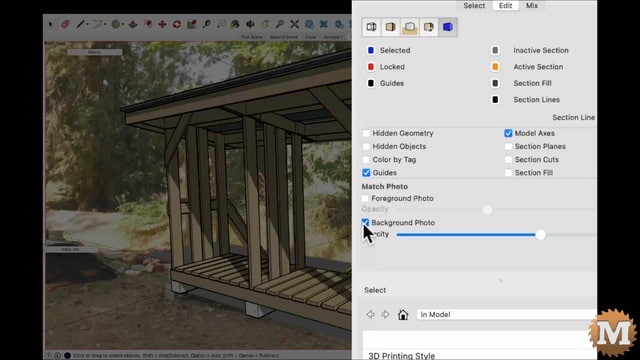
Okay, I like that. Then in the Styles tab I can turn off the matched image.
Sketchup Shadows Considerations
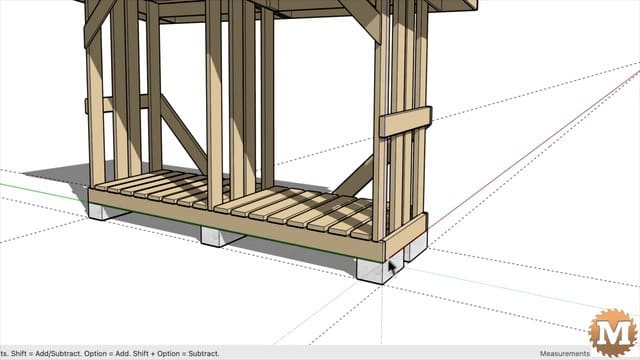
I created a large rectangle to act as the ground and adjusted the shadow date and time of day so it would land on this rectangle.
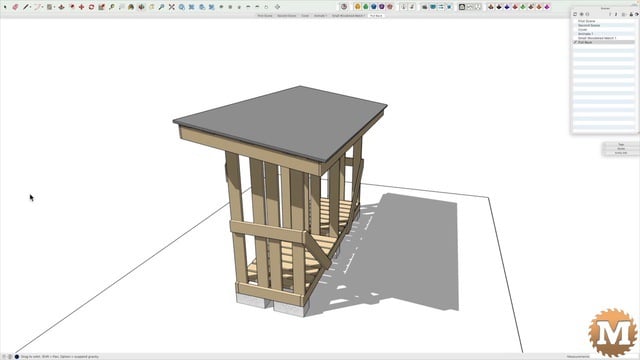
So, I have two scenes here. The one that matches the photo and one that zooms out and away from the model. The second scene will show the components dropping in from the sky to assemble the model.