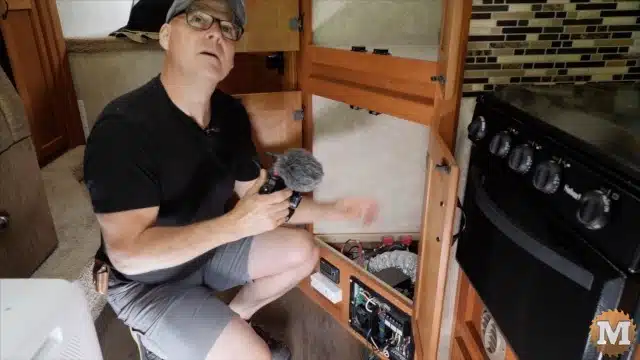
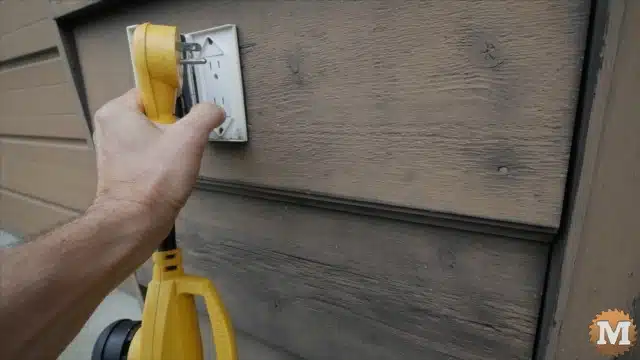
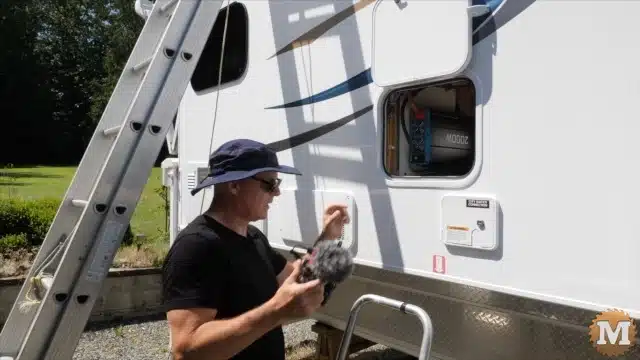
From transfer switch to inverter
This is the wire coming out of the transfer switch that goes down under and it’ll come in the back of the converter. Then on the back side of the inverter there’s a wire that loops around. I’ve already got some connectors (round terminals) crimped on that. That’s going to go into the terminal ground, neutral, and load on the inverter.
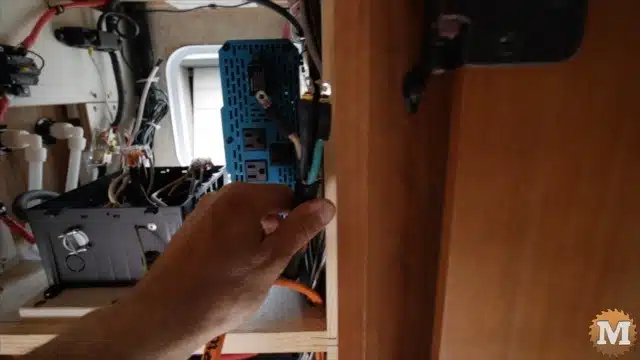
Then the shore power line will have just enough room to run it in to make it to the ground grounding bar. I’ve got a grounding wire that’s coming right through the back and it’s going to snake down to a grounding bar down near that electrical box that I can run to. Then the wire from the back of the electrical panel is going to run through here and connect up as well.
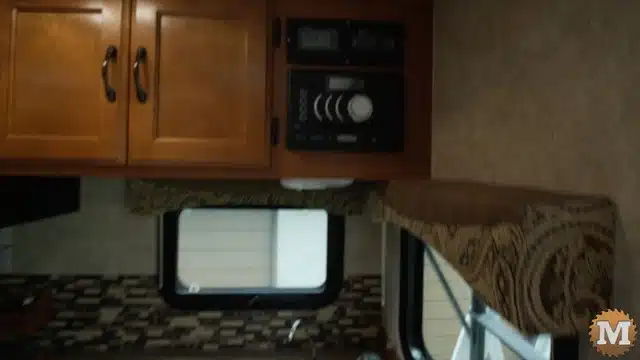
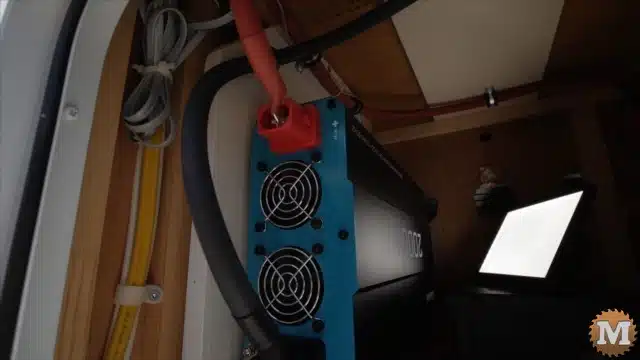
Powering up the inverter
I have the transfer switch installed and some of the cables secured. Now I’ll turn on the battery. Then I will go to the remote for the inverter and turn that on. Fantastic! Looks like everything’s working.
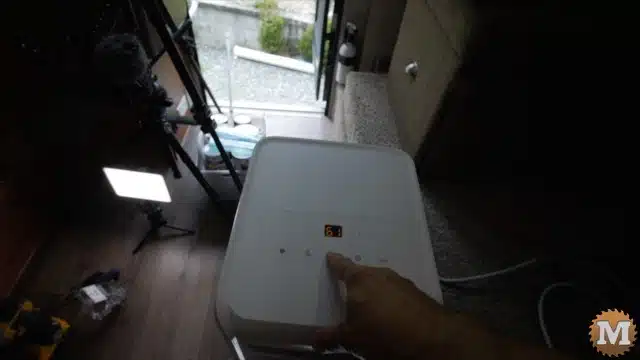
Run some appliances
The batteries were fully charged before I started this experiment — and I’ve got my portable AC unit plugged into the wall. We’ll click that on (it’ll be kind of loud) so we’ll run that and let the compressor start and we’ll see what kind of load is being pulled.
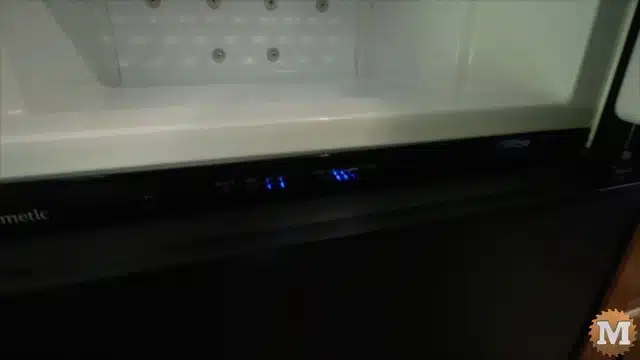
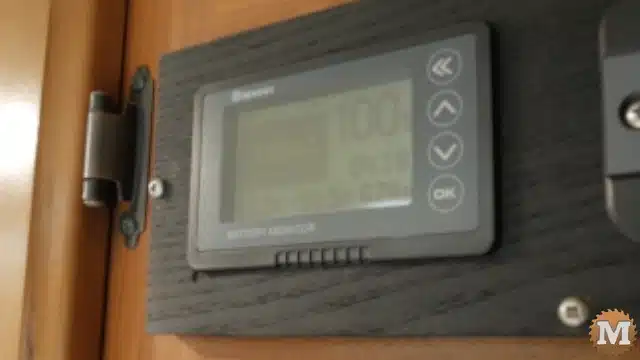
The refrigerator is gas or electric and that should switch on to electric. And have a look and see how many amps it’s drawing. Right now we’re drawing about 680 watts and we’re pulling about 50 amps out of the battery. From solar (it’s slightly overcast today) we’re getting 17 amps from the panels.

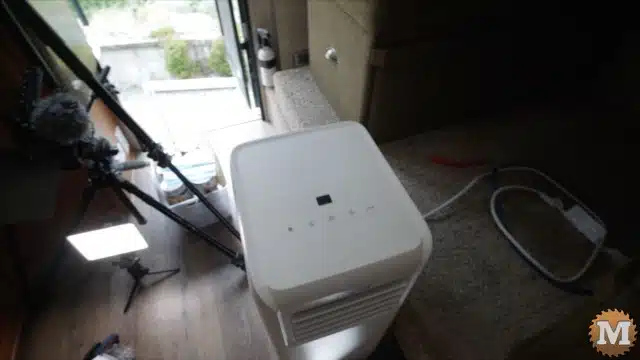
Right now some hot air is coming out of the AC output vent (that will be vented outside) so I’m letting the air conditioner run for a minute here and draw down the battery some. Then we will switch over and plug in shore power.
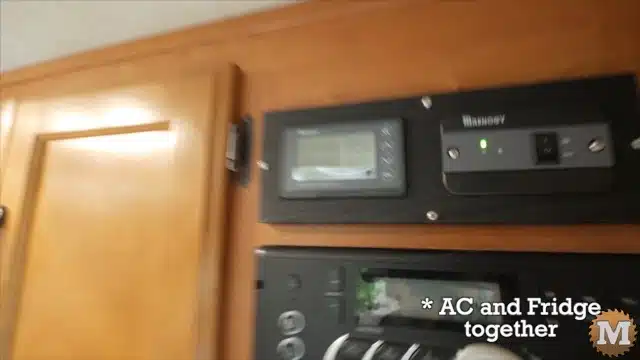

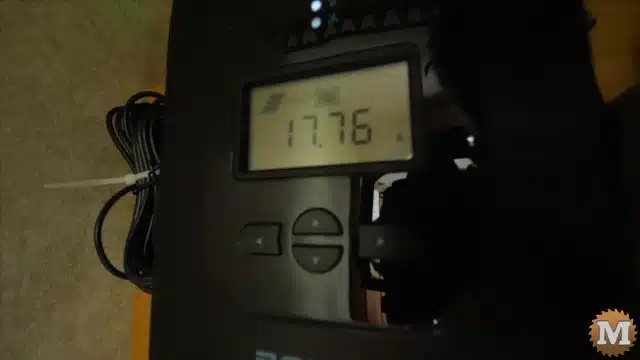
The air conditioner has been running for about four or five minutes now and we’ll have a look and see what the draw is. With the air conditioner, some of the lights, and the fridge behind me, we’re drawing 880 watts or 67 amps. The battery’s down to 98 percent and it says that this current draw we’ve got just under three hours that we can keep this going.
Like I say, it’s not that sunny out right now and we’re pulling 13.6 amps from solar. Now I’m going to switch a few things off here, plug in to shore power, and we’ll see what the converter charges at.
(Disclaimer: As an Amazon Associate I earn from qualifying purchases. Thank you for helping to support my content this way. )
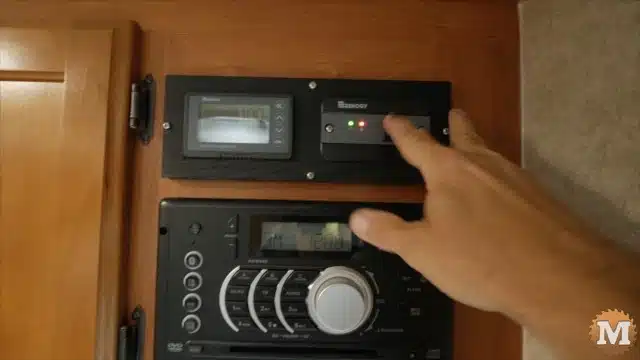
Back to shore power to charge the batteries from the converter
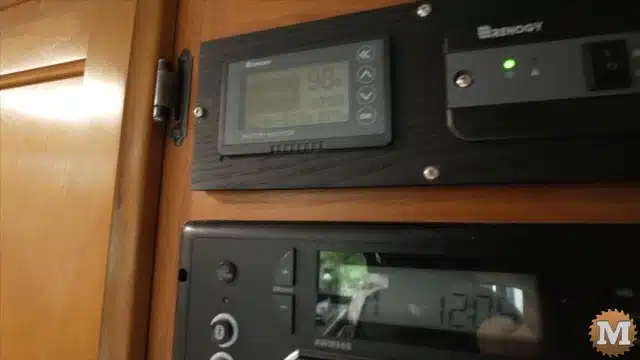
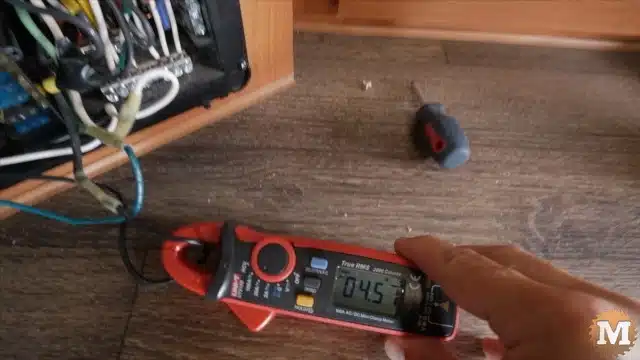
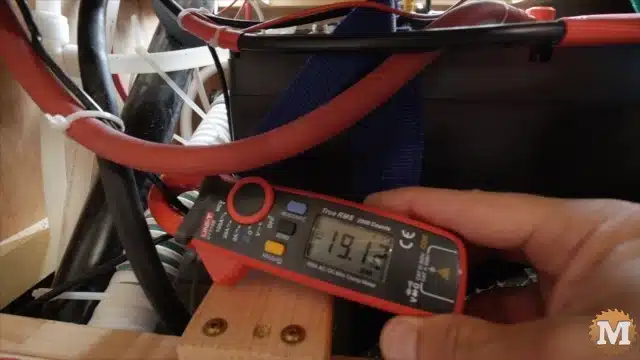
We should hear this click over here in a minute. So the transfer switch just clicked and the monitor shows that I’m currently getting the batteries at 94 percent, 18.2 amps coming into the battery, 243 watts and I have my solar input turned off. The connection from the transfer switch into the panel getting AC 4.55 amps. Then I’ll switch this over to DC and I’ll zero that out. Then going into the battery 19.11 DC amps of charge.
So, everything seems to be working on the shore power side. Thanks very much for reading!
Wait! Hold on a minute — there’s one more thing I want to show you.
Final solar panel roof configuration
With all the panels installed, I wanted to show you the way I attached the cables to the roof. I used Eternabond tape overtop of them. That’s the gland where the wires go through the roof. And, I just covered that with Dicor lap sealant.
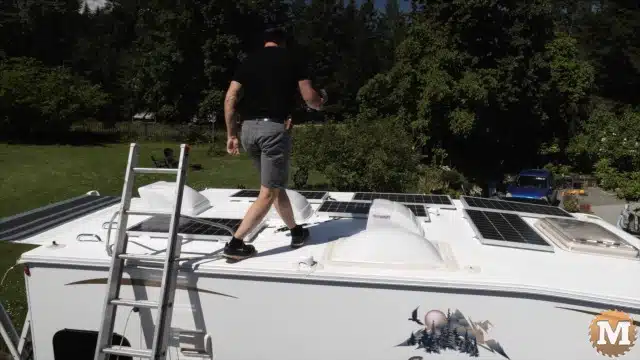
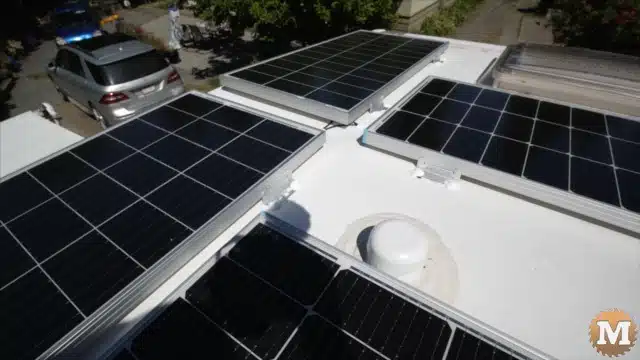
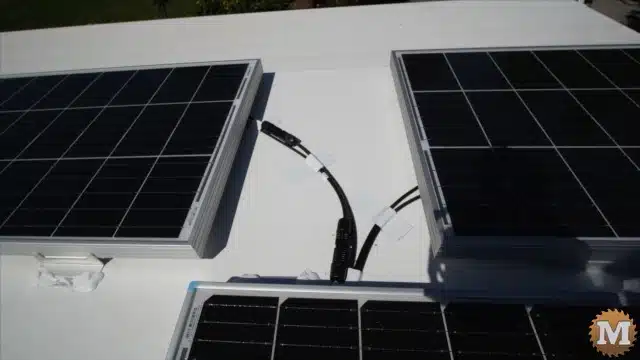
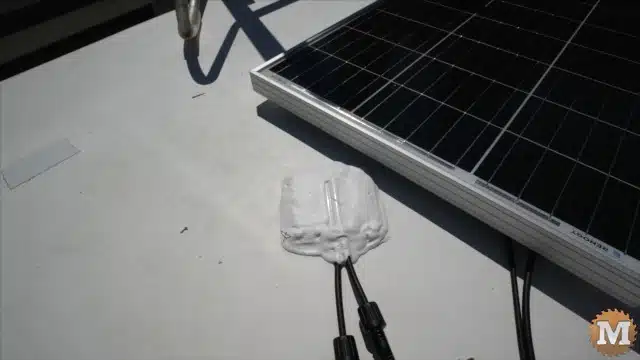
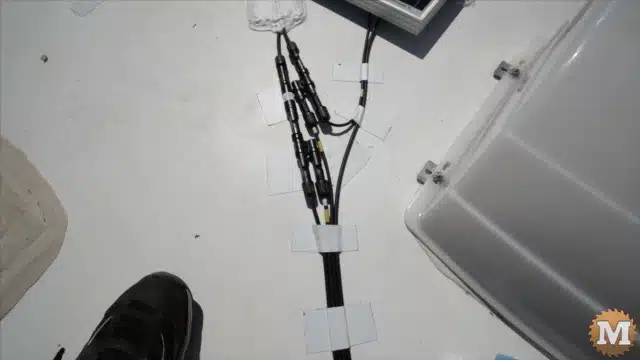
Also the screws that hold the panels down I have some lap sealant covering all of those too. I tried to hide the connectors as much as possible under the panels but, sometimes that just wasn’t possible.
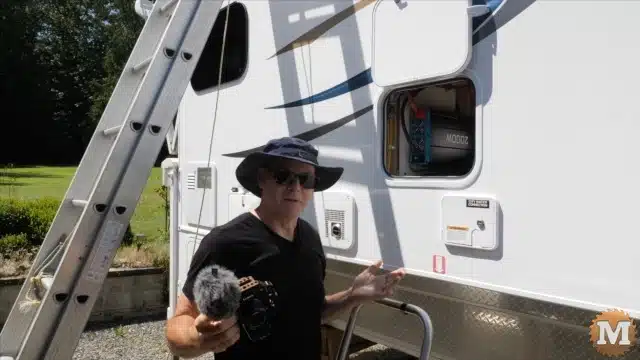
Inverter final thoughts
One more thing I forgot to mention: when I connected the positive wire from the battery to the positive terminal of the inverter I did get a small spark — even though I was running it through that light bulb to pre-charge the capacitors. So, it turned out not to be the “big light show” that I was hoping for. It wasn’t much of a spark so, I’m not too concerned about that.
Please leave me a comment below with any of your thoughts or suggestions on this video blog post. I know it went a bit longer than most. Thanks very much and we’ll see you next time.