Here’s the blog post for the YouTube Video on making a concrete casting for a raised garden bed using one of our ABS plastic molds.

Casting the Concrete Raised Garden Bed Panels
The 24″ mold produces a concrete casting that weights approximately 33 lbs and the 36″ panel produces one that weights approximately 50 lbs.
Background of the Garden Bed Mold Development
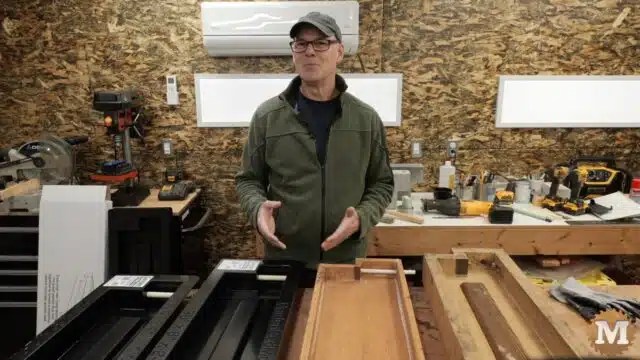
I’ve been making these wooden molds and casting these concrete garden box panels for around 10 years now. 5 years ago I made a video showing my first wooden mold design from plywood. In the years since I’ve refined and simplified the design in an attempt to make them easier to build, and to also experiment with making the panels lighter.
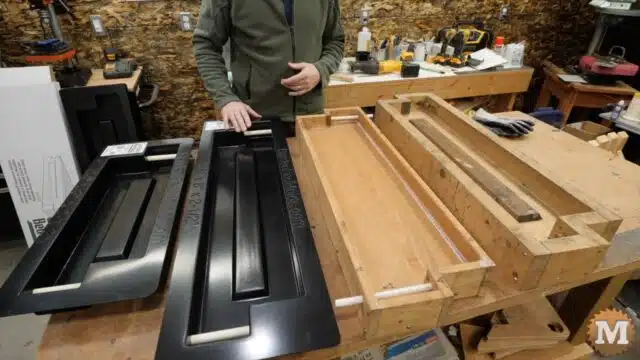
The Need for a Simple Design
Not everyone who wants a raised concrete garden bed has the tools or ability to make their own molds. That’s where these new plastic forms come in. Now you don’t have to build anything at all. If you can add water to a bag of concrete mix then you can make these panels.
My Experience with Vacuum Forming
Some years ago I was involved with vacuum forming molds for making natural soap. So, I’ve had some experience with designing the tooling and the overall manufacturing processes of vacuum forming. So for a while now I’ve been kicking around the idea of a making a plastic or a metal mold for these concrete panels.
And I’ve been asked time and time again if I would sell the molds. Wood is bulky and heavy and expensive to ship. But this thick ABS plastic is light and very strong so it is the perfect fit for mail order.
Same Design as My First Two
These molds have the same dimensions and design as my first and second wooden molds. They also have the removable hole forming pipe system as my 4th and the simplest version that I came up with.
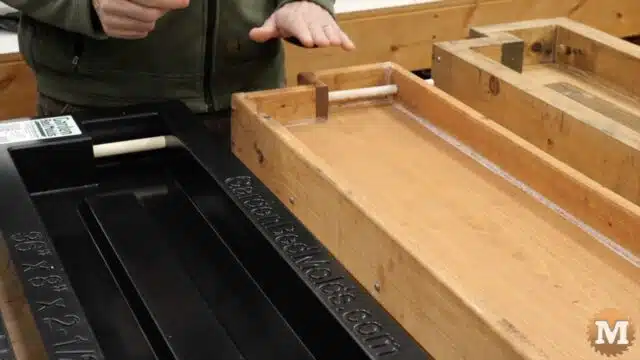
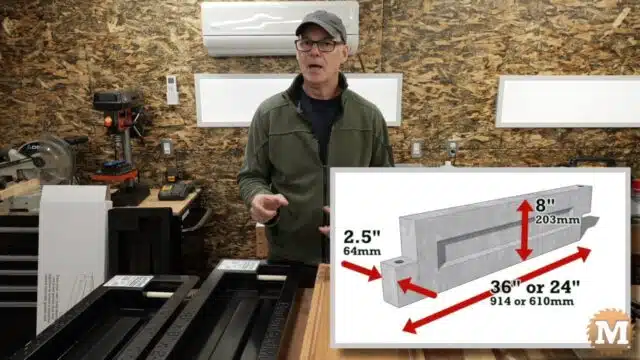
Right now I have these in a 36 inch and 24 inch length. And these make a panel that’s 8″ tall by 2-1/2″ thick. And the shape and size of the inset matches the first two designs as well.
Advantages of the Vacuum Form Mold
With these plastic forms the castings drop right out, no disassembly of the mold is required. To allow for this, the walls of the forms require a very slight draft or taper if you will. The finished panels and garden boxes look almost identical to my original ones. If you’ve been making panels already then these new ones will also fit with the previous ones.
(Disclaimer: As an Amazon Associate I earn from qualifying purchases. Thank you for helping to support my content this way. )
Alright, let’s mix some concrete and cast some panels.
Site Preparation
But before I can mix concrete there’s some prep work to do.
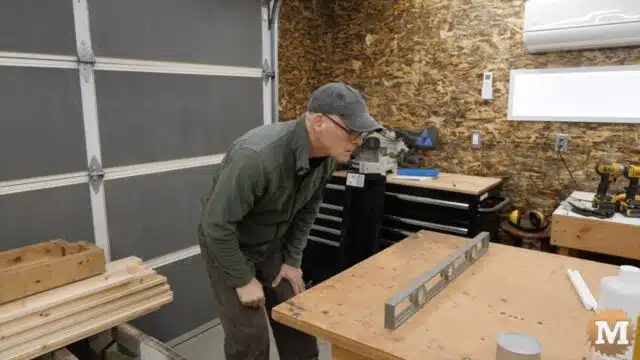
You will want to have your molds sitting on a strong table or workbench that is level along the length of the mold, as well as across the mold. Concrete is a liquid and we want the molds to be level and filled evenly.
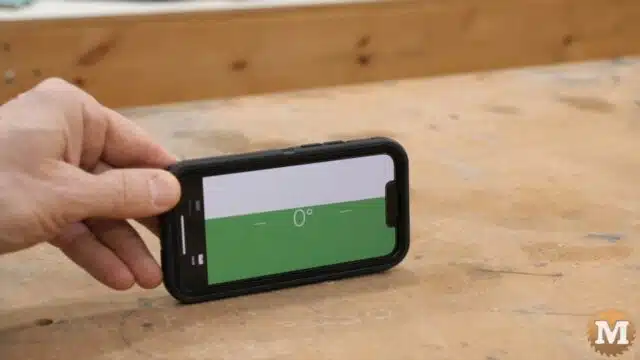
If you don’t have a spirit level then there’s a level app on some cell phones. Or you can set a pipe or ball on your table to see if it rolls away. But, a spirit level will come in handy when building the garden bed.
You can place a few shims under the legs of your table or work bench to make it level.
Mold Preparation
Like all of my molds, you will need to add some oil to the inside cavity.
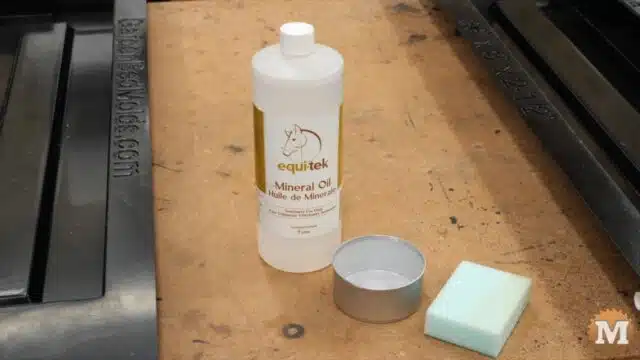
I have always liked using food grade non-toxic mineral oil. Vegetable oil will also work but, it can go rancid over time. Motor oil is another option but, I prefer not to have any residue of that near my garden.
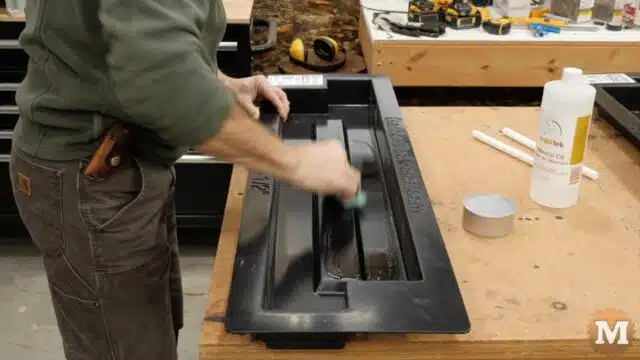
A thin, even coat applied with a small sponge (or clean rag) is all that’s needed. Don’t apply so much that you end up with any puddles.
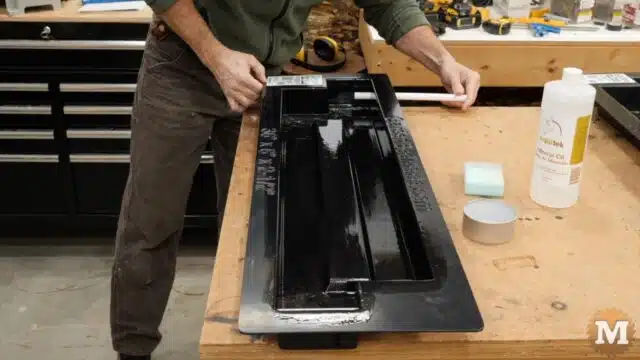
Also apply oil to the pipes. You will want to slide them in with the small hole sticking out clear of the flange edge of the form.
This small hole will accept a nail and give you a better grip on the pipe for removing it later when the concrete has solidified.
