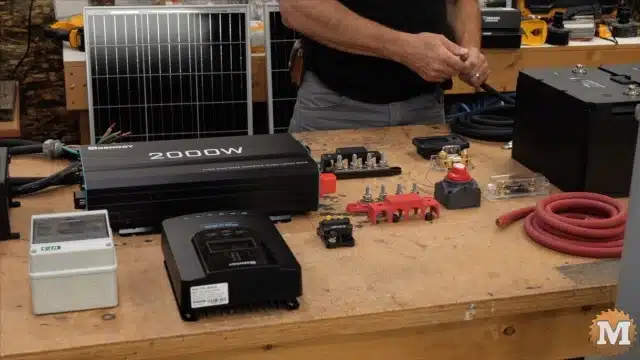
New solar and battery upgrade components
Before I start to install all these components I thought I’d lay it out here on the table (like a schematic) and explain what I have.
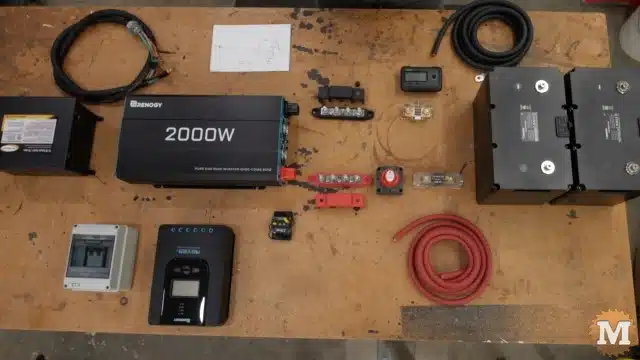
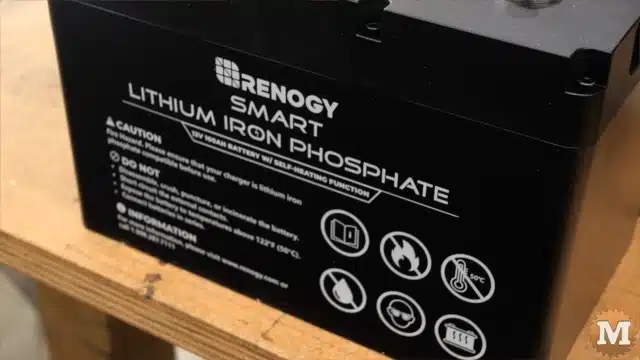
These are the two 100 amp hour Renogy lithium iron phosphate batteries.
All of the DC wiring from the batteries to the inverter is 2/0 gauge. This is 100% copper welding wire. It’s very flexible and I’ll be hammering on lugs on all the ends.
Fuses and battery disconnects
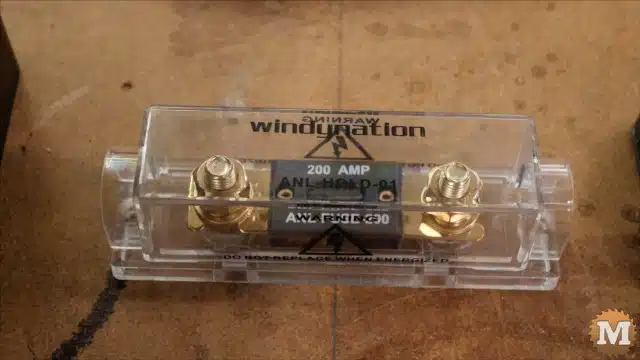
These two batteries will be connected in parallel. Coming out of the positive we’re going through a 200 amp ANL fuse and then to a battery disconnect.
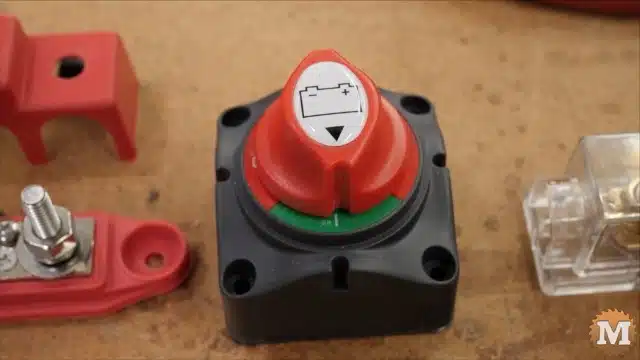
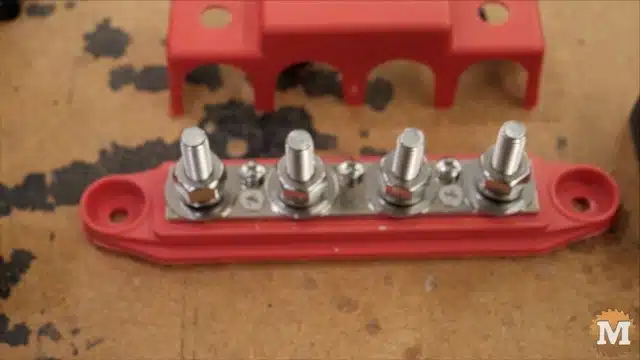
Then to the positive bus bar before we go to the positive terminal on the Renegy 2000 watt pure sine wave inverter.
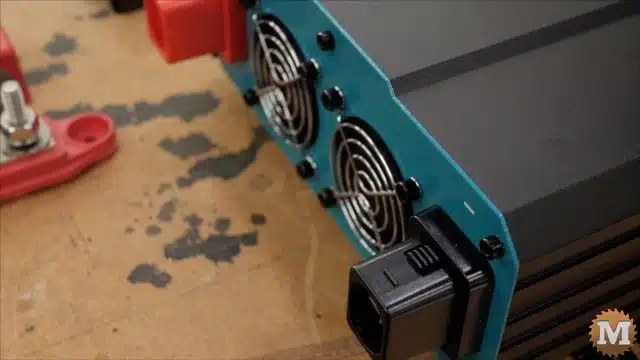
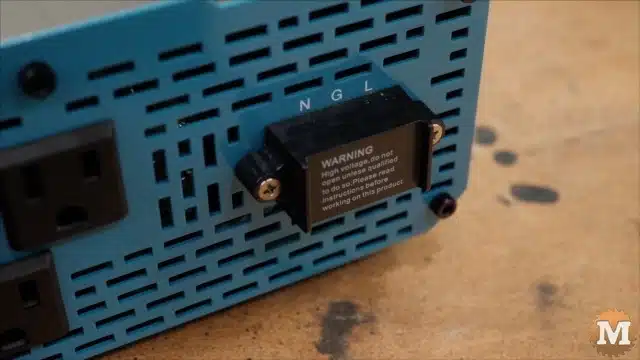
Pure Sine Wave Inverter
On the negative side we’re first going through a shunt that’s connected to a monitor before the negative bus bar. And then to the negative terminal of the 2000 watt inverter.
Solar array for the RV roof
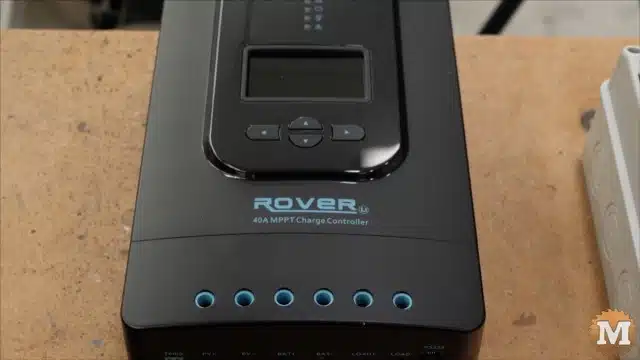
For solar, we have six panels on the roof. They are in two groups of three — so three in series and then those two groups will be put into parallel.
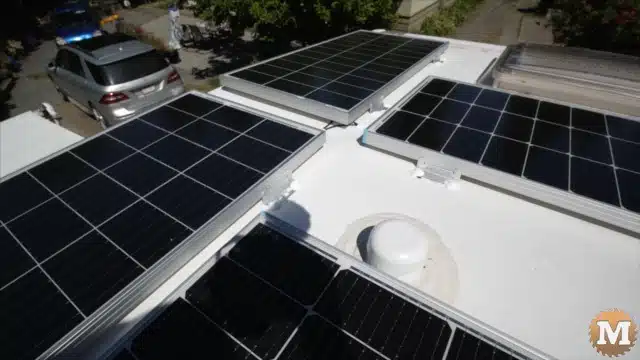
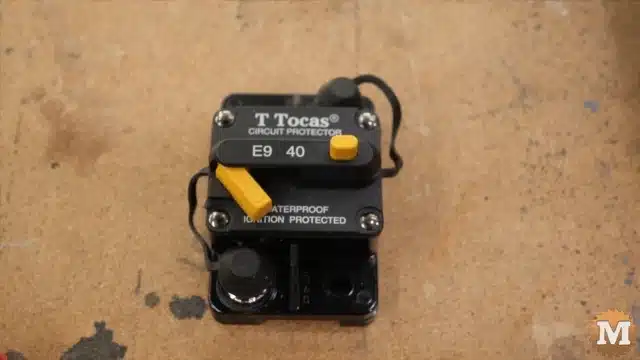
Wires come through the roof and go through a solar disconnect before it reaches the 40 amp MPPT charge controller. Out of the controller it’s wired through a 40 amp fuse before the bus bar.
(Disclaimer: As an Amazon Associate I earn from qualifying purchases. Thank you for helping to support my content this way. )
RV transfer switch
That takes care of the inverter and solar DC side of things. For AC out of the inverter, power will go through this 10 gauge cable that will connect to the AC terminals. And that’s going to run into this transfer switch before it goes to the AC fuse and distribution panel of the camper.
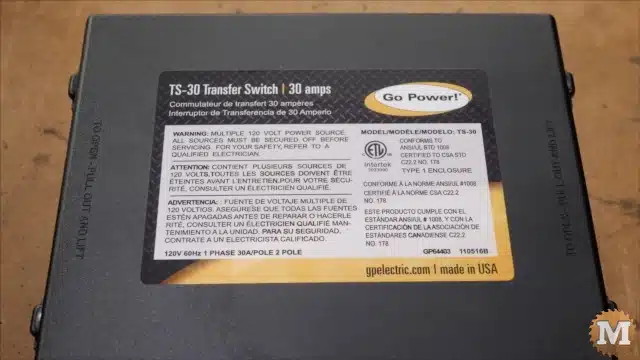
Advantage of the RV transfer switch
The transfer switch is designed so that when we unplug the camper from shore power the inverter takes over running all the AC loads. It’ll be wired so that it doesn’t do a loop where the inverter AC starts to then charge the batteries. I’ll have to wire that differently with the converter.
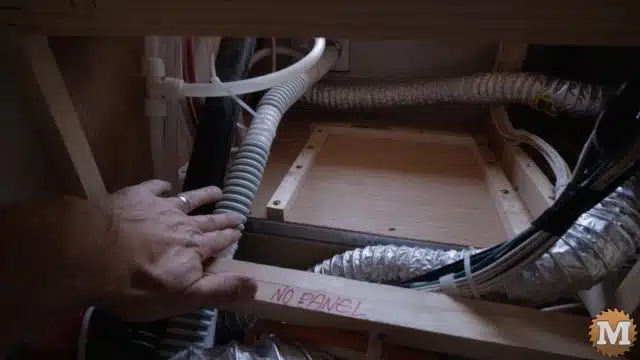
Add some support for the new batteries
With the battery box gone there’s quite a bit of room in behind for the new batteries. I’ve done some modifications to this space.
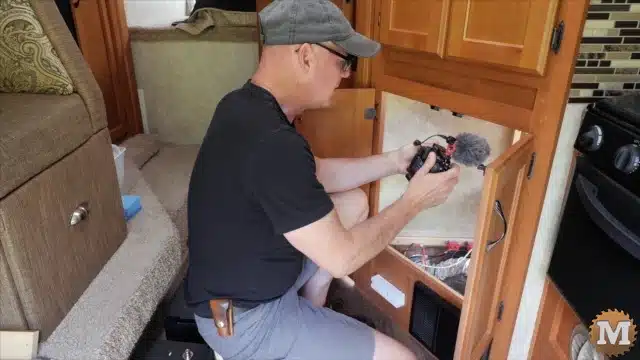
The top shelf I cut out the center section and then below I used some zap straps to pull some of the plumbing and electrical and heating ducts just slightly out of the way.
(To have enough room inside for the two Renogy batteries). I screwed on three little cleats to keep the new batteries from sliding around. At the back I put in a little metal bracket so I can put a strap around both batteries to secure them.
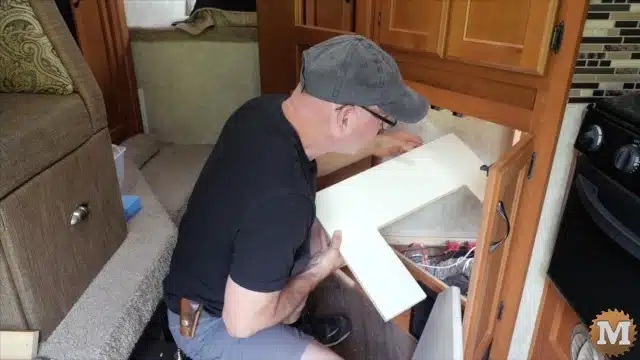
Adding panels for hold the wiring and components of the upgrade
I cut some plywood to line the inside of this space to give me something a bit more secure to attach all the components to. It’s some scrap plywood I had around the shop. It’s a tight but it does fit in here.
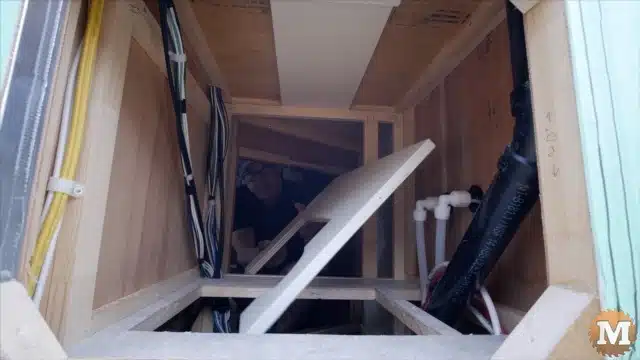
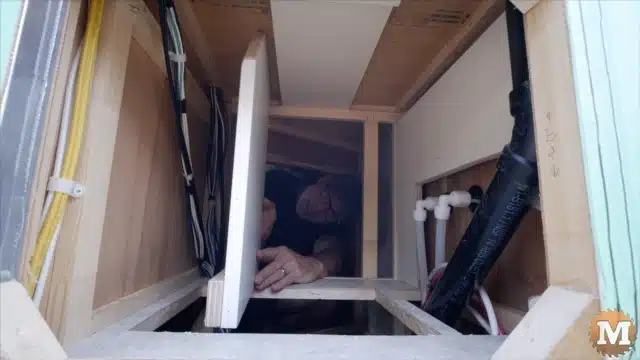
The idea is batteries down below, wires are going to come up for the switch and fuse, and on this side down here the negatives going to come up. I put the shunt over here and I think the inverter is probably going to be in the center or mounted here. Then the transfer switch somewhere here as well too.