Work on the greenhouse continues and in this blog post I’ll be building and installing some shelving.
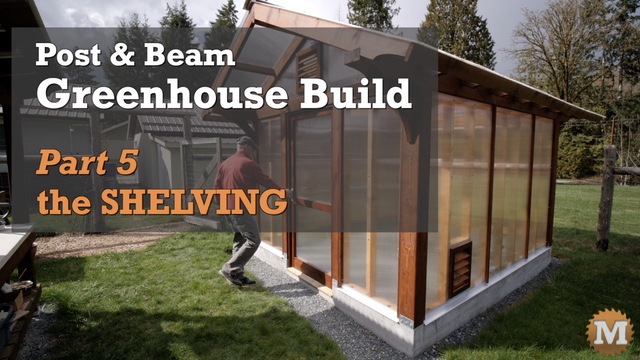
This is the 5th episode in the Post and Beam Greenhouse Build series. With the structure essentially complete it’s time to think about shelving, a workspace, electrical, lighting, and water.
I shot an overview video covering all the major steps in the construction and posted it on my YouTube Channel. This blog has details of the project and has a link to the plans and also a hardware list in the right sidebar. Plus a few images to add to Pinterest.
See the Youtube Video and download the Plans.
Cedar Post and Beam Greenhouse Shelves
(transcript of the Post & Beam Greenhouse Shelving Video)
Post and Beam Greenhouse Shelves
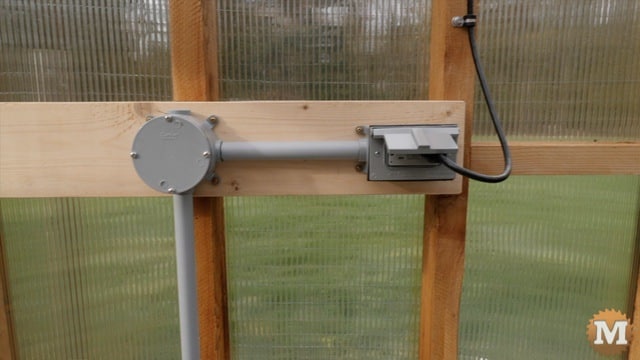
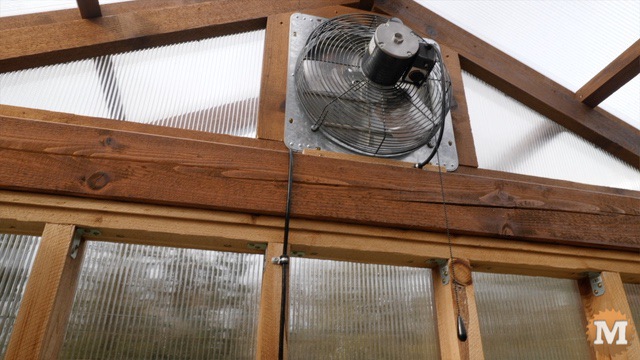
Since the end of episode 4 I’ve run a plastic conduit in under the foundation and up the back wall. So far I’ve added one outlet for the fan on the north gable end. And I’ll add more outlets and lights very soon and cover that in a future video.
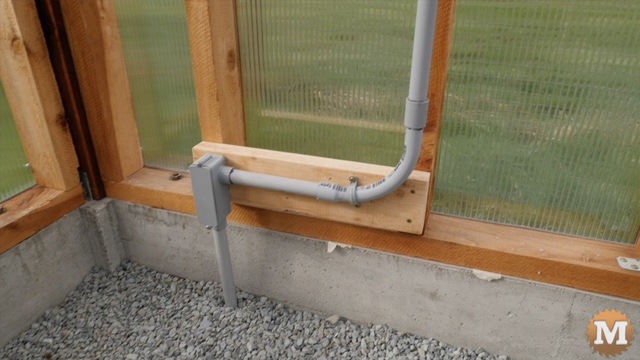
I’ve also roughed in a water line in the other corner of the north wall. And I’ll be adding a counter and sink and a hose bib or tap for irrigation timers and drip lines.
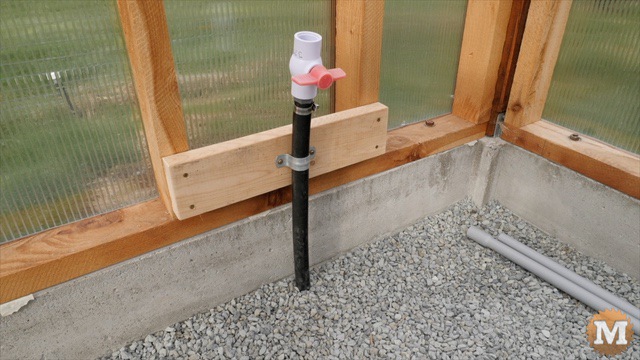
Under this gravel floor I have drain lines to stop irrigation runoff water from pooling here. And our sink drain will tie into that line to move water away from the greenhouse. More on all of that in future episodes as well.
The Greenhouse Shelf Design
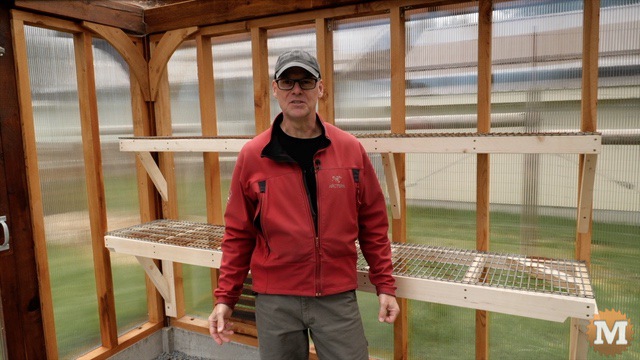
So today I’ll focus on building some shelves. The first set I’ve installed behind me. Here’s my design and how they go together.
(Disclaimer: As an Amazon Associate I earn from qualifying purchases. Thank you for helping to support my content this way. )
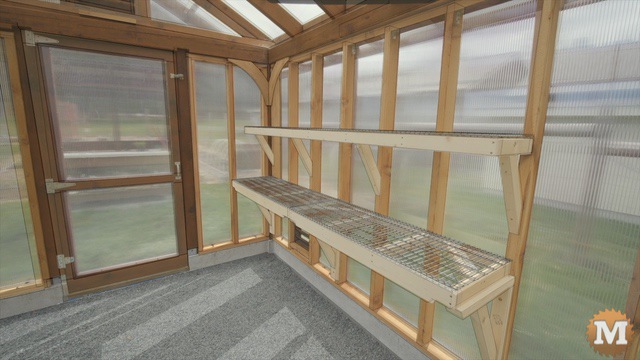
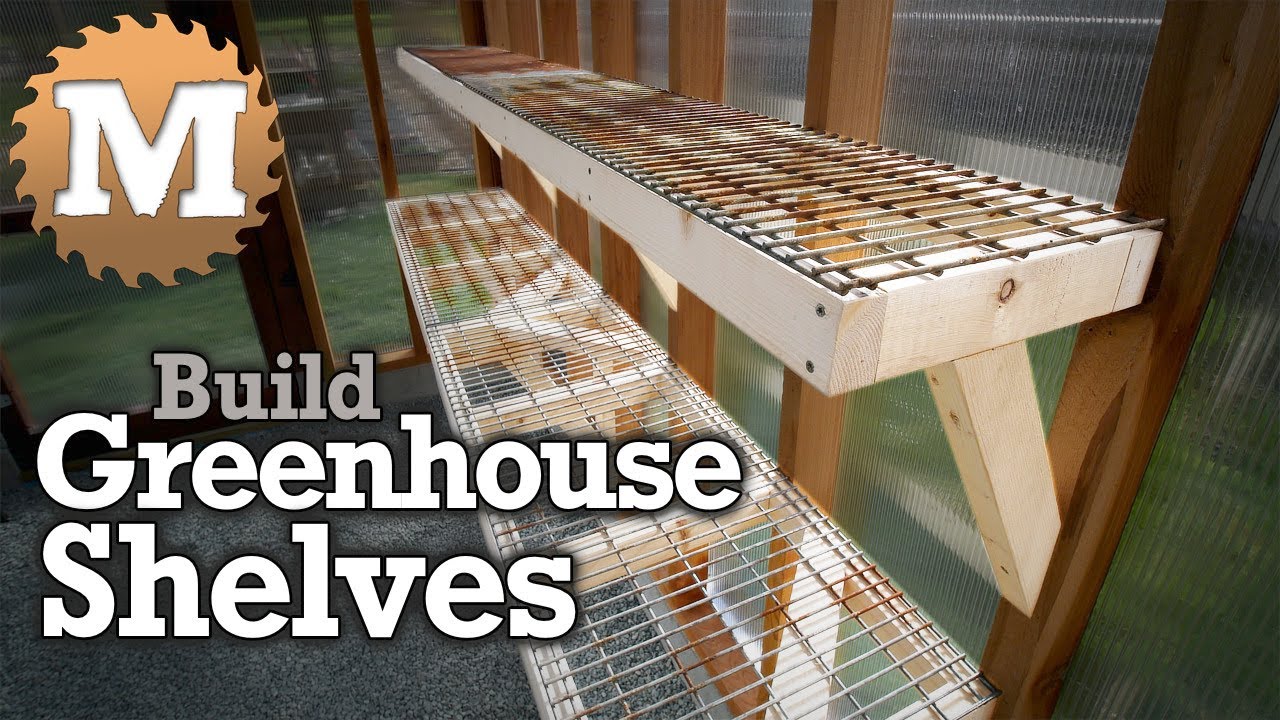
The upper and lower shelves are attached to (and supported by) the wall studs. The lower shelf is built in two sections and sits on three brackets. The brackets are made from 2×3’s and are lag bolted to the 2×4 studs. The lower shelf sections are mainly made from 2×3’s but, I’ll use a 2×4 for the front edge. And these two sections of the shelf are secured to studs with screws.
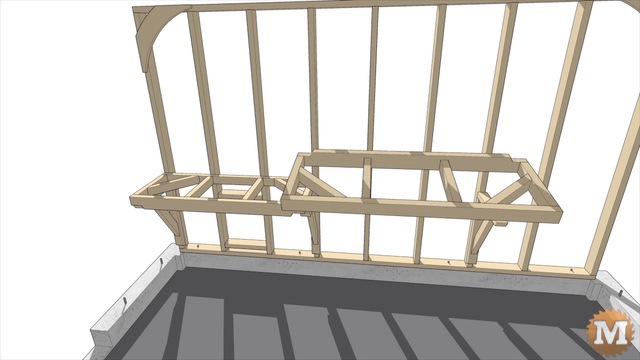
The upper (narrow shelf) is made in one piece and has four simple angled brackets. And it’s also screwed to the stud wall along it’s back edge.
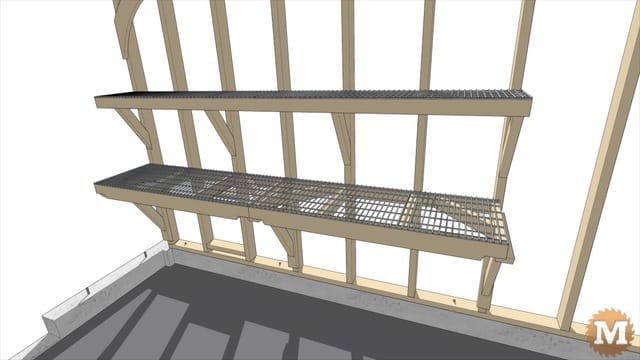
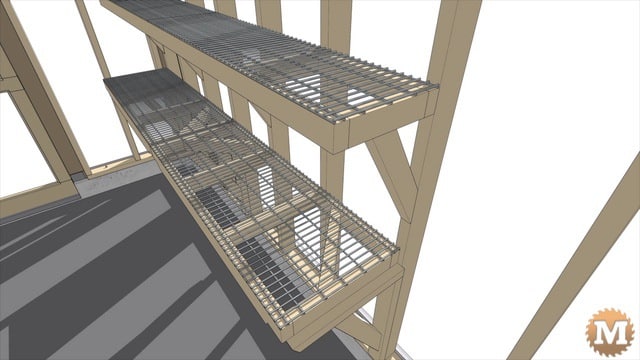
On top of these shelves I added a steel wire mesh or grid if you like. This will allow water to drain from the pots, and also let light through. This heavy metal grid is similar to a barbecue grill in its wire thickness and weight.
Thin cedar slats would also work for this instead of the wire mesh.
I wanted the shelves here to be simple to build and attach, easy to remove or relocate, and not to need any legs. I wanted the space under the lower shelf to be completely clear.
Lumber for the Greenhouse Shelf Build
I picked up a stack of 2×3’s and 2×4’s and I’ll start cutting and building the shelving in my shop. These are standard SPF kiln-dried framing lumber. Cedar would be ideal but, I didn’t have anything this size on hand.
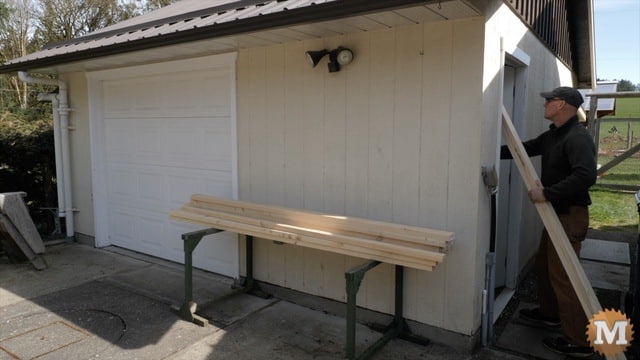
I decided to cut and assemble the parts for the shelves like modules — that I could then quickly take out to the greenhouse and hang on the walls. Instead of building them out there.
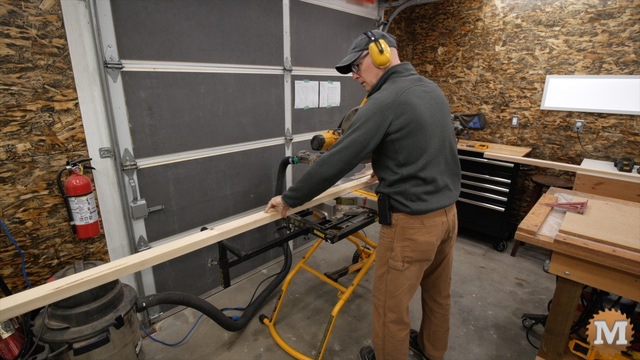
With the best lumber I could find I’ll start cutting the parts on my miter saw. I happen to have a 12″ compound sliding miter saw but, to build these shelves a saw this size is definitely not required.
Sketchup Drawing for the Shelves
I made a drawing of the shelves in Sketchup and you can download those two pages.
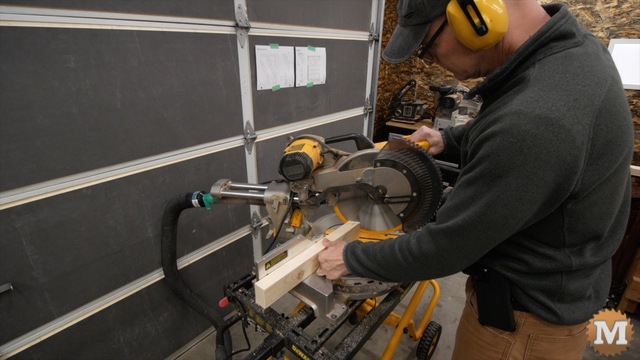
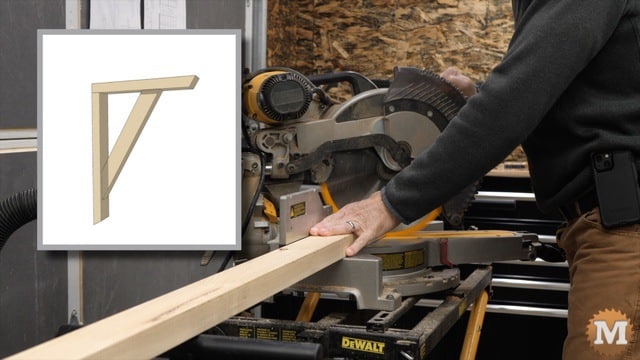
I’m starting with the three brackets for the lower shelf. The brace that runs between the horizontal and vertical 2×3’s has a 30 degree angle on one end, and a 60 on the other.
And those first two pieces also have a 30 degree chamfer cut on the end of each.

