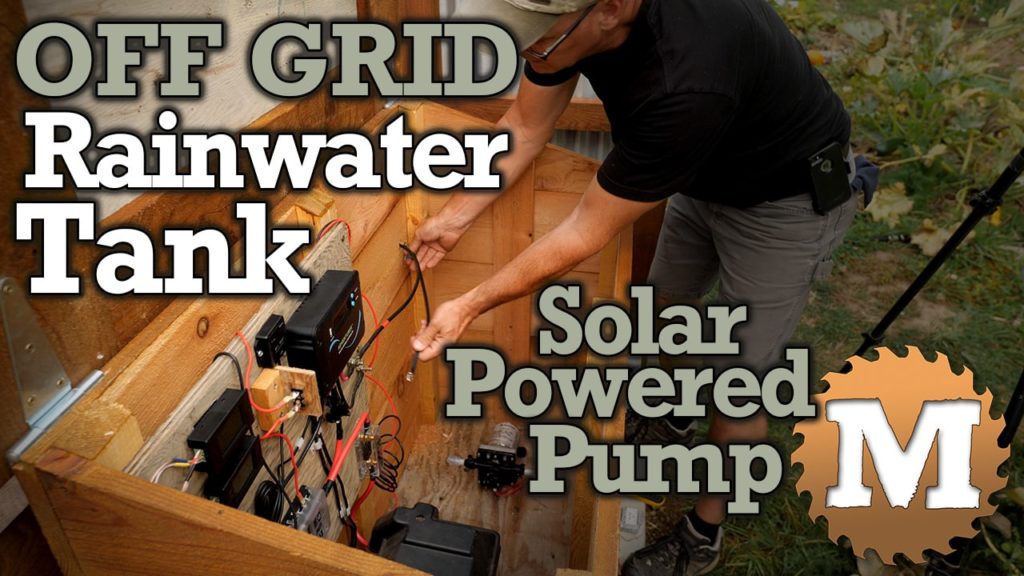
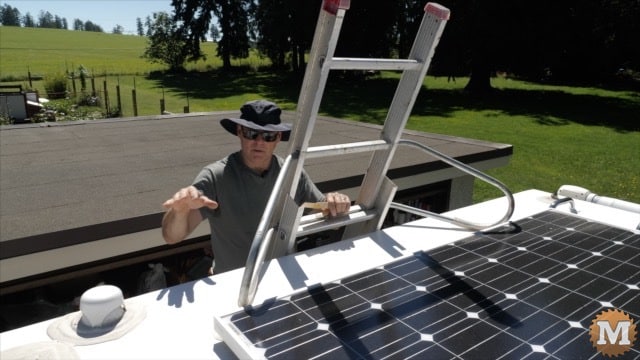
Here’s our RV Solar Upgrade to our Eagle Cap Camper where we add more solar panels, a 2000 watt inverter, two Lithium Iron Phosphate Batteries LiFePO4 and a 30 amp automatic transfer switch. We wanted to upgrade this solar system to run a portable air conditioner from the inverter. We also are now able to run the fridge from the inverter as well saving propane off-grid and boon-docking when we can. The six 100 watt solar panels we added to the roof of the RV are plenty to keep the LiFePO4 batteries fully charged and we estimate that the portable air conditioner would run for up to 8 hours on a charge; or longer when it’s sunny.
See the YouTube video.

This blog post is based on the transcript of the video.
In this blog post I’m detailing the upgrade on our truck camper for solar and electrical.
995 Eagle Cap Camper Solar Upgrade
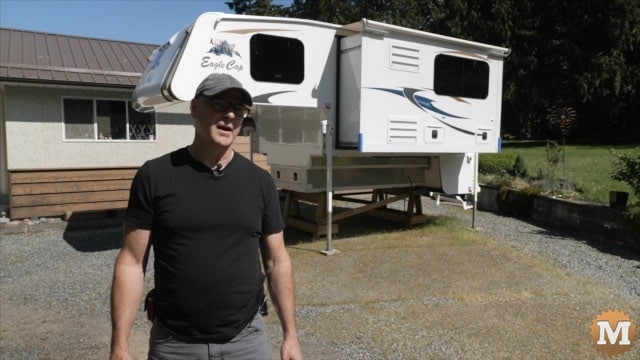
This camper we bought a couple of months ago. It’s a 2015 Eagle Cap 995. It’s got basic solar and lead acid batteries and we want to change the batteries over to lithium iron phosphate. We’ll put two 100 amp Renogy self-heating batteries in plus a bigger solar charge controller to handle the six 100 watt panels we’re installing on the roof.
We’re also installing a transfer switch and an inverter and the idea is to see if we can run our portable air conditioner only from solar and the batteries.
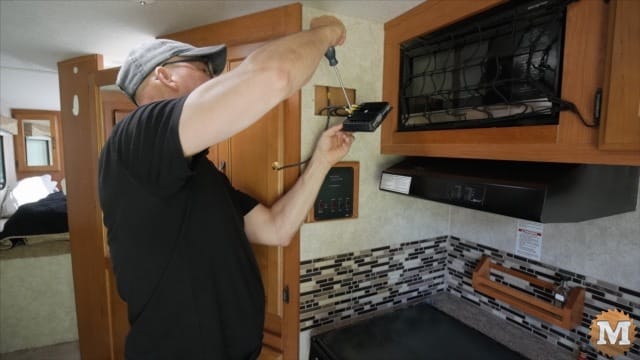
Remove Existing Solar Charge Controller
The first thing to do is to remove the existing solar charge controller and disconnect it from the battery. This one is mounted on the wall in the kitchen of the camper. It is receiving power from the single solar panel on the roof but, before I can change out the batteries I need to disconnect solar from the roof and from the batteries. I can carefully disconnect the wires to the controller and add some electrical tape to the connectors.
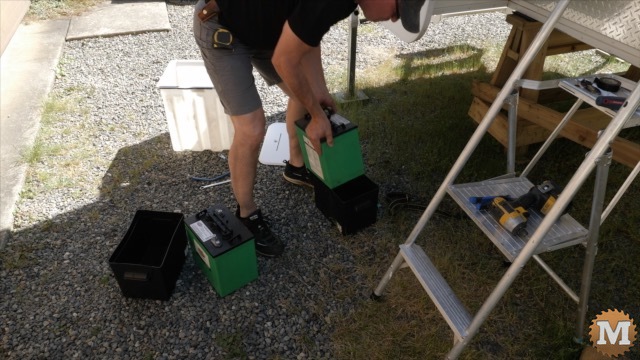
Camper Lead-Acid Battery Box
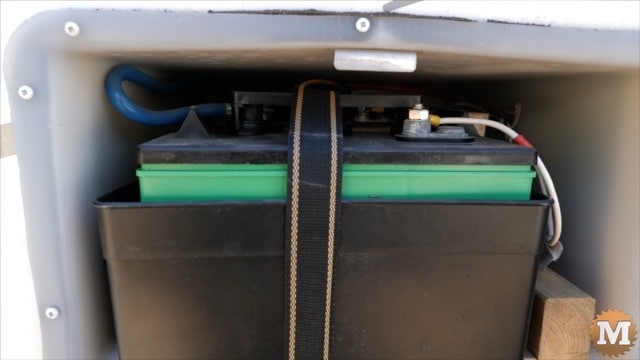
Outside on the passenger side of the camper is the existing battery box.
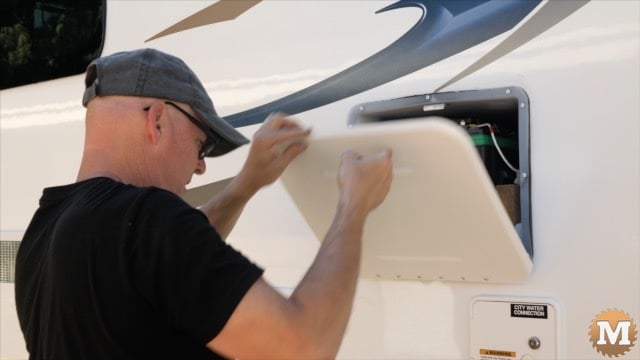
There’s two six volt batteries connected in series that I need to remove. I’m also removing the battery box as well.
(Disclaimer: As an Amazon Associate I earn from qualifying purchases. Thank you for helping to support my content this way. )
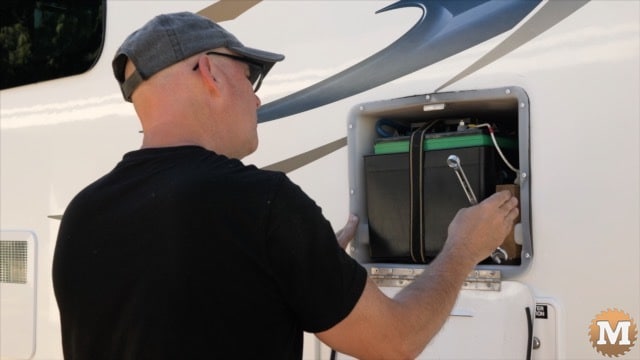
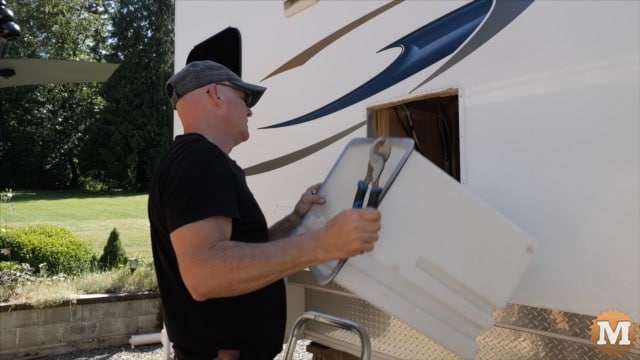
To get an accurate measurement to see if I could put on a more permanent door that’s not as flimsy as the original one. And I’m taping connections as I get them apart here. These 6 volt deep cycle lead-acid batteries are very heavy.
Ponder the new battery locations
At this point I still haven’t decided whether I’m going to use this box for the new batteries or not. I certainly don’t need it vented to the outside for the new replacement lithium iron phosphate batteries. This still might be the best location on the camper though — I have another couple options as well but, I think I’ll pull the box out and at least get the measurements in case I want to put a new door on here.
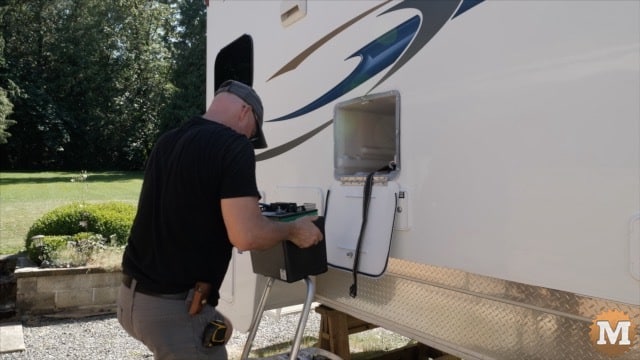
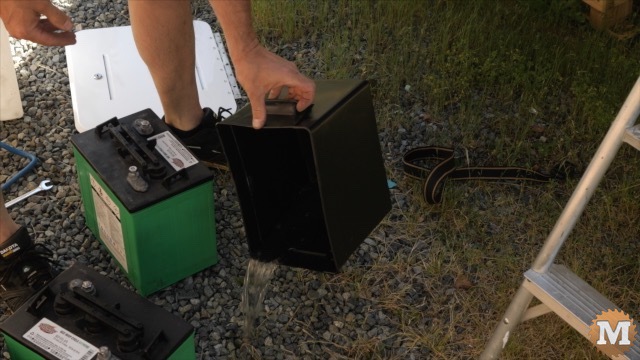
Remove the existing battery box
It’s calling for rain but, I’ll have some plastic and some tape ready just in case. After removing the door and the box flange screws I can slide the battery box out.
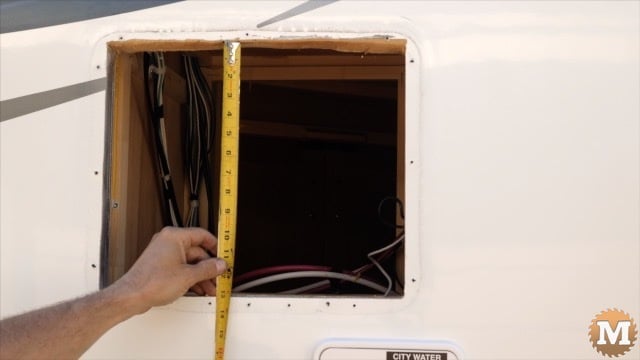
It measures 15 and 5/8″ by about 13 1/8″. I’ll have to check and see if there’s any doors I can get to fit that size opening.
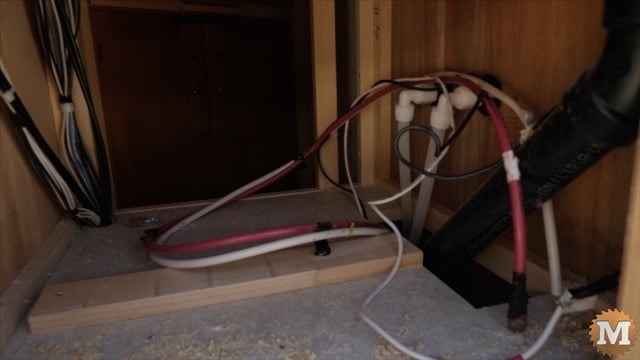
So here’s inside the wall.
That’s pretty heavy. Okay that’s the back one.
Here’s the problem. Well, that door’s certainly not keeping the water out.
RV Battery converter upgrade
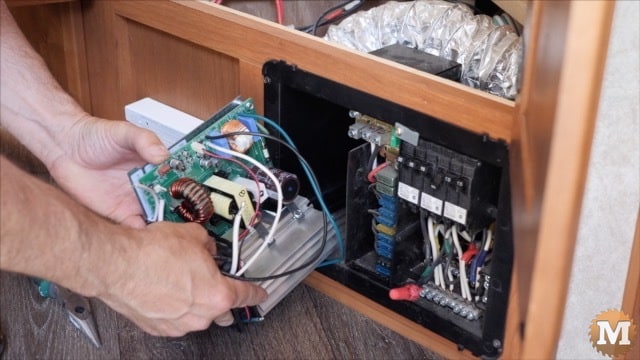
Now that the power’s been disconnected I need to change the converter to support the new lithium-ion phosphate batteries. The power supply model is “PD4045KA”.
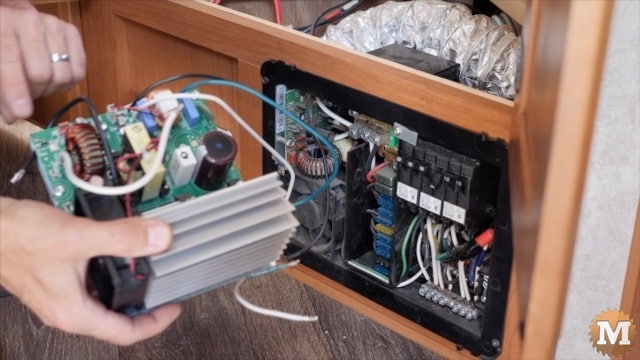
This is a slide out converter that’s part of the fuse panel here in the camper. I ordered a replacement that has a switch that you can change from lead-acid to lithium iron phosphate. This will charge the new batteries at the proper voltage.
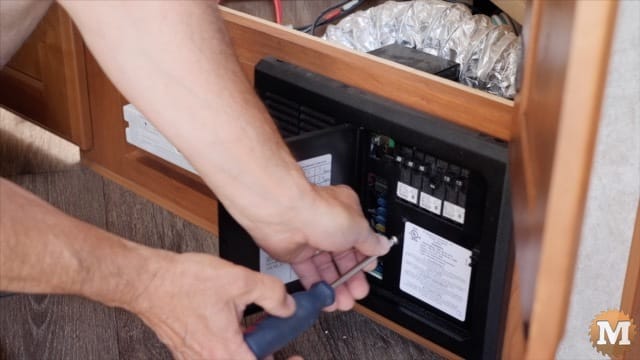
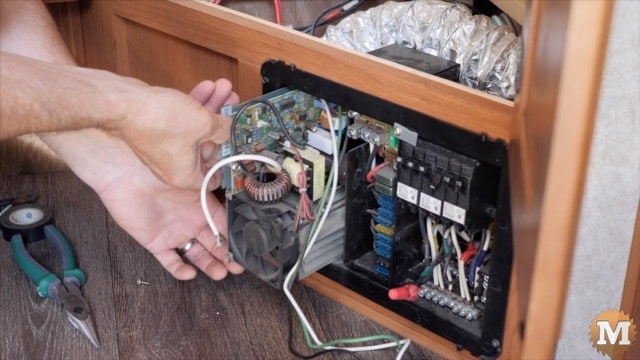
Disconnect existing RV battery converter
The new converter is pretty easy to swap with the original one. I first disconnected the black, white, and ground AC wires from one of the panel’s 15 amp breakers. Then I removed the black and white DC wires. And I held the Allen screw blocks with needle nose pliers while I did this. I didn’t want to crack the circuit board as the screws felt like they were really torqued on.
Install the upgraded LiFePO4 converter
With the old converter out I can now install the new one. It’s just a matter of connecting the corresponding wires to the same terminals. And I added some electrical tape to the red wire nut so it doesn’t come loose over time.