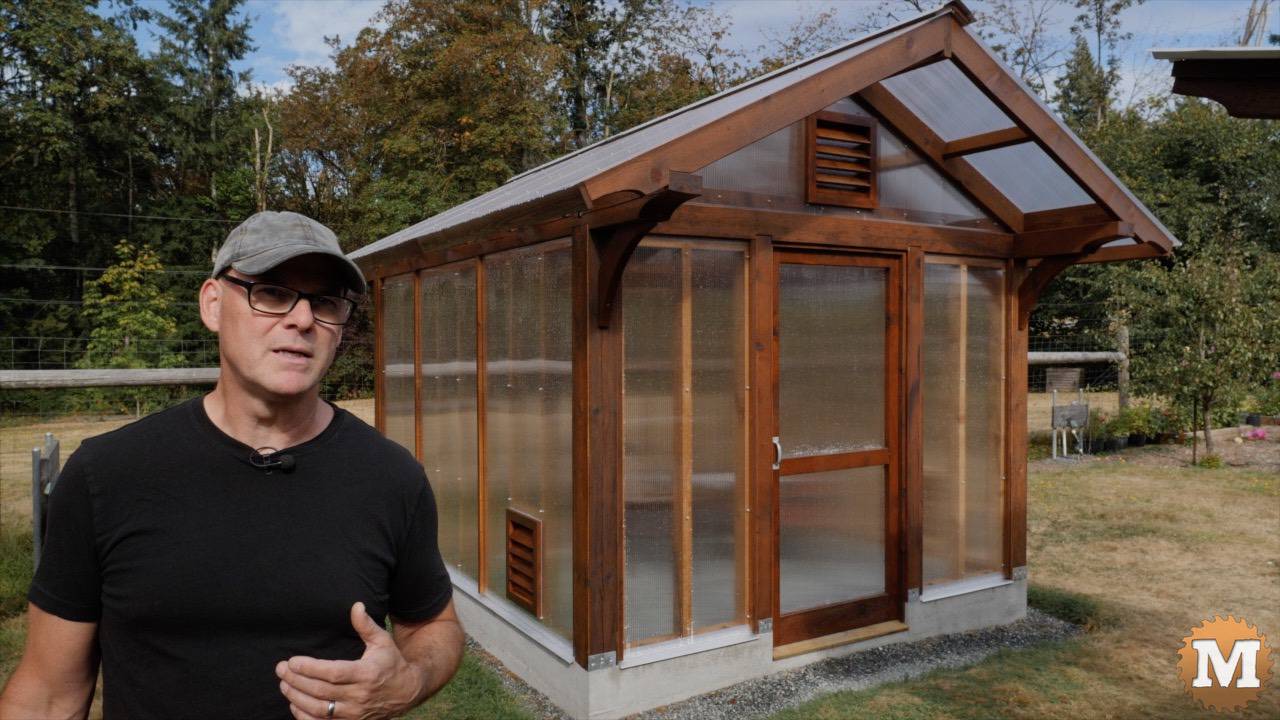
We built a Post & Beam cedar and fir greenhouse in our garden. It has a poured concrete foundation and gravel floor and it’s glazed with clear twin wall polycarbonate panels. I shot an overview video covering all the major steps in the construction and posted it on my YouTube Channel. This blog has details of the project and has a link to the plans and also a hardware list in the right sidebar. Plus a few images to add to Pinterest.
See the Youtube Video and download the Plans.
Cedar Post and Beam Greenhouse Construction

(transcript of the Post & Beam Greenhouse Video)
Animated Assembly of Post & Beam Greenhouse
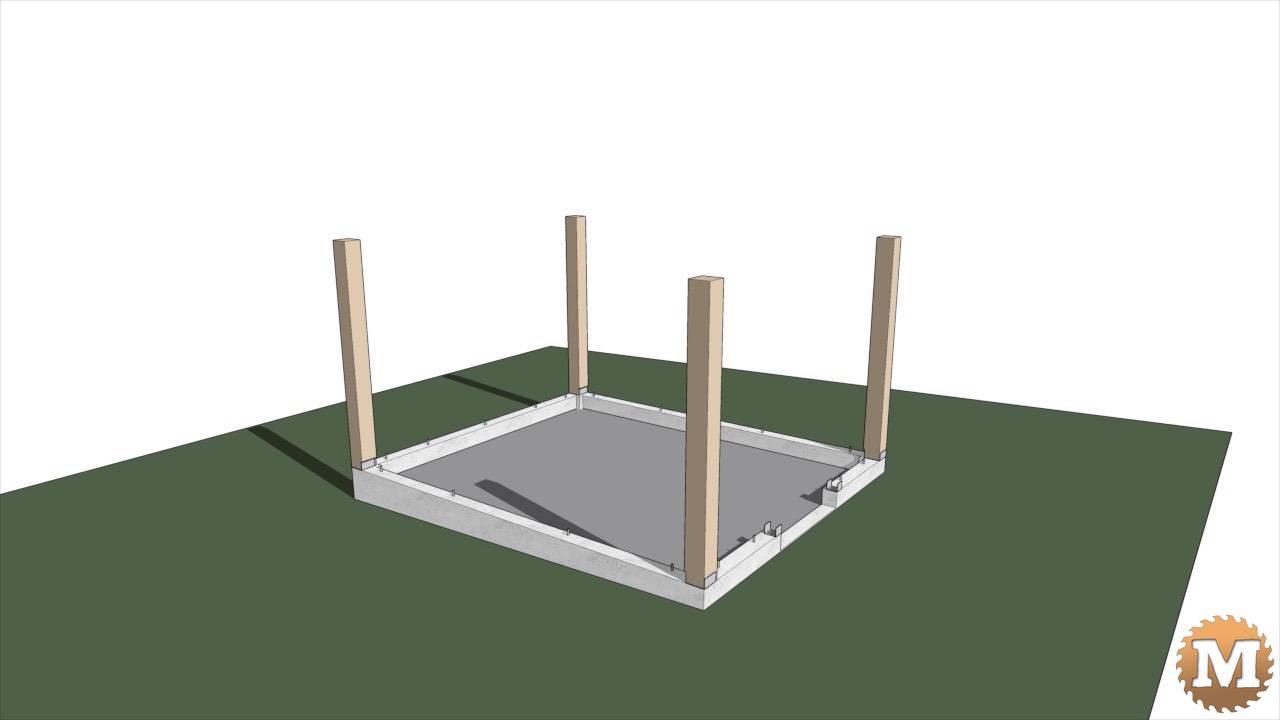
The greenhouse has a poured concrete foundation with embedded anchor bolts and galvanized post saddles. In each corner stands a 6×6 post. The beams running North to South are made from two sections bolted together and sit on top of the posts.
There’s 2×4 stud walls on the East and West side that are bolted to the foundation and screwed to the posts and beams. Then four curved corner braces are flush mounted with lag bolts.

Two 6×6 cross ties fall into the dados cut in the North-South beams. Long lag bolts run vertically and horizontally at each of these joints. Another stud wall runs across the rear, North-facing side of the greenhouse.
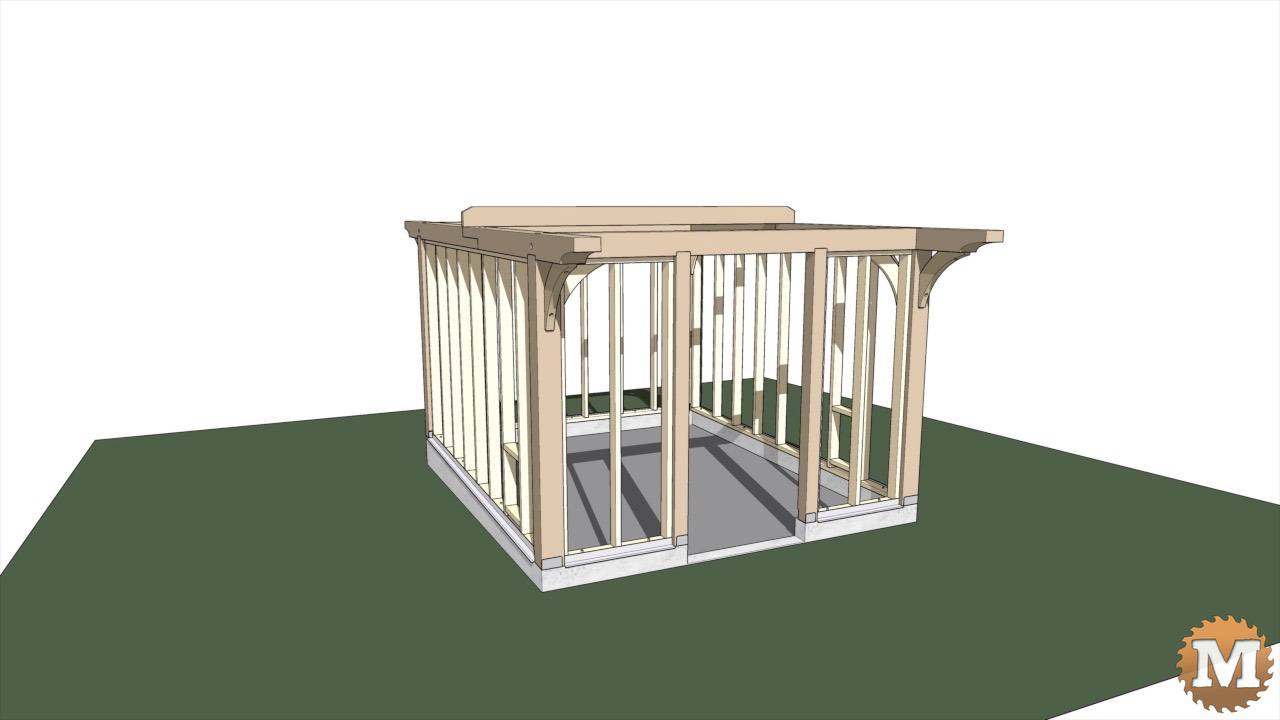
The doorway in the front is framed out with two 4x4s that slide into dados in the front cross tie and post saddles in the foundation. And stud walls on each side of the doorway finish the front.
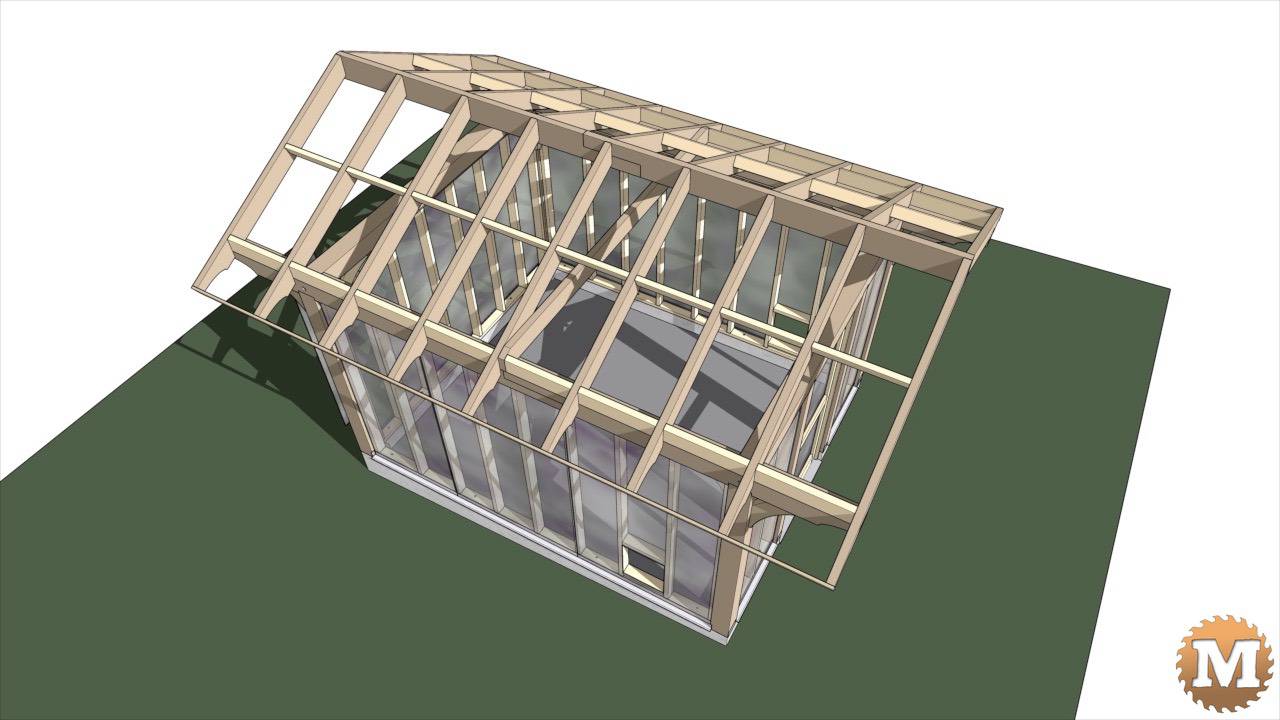
Galvanized drip edge flashing is then nailed to the bottom of each stud wall. A 2×6 rafter tie adds strength across the long beams and aids in the construction of the roof elements.
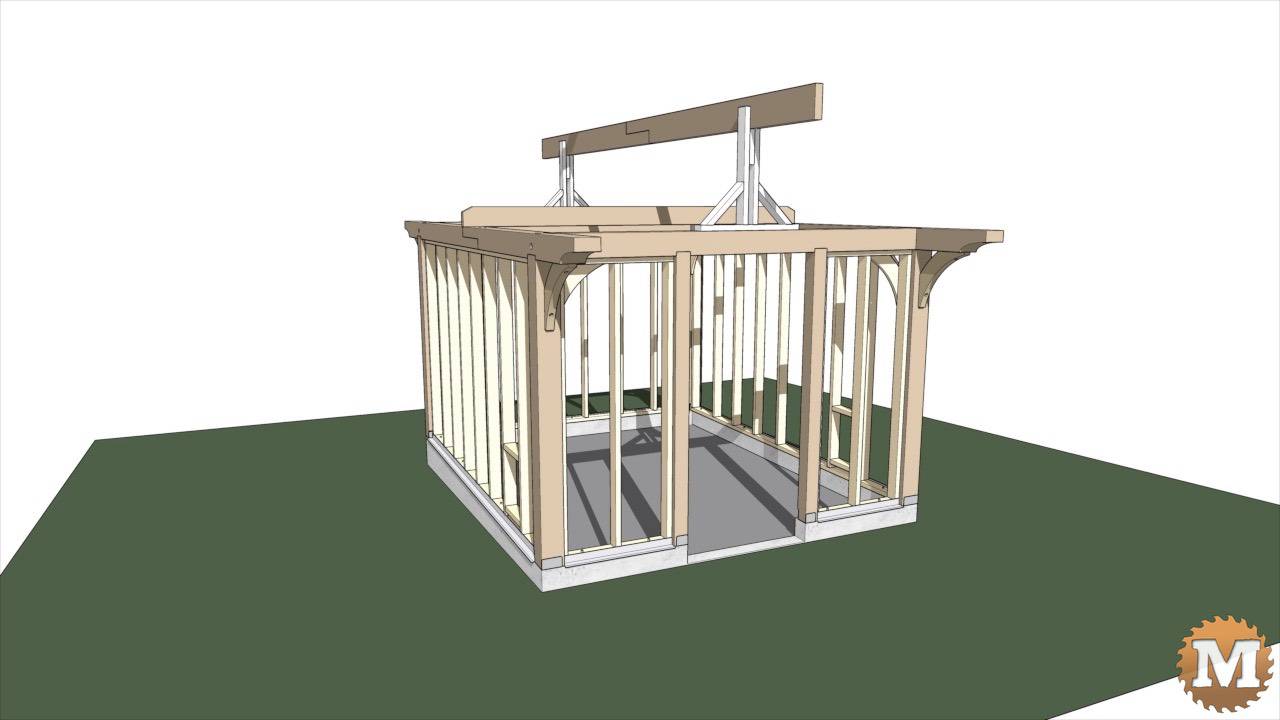
Temporary braces are added to the cross ties to support the ridge beam. And this beam is also made in two sections. Now all the rafters are cut and can be set and screwed to the North-South and Ridge Beams.
(Disclaimer: As an Amazon Associate I earn from qualifying purchases. Thank you for helping to support my content this way. )

After that the temporary ridge beam supports are removed. 2×4 then 2×6 blocking is added mid span between the rafters and also on top of the beams. Then facia boards are screwed to the rafter tails.
Twin wall polycarbonate glazing is cut and screwed to the east and west facing walls.
A door, threshold, and frame is installed between the 4x4s. And more glazing completes the front and rear walls. Roof glazing sheets are cut and attached to the rafters and blocking.
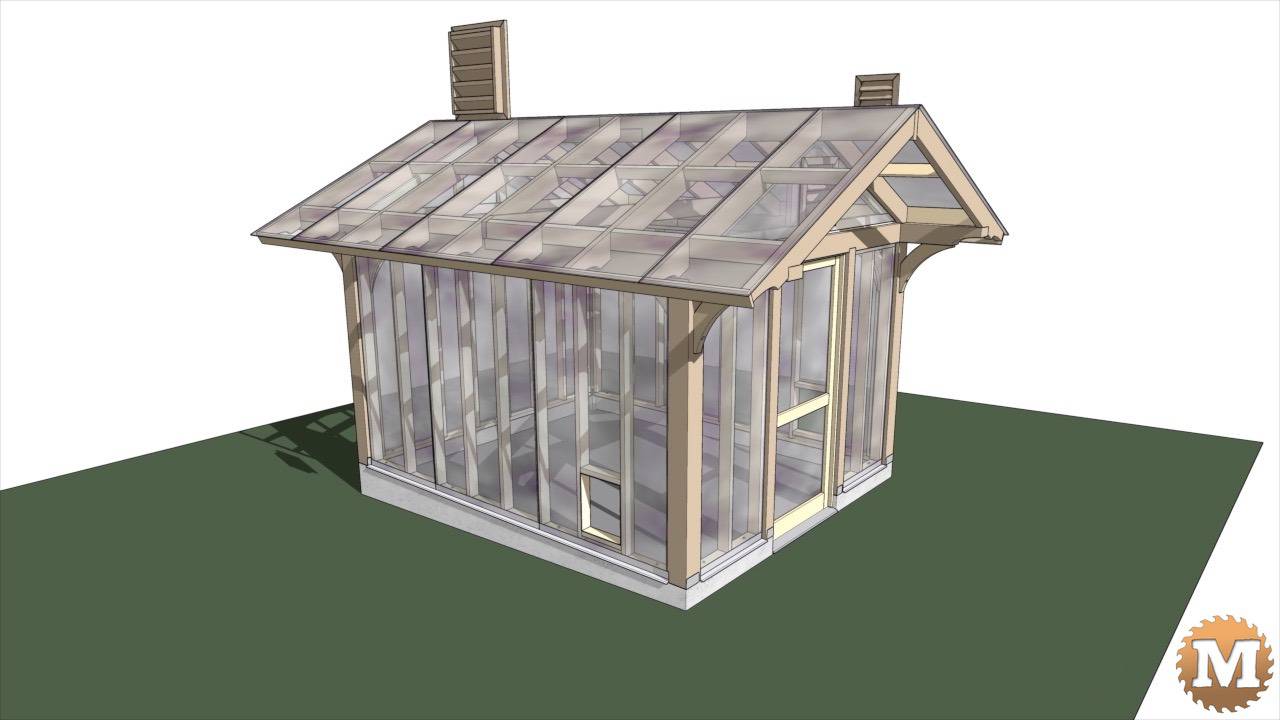
The gable ends have a few 2x4s to complete the frame and support the last of the greenhouse glazing. And that framing will support the louvered gable vent and a rear exhaust fan.
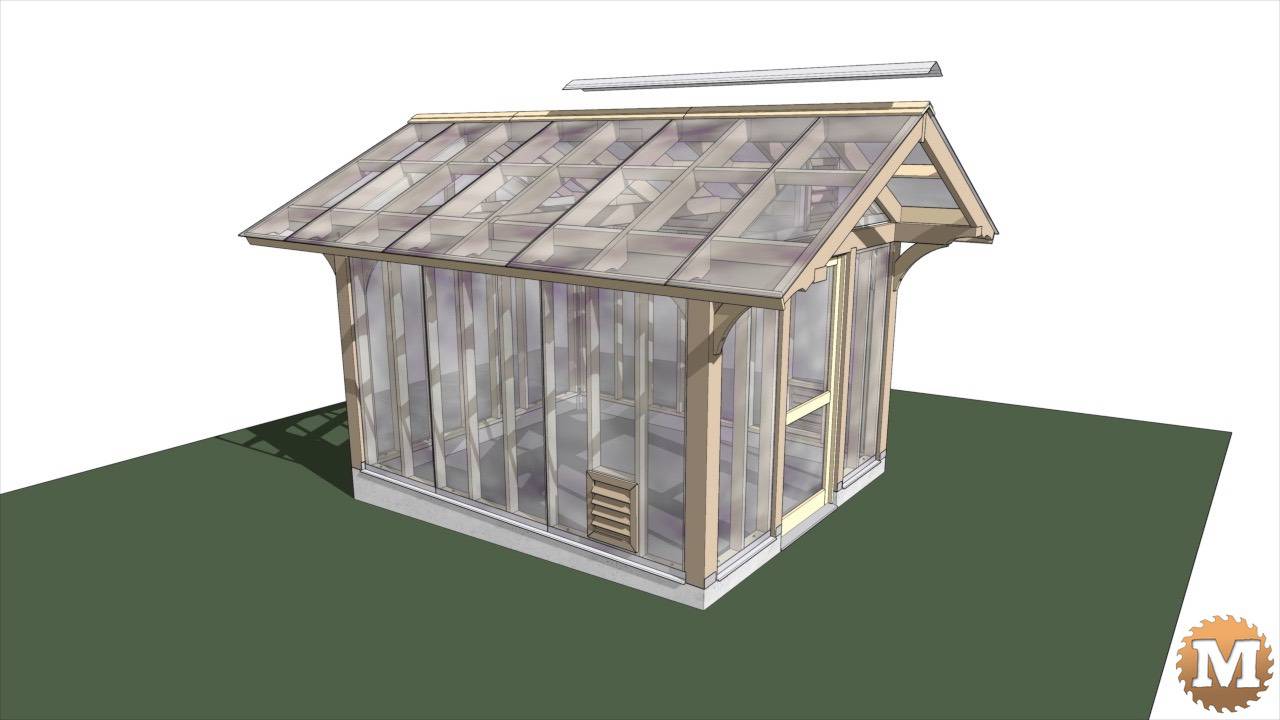
Two additional louvered vents are added low on each side wall for more air flow. The ridge cap is made in several pieces. First there’s a custom wooden cap, followed by a galvanized pre-formed top cap.
Greenhouse Foundation
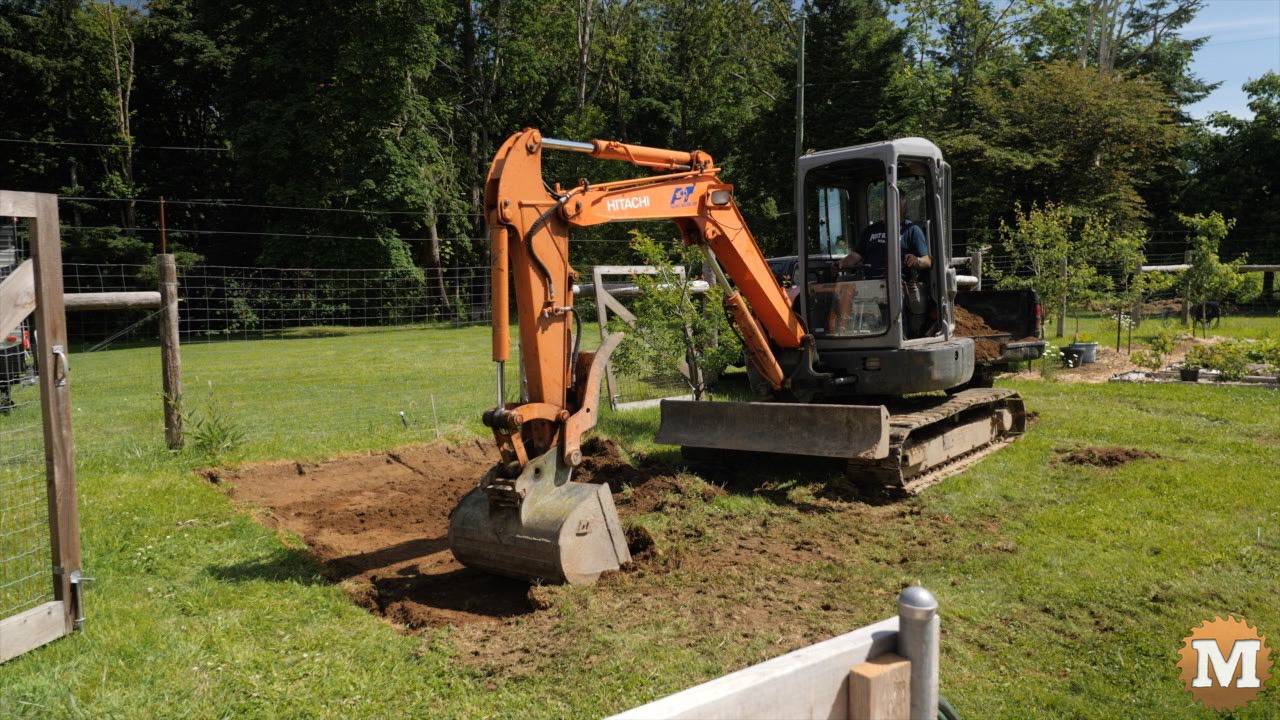
We will start with building concrete forms and pouring the foundation. And that all began three years ago with some spray painted lines on the grass in a corner of our garden and my neighbour’s excavator.
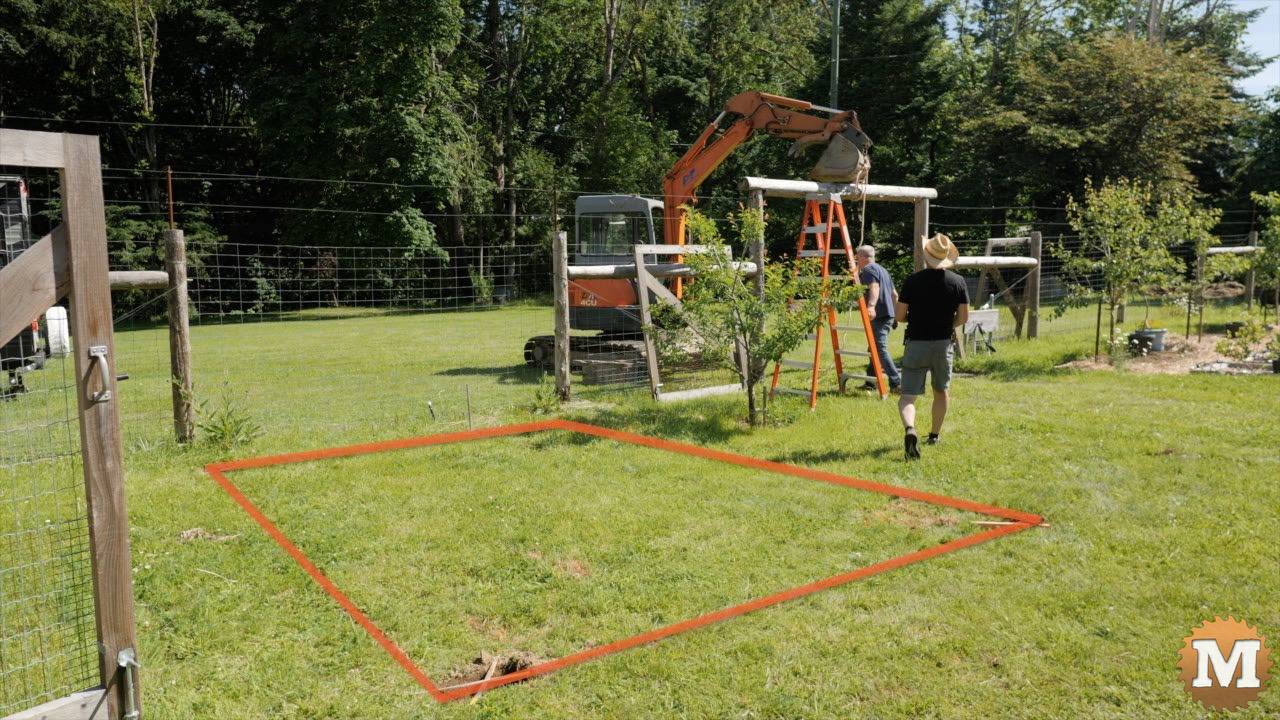
There’s a slight down slope to the north that leads to the road so my neighbour Charlie would scrape off the grass and topsoil to make a level rectangle for the foundation.
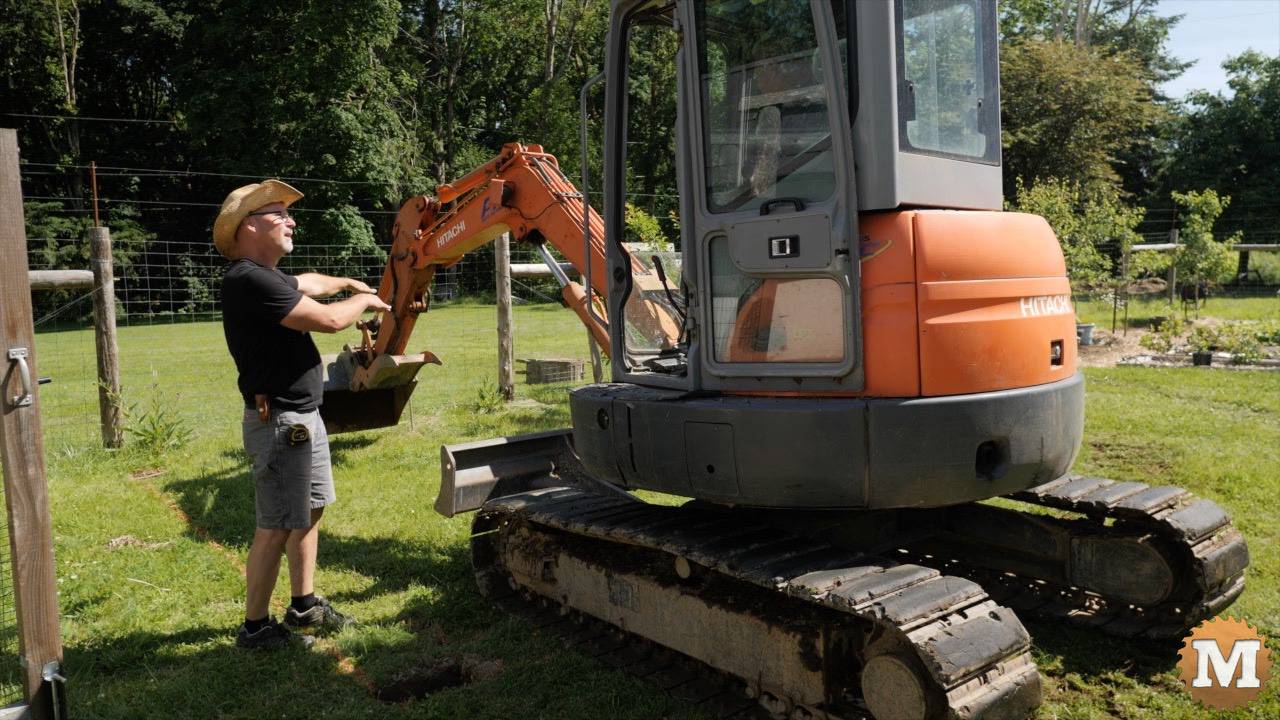
And we needed to remove the top post of the vehicle gate to fit the excavator in.
Major Steps in the Greenhouse Construction
In this video I’m going to cover all the major steps we took in the construction of this greenhouse. Then I’ll be putting out a 4 part series that covers everything in greater detail. So look for that playlist coming right up.
This is by no means a production greenhouse… I wanted to stay with a Post and Beam (or Timber Frame) look to match other structures I’ve built on our property.
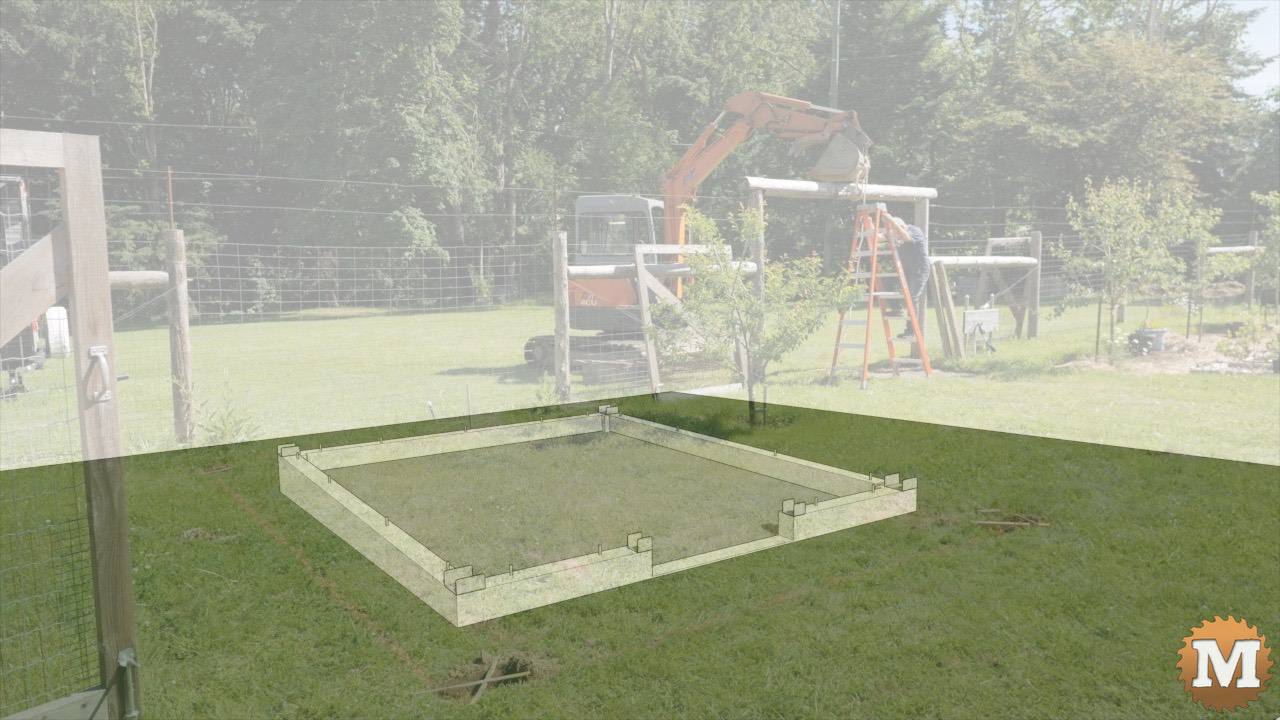
So after I got the size and design worked out we found a sunny place in our fenced garden for it to go.
Underground Greenhouse Drainage
After that I dug some trenches for perforated drain pipe. And this would collect water from under and around the greenhouse and move it out to the ditch by the road.
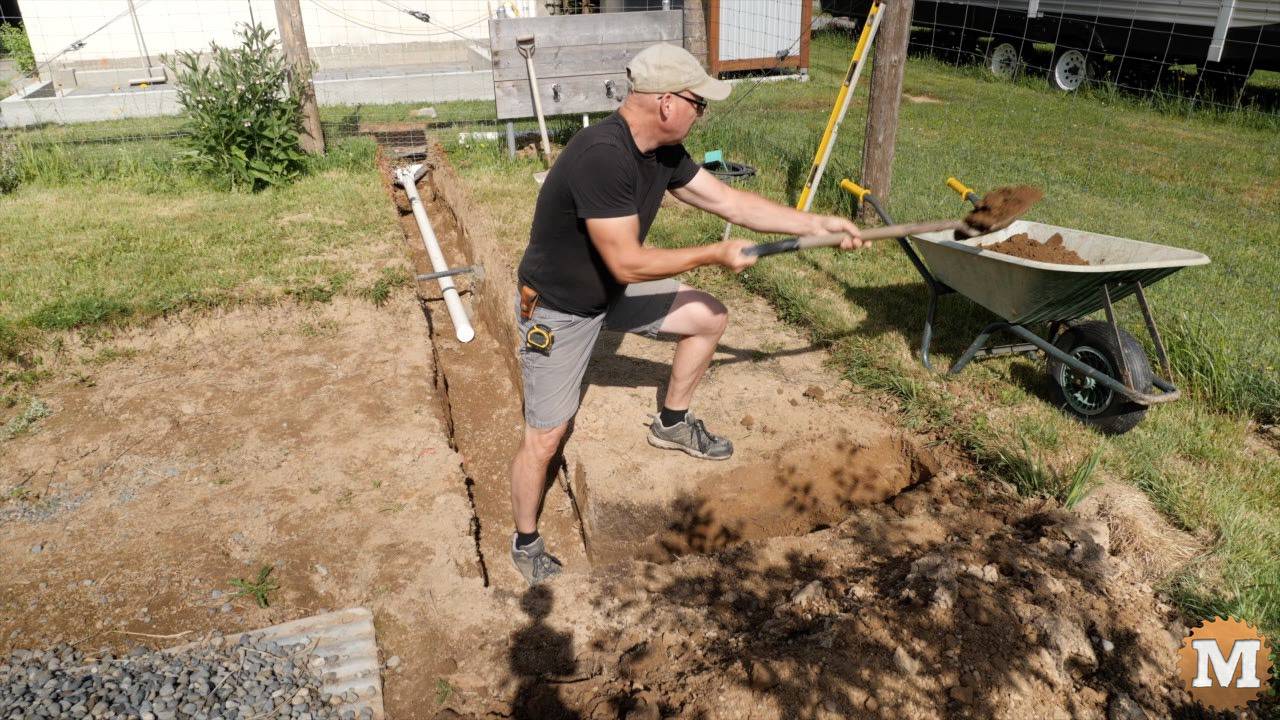
This pipe and trench is lined with landscape fabric and filled with drain rock. And I was able to tie into an existing line just outside the fence.
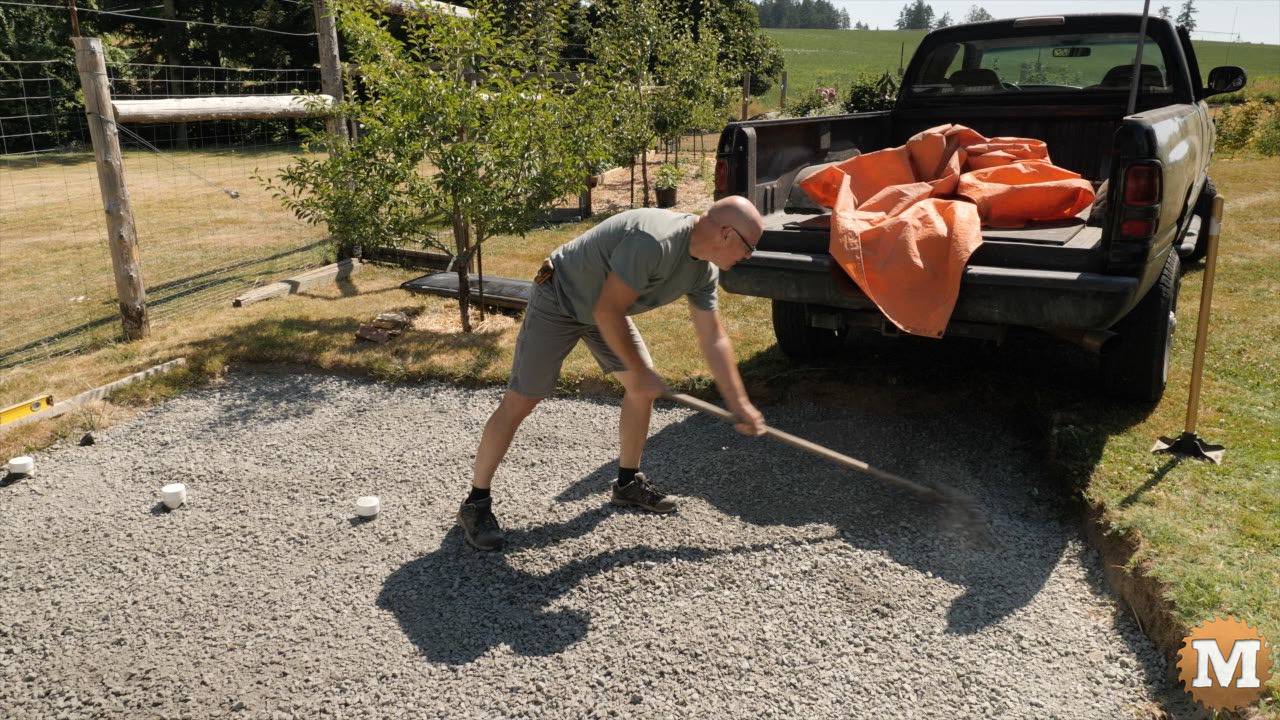
When I was done installing and burying the pipe I added a few yards of crushed stone before starting the concrete forms.
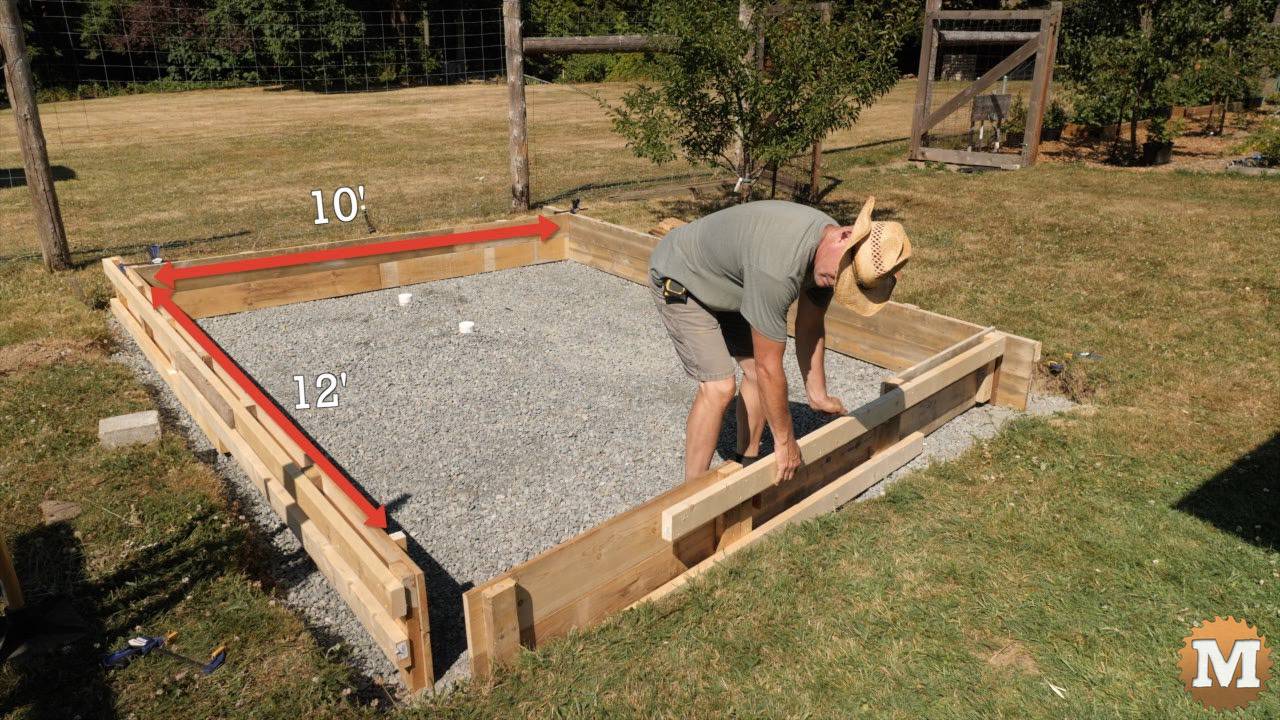
The foundation is a rectangle that’s 10′ wide by 12′ long. I stacked two 1x8s for the form walls so the height of the foundation would be 14″.
The stacked 1×8’s are held together with vertical 2x4s then two more 2×4 running horizontally. And this has worked well on other pours we’ve done.

