
Introducing the Concrete Geo-Sphere
Today we’re going to cast this unique decorative garden and landscape element using this two-piece mold.
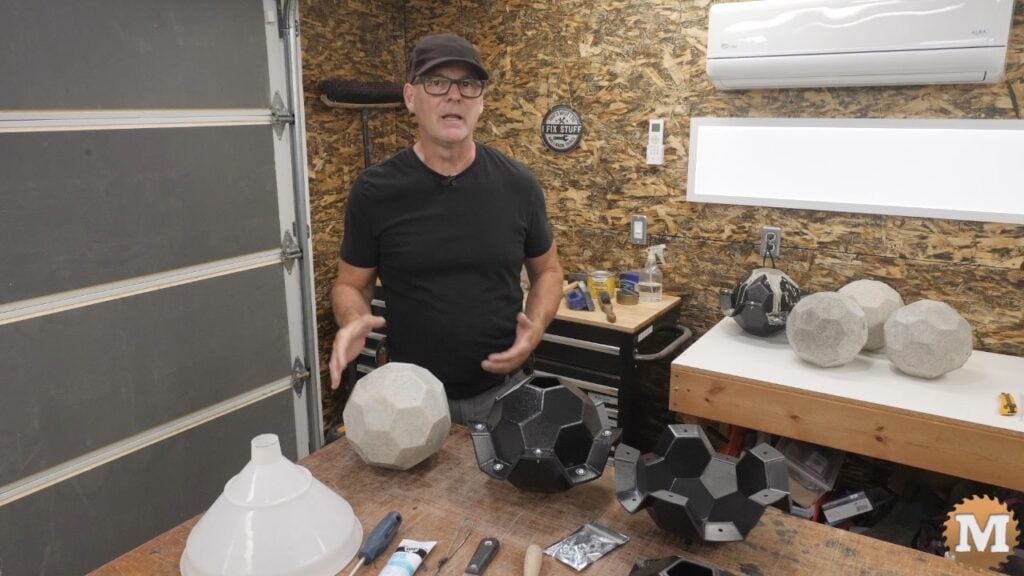
This mold creates a 32 faced concrete casting made up of pentagons and hexagons that is approximately 9 inches in diameter. This shape is technically called a truncated icosahedron but, that’s a mouthful so, we call it a Geo-Sphere – short for geometric sphere.
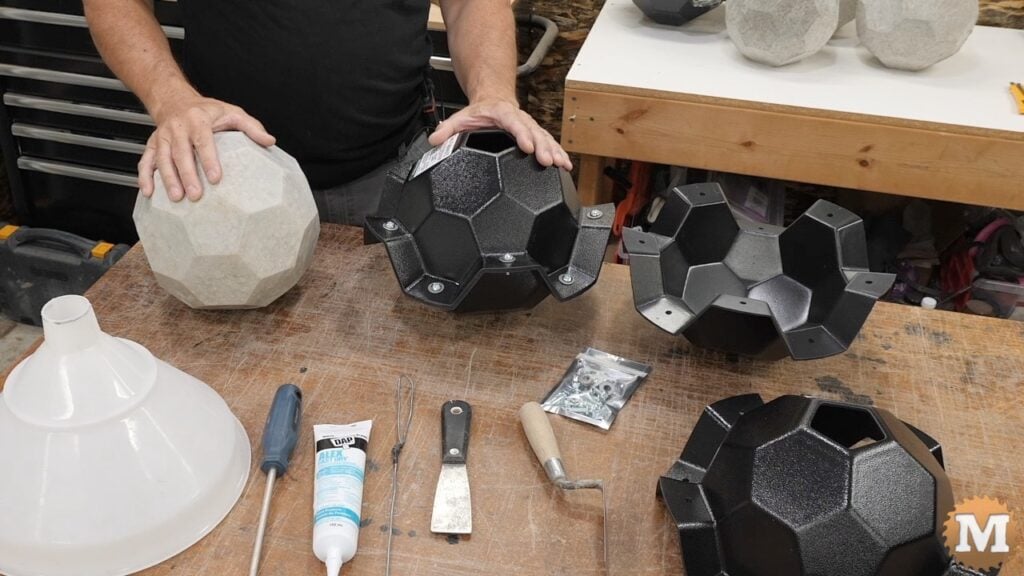
I think this multifaceted concrete casting would look good in any garden or landscape feature around your home.


I have a PDF summary of the concrete casting process and tools required for download. Get the Geo Sphere Casting Guide.
See the Video.

Basic Tools and Materials You Will Need
Here’s what you need make the casting: the two-part mold with it’s upper and lower pieces and fasteners, a tube of latex caulking, a large funnel, concrete mix, cold water, a bin or wheelbarrow for mixing the concrete, and a shovel. When working with concrete you will also need a dust mask, gloves, and safety glasses.

This is all you need to get started with casting this geo-sphere. Later, I’ll detail some additional ingredients and tools you can use if you want to take concrete casting even further.
Preparing and Sealing the Mold
Here’s how we get started.
We first need to prepare the mold by creating a water tight seal between the upper and lower shells. We need to keep the wet concrete from leaking out the seam while it’s setting up. And this is easy to do using some latex caulking.
(Disclaimer: As an Amazon Associate I earn from qualifying purchases. Thank you for helping to support my content this way. )

Look for the DAP brand or equivalent. The latex caulking works as a great temporary gasket that is easy to remove later after unmolding. Get the fast dry variety if it’s available.
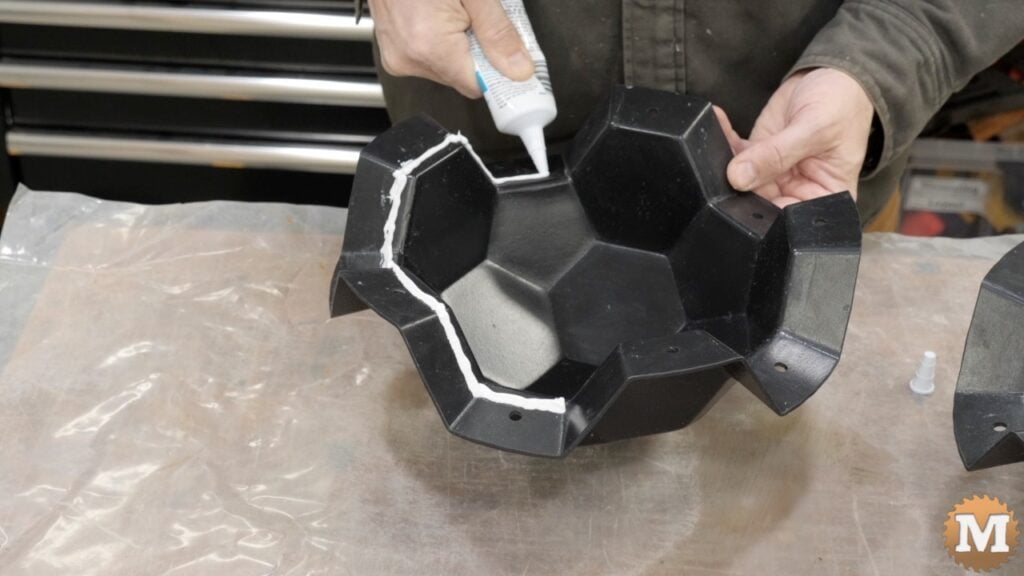
Squeeze out a small continuous bead of caulk along the inside of the flange holes of the lower mold shell. Now set the top mold shell in place. Using the hardware, bolt the two halves together. I use a driver here just to speed up threading on the nuts.
Then I snug them down with a screwdriver while holding the nut under the flange. The nuts only need to be finger tight.
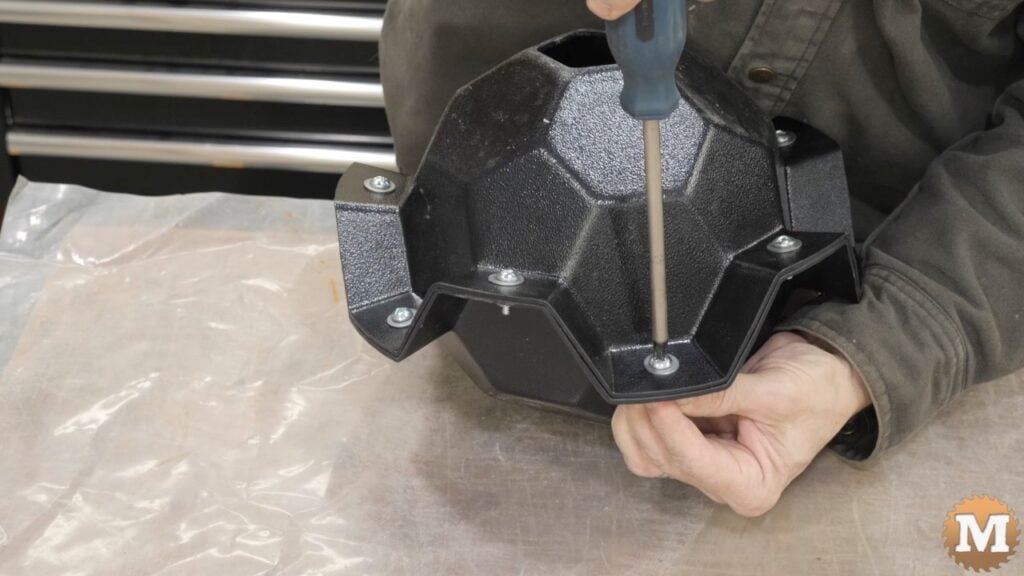
Leave the caulking to dry for several hours. Check the label on the tube for recommendations. I have achieved a water tight seal after 4 hours but, the longer you can leave it the better. If you do have a leak then you end up with some water seeping out and you may end up with voids.
Mixing the Concrete
While the caulking dries it’s time to prepare the concrete.
You will need a minimum of 27 pounds of concrete mix for one 9″ geo-sphere. Add that to your mixing container. A wheelbarrow or mixing tray will do. You may need to approximate this based on the weight of the ready-mix bag of concrete you have if you don’t have a scale.
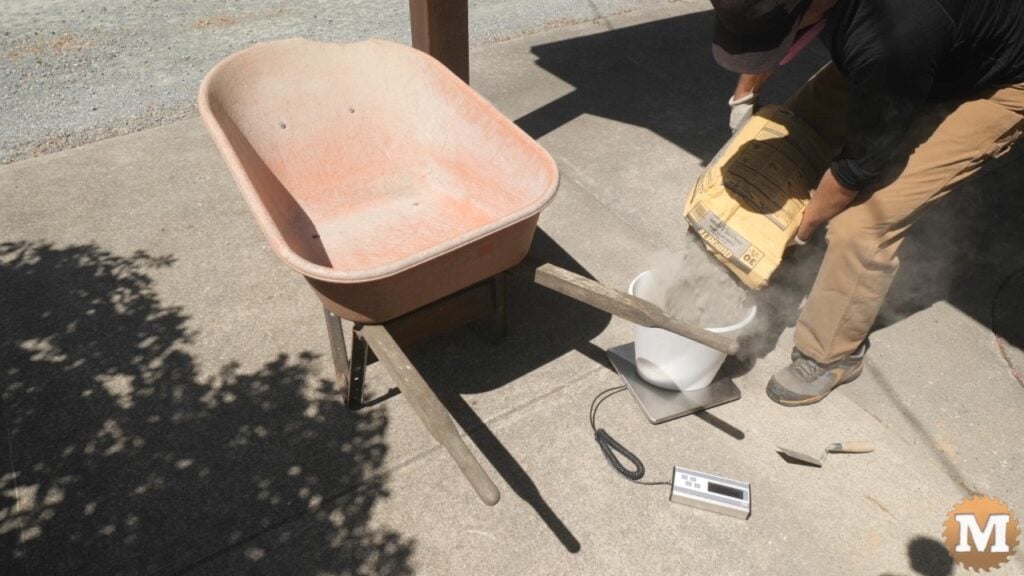
Slowly add cold water to the dry concrete and mix it with a shovel. You want a completely wet mix that blends easily without being too watery. If you are new to concrete work it may take a few batches to get the feel for it.
The mix I just made is as dry as you should go. I could have gone a bit wetter. Any drier and it won’t flow well down the funnel. I might need to add just a bit more water.


