Easy-to-Build Workbench
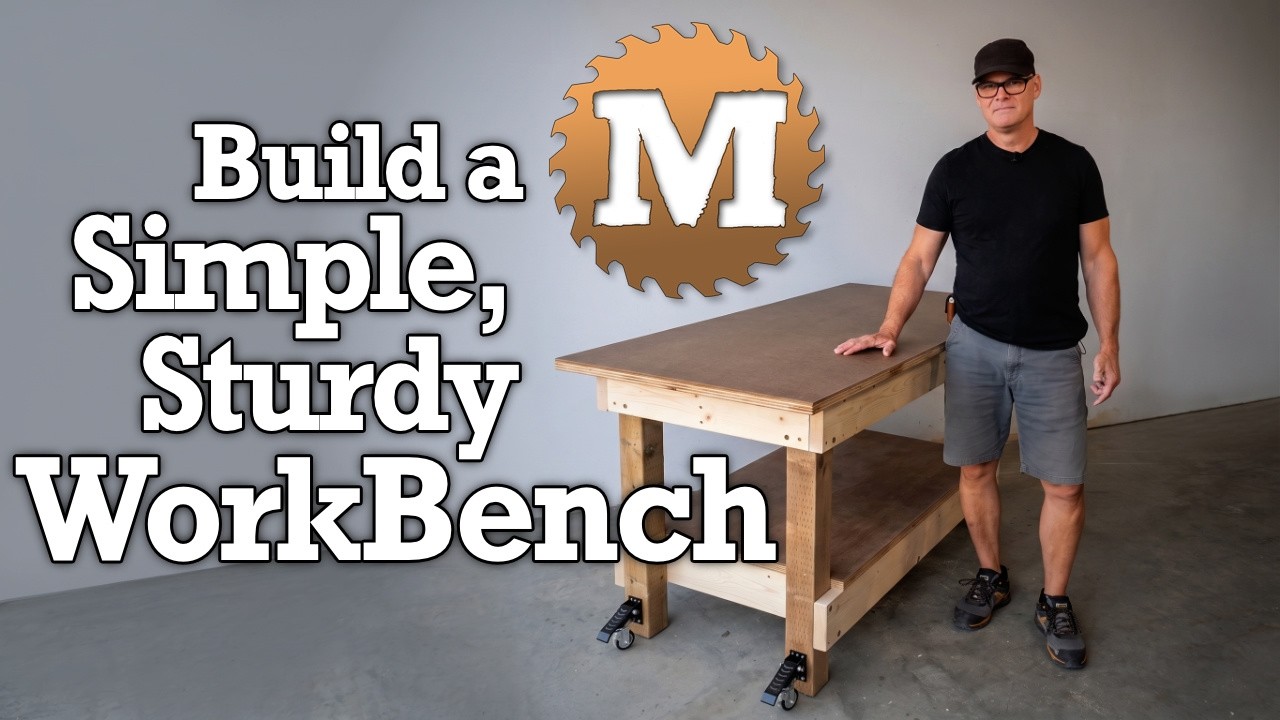
Let’s build a simple, sturdy workbench! In the video and blog post, I’ll show you step-by-step how to construct a rock-solid workbench using standard lumber and sheet goods. Whether you are a beginner DIYer or an experienced woodworker, this design is built to take a beating and last for decades. The design of this bench came from Sandor Nagyszalanczy of Fine Woodworking magazine.
See the Video.
Project Overview
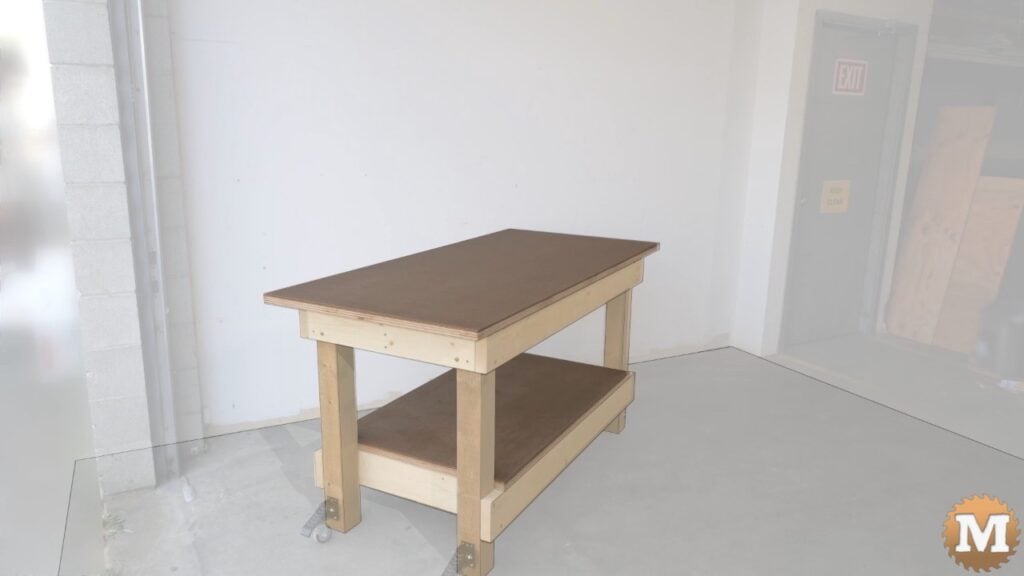
The legs are made from 4x4s that are connected with 2×6 upper and lower aprons. Each long side will be assembled with glue and screws first then they will be joined with shorter 2×6 apron pieces. A plywood brace is attached between the upper short aprons for extra stiffness. The workbench top and shelf are made from plywood that is topped with a smooth hardboard.
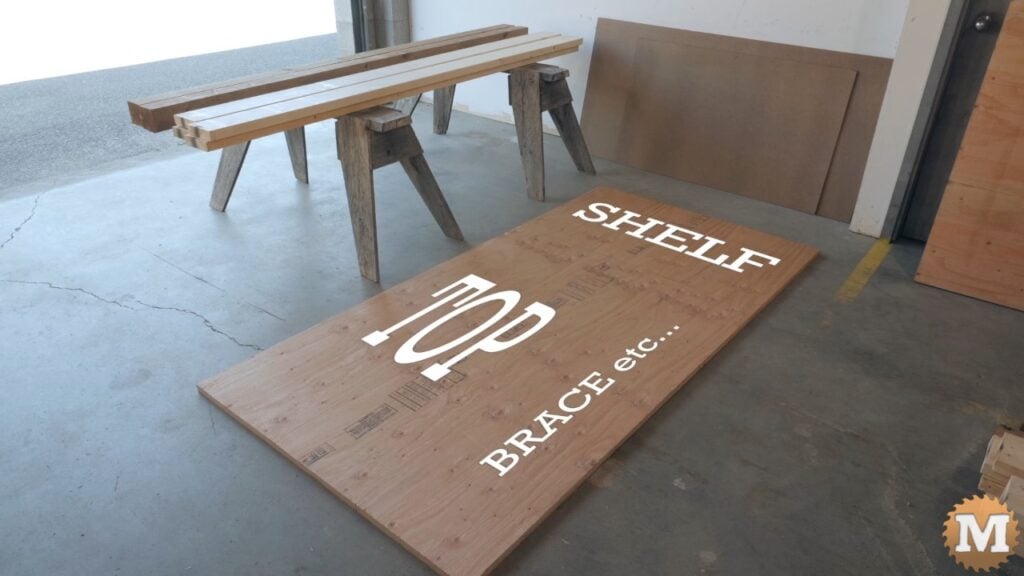
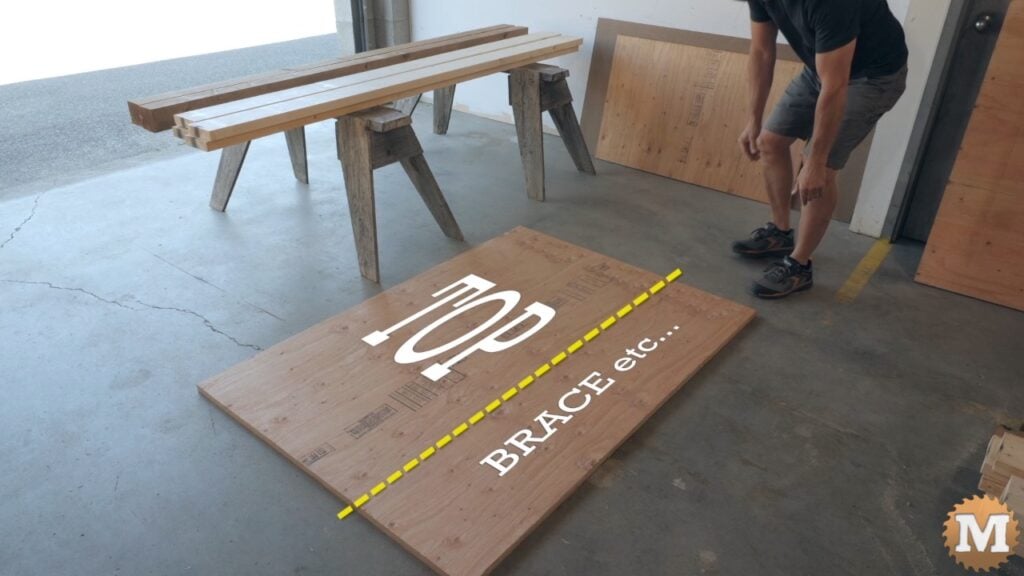
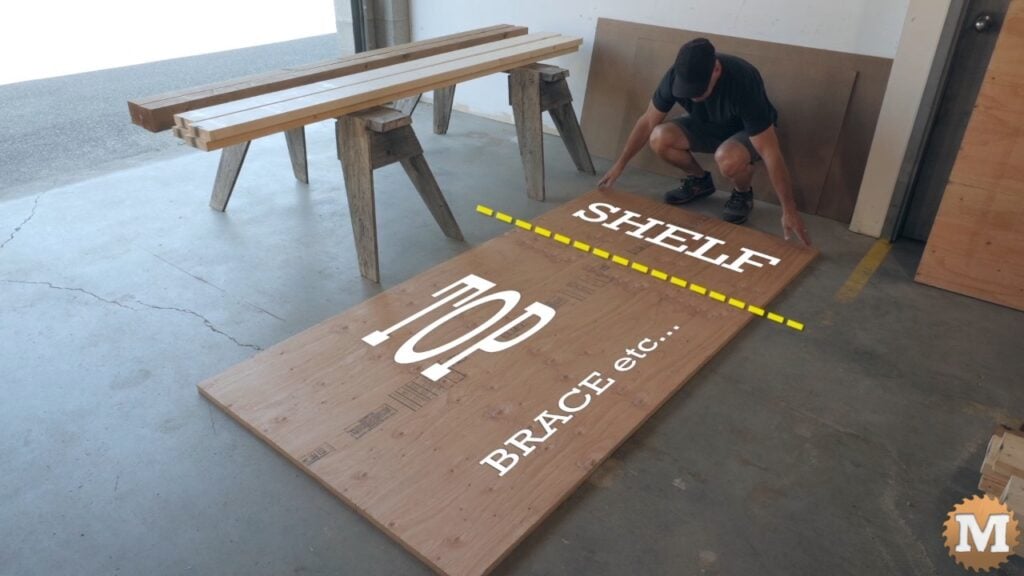
The top, the shelf, and the brace are made from a 1″ thick standard 4 x 8 sheet of plywood. I had my building supply make two cuts for me as they have a large saw and don’t charge extra for this. I also had them make the same cuts on the quarter inch hardboard sheet as well (also called masonite).
The Material for the Workbench Build
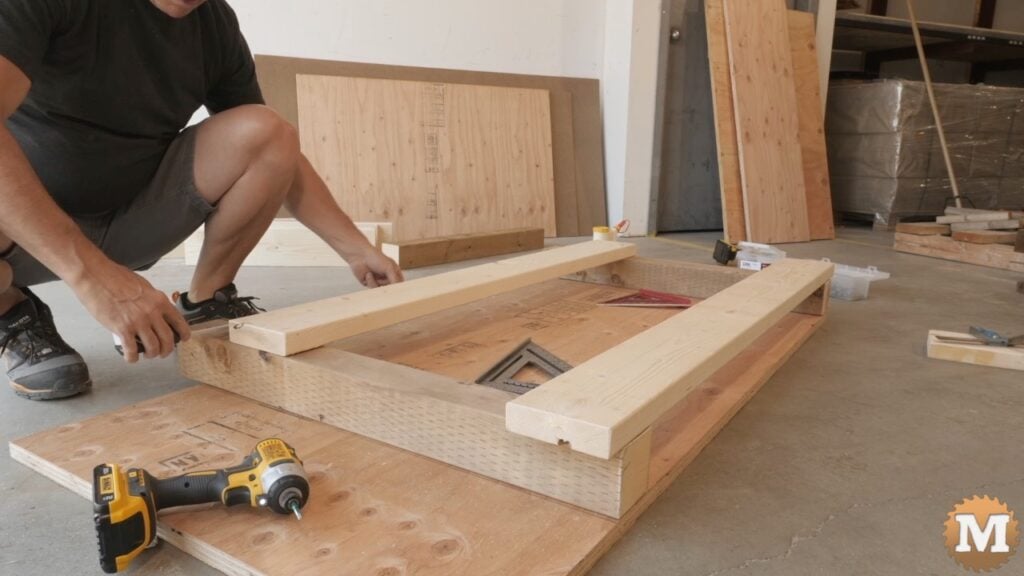
I will use the plywood top to help square the legs to the apron pieces so I’ll leave it on the floor of my warehouse.
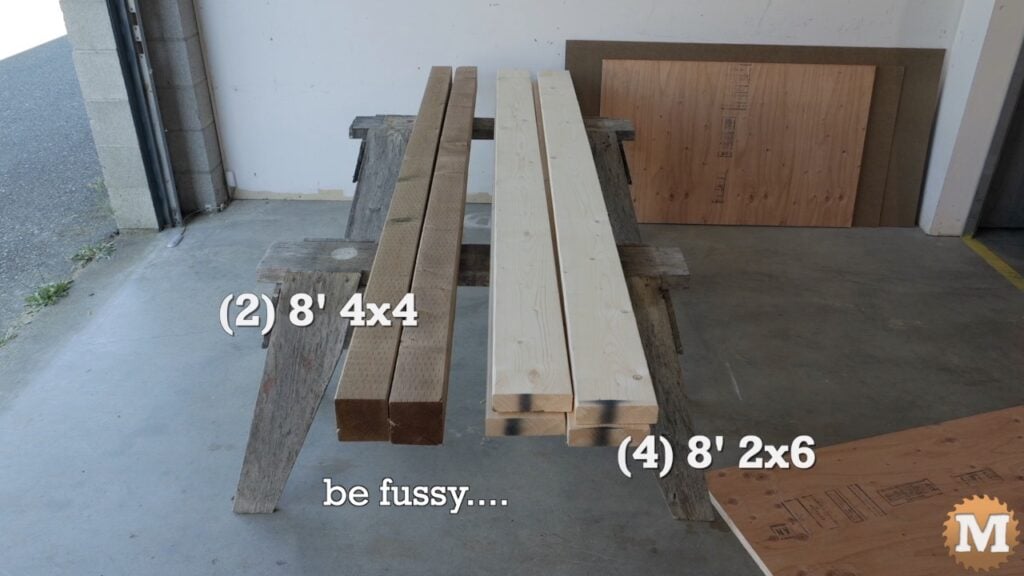
You will need four 8 foot 2×6’s and two 8 foot 4×4’s. I try to find the straightest boards in the pile for this project. You can use a circular saw and speed square to cut all the lumber or a miter saw if you have one. I have a sliding miter saw so I’ll use that but, it’s not required.
Cutting the Workbench Parts
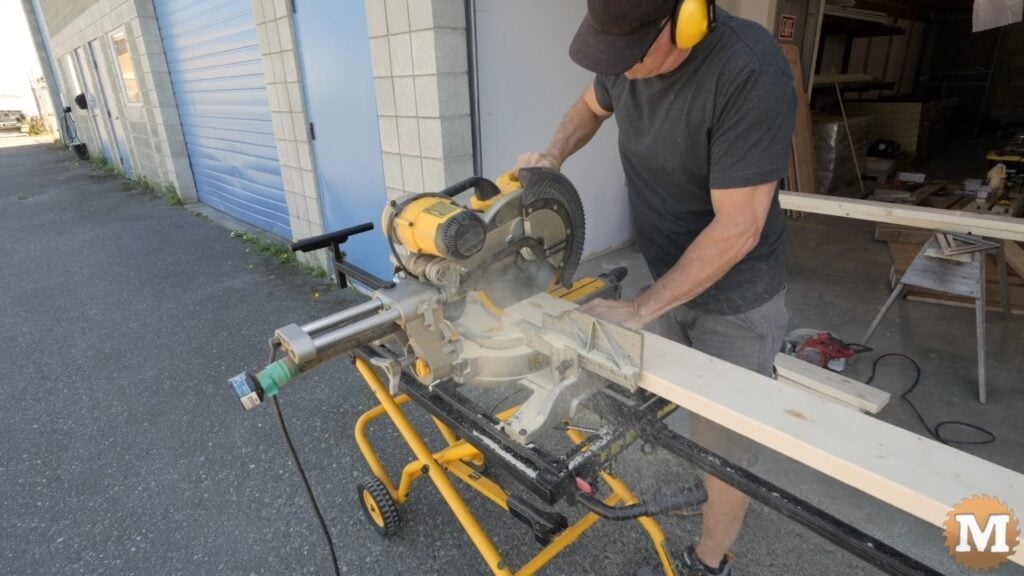
First I’ll cut the four legs then the eight apron pieces. And for this I’ll use my miter saw. You can make all the cuts for this project with a circular saw, speed square and a straight edge.
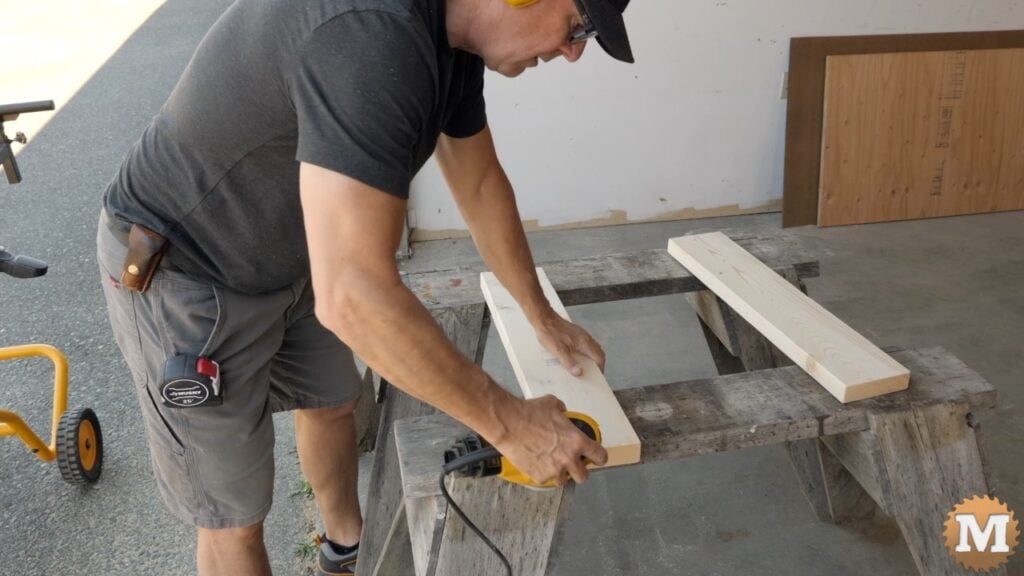
Next, I’ll chamfer all the rough edges left from the saw cuts. And I used 120 grit paper on my orbital sander for this. A sanding block would do just as well. I’ll try to suggest alternative methods as I go along here.
Start the Workbench Assembly
Now I’ll lay out one long side of the bench using the factory straight and square edges of the plywood top as reference. The design of this bench came from Sandor Nagyszalanczy of Fine Woodworking magazine.
(Disclaimer: As an Amazon Associate I earn from qualifying purchases. Thank you for helping to support my content this way. )
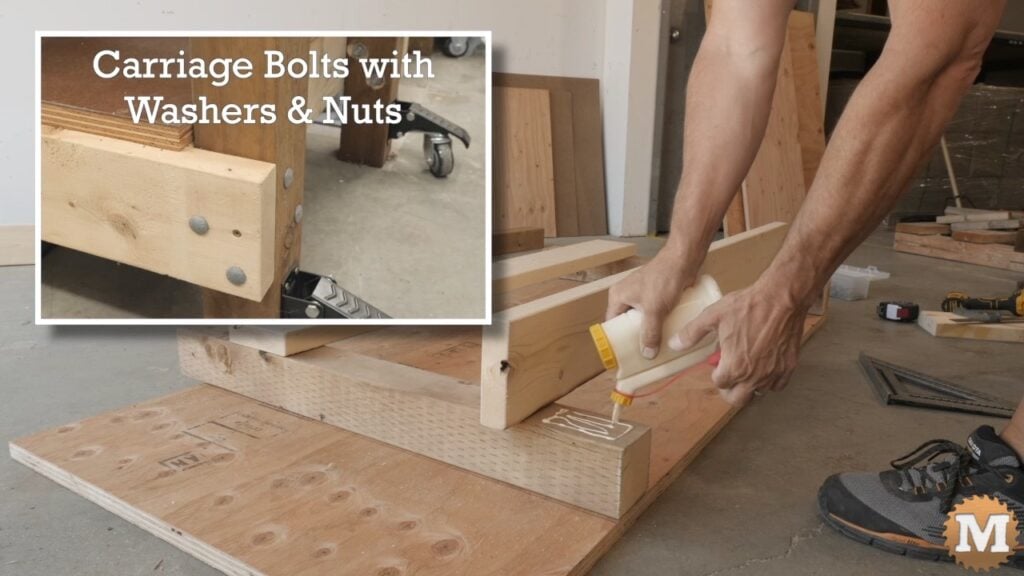
His assembly method called for carriage bolts, washers, and nuts so the bench could be disassembled if needed. And my first two of these I built I followed that method. But, after more than 20 years of using my first bench, I have never needed to take it apart.
So, I decided on this build to forgo the carriage bolts and instead used GRK screws and lag bolts. And I’ll also use wood glue on some of the joints. This should make assembly faster and easier.
Carefull Alignment During Assembly
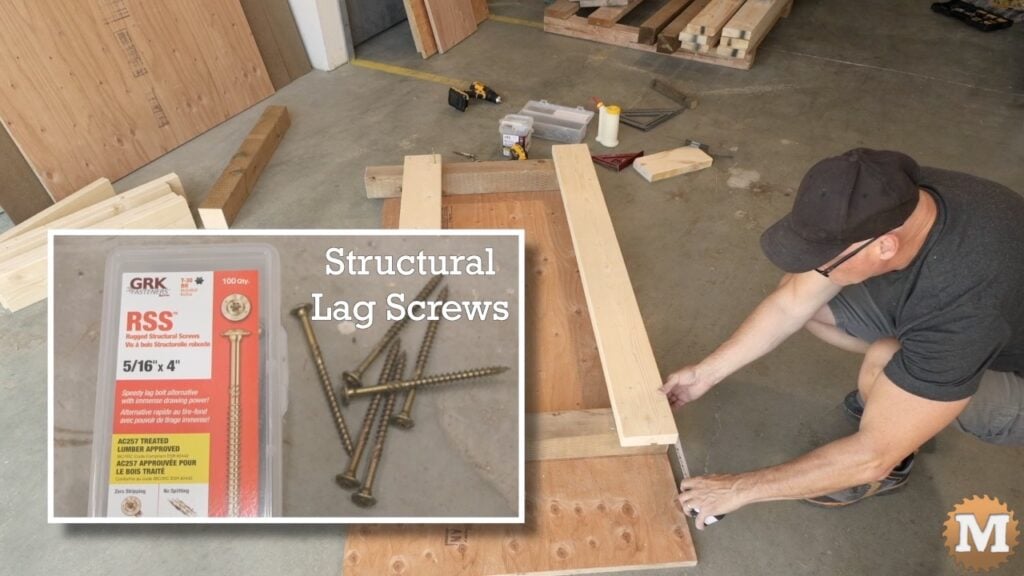
As I’m working here I’m checking with my speed square and measuring tape that everything is lined up. Then I’ll run in some screws. To hold everything in place I first used GRK #10 x 3-1/8″ R4 screws. Then check again. If everything is good I’ll then drill some pilot holes in the aprons before running in the GRK lag screws. These were the 5/16″ x 4″ RSS. These lag screws have a drill point on them so technically pilot holes are not required but, doing so ensures I won’t split any of the 2×6’s.
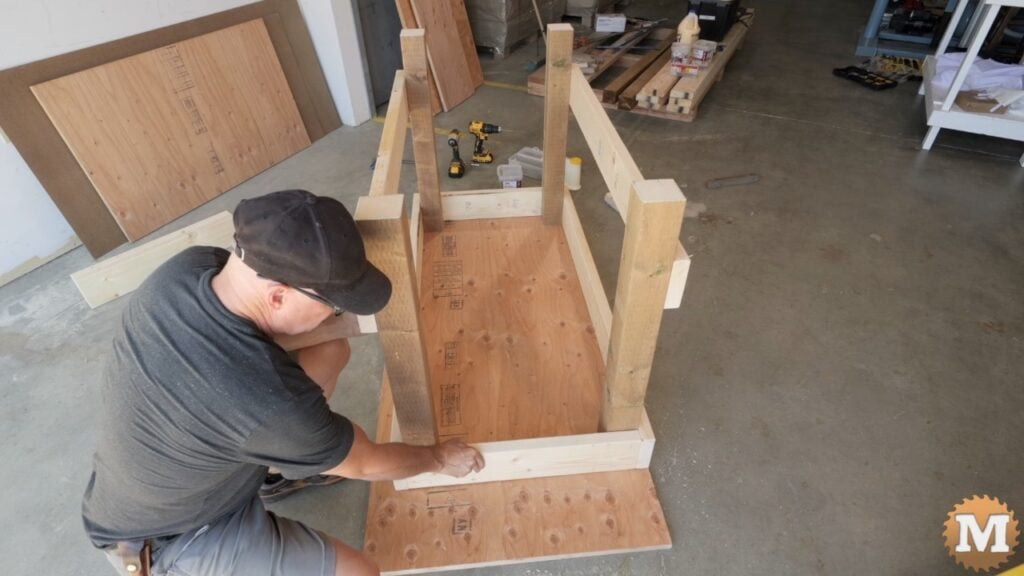
I’ll set that first long section aside then repeat all these steps for the other identical side.
Attach the Two Long Side Sections of the Workbench
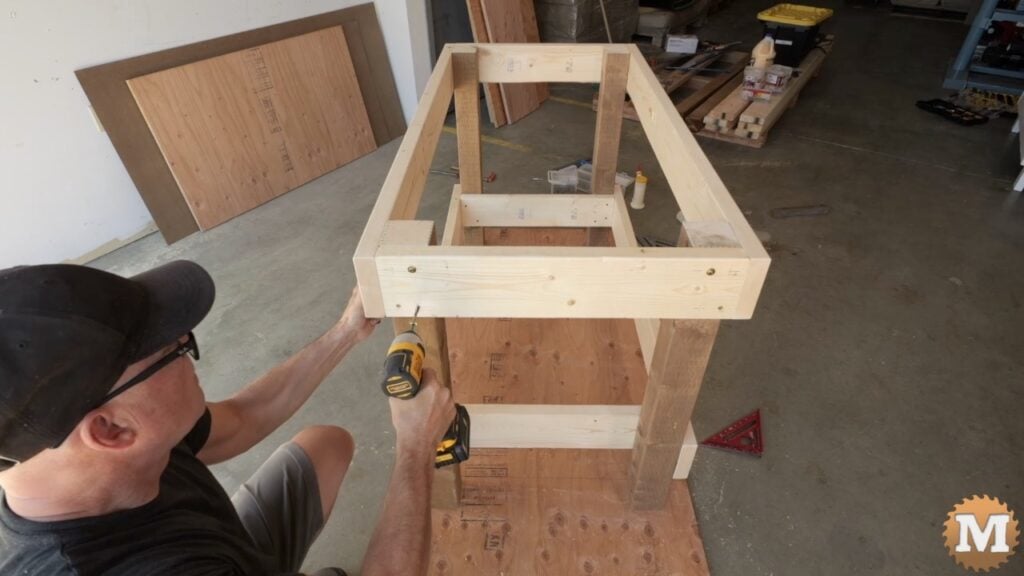
Now I need to connect those side pieces with the short apron end pieces. I’ll stand the side assemblies upside down on the plywood. I’ll check that the frame is square and start pulling it together with screws. First with the top short aprons then I’ll hold the shelf apron pieces in place and screw everything together.
I’ll then complete this part of the frame with the GRK lag screws. I take the time to make pencil marks for all my visible screw locations. Generally I mark 3/4″ in from the sides and ends of the 2×6 aprons. I think it makes a neater appearance for the workbench. But, that just might be my thing.
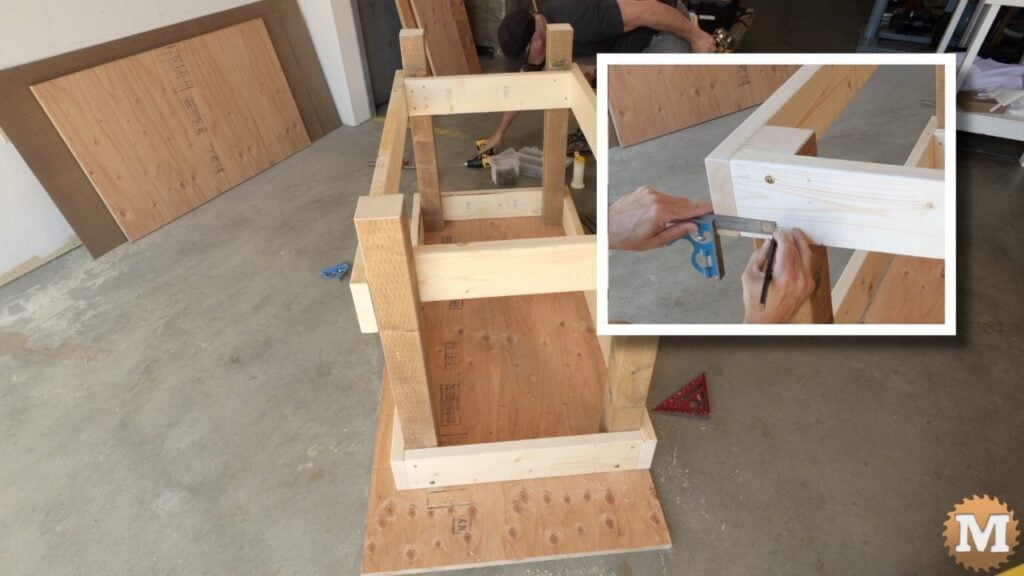
Now I’ll right the frame onto it’s feet and finish running in the rest of the lag screws.