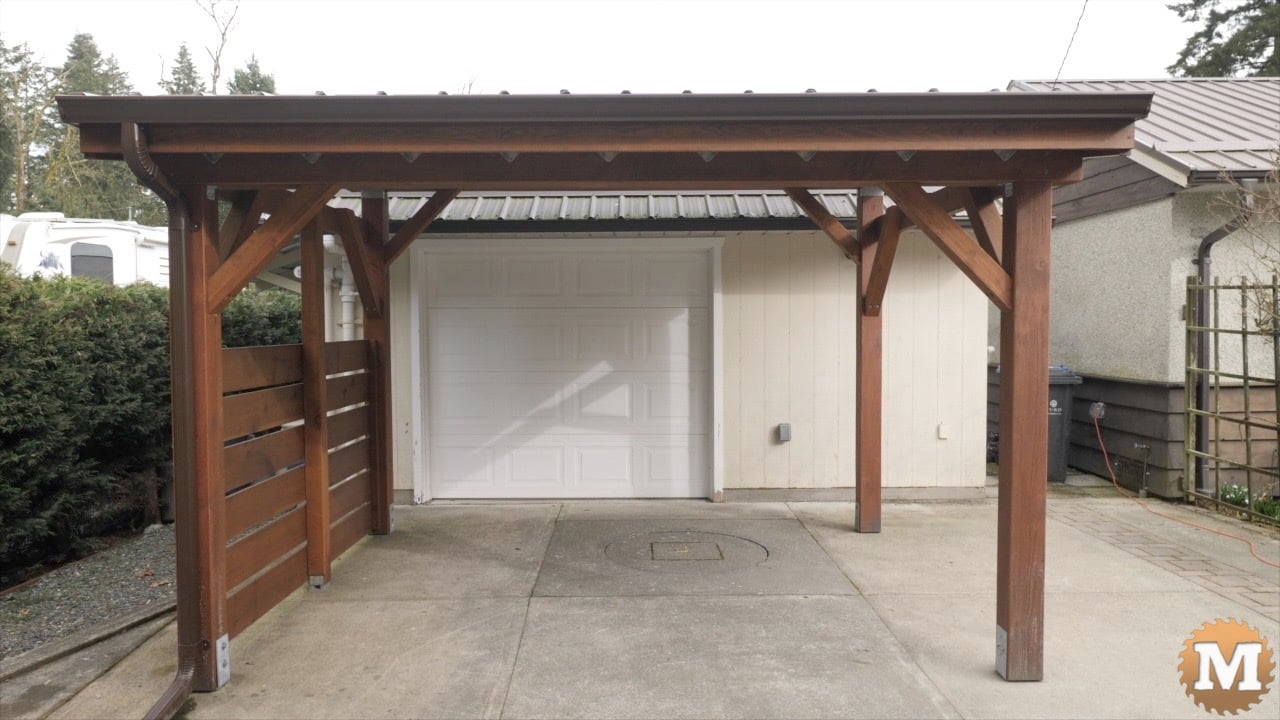
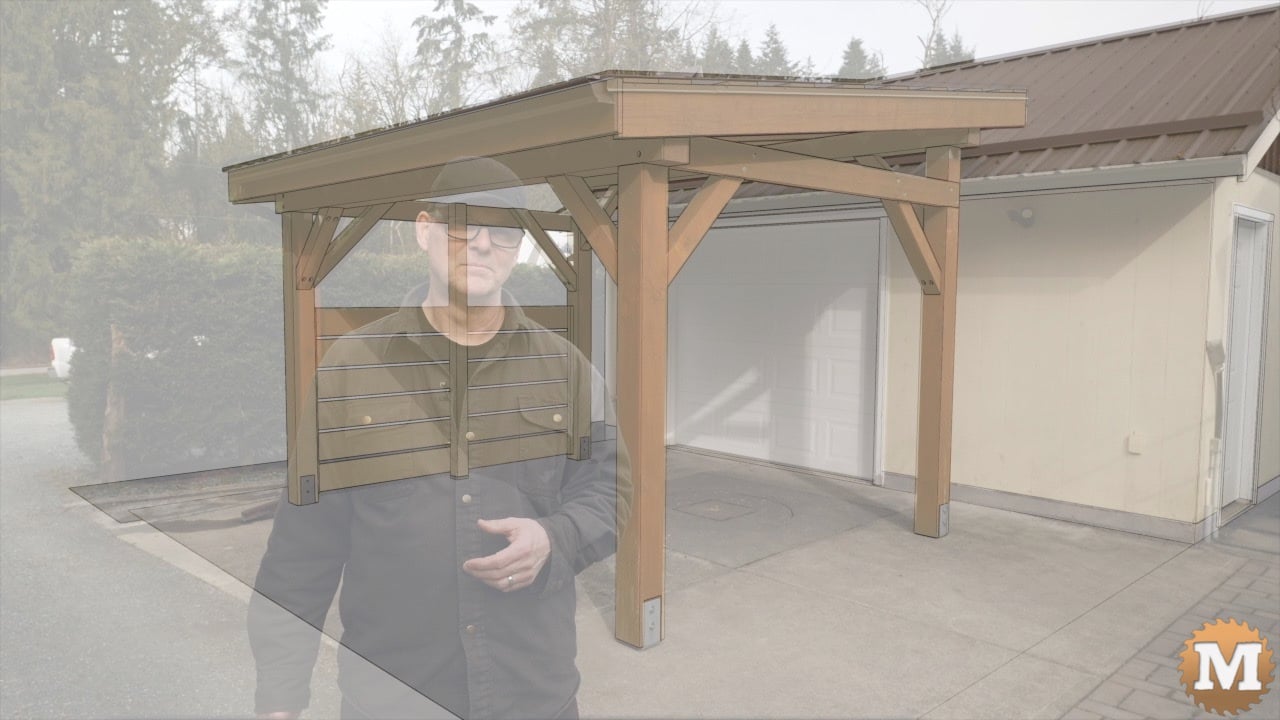
Build this simple and attractive Post & Beam Lean-to Pavilion. In this video I highlight the main steps involved in constructing this Douglas Fir timber-frame style pavilion. It involves simple building and construction techniques that anyone can do. The posts for this pavilion are 9 foot by 12 foot and the structure has an 8 degree gentle roof slope. I use some animation in this video to clearly explain how the pavilion goes together.
See the Video.

Get the PDF downloadable plan for this structure.
Lean-To Pavilion Overview
This will be a fairly short overview of this pavilion build. There’s nothing particularly complicated about this project. It’s all pretty straightforward construction techniques. And many I’ve already covered in other build videos and blogs.
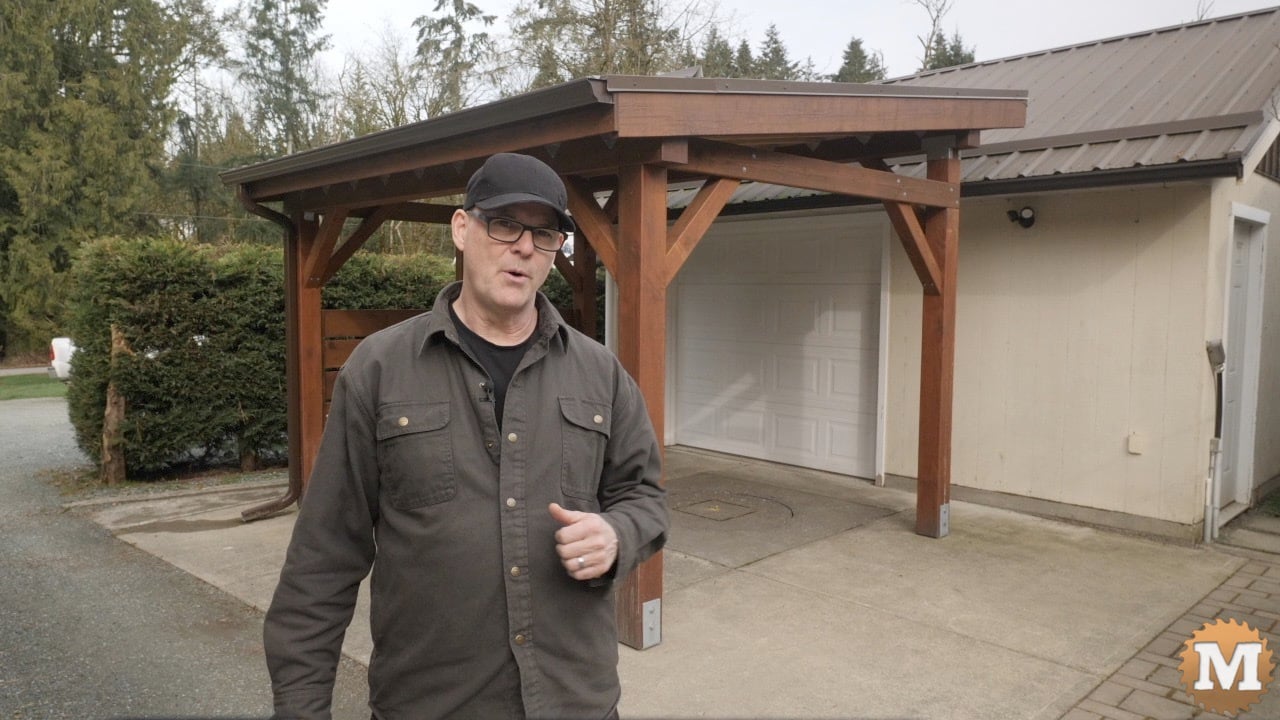
I wanted to make a functional and attractive covered outdoor workspace in front of the roll up door of my shop so I could work on some projects outside.
I built this pavilion last summer and I had a very short window of time to complete it. So, I didn’t shoot a detailed video that covered all the steps. But, I will highlight some parts of the build I think you might find interesting or helpful if you are looking to build something like this yourself.
I think this pavilion turned out pretty well. And as I like to do, I included some animation in the video showing how it all went together.
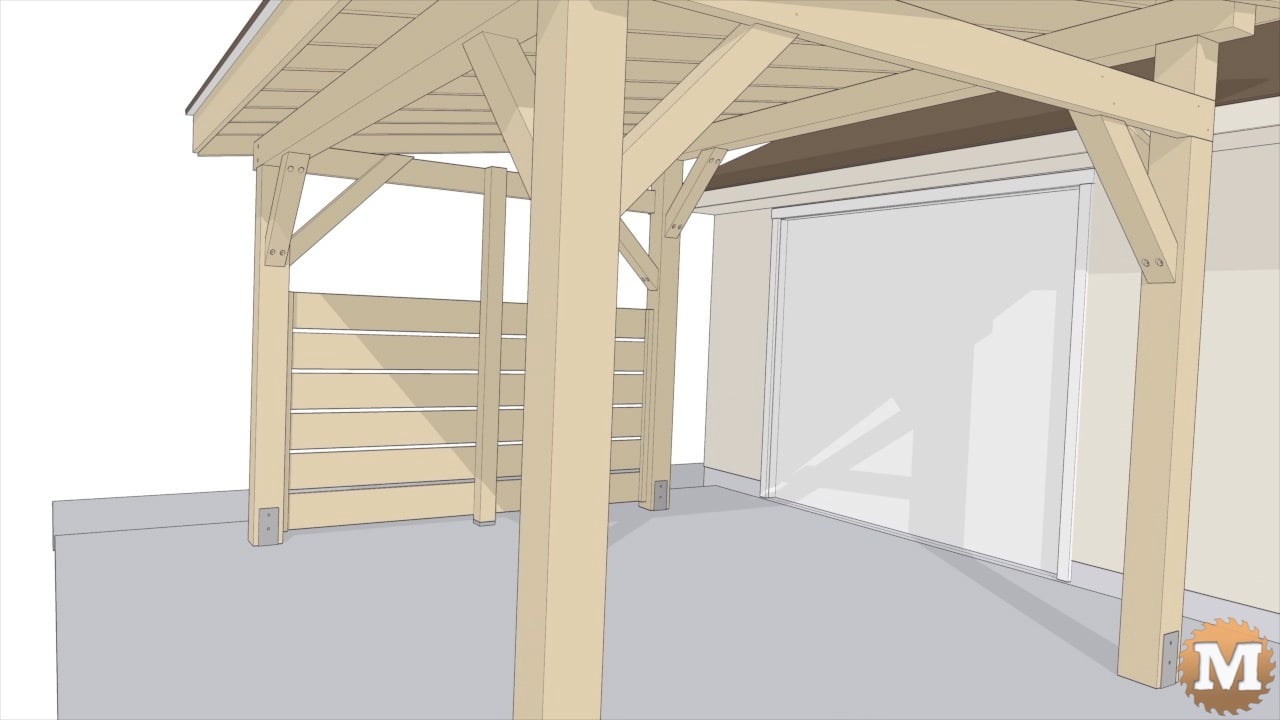
Pavilion Animation Assembly
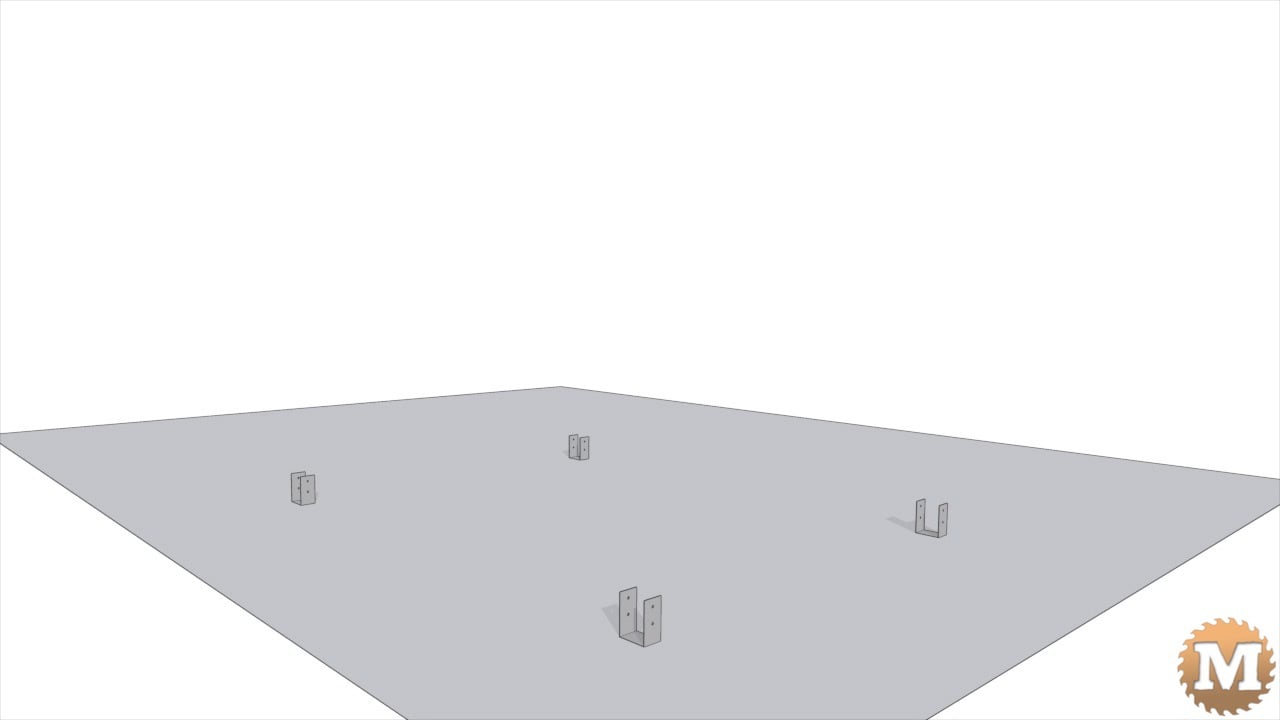
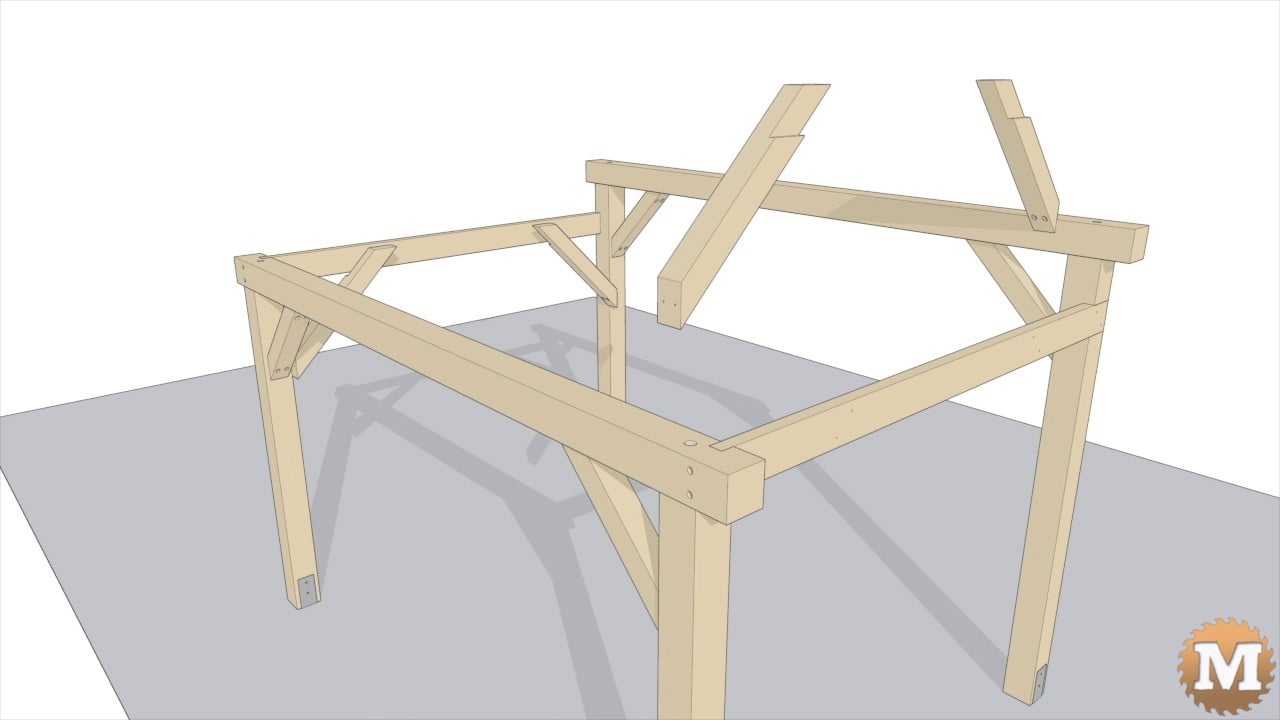
Onto the existing concrete pad I secured 4 galvanized post saddles with anchor bolts.
Then, four rough-sawn 6″x6″ full dimension posts were secured to those saddles using galvanized lag bolts.
(Disclaimer: As an Amazon Associate I earn from qualifying purchases. Thank you for helping to support my content this way. )
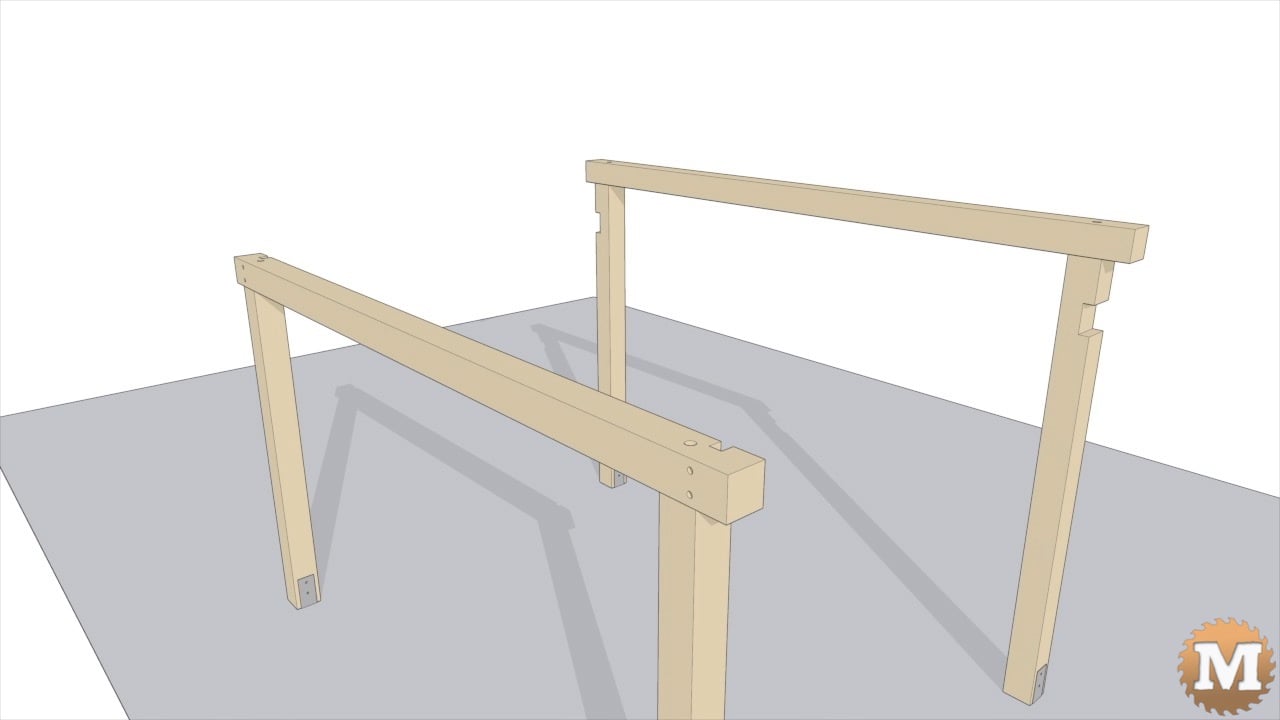
6″x6″ beams were set on the top and bolted to these posts.
2″x6″ cross tie beams connect the taller posts to the lower 6″x6″ beam. And these cross ties sit in pre-cut dados.

4″x4″ corner braces are installed on the posts and beams. Additional lap cut braces connect the posts to the cross ties.
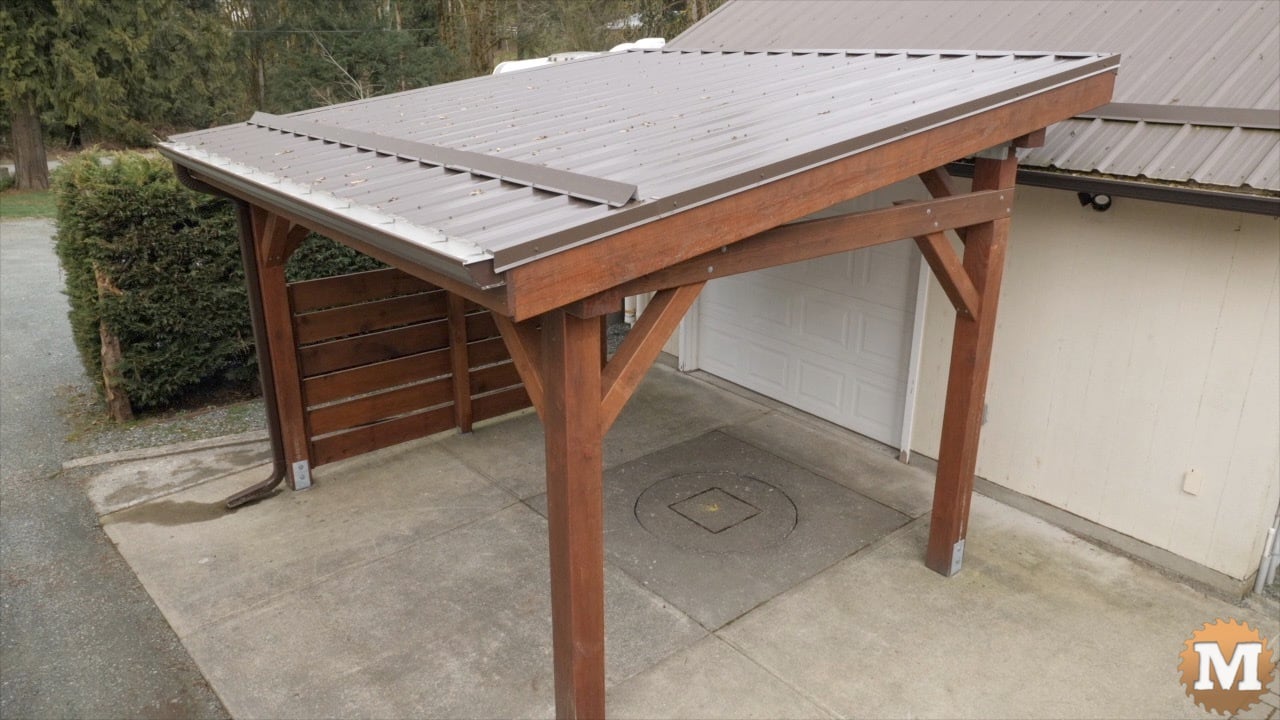
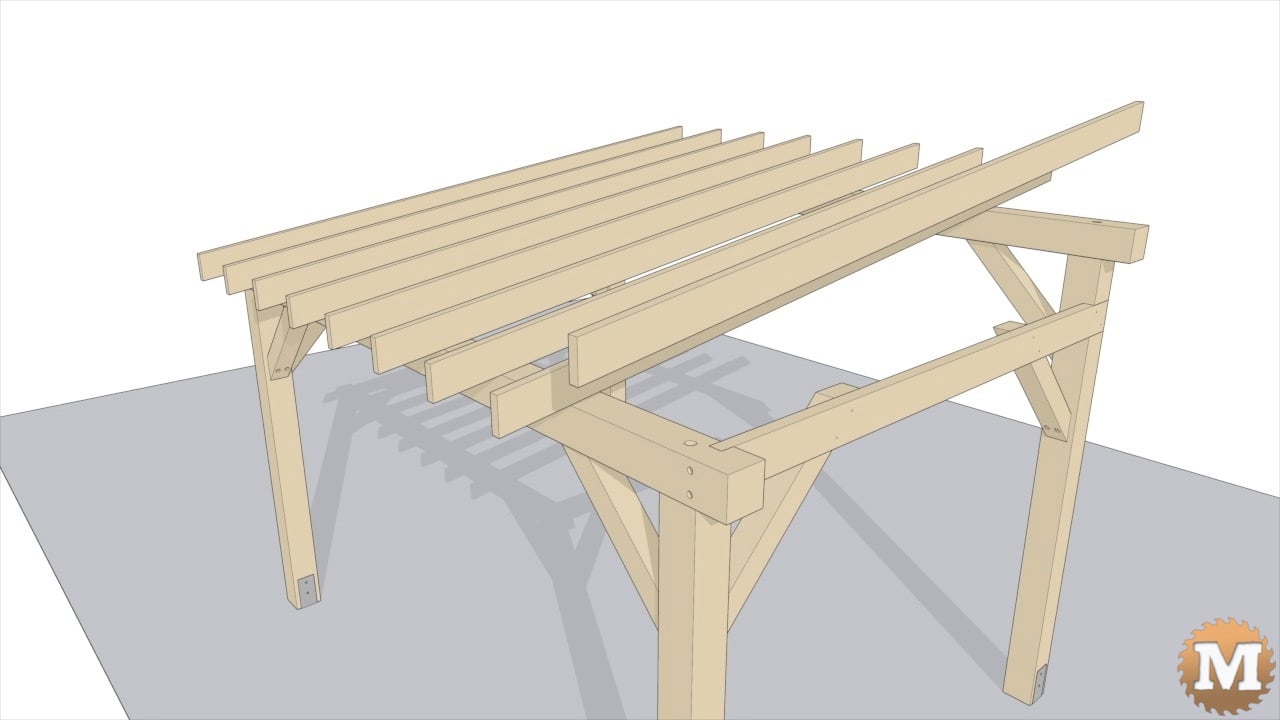
Equally spaced 2×6 rafters are placed across the lower and upper beams. Blocking is added to help secure the outside 2″x8″ rafters.
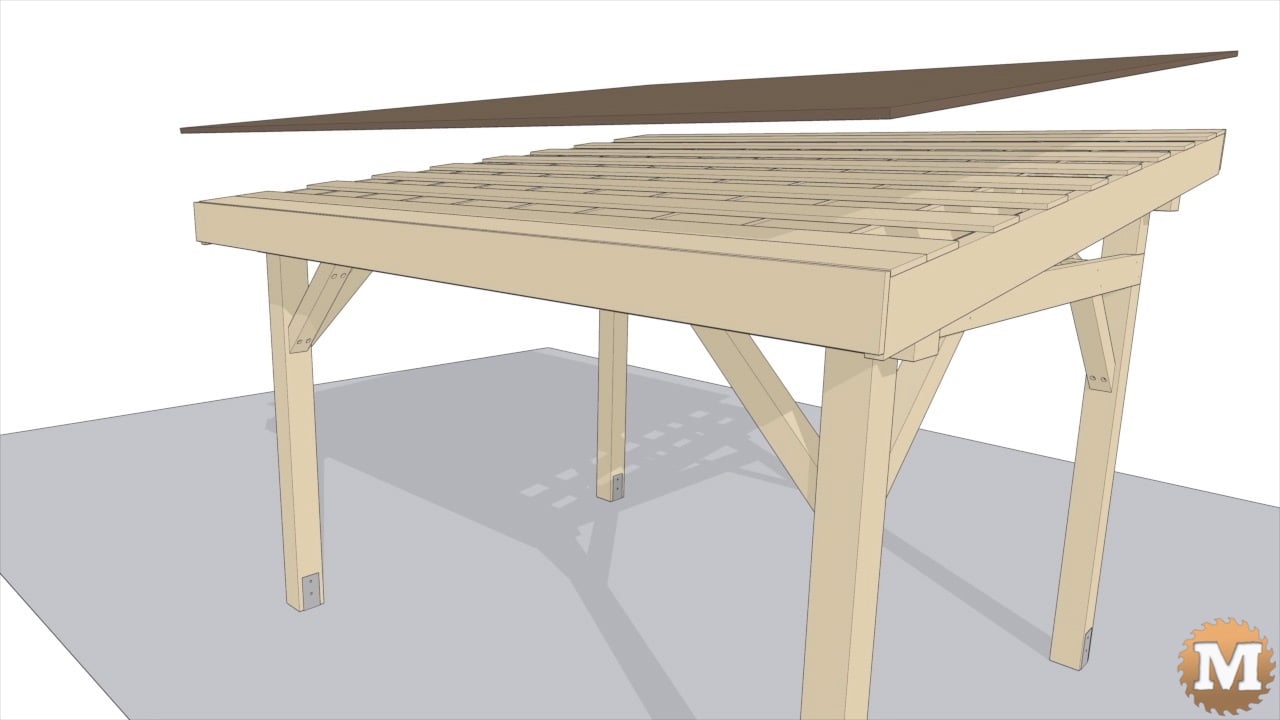
Across all the rafters I added 1″x8″ strapping boards. And 1″x8″ rough-sawn facia boards cover the lower and upper end of the rafter tails.

A metal roof is attached to the strapping with rubber washer screws.
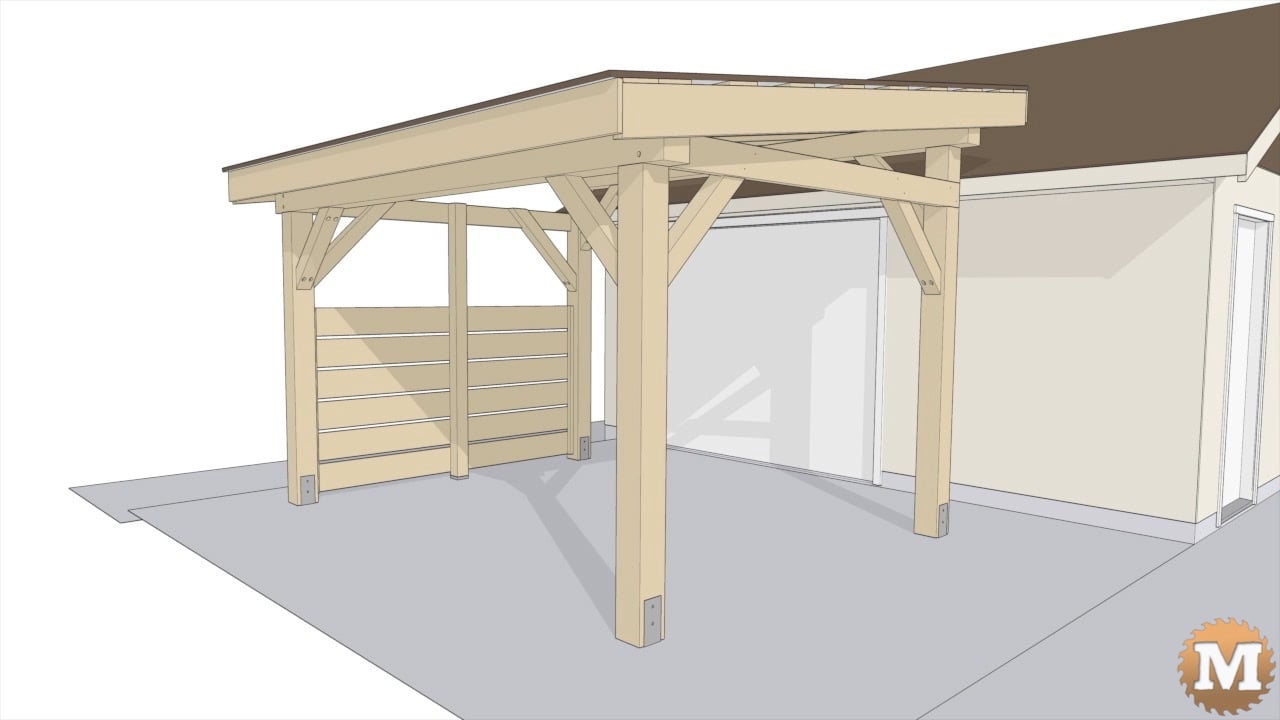
On the far end of the pavilion I wanted I privacy wall. I added an additional post that was set in a saddle secured to the concrete, and screwed to the cross tie beam at the top.
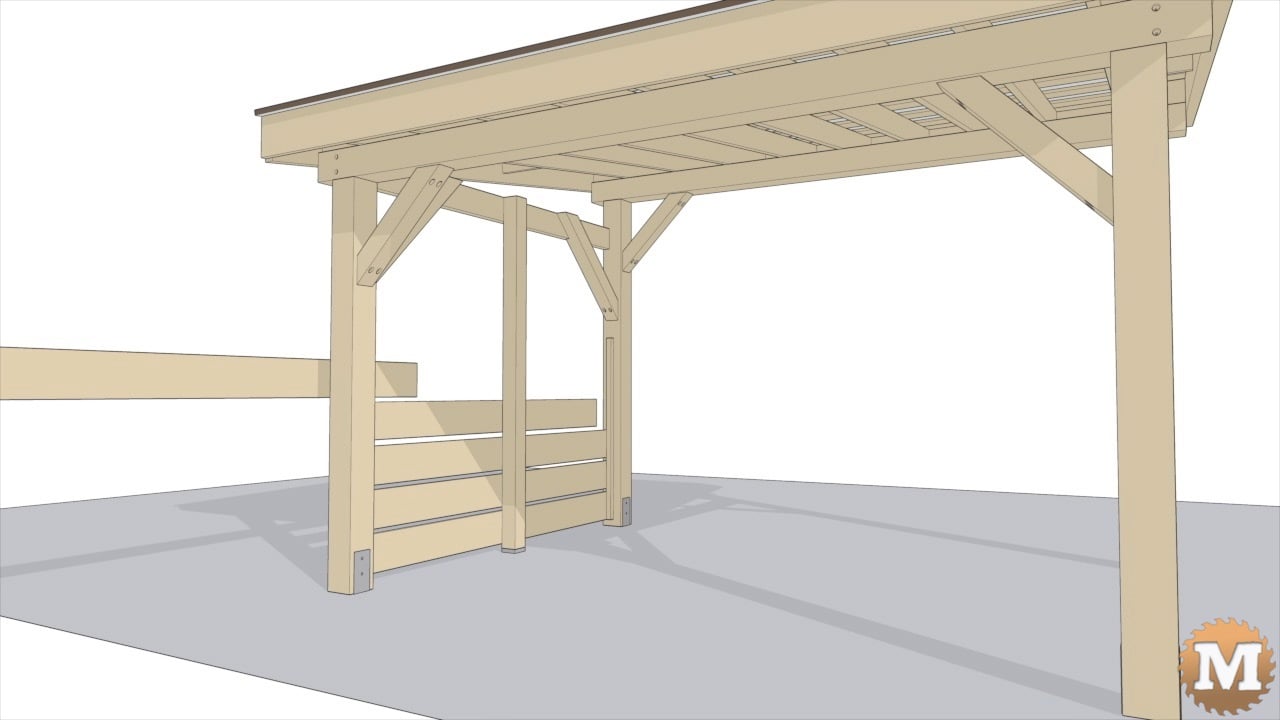
Then 2″x2″ cleats were added to the posts, and 1″x8″ boards were screwed to them to complete this wall.