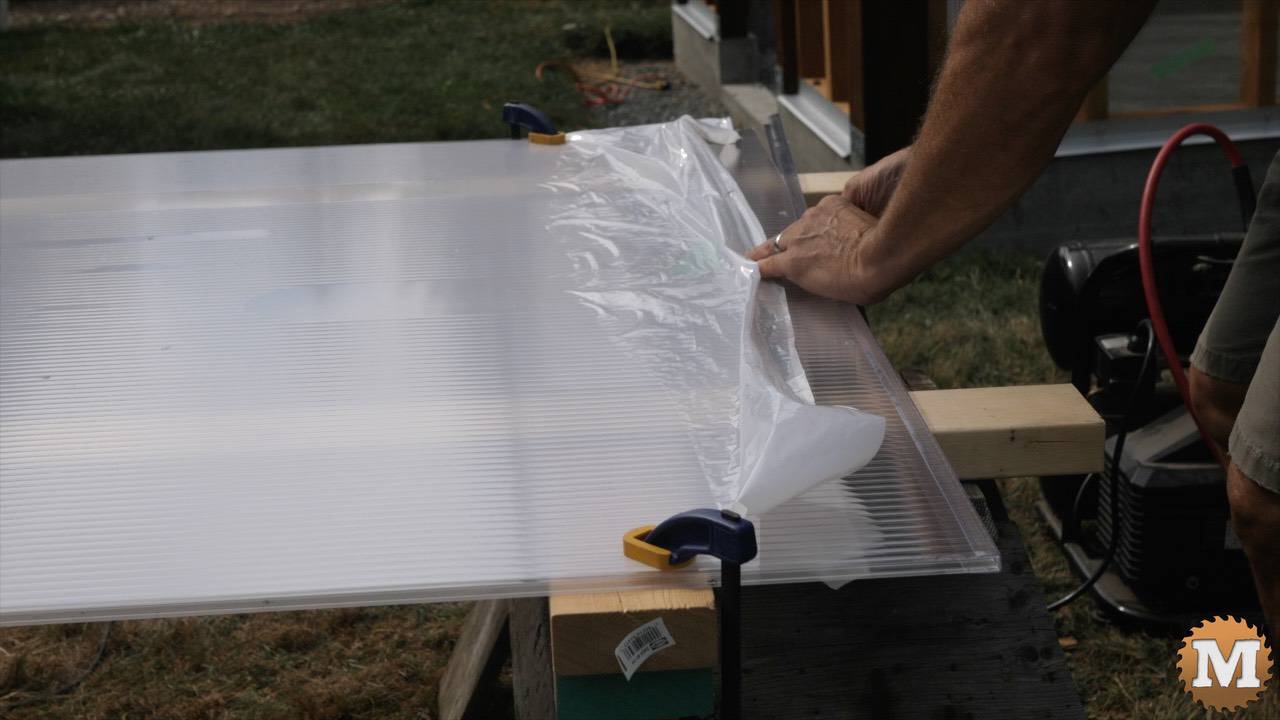
Install the Greenhouse Glazing Panels
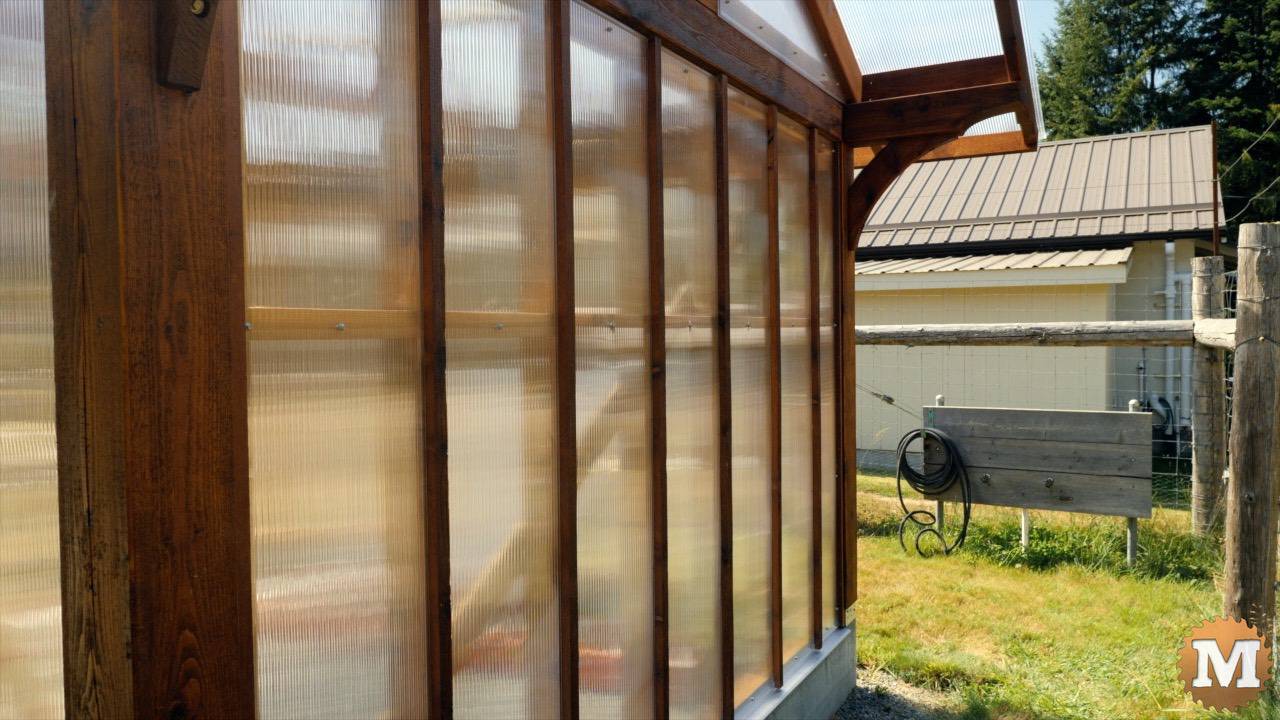
The bottom and top of the glazing panels are sealed with plastic J channel. The bottom channel has holes spaced every 12 inches or so to allow condensation to drain.
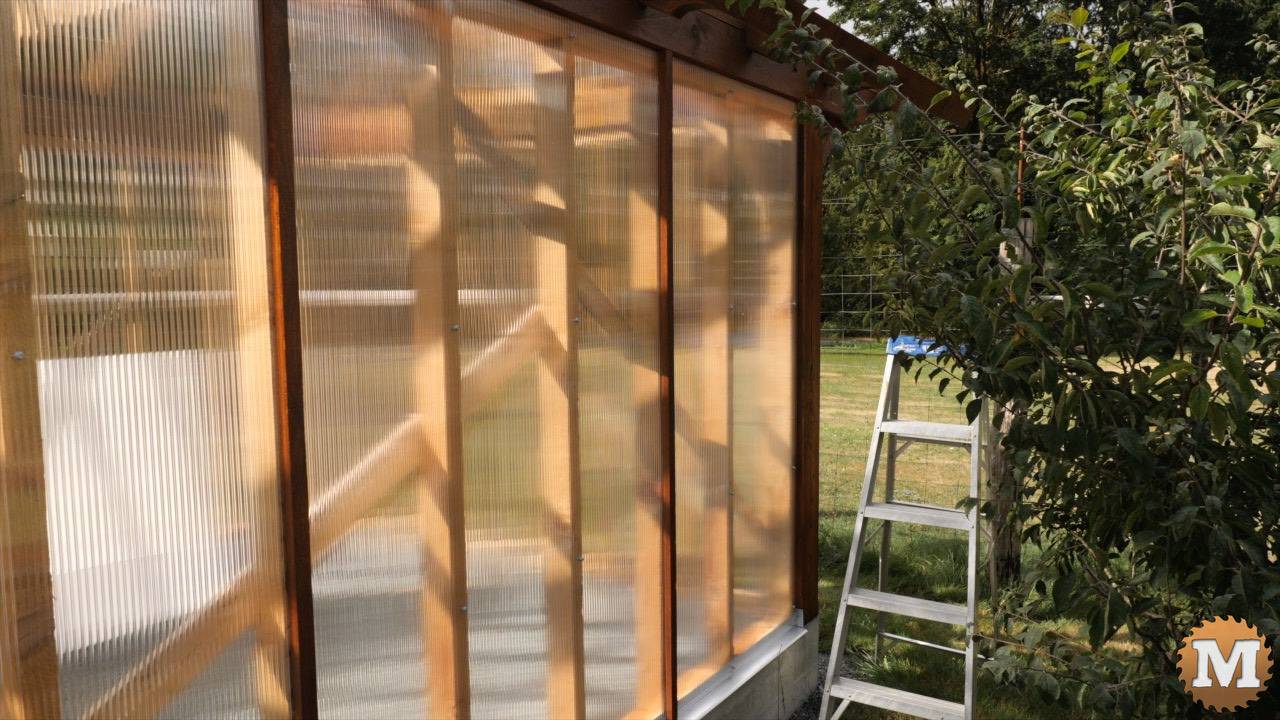
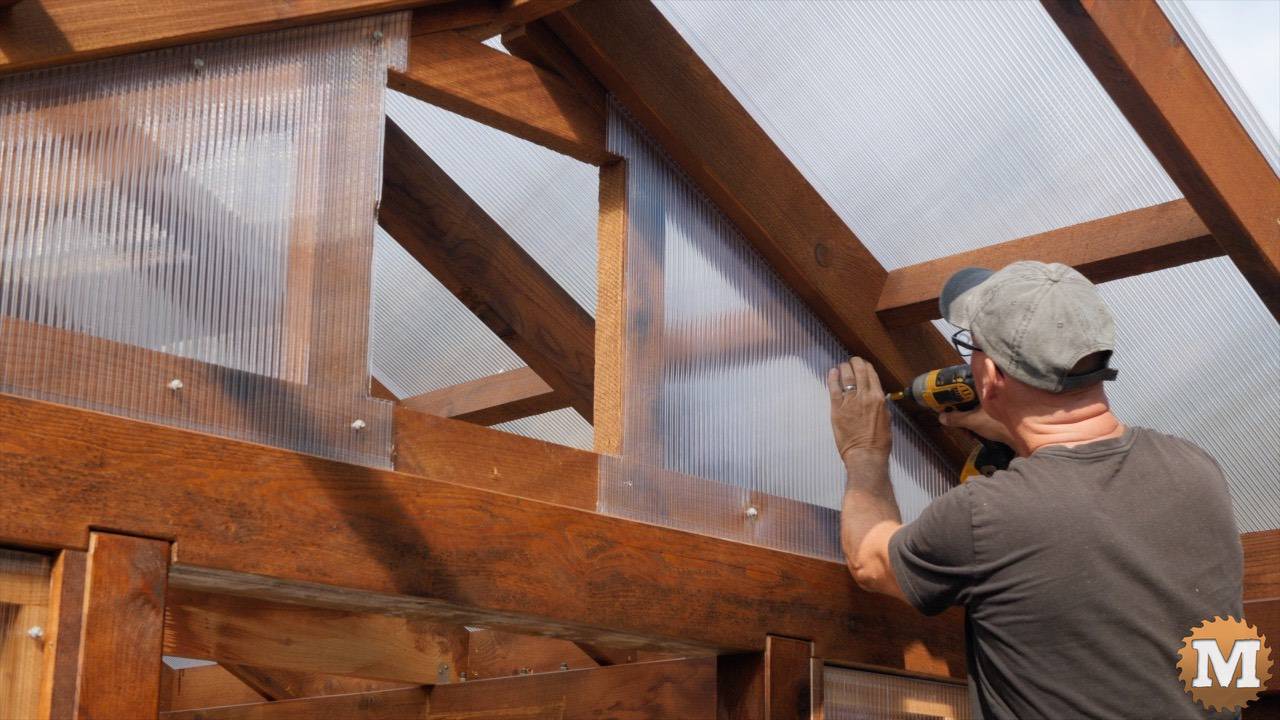
And these wall panels are held in place and roofing screws run into the studs.
I left a small expansion gap between panels that I covered with cedar strips.
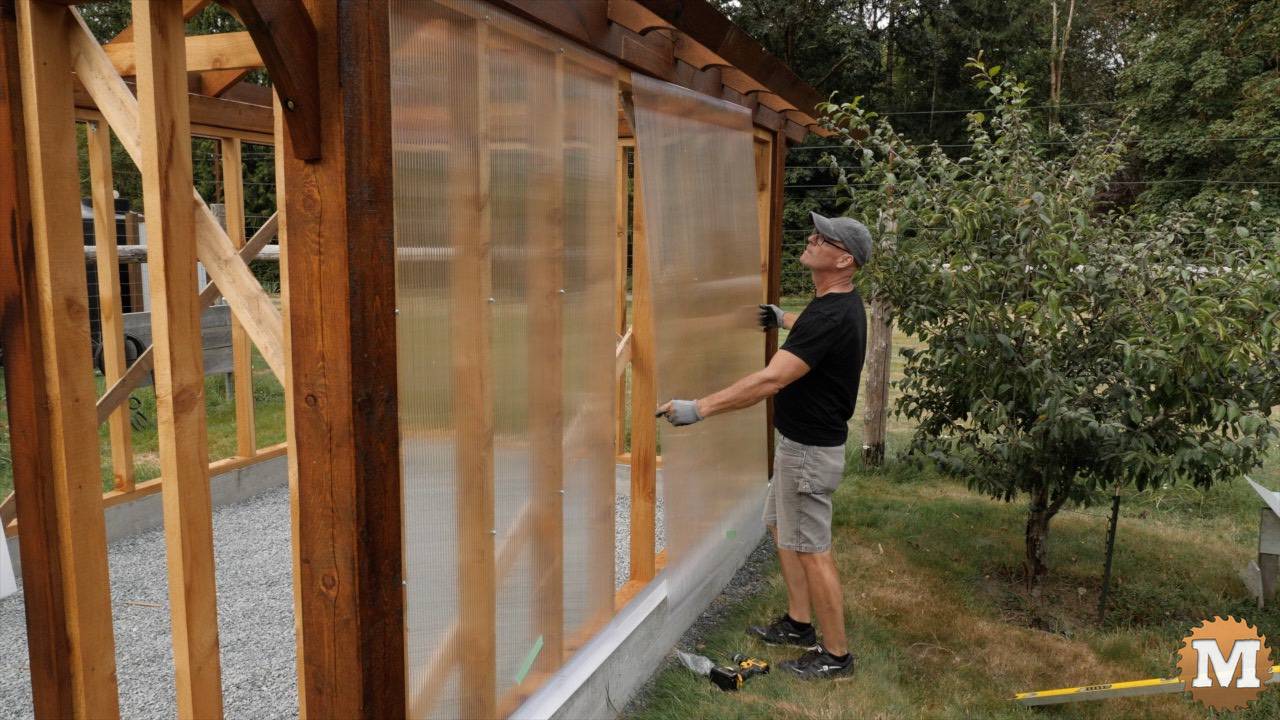
And that’s the east facing wall done. I repeated all that for the identical west wall.
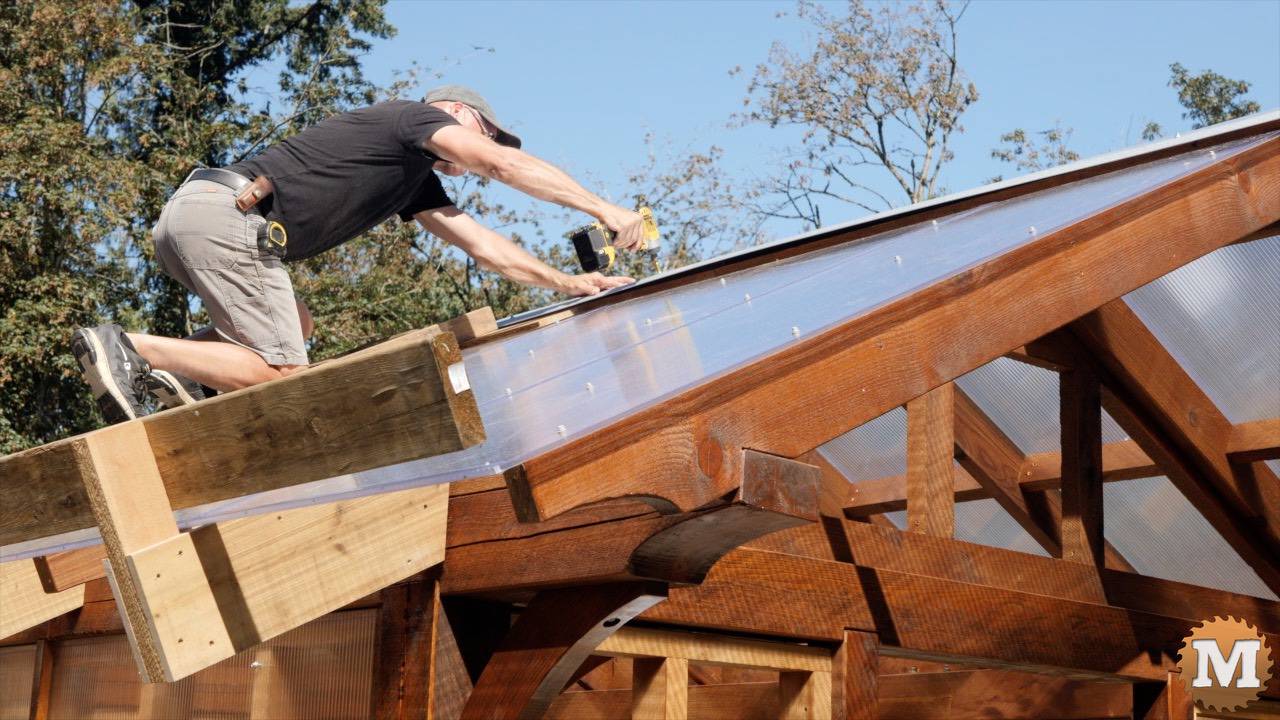
Add the Greenhouse Roof Glazing Panels
I clamped some stops to the facia to hold the roof panels in place. And I also used some thin spacing strips attached to rafters for the expansion gap.
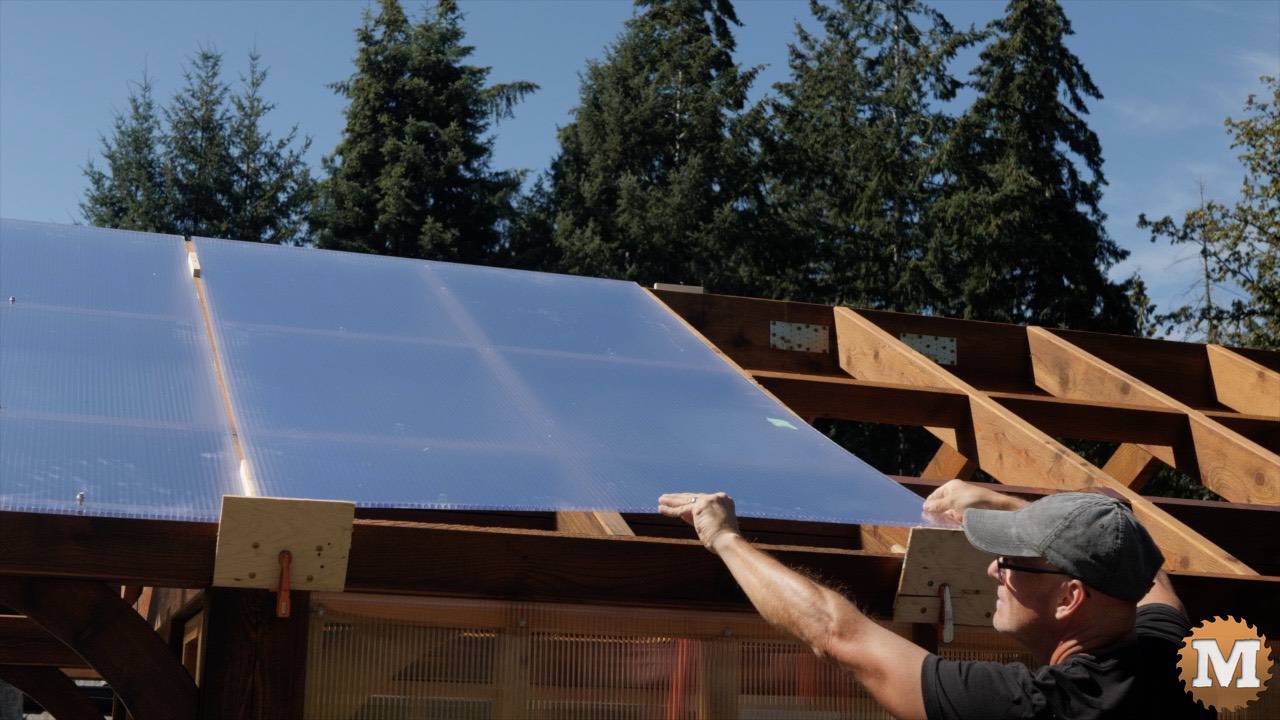
I’ll add the bottom J channel to the roofing panels later once the entire side is complete. Between the panels on the roof I will slide in an H channel to seal this edge.
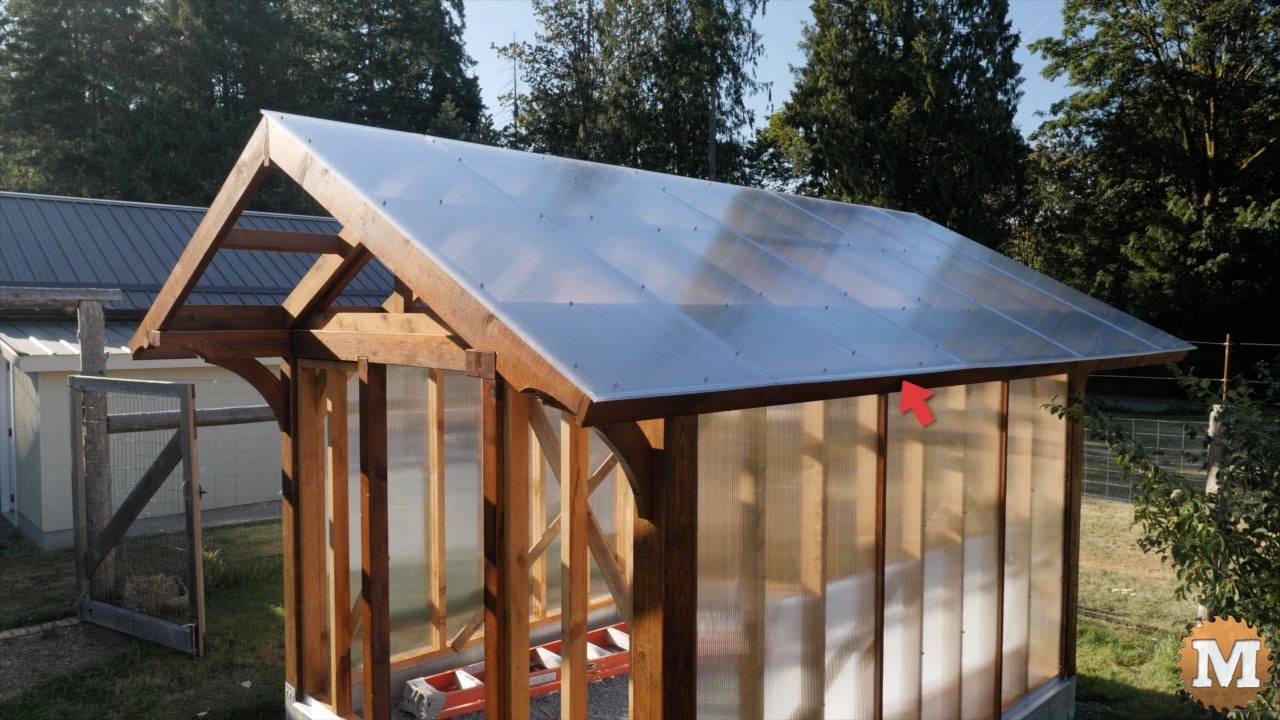
And there’s the east facing roof done. That lower J channel bridges across panels and it has some clear silicone added to keep snow from pulling it off in the winter.
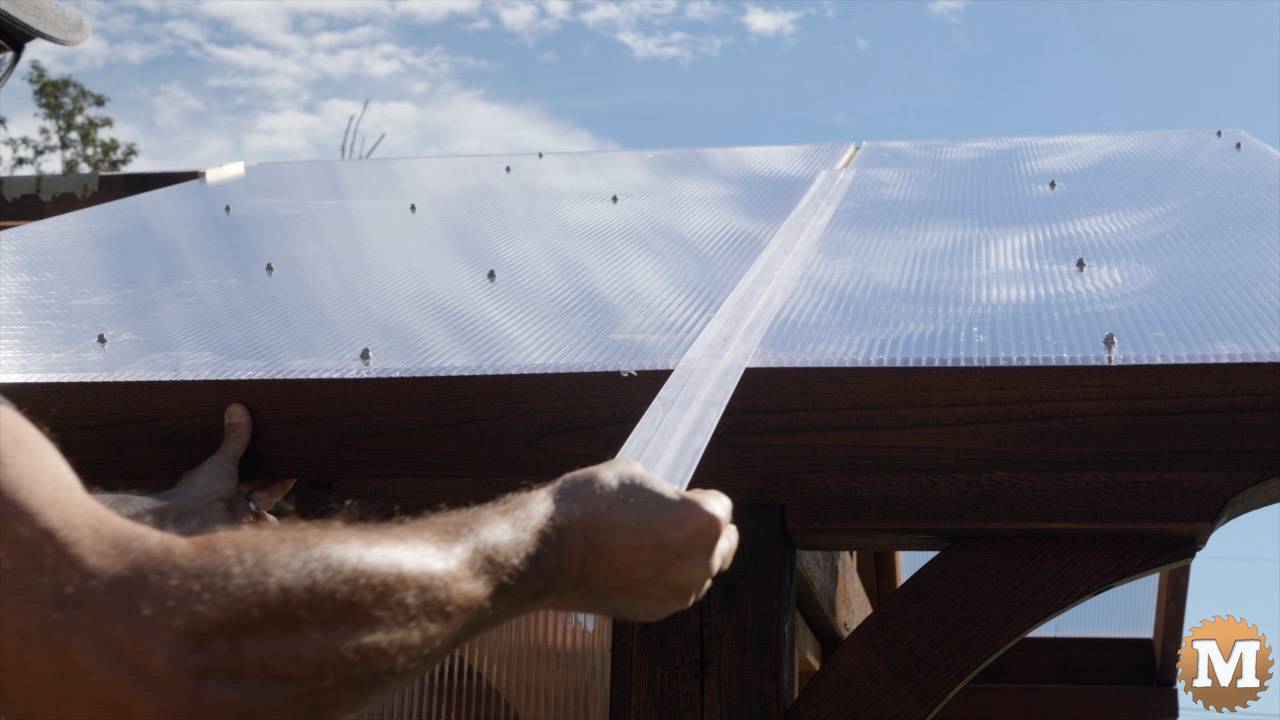
And the next day I added my stops to the west side facia, cut, drilled, then slid the panels up into place. Then ran in screws through the pilot holes like before. And slid in and attached the H channel. And the H channel is also screwed to a rafter.
Make the Greenhouse Ridge Cap
The galvanized ridge cap I selected will be lifted higher by a wood cap I made from ripping down some concrete form lumber.
(Disclaimer: As an Amazon Associate I earn from qualifying purchases. Thank you for helping to support my content this way. )

This will keep the metal cap separate from the polycarbonate to ward off any heat damage in the summer sun. This wood cap also has a strip of 3/8’s plywood to mimic the shape of the metal cap.
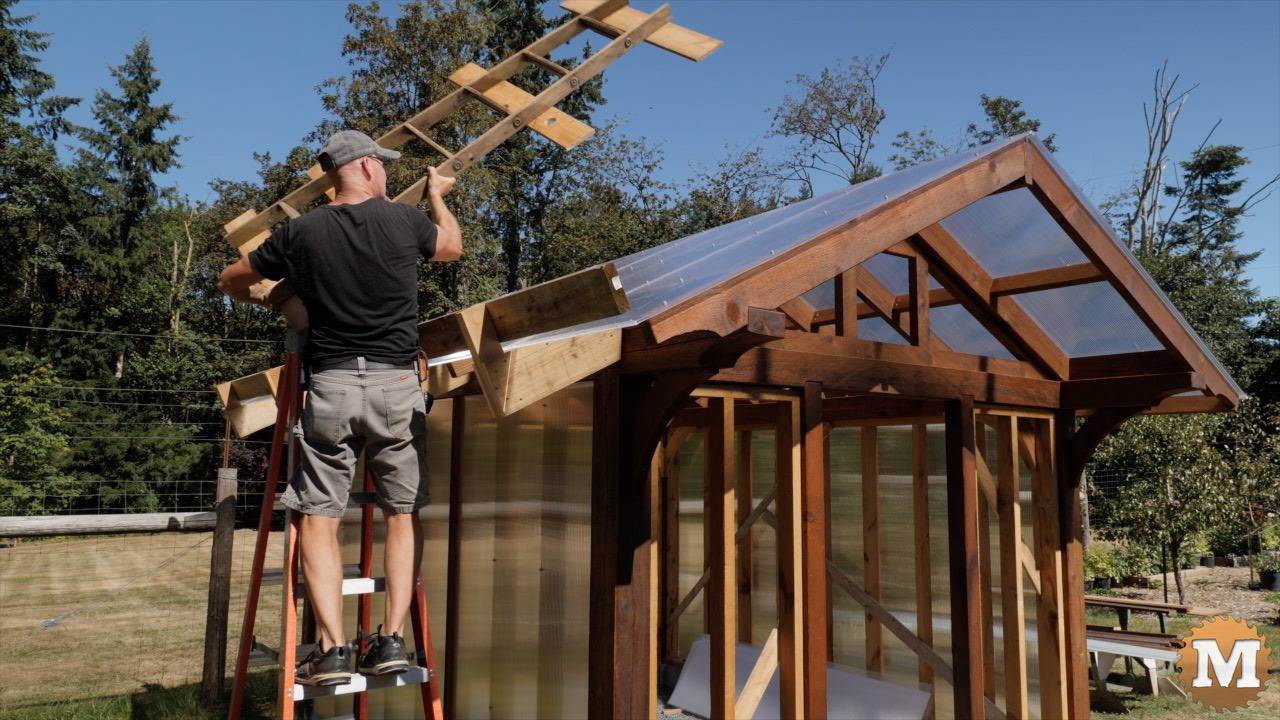
Safe Access to The Greenhouse Roof
To install these cap sections I made a ladder to lay over the polycarbonate panels. So I could crawl up there without causing any damage. I made a sturdy rail attached to the rafter tails to hold the bottom of the ladder.
So I can screw on the wood cap sections.
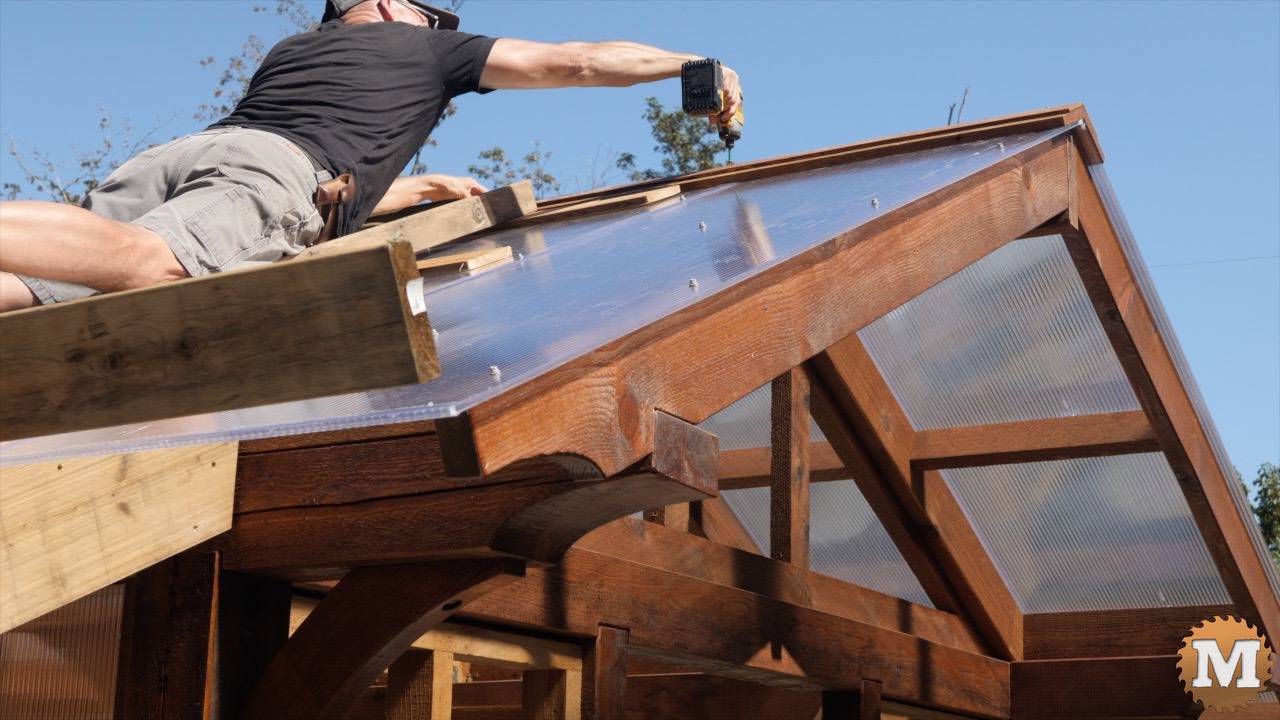
Then add the metal cap over top. And this looked pretty good I thought.
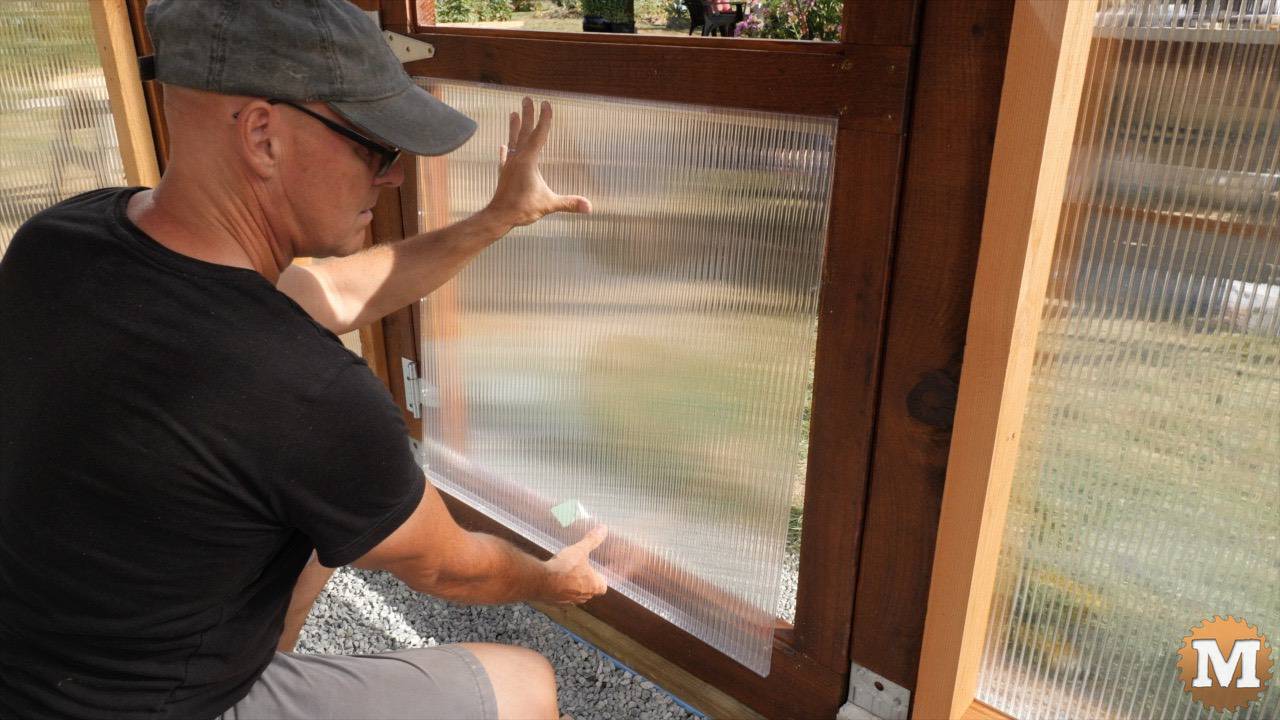
Complete the Greenhouse Glazing
I have glazing panels to add to each side of the doorway.
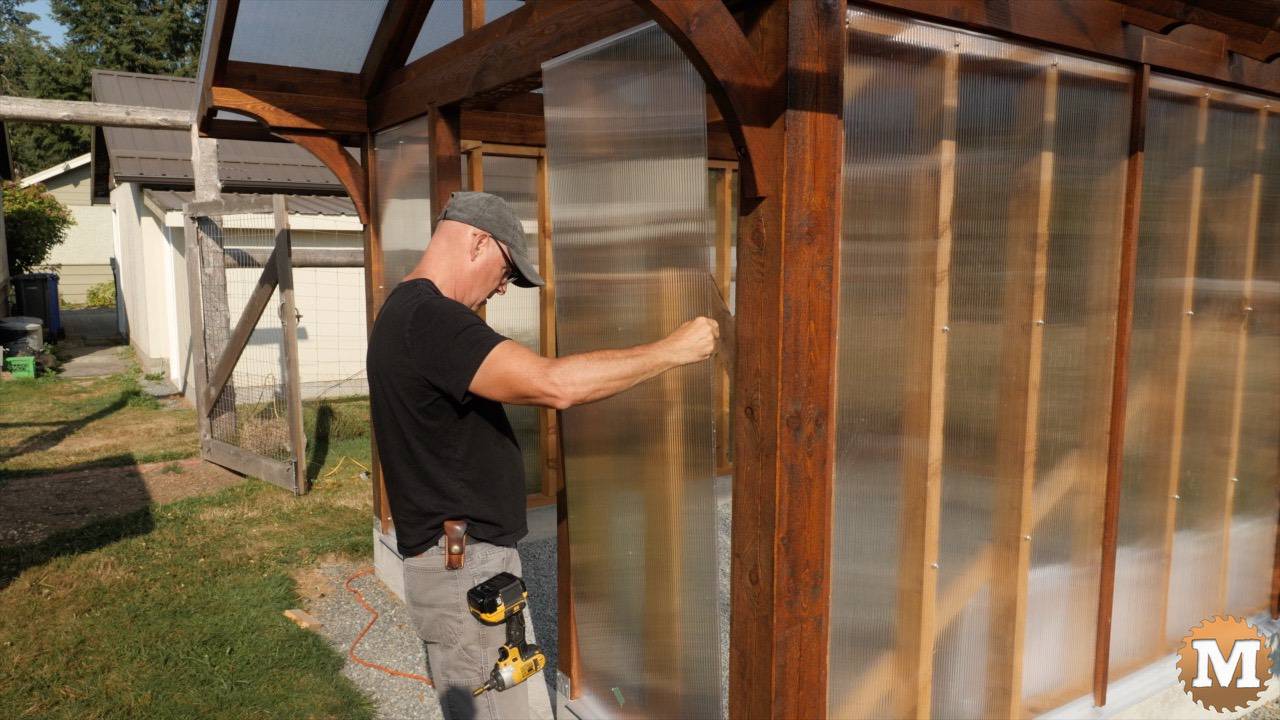
And I used the same cedar strips at the edges of the panels as I did to bridge the gaps on the side walls.

I cut some triangle shaped polycarbonate to fill in the gable ends.
And to finish the glazing, I’ll add panels and cedar strips to the back wall.
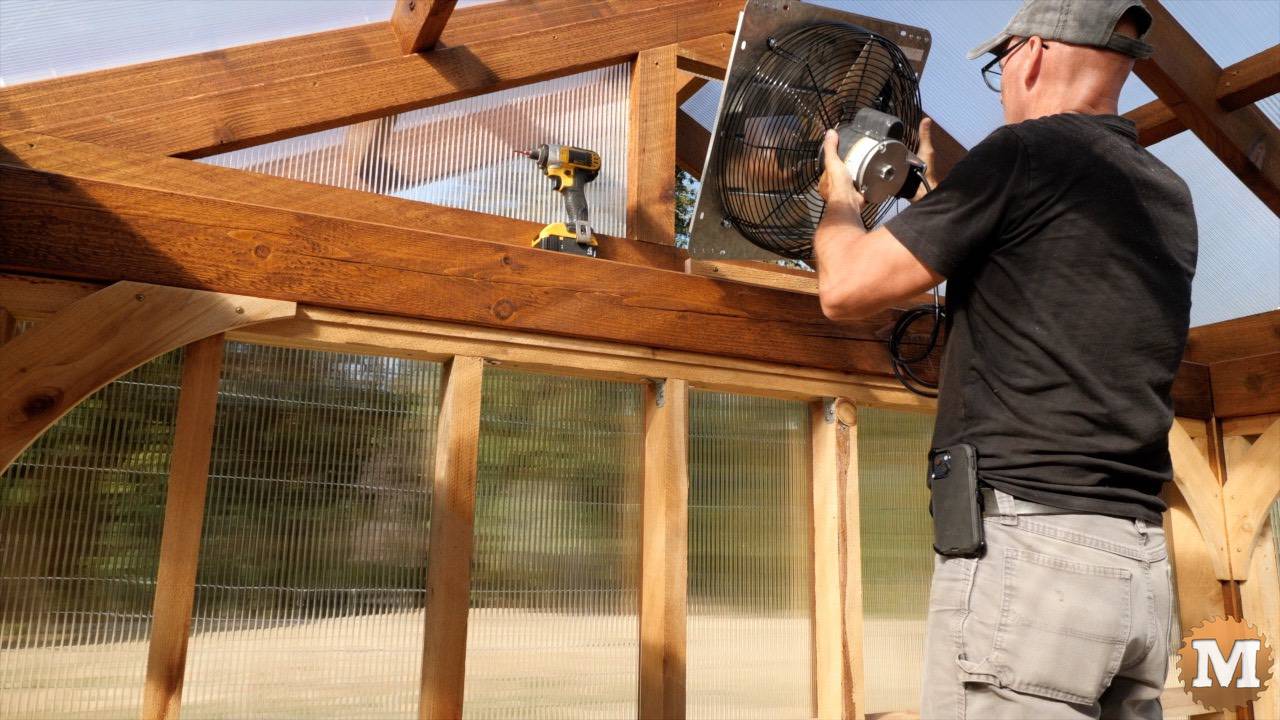
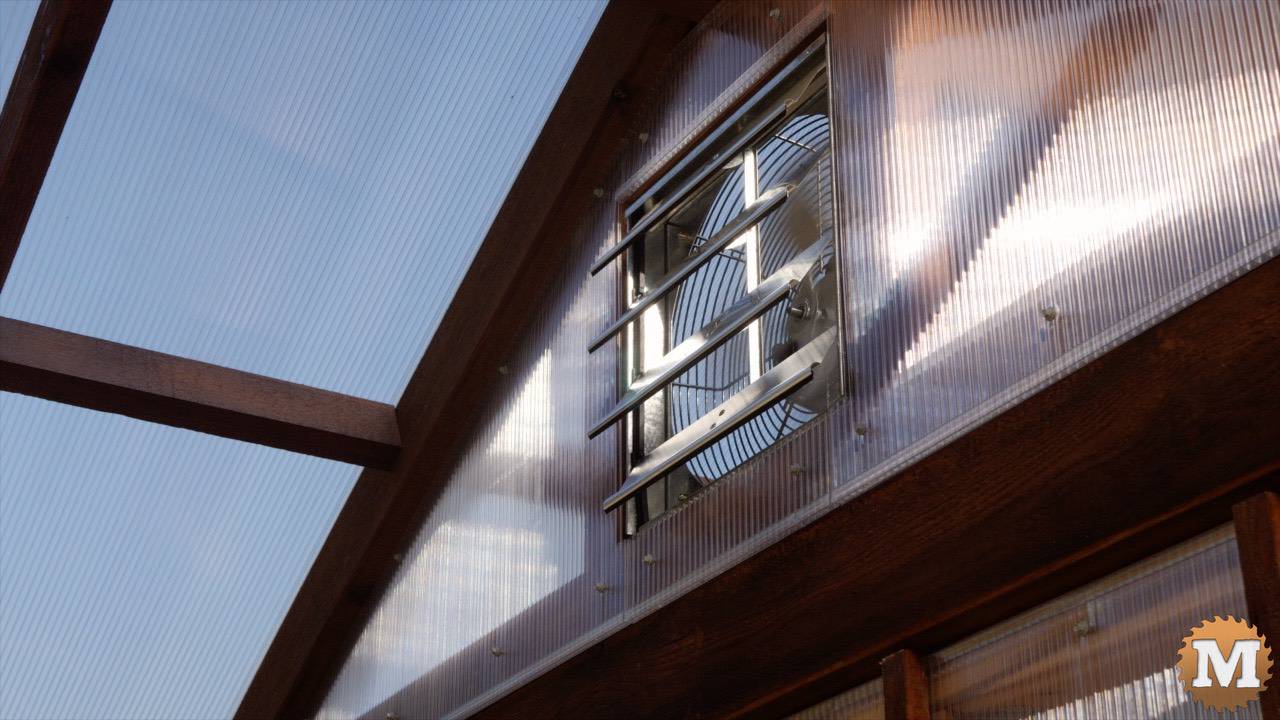
Add a Thermostat Controlled Greenhouse Fan
A thermostat controlled louvered fan is installed in the opening in the north facing gable end.
Cedar Louvered Greenhouse Vents
I made three wooden louvers from red cedar. I glued and tacked them together with and air nailer.
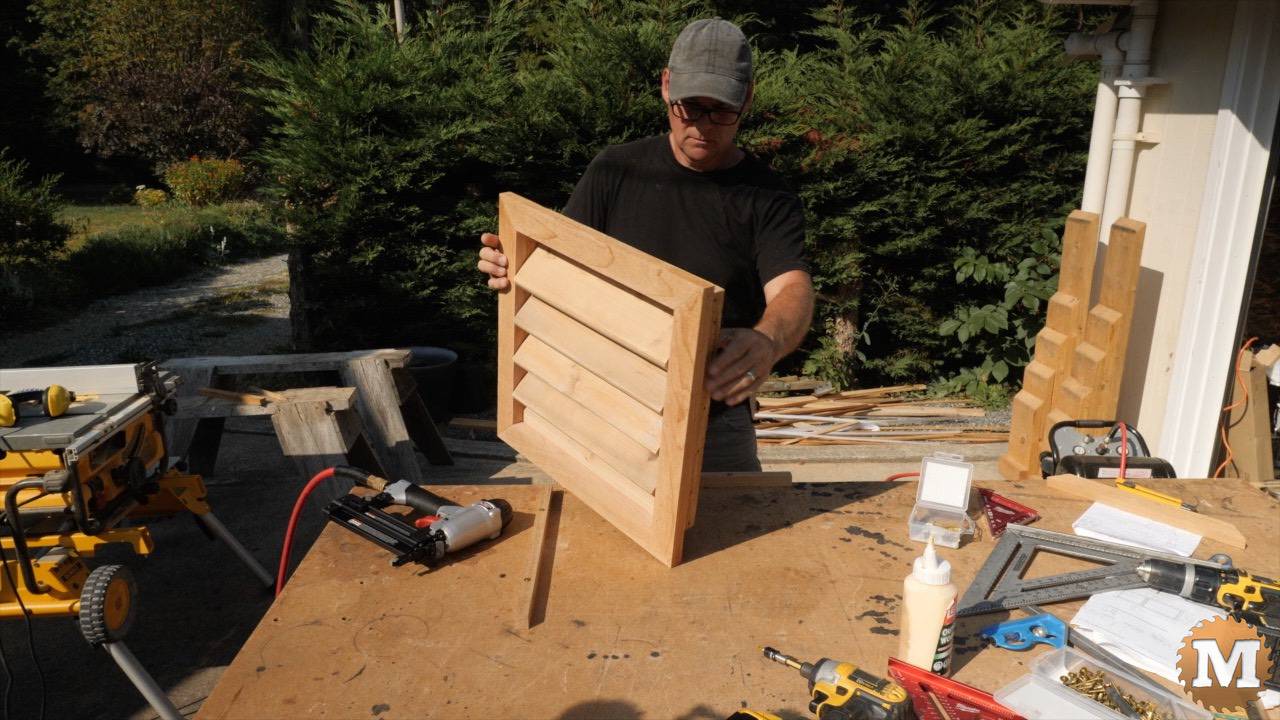
And a few trim screws here and there. Then a light sanding and finished them with several coats of stain.
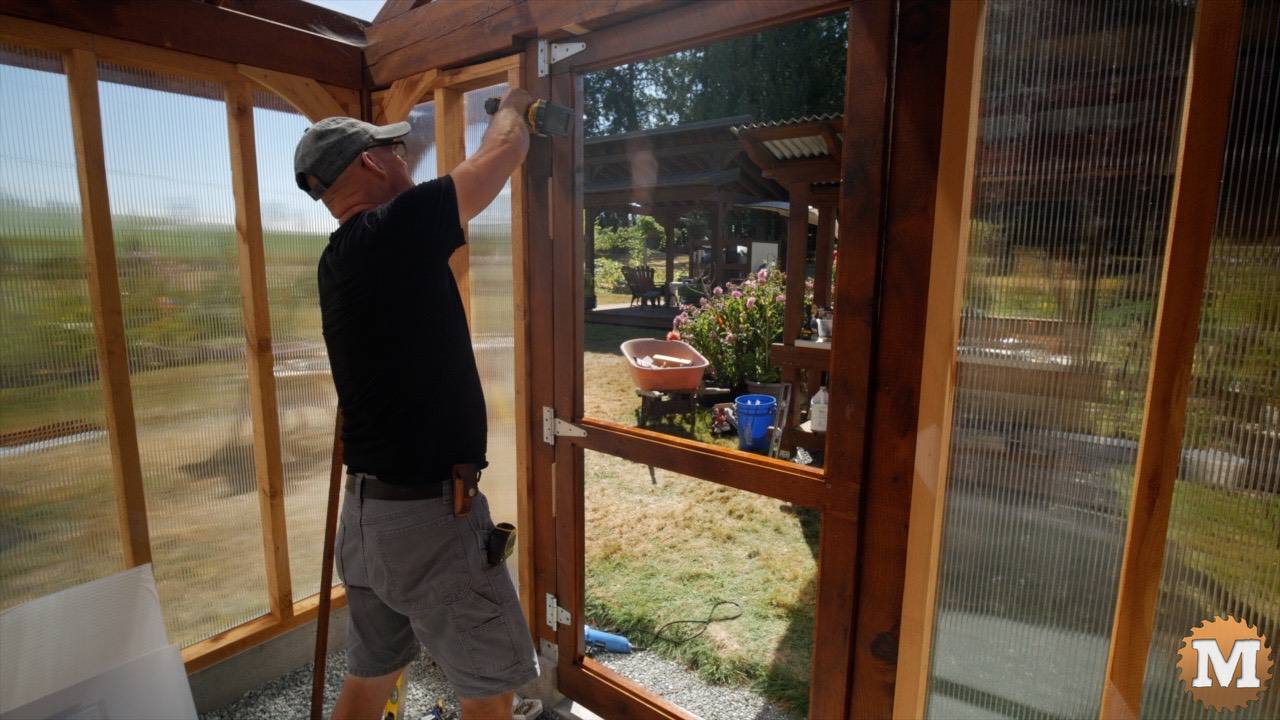
Install the Cedar Lightweight Greenhouse Door
I installed the door with three gate hinges screwed to the 4×4 posts.
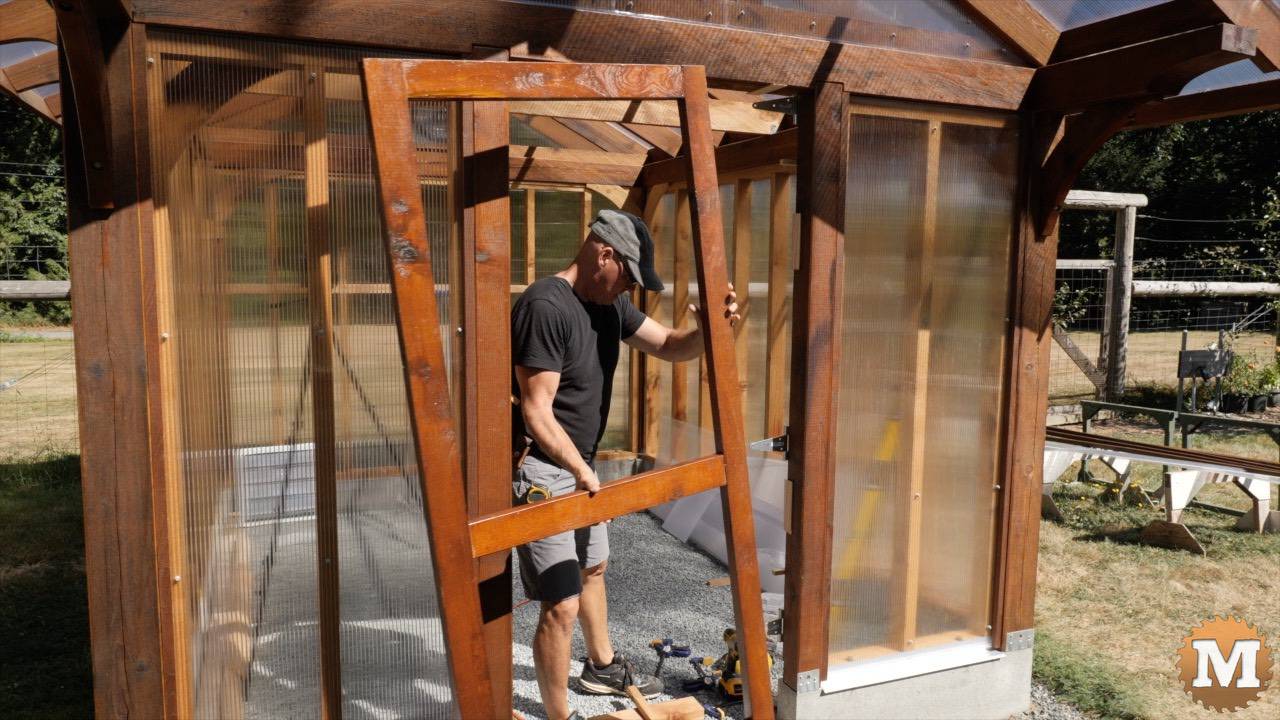
I tacked on some spacers to the cross tie and the posts to center the door and hold it flush to the inside face of the posts while I ran in screws.
Later I’d come back and add a simple gate handle plus a spring loaded screen door latch.
I made a door threshold from 2×6 treated lumber and attached it with screws into plastic anchors that I drilled and tapped into the concrete foundation.
A bead of clear silicon is added to the routed inside edge of the door. And the rectangle glazing pieces are secured with washer head screws.
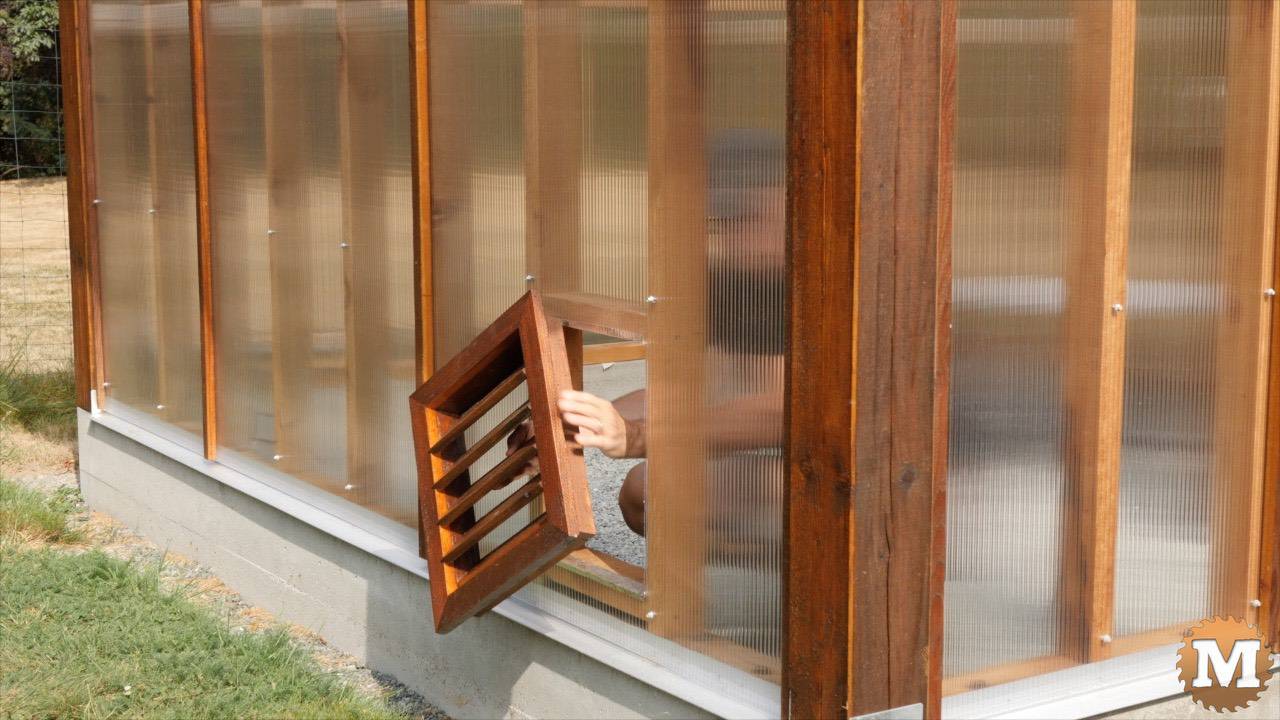
Install the Greenhouse Vents
The gable louver vent is installed in the opening and held with screws.

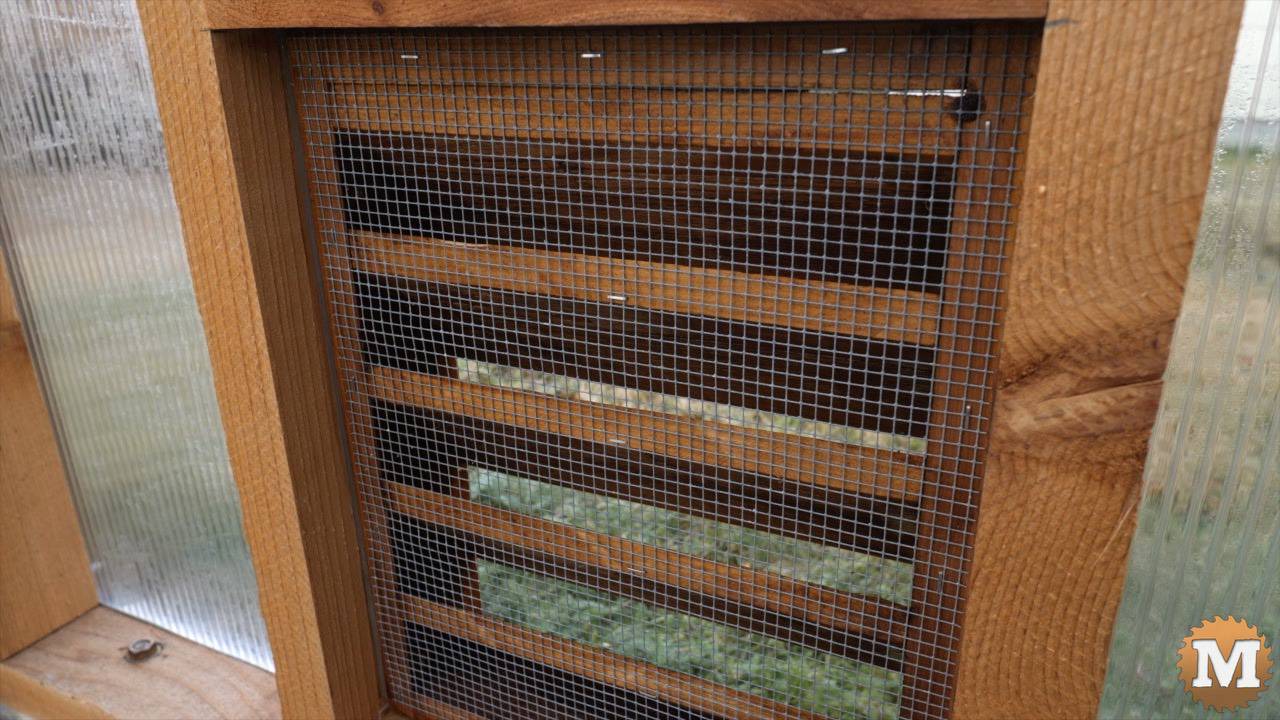
And here’s the lower side wall vents going in.
And then some hardware cloth was stapled on.
Later I’ll come up with a way to control the air flow through these vents when the temperature in the greenhouse increases.
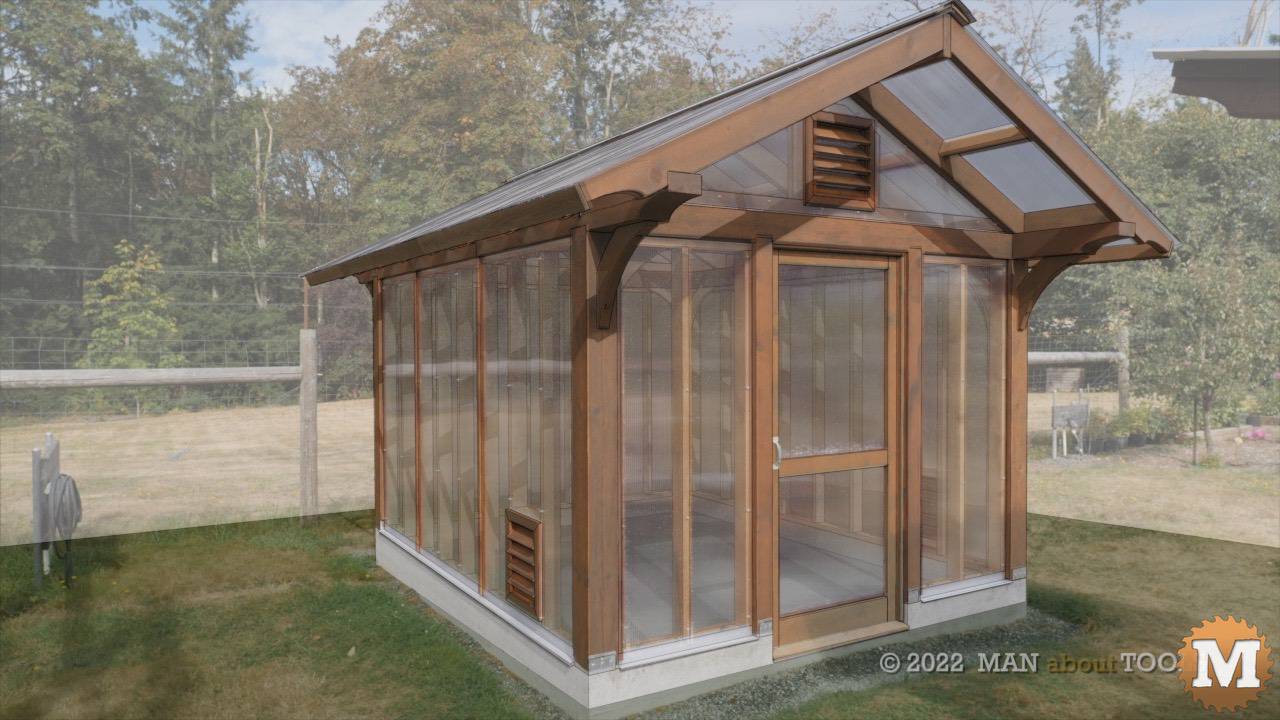
And that is about it. The greenhouse is done.
FAQ
Do greenhouses stay warm in winter?
What are 4 disadvantages of a greenhouse?
Energy Consumption: Greenhouses require significant amounts of energy for heating, cooling, and ventilation systems, leading to increased utility bills and environmental impact.
Maintenance and Upkeep: Greenhouses require regular maintenance to ensure proper temperature, humidity, and pest control. This can be time-consuming and costly.
Limited Natural Pest Control: Greenhouses create a controlled environment that can attract pests and diseases. Without proper management, controlling pests can be challenging compared to natural outdoor conditions.

