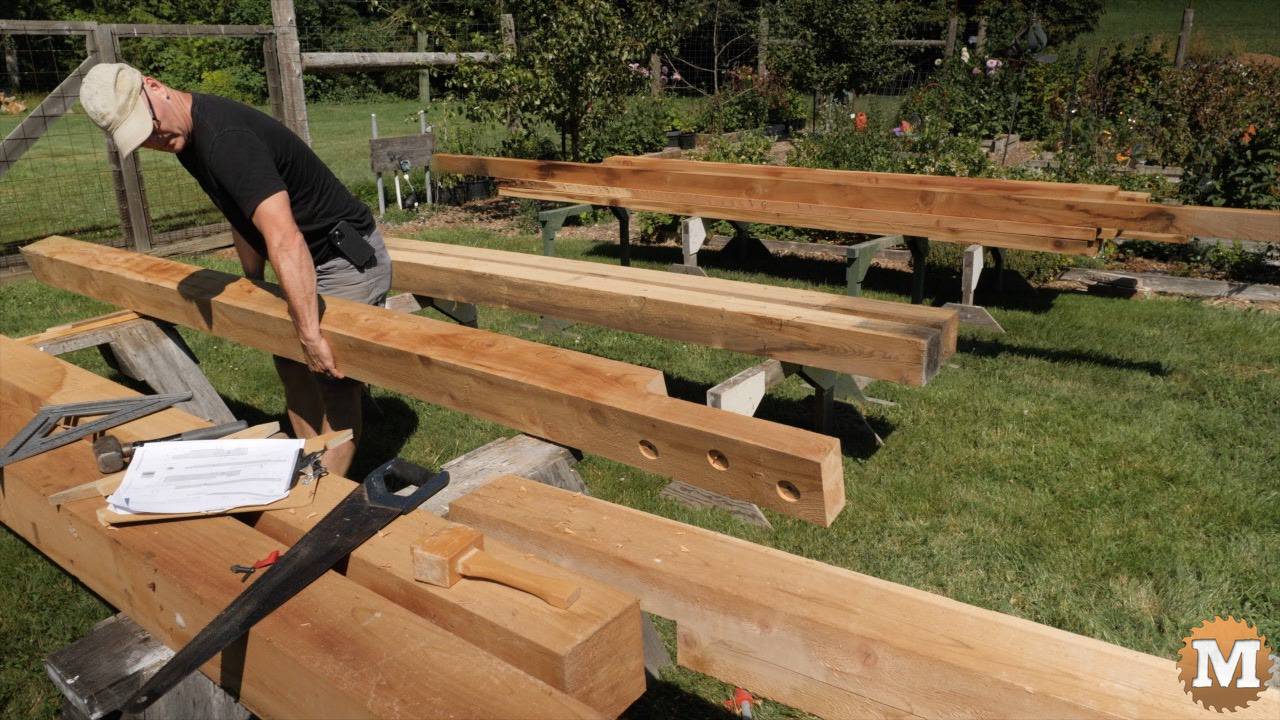
Making the Long 6×6 Beams
Now I’ll make the North South beams. And these would be 16 feet long.

I didn’t have any 6×6’s that long so I’d have to make them from two pieces. And I decided to make a simple scarf joint in the end of each and bolt them together into one.
As there’s a stud wall under these beams the scarf joint would not be under much load (if any). But I built them as if there would be and then I could count on them holding up well when I set them across the posts.
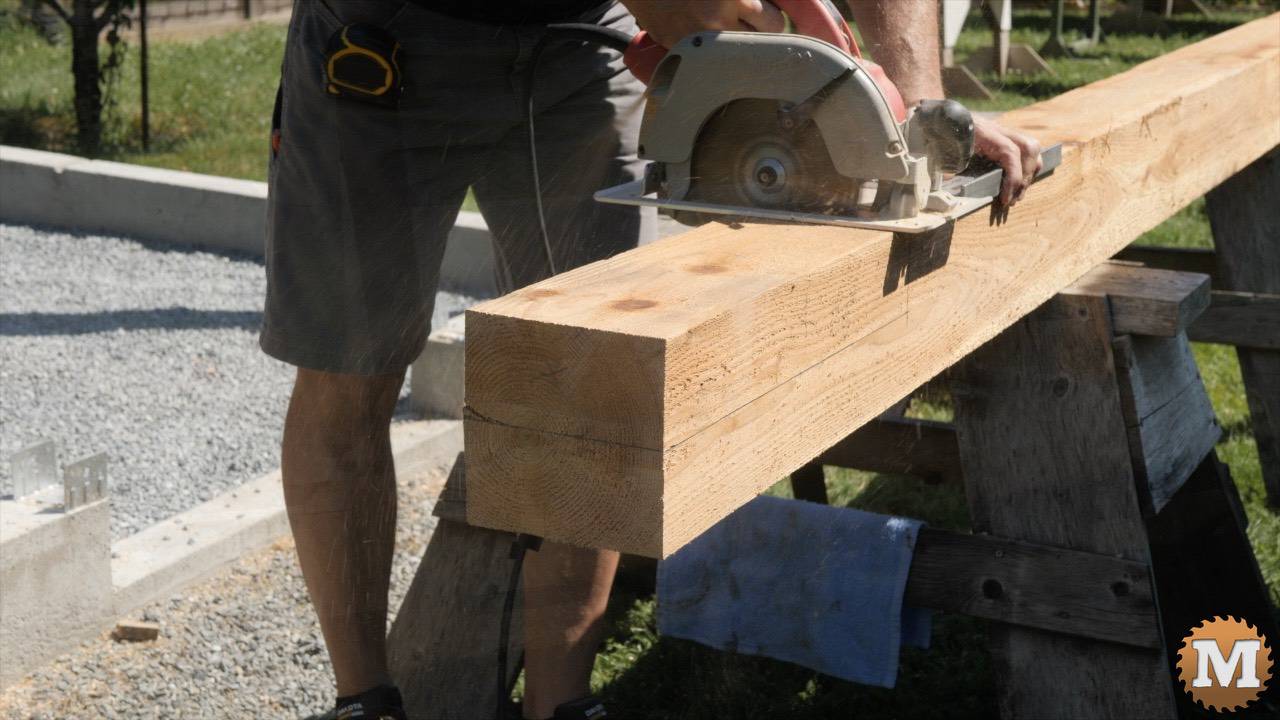
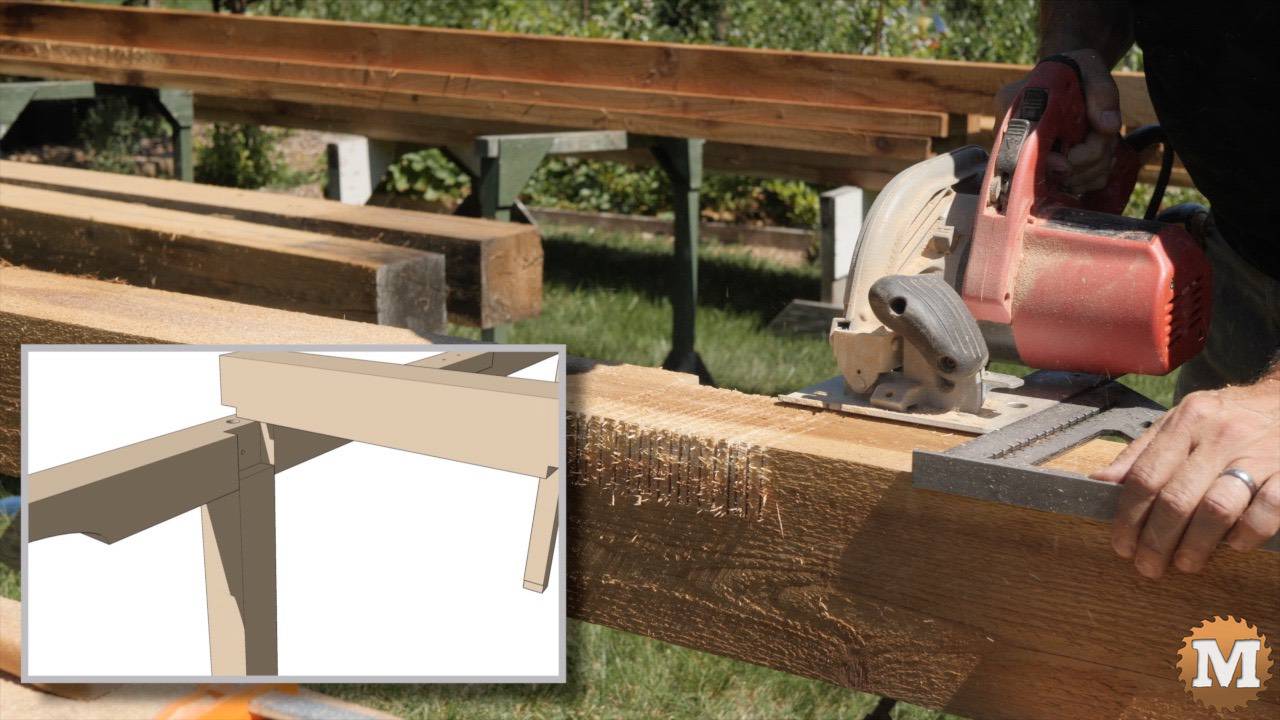
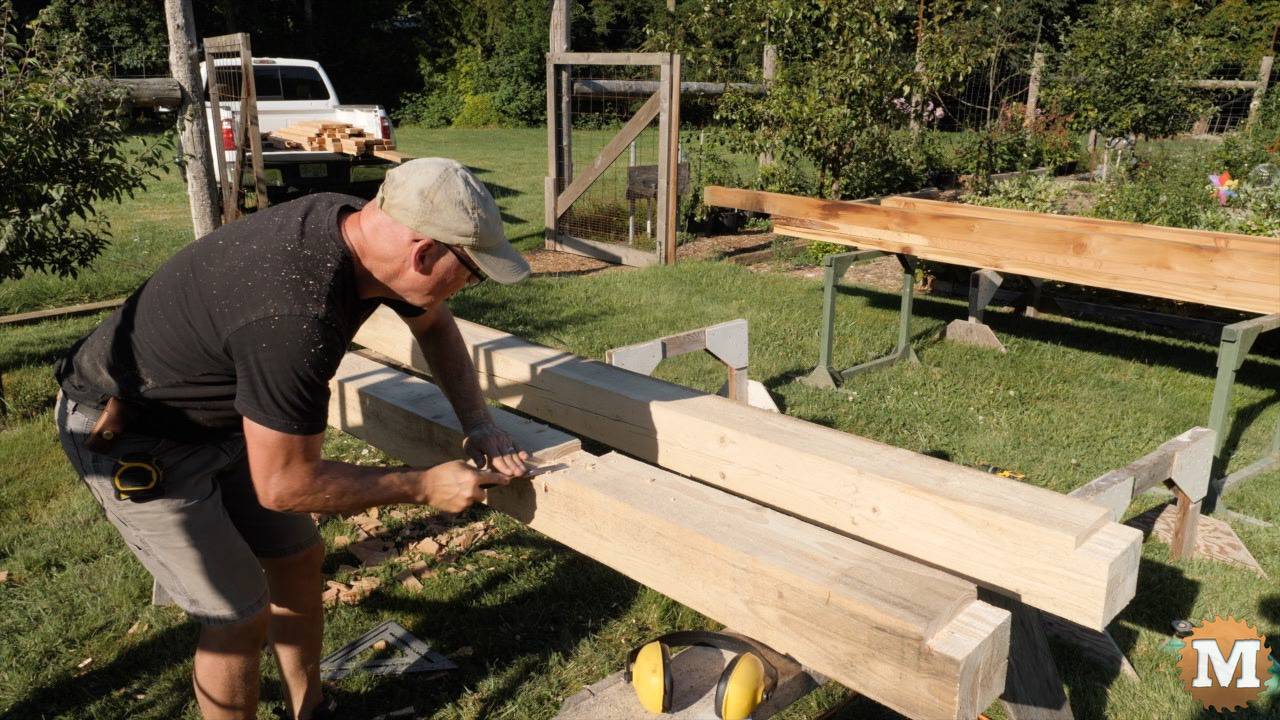
After squaring this end of a 6×6 I made a shoulder cut and then a rip cut on opposite sides with my circular saw.
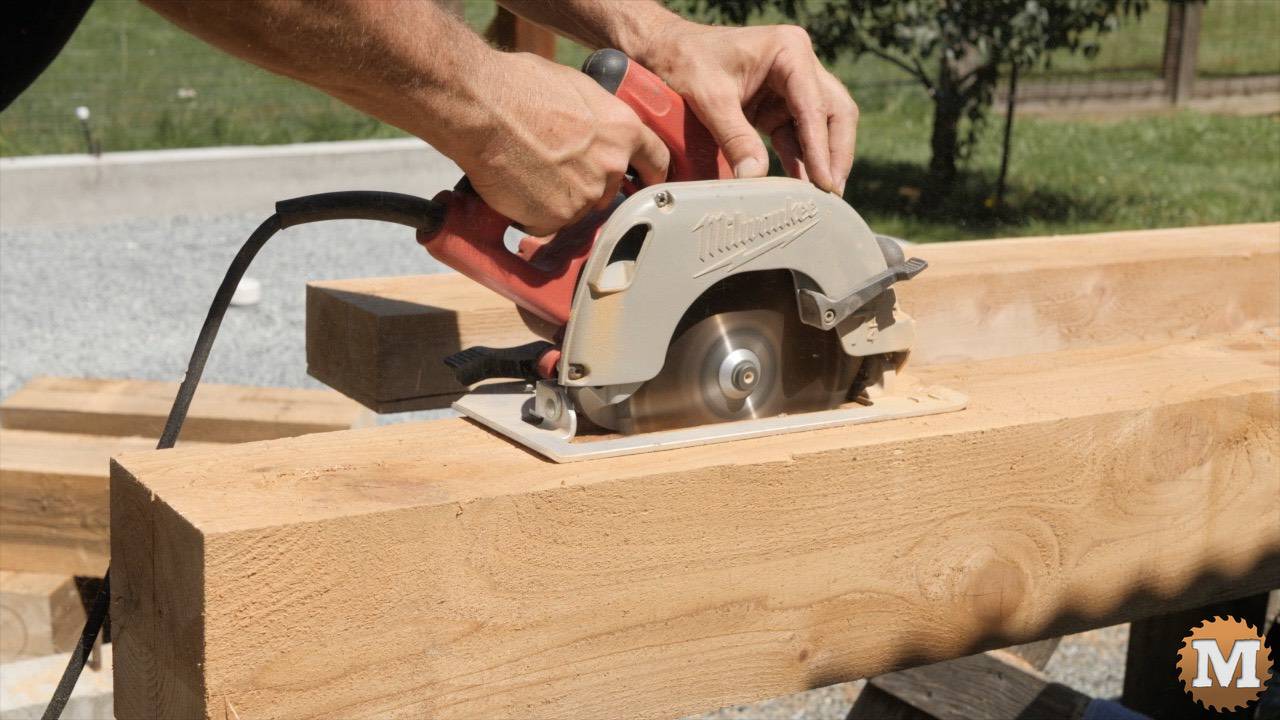
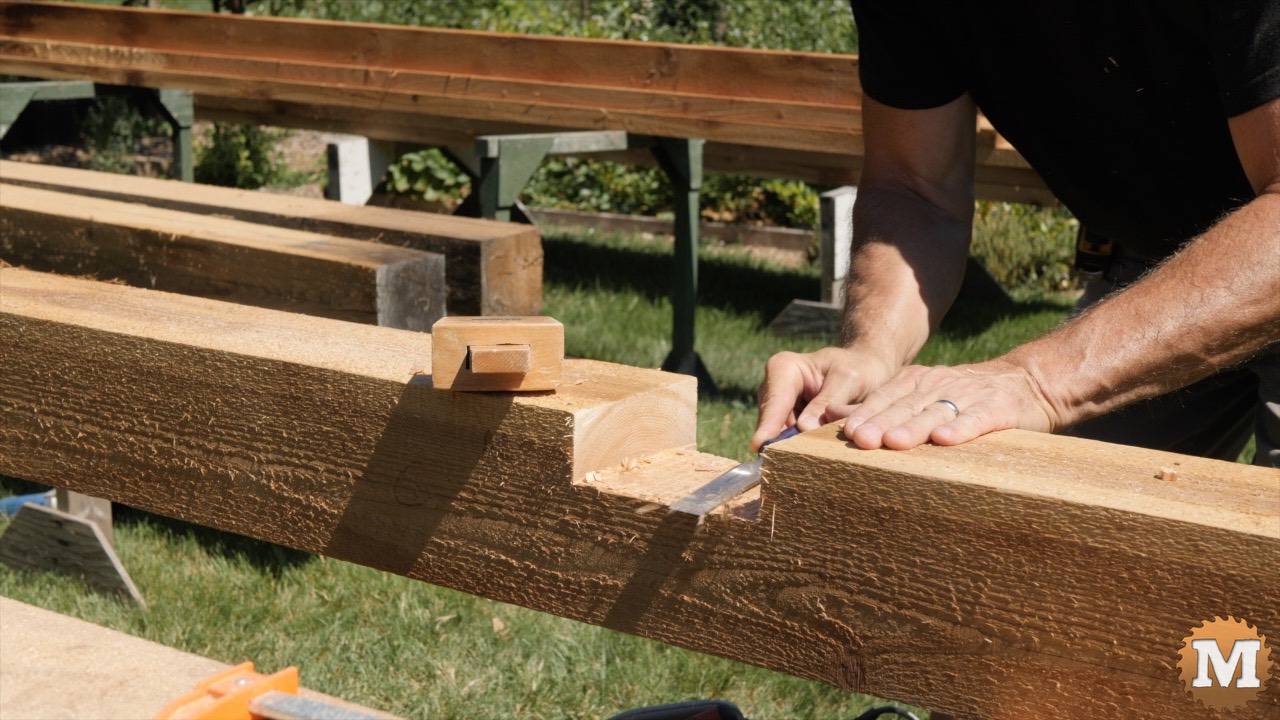
Then I finished the cuts with a handsaw.

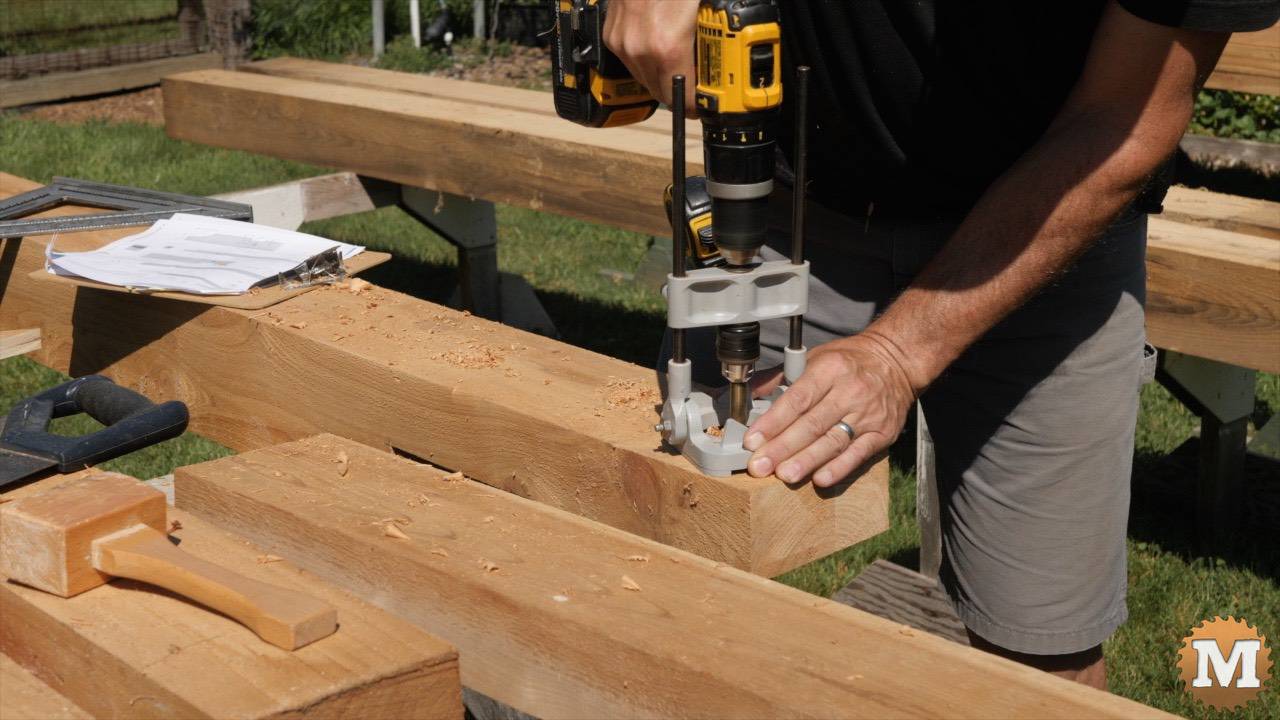
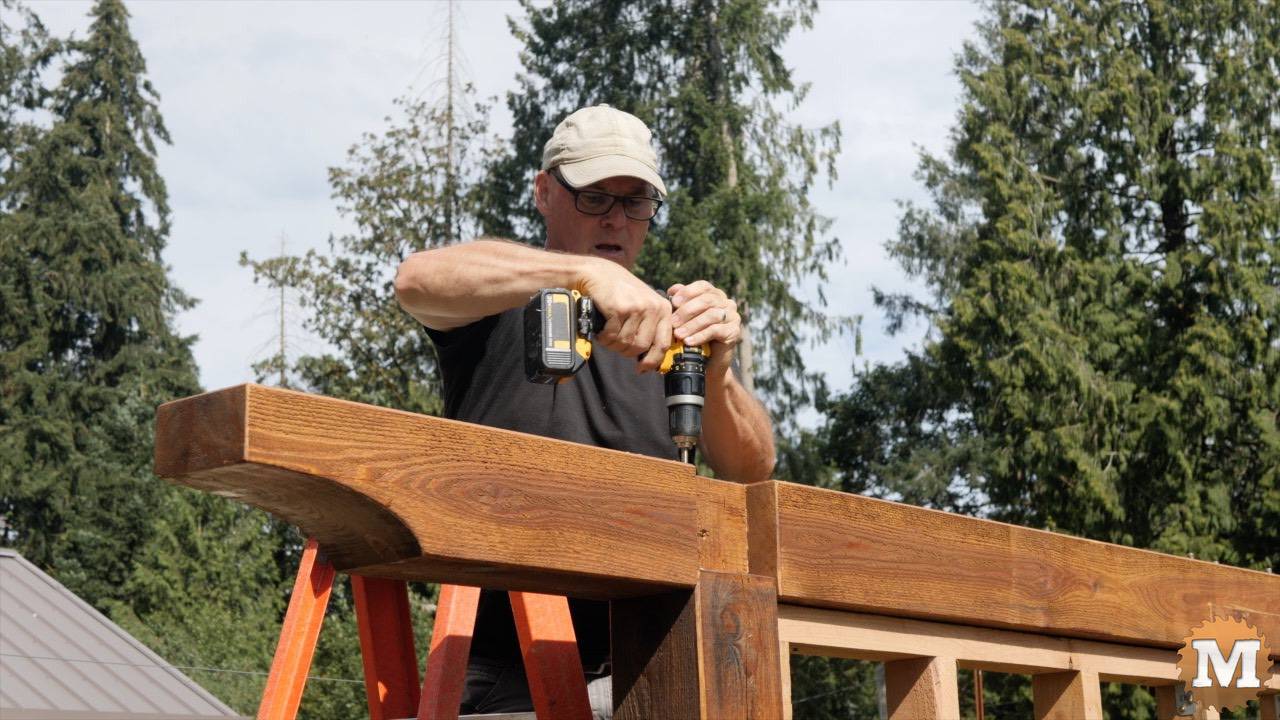
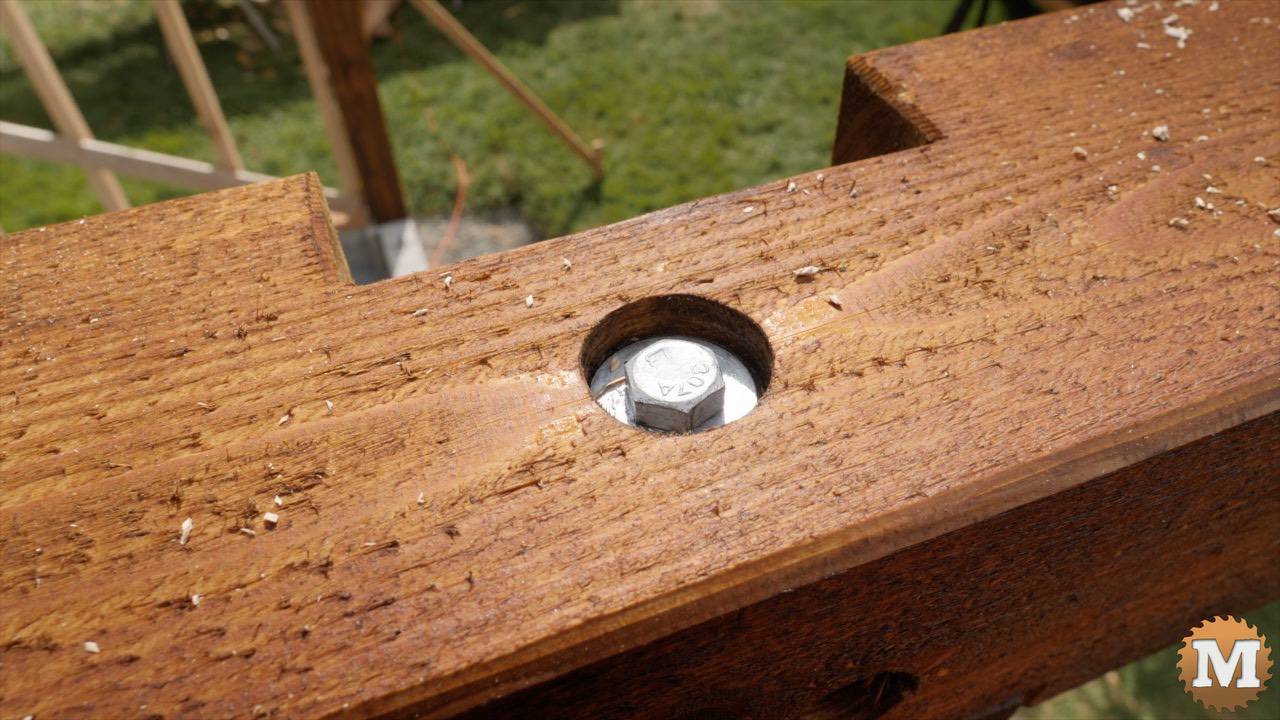
I countersunk and drilled holes for the bolts in one end of the scarf cut. Then clamped on the other scarf end and drilled through it.
Attaching Beams at Scarf Joint
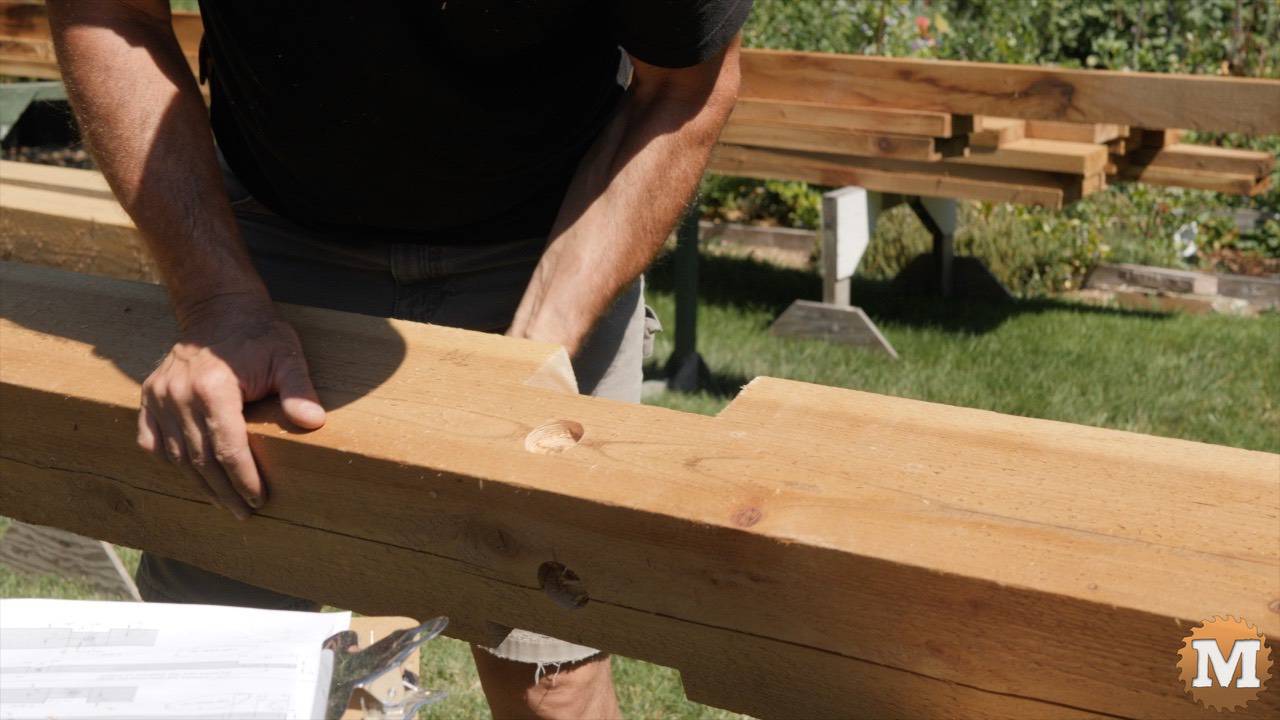
Don’t get too judgemental here but, I did add some construction adhesive in this joint before I clamped it back together and tightened the bolts. And I liked how it sealed the slightly rough edges of my not-so-perfect joinery. Did I say I wasn’t a timber framer?
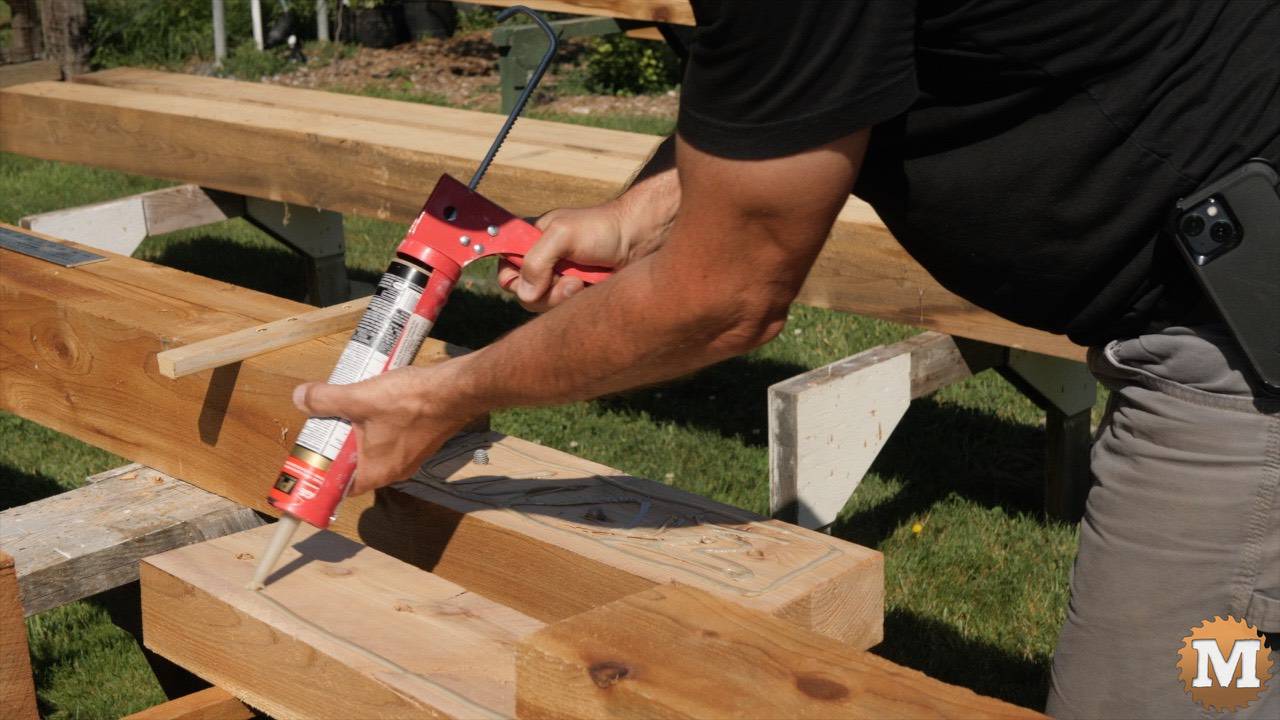

But I think these joins ended up working out well. And now I have two 6×6’s long enough to make the next cuts.

Cut Quarter Ellipse Profile of Greenhouse Beams
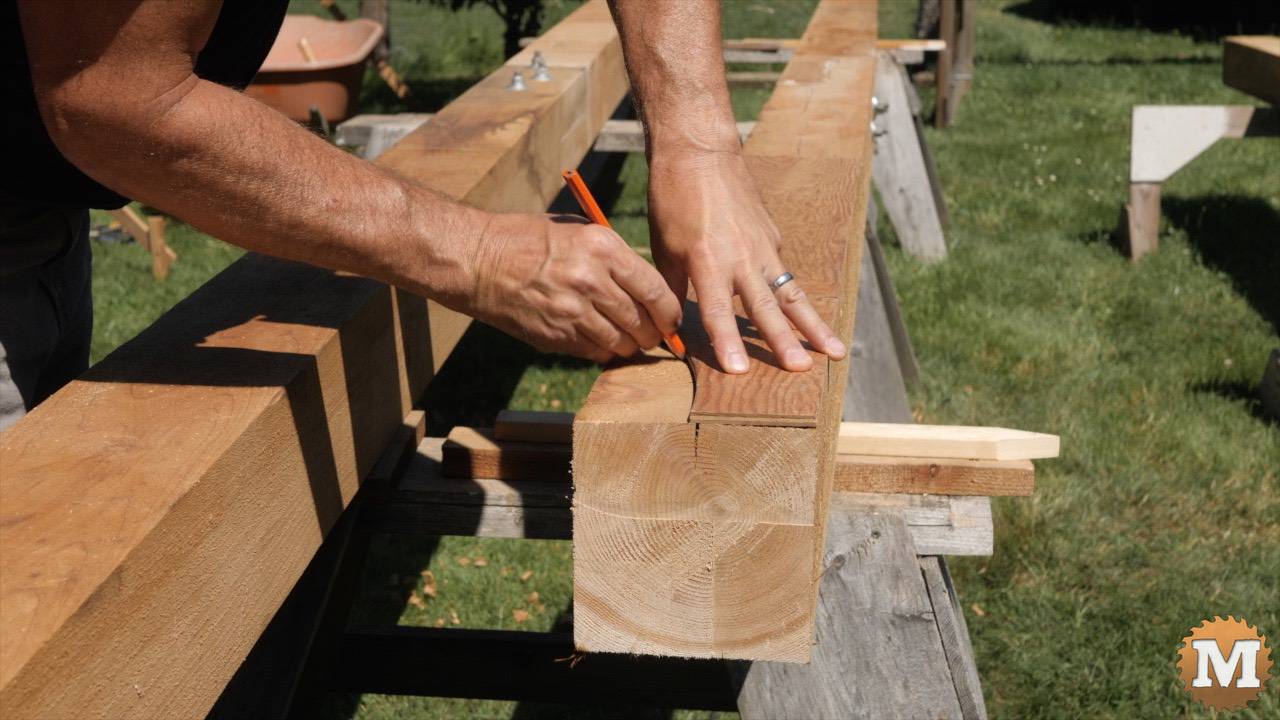
And that will be squaring up an end and marking and cutting the quarter ellipse profile.
(Disclaimer: As an Amazon Associate I earn from qualifying purchases. Thank you for helping to support my content this way. )

I have a long blade for my jigsaw for this. I can’t push it too hard though.
It’s western red cedar but I’m basically ripping with the grain and it’s a 6″ deep cut.
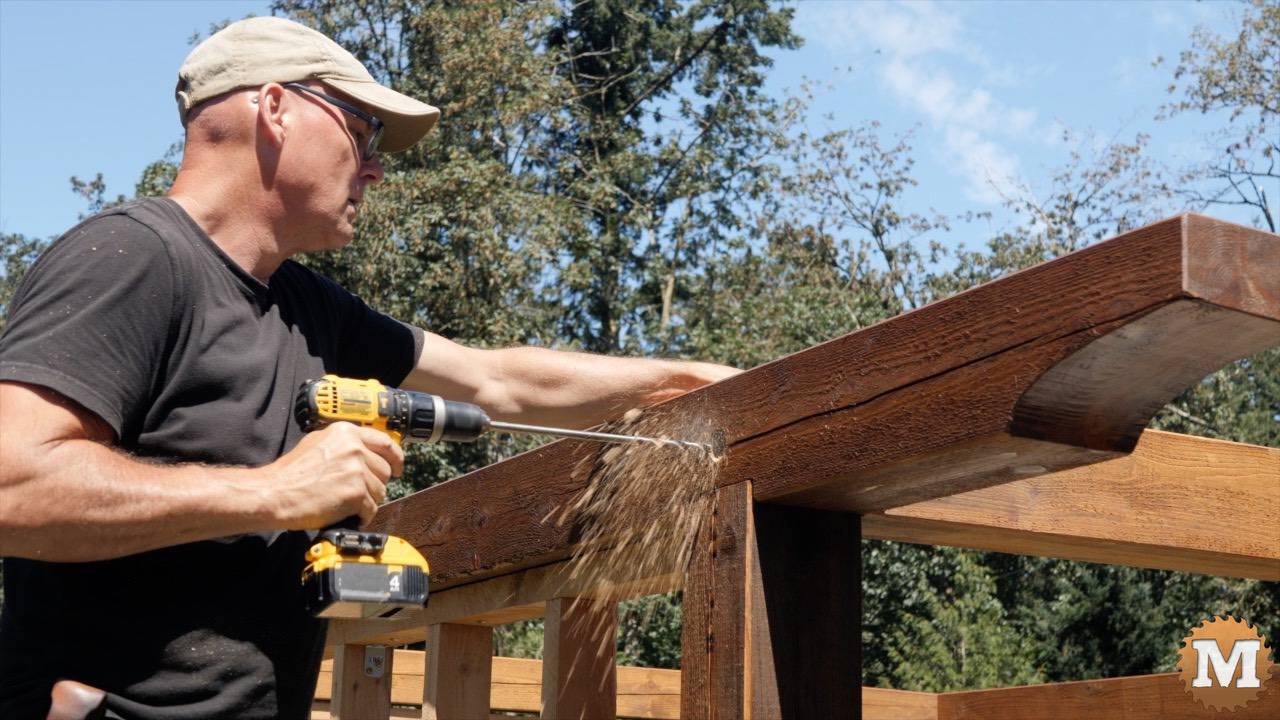
Cut Dados in Greenhouse Beams
These beams sit down on the post an inch. So I can now cut that shallow dado with my circular saw.
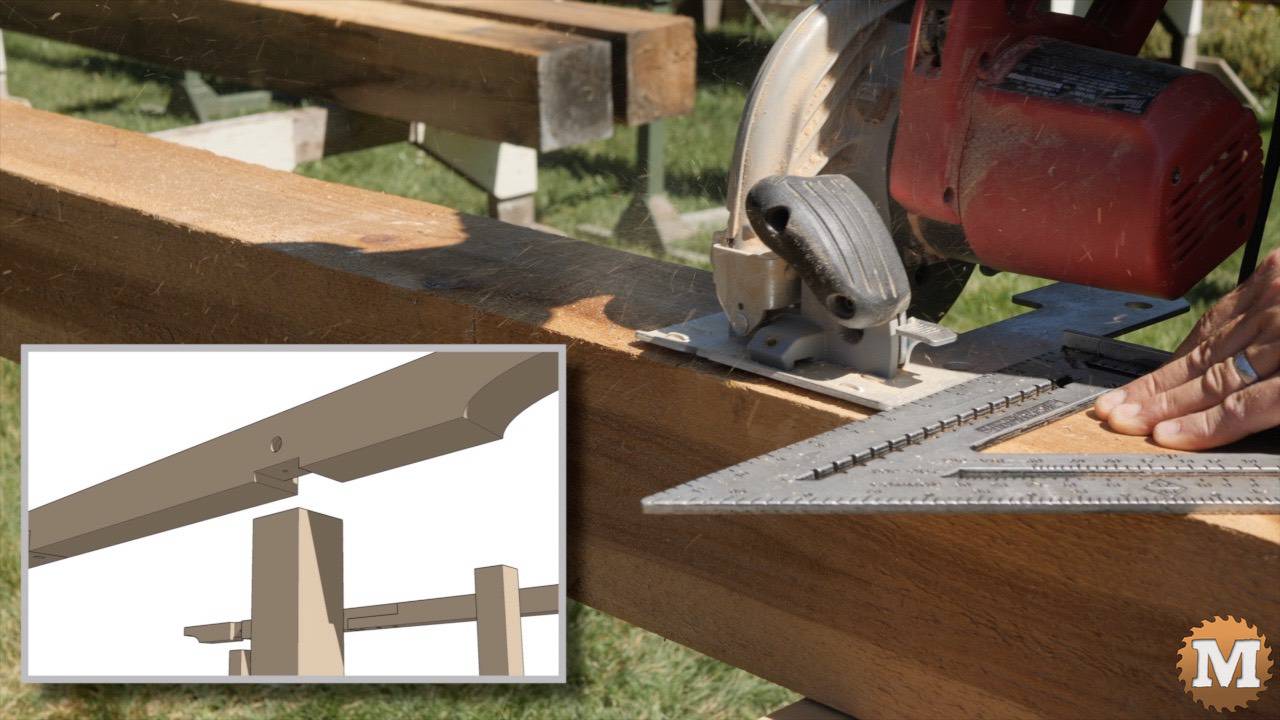
I’ll rotate that beam 90 degrees toward me then cut another deeper dado that will accept the end of the cross tie.
At this joint there’s two holes required for the lag bolts that will hold the beam to the post — then the beam to the cross tie.
The cross ties are cut to length and a lap cut in each end. That’s so the cross tie will sit down on the post an inch. And the front cross tie also needs two dados in it’s underside to accept the 4x4s that form the doorway.
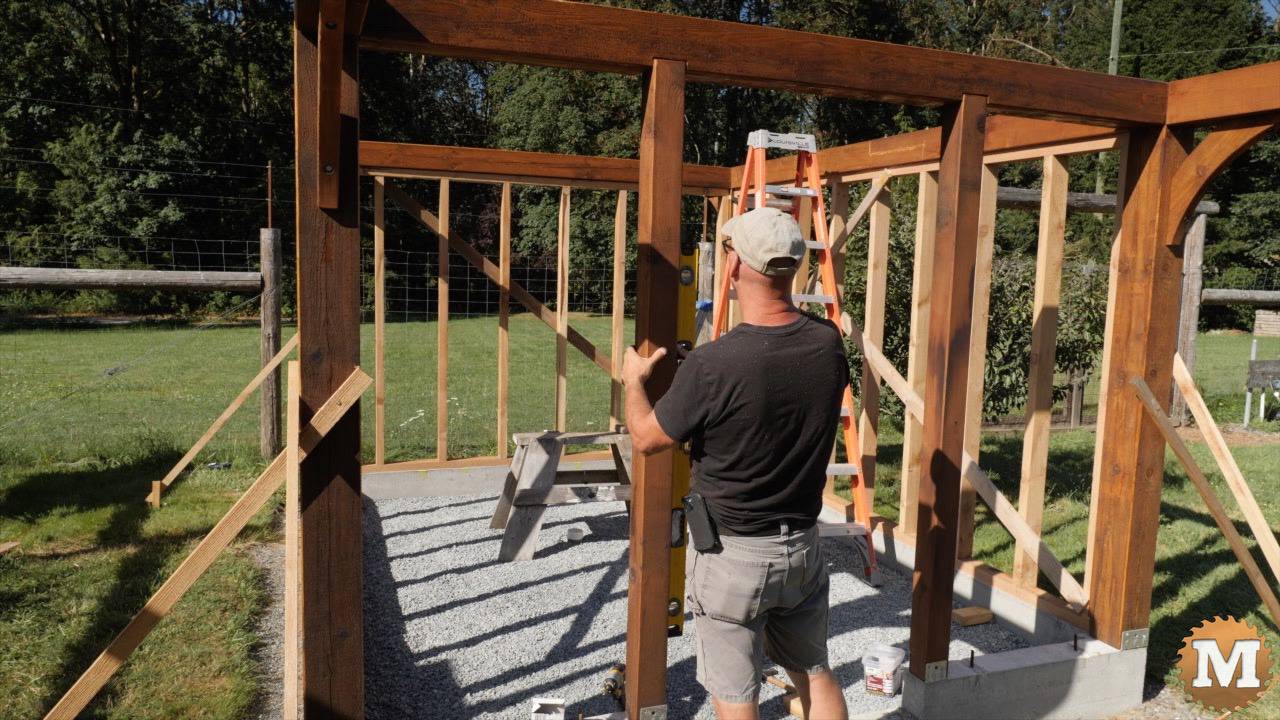
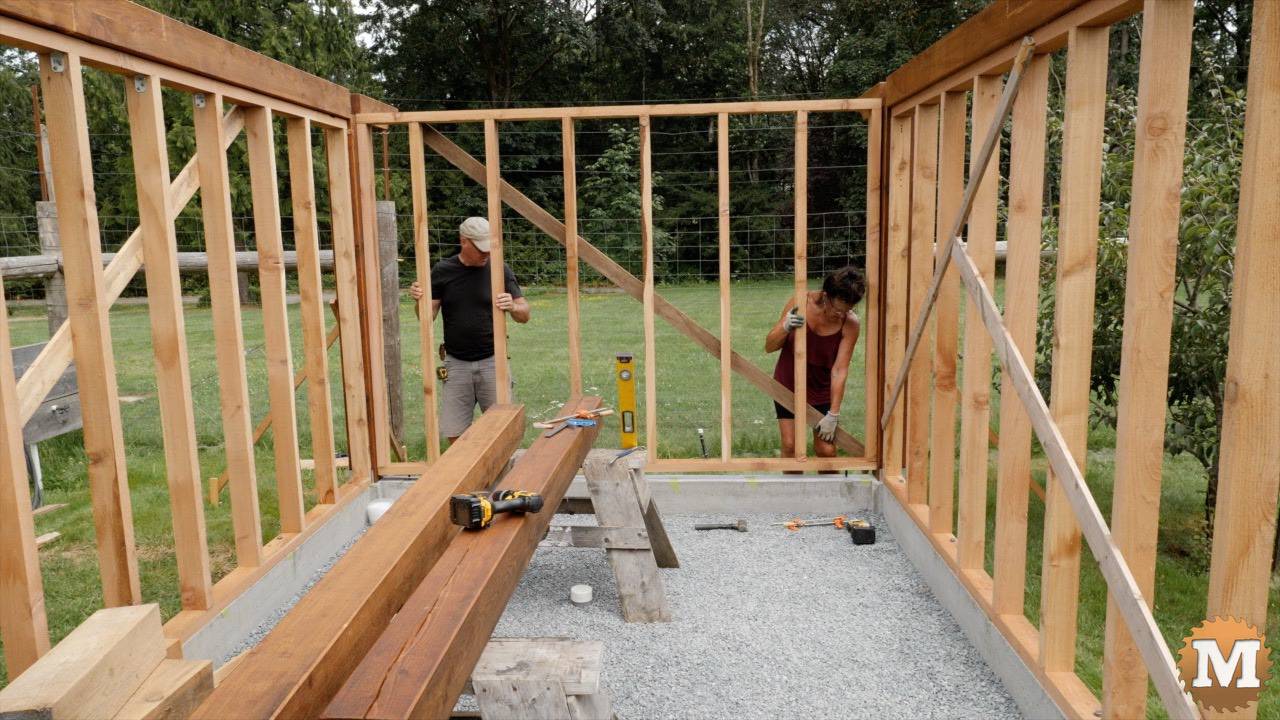
The North South beams are stained and ready to be lifted into place but, I decided to install the East and West stud walls first. That way we can drop the drilled bottom sill plate over the anchor bolts.
Install Greenhouse Stud Walls
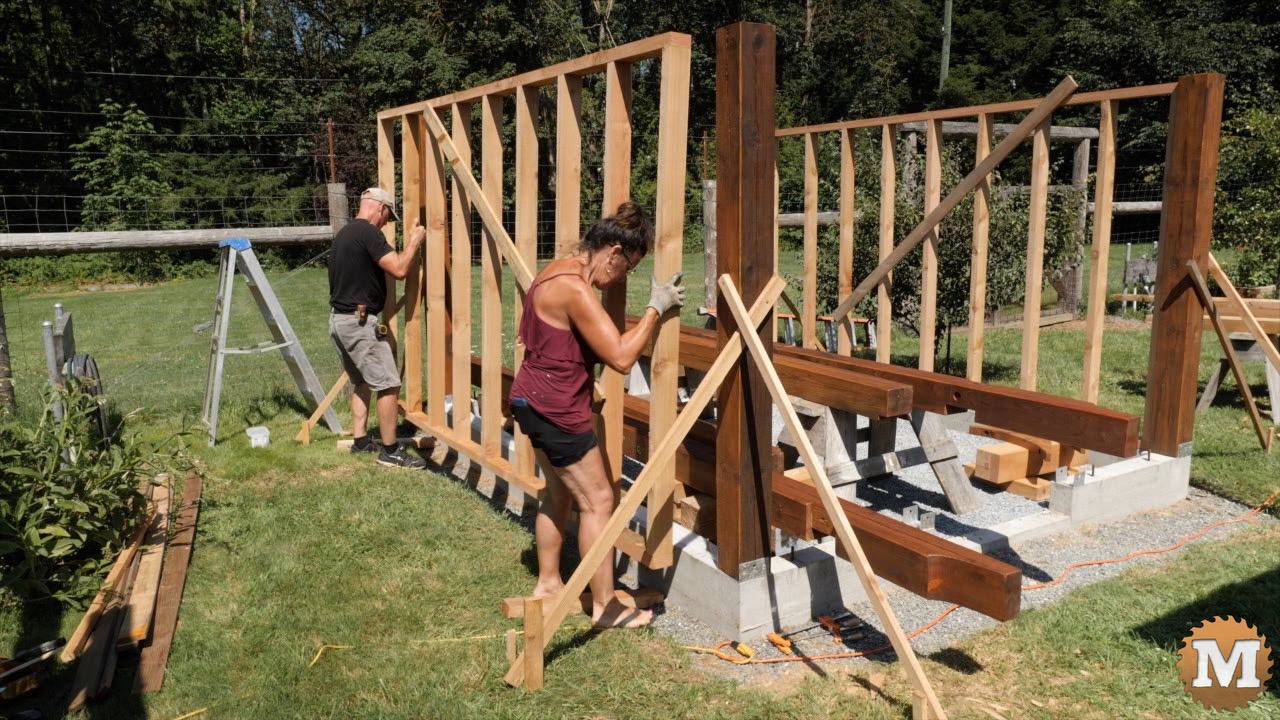
And Marilyn came to help me carry and drop these in.
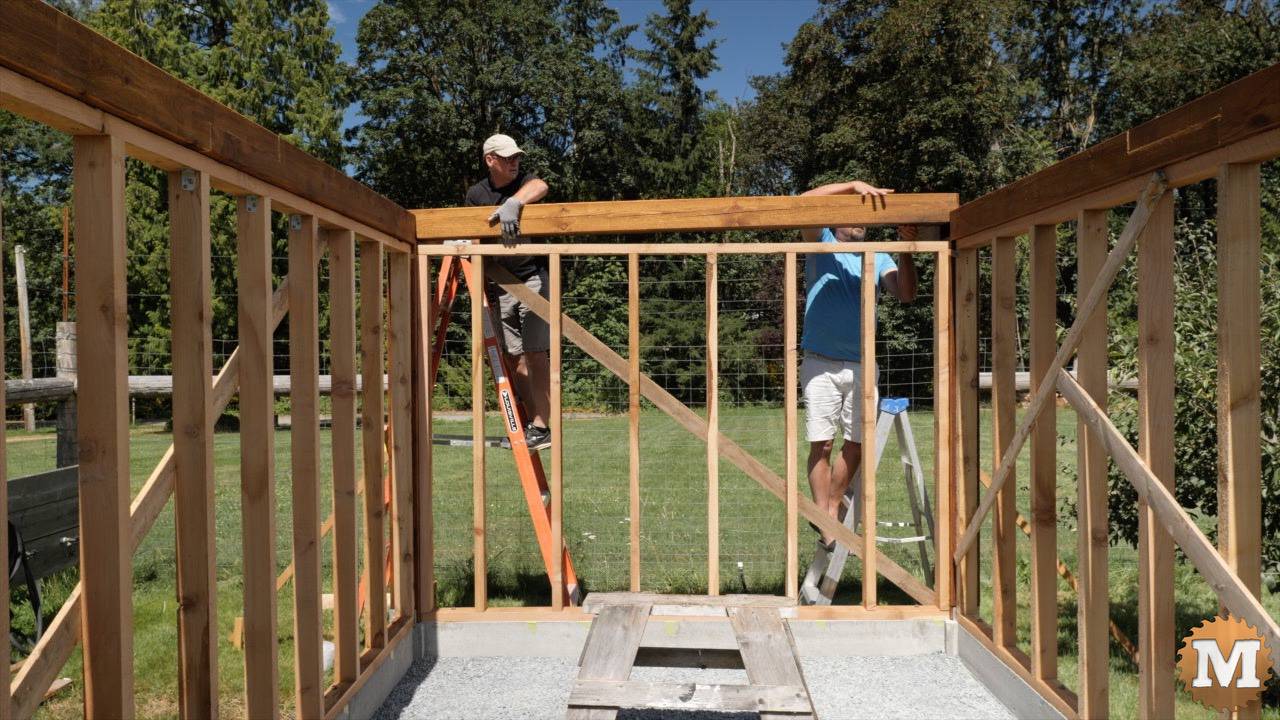
And with those two walls in place my neighbour Calvin came over to help me set the beams on the posts.
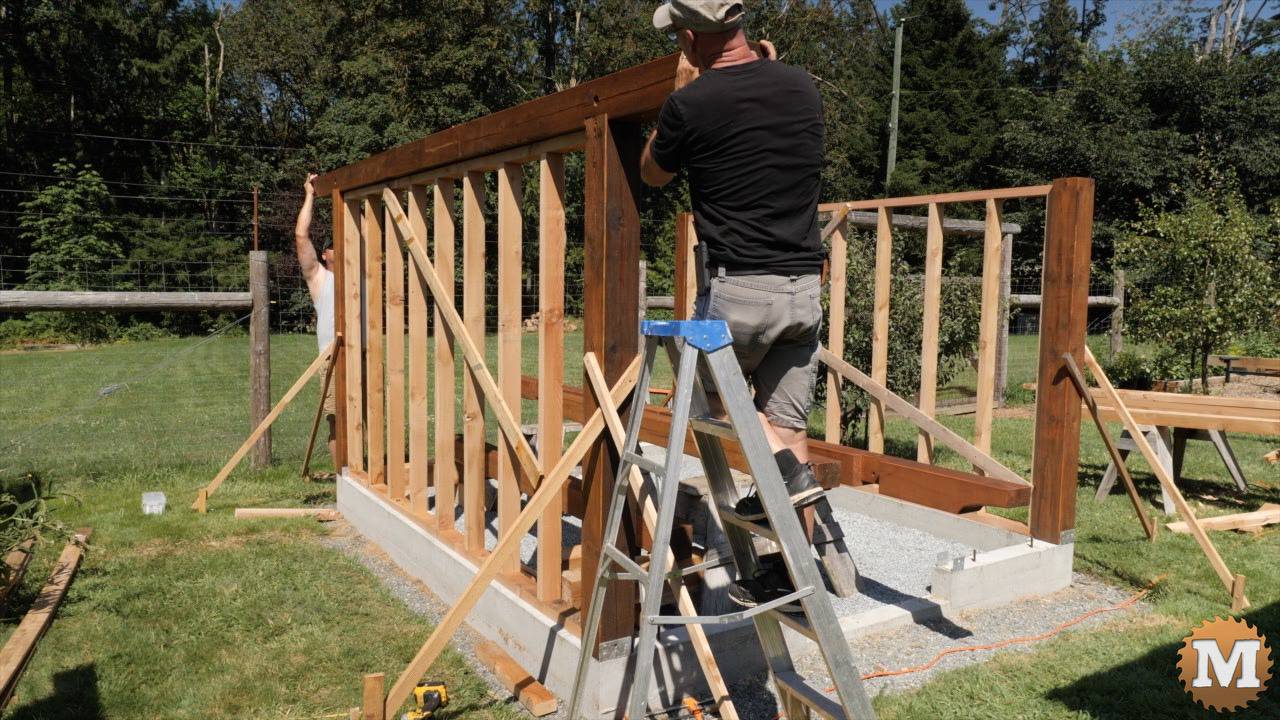
I’ll drill a pilot hole through the beam and into the top of the post. Then run in a lag bolt.
And we then set the rear stud wall in place.
Then the rear cross tie can be dropped in over the wall.
Followed by the front cross tie.

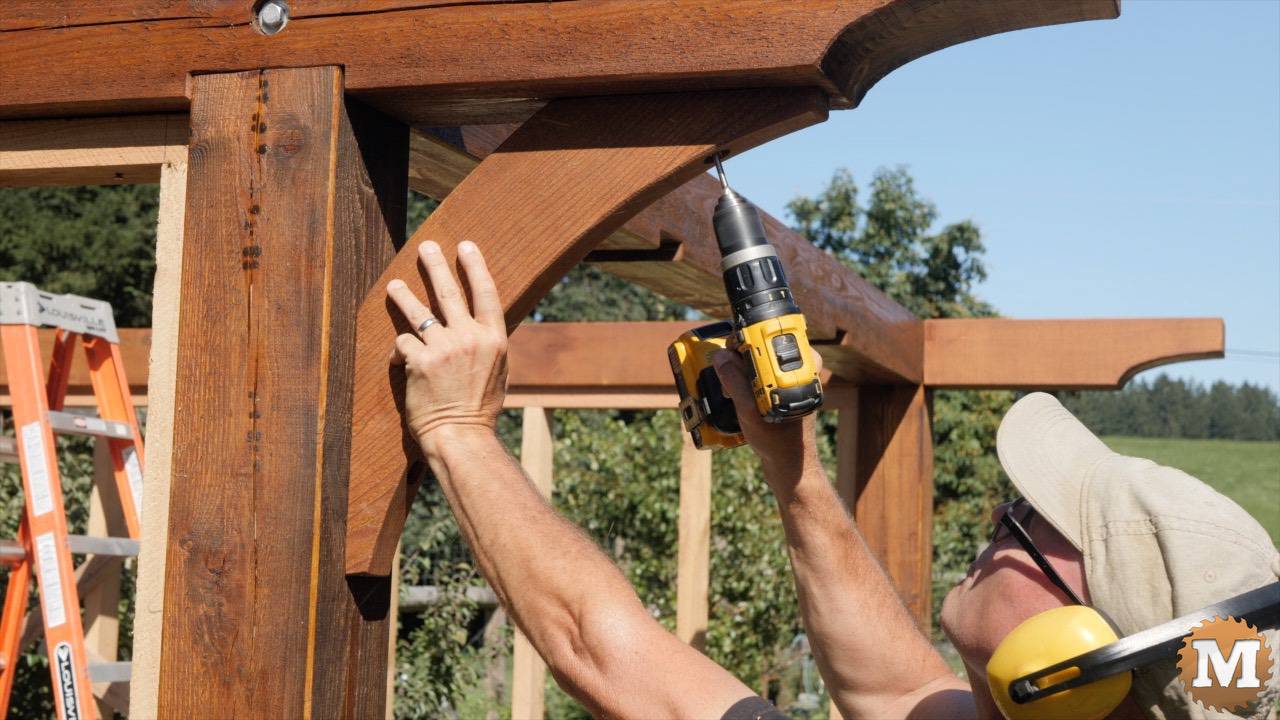
Bolt the Greenhouse Posts and Beams Together
And I’ll drill horizontally now through the beam and into the end of the cross tie. And run in a lag bolt.
The four curved corner braces are held in place and pilot holes drilled into the post and the beam. And lag screws secure them and the angle of the pilot holes tighten it toward the corner. These braces are flush mounted and I have used this design on a few other structures.
The 4×4 door frame posts are then set in place and plumbed. And screwed to the front cross tie and the post saddles.