Greenhouse Foundation Considerations
We live on the west coast and our winters are generally pretty mild so I can get away with pouring this foundation at a shallow depth.
Other existing buildings and workshops on our property were built this way (with no sign of heaving) so I decided to follow that.
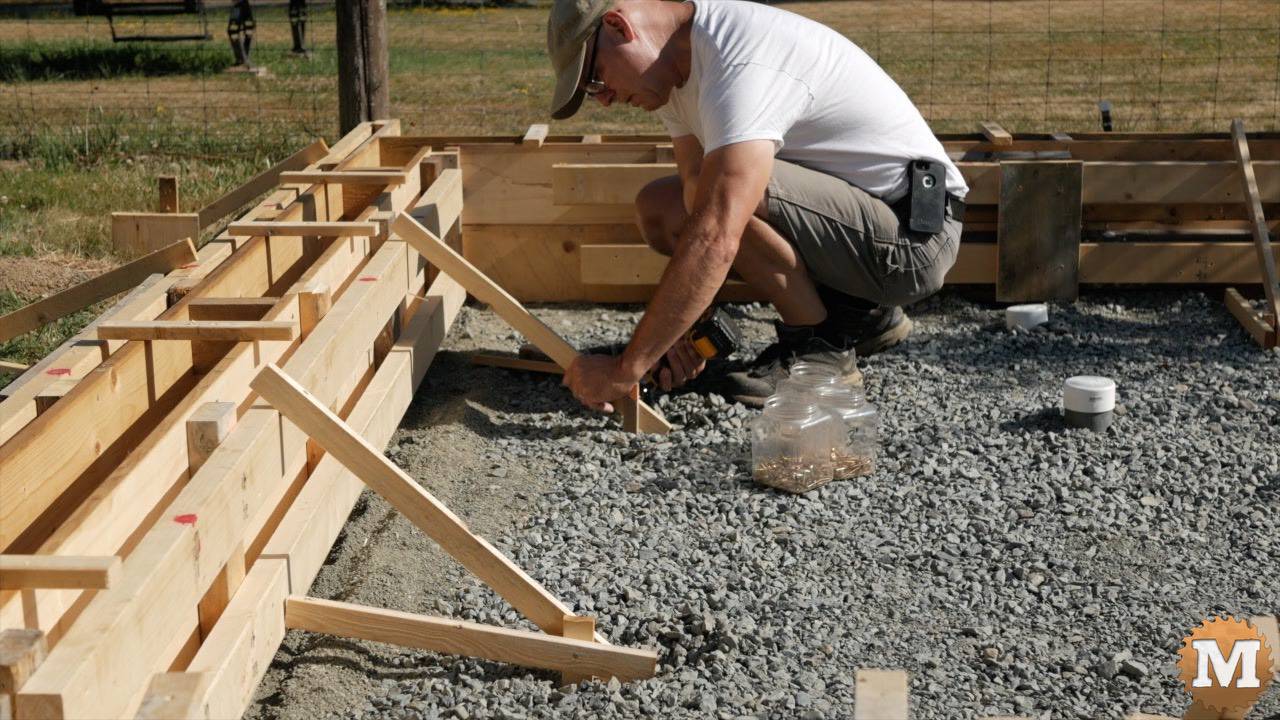
Setting the Concrete Forms in Place
So I can position, level, and square the inner and outer walls of the forms. And then stake and brace them in place.
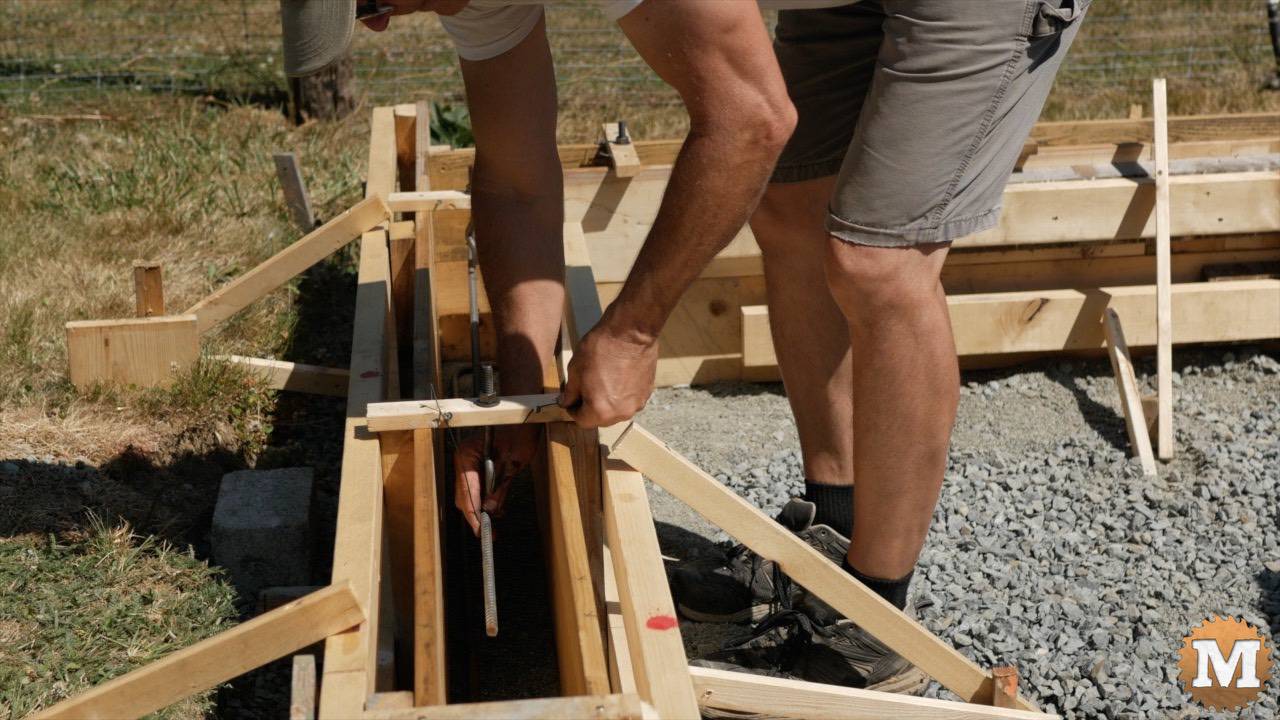
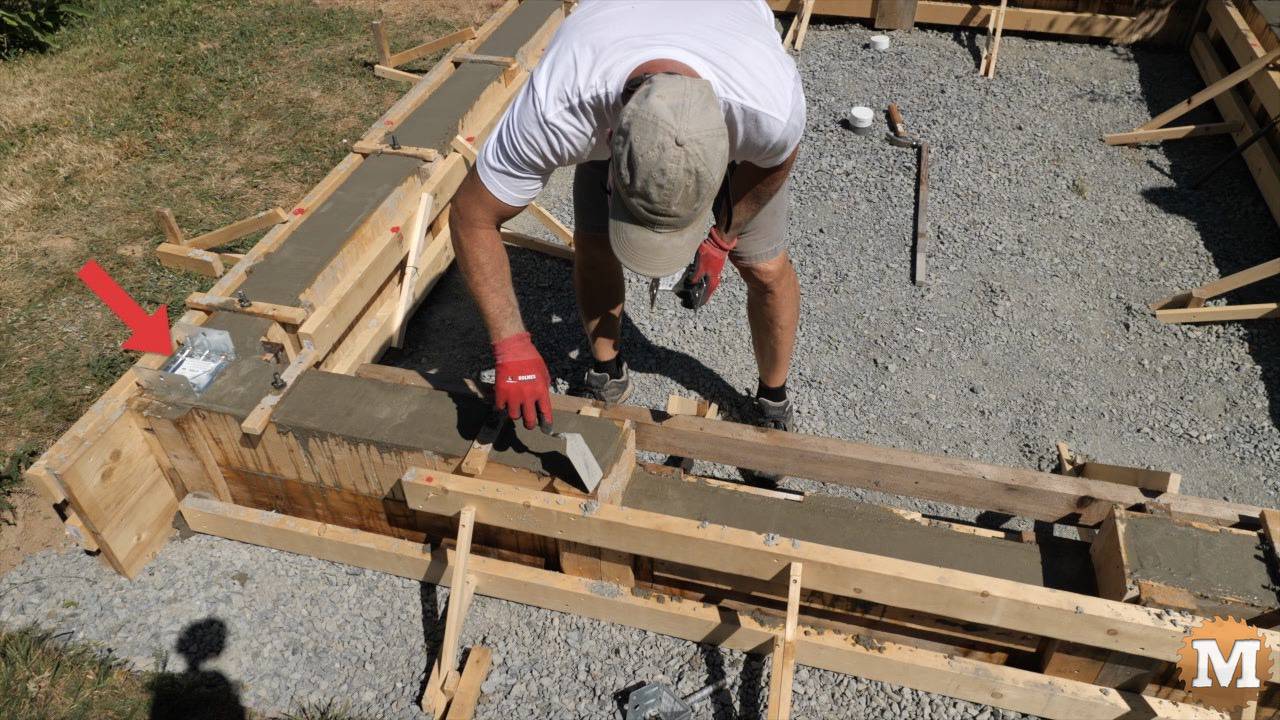
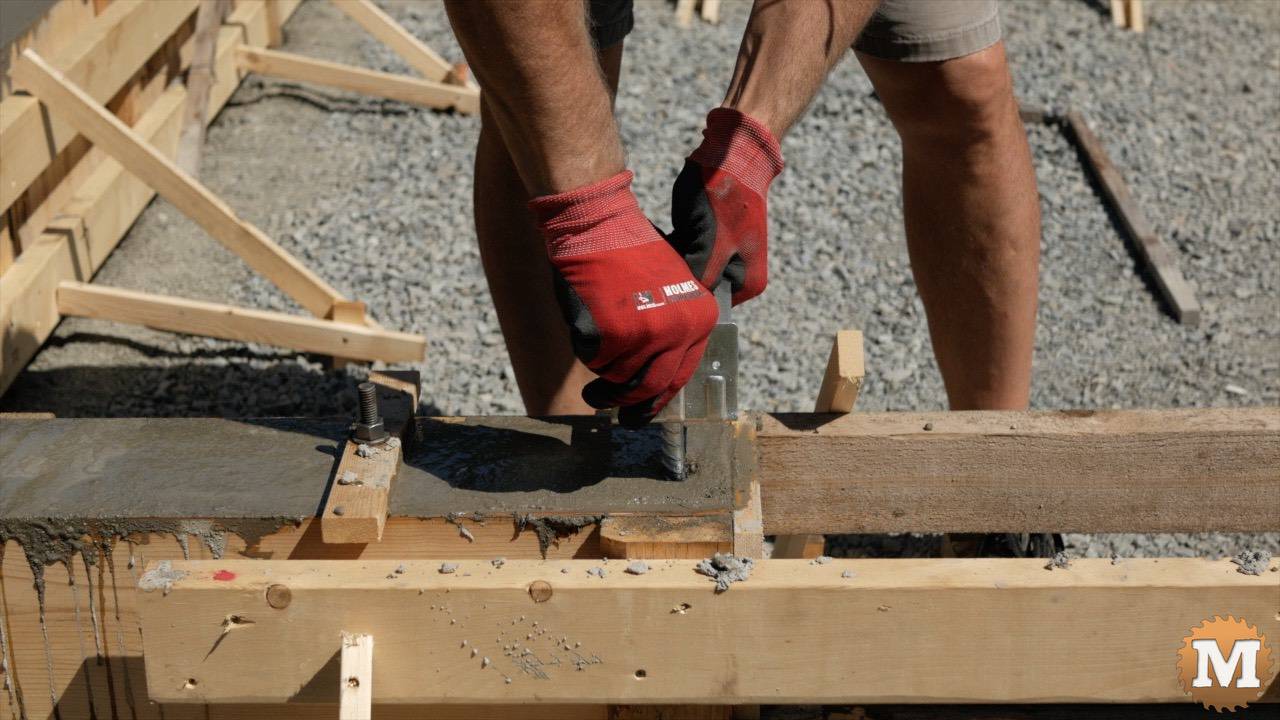
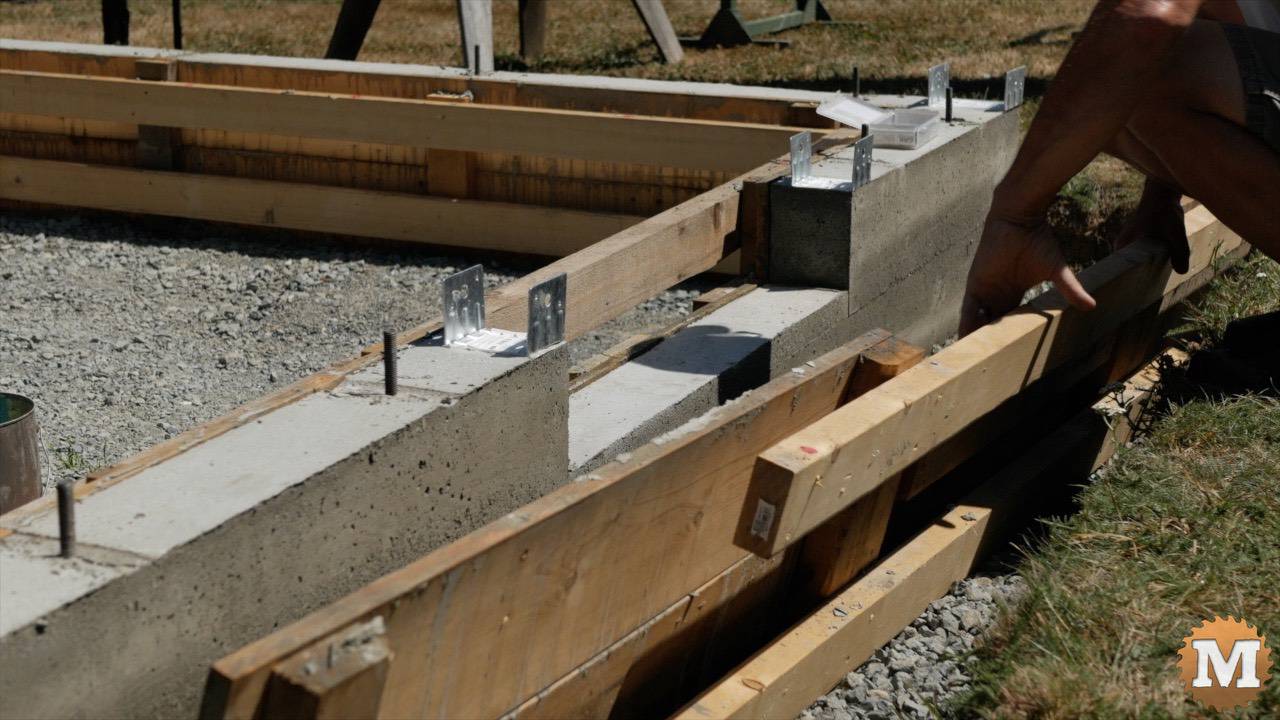
I bent some rebar and suspended it from wire. And added some 1×2’s across the top of the forms to hold the anchor bolts in place.

The form work is labour intensive but the materials and concrete is not particularly expensive for this pour. I want my projects to last so I’m happy to put in the extra effort if that’s what will make the difference. Rebar too is not very expensive so I put two rows of it in.
The wood for the form walls I was lucky enough to buy a few years ago so that wasn’t too bad either. And I will use all those 2×4’s and 1×8’s again in some other project.
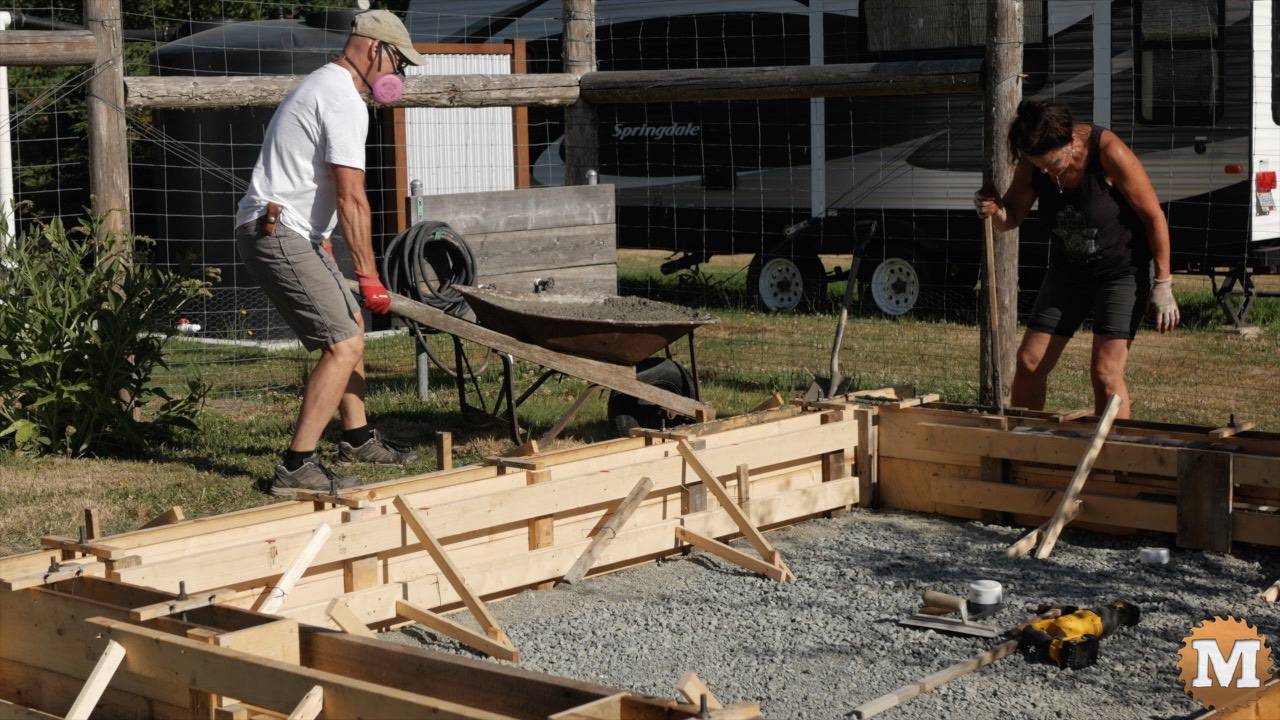
Pouring the Greenhouse Foundation
I have a small concrete mixer that can handle two bags at a time.
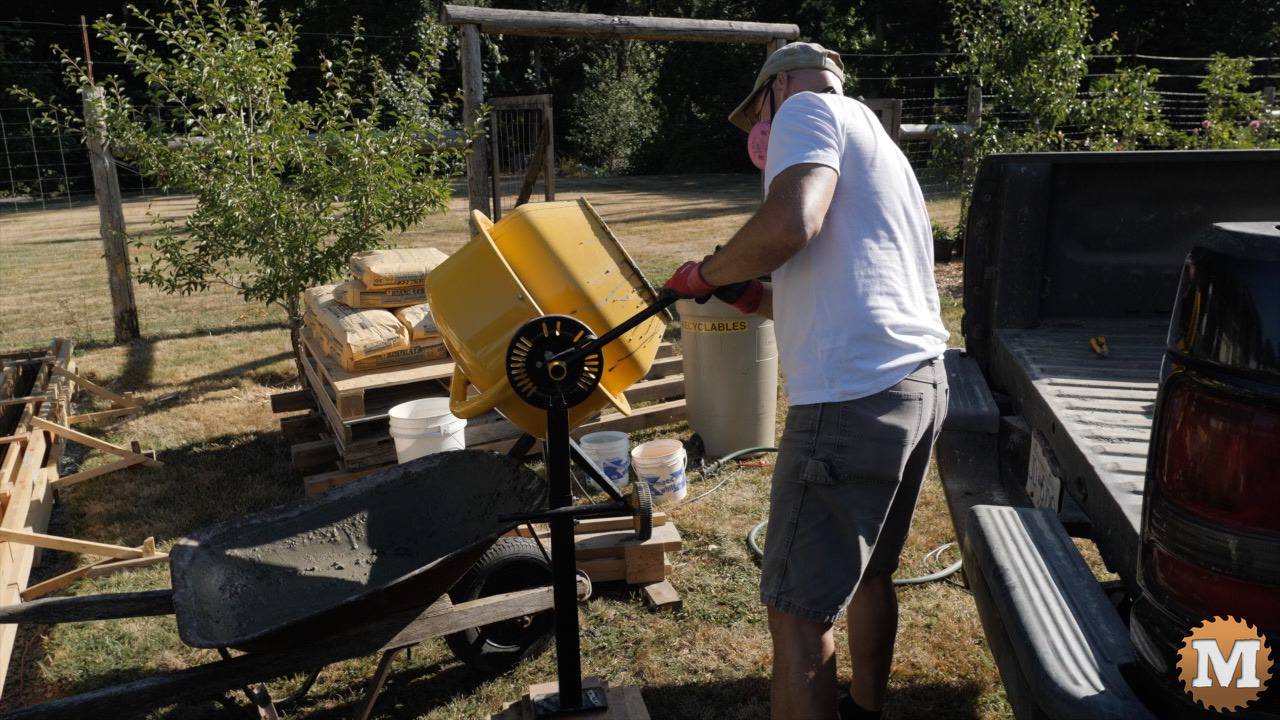
So it was a full day for Marilyn and myself to do this foundation pour. I did the mixing and finishing and she filled the forms and settled the concrete.
Galvanized 6×6 post saddles were set into the wet concrete at each corner. And 4×4 saddles on each side of the doorway.
(Disclaimer: As an Amazon Associate I earn from qualifying purchases. Thank you for helping to support my content this way. )
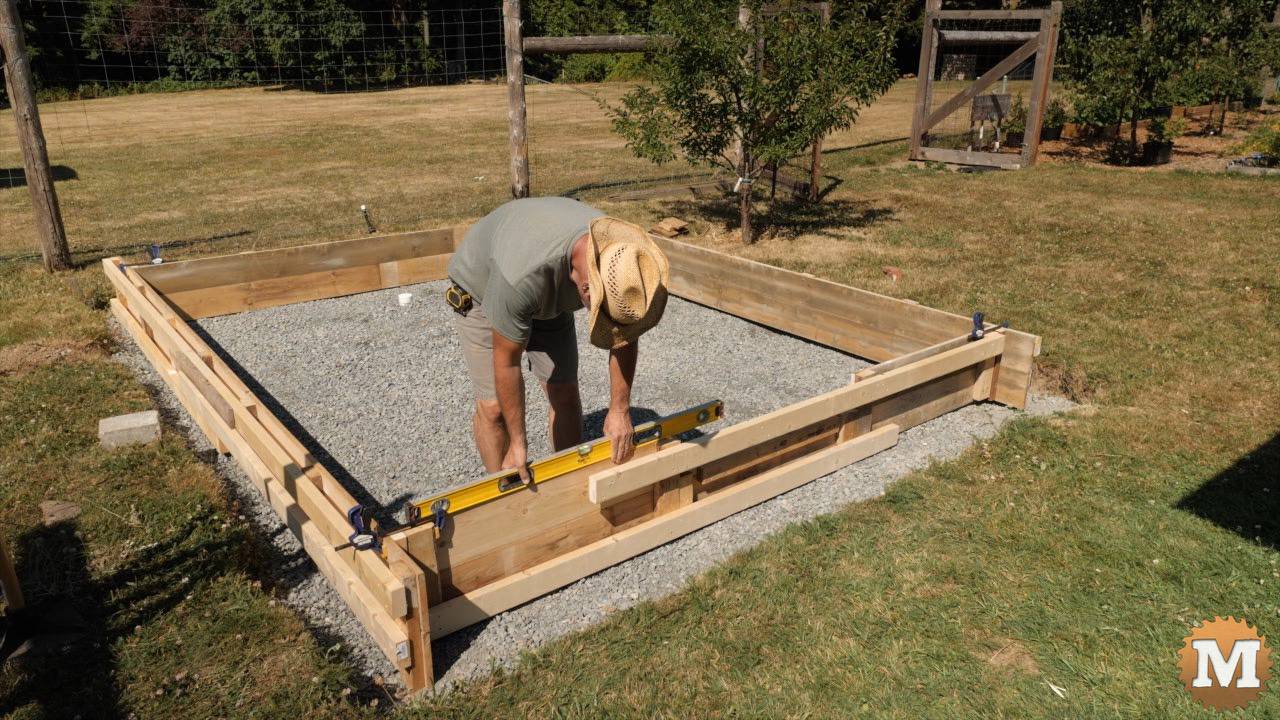
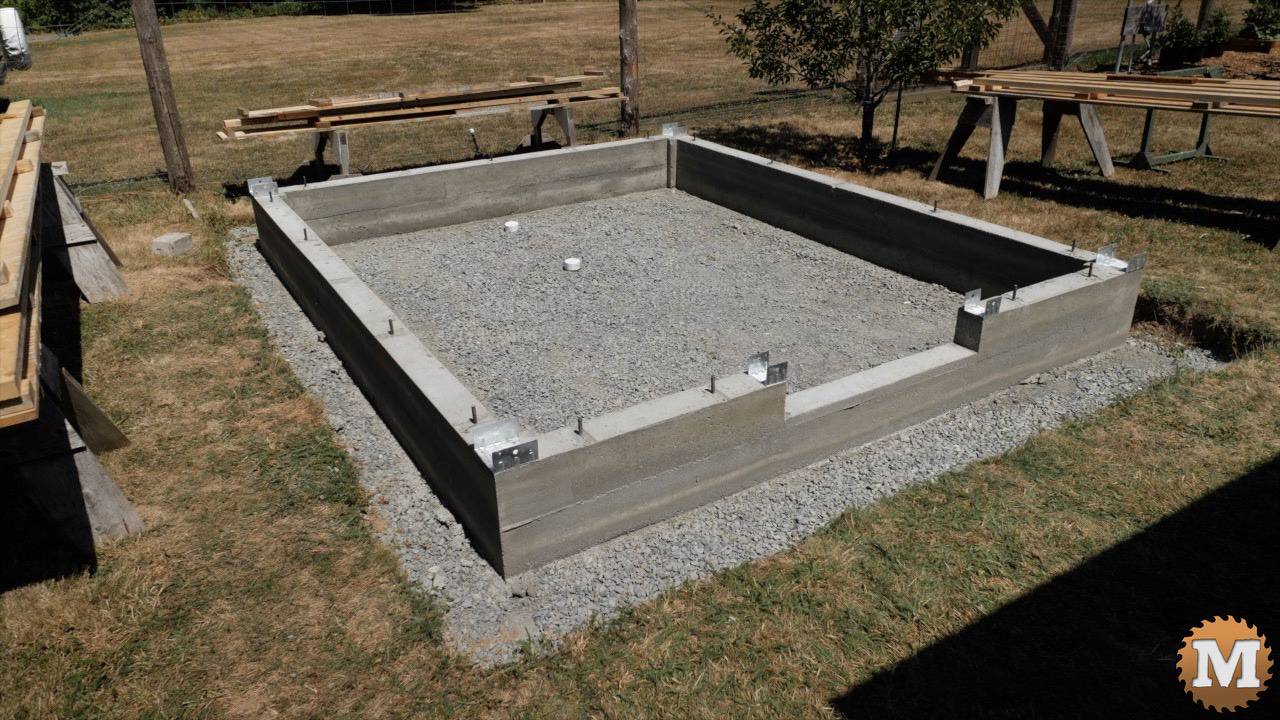
A few days later I stripped the forms and everything looked good. Nothing moved or bowed out during the pour.
The Greenhouse Post and Beam Framing
All the posts, beams, ties, and rafters I had milled full dimension from trees felled on our property over the past five years or so. I then stickered and covered stacks of various sizes to air dry for a few years. The in fill walls I was planning to build from construction grade 2×4 cedar but I was also able to get those from some of the milled material I had. In the plans I did spec nominal 2x4s there.
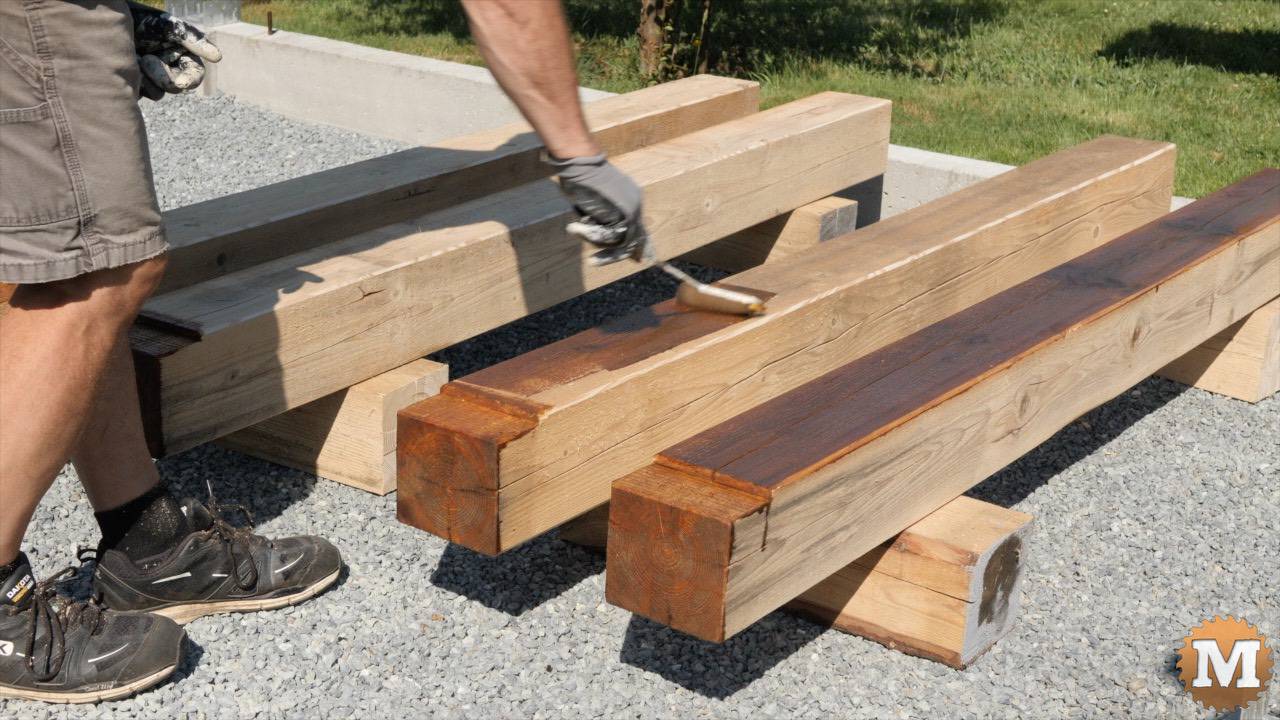
The posts and cross ties will be made from Grand Fir. This type of fir is not very weather resistant so I’ll add a few extra coats of stain to them. I was short of cedar 6×6’s so I needed to substitute.
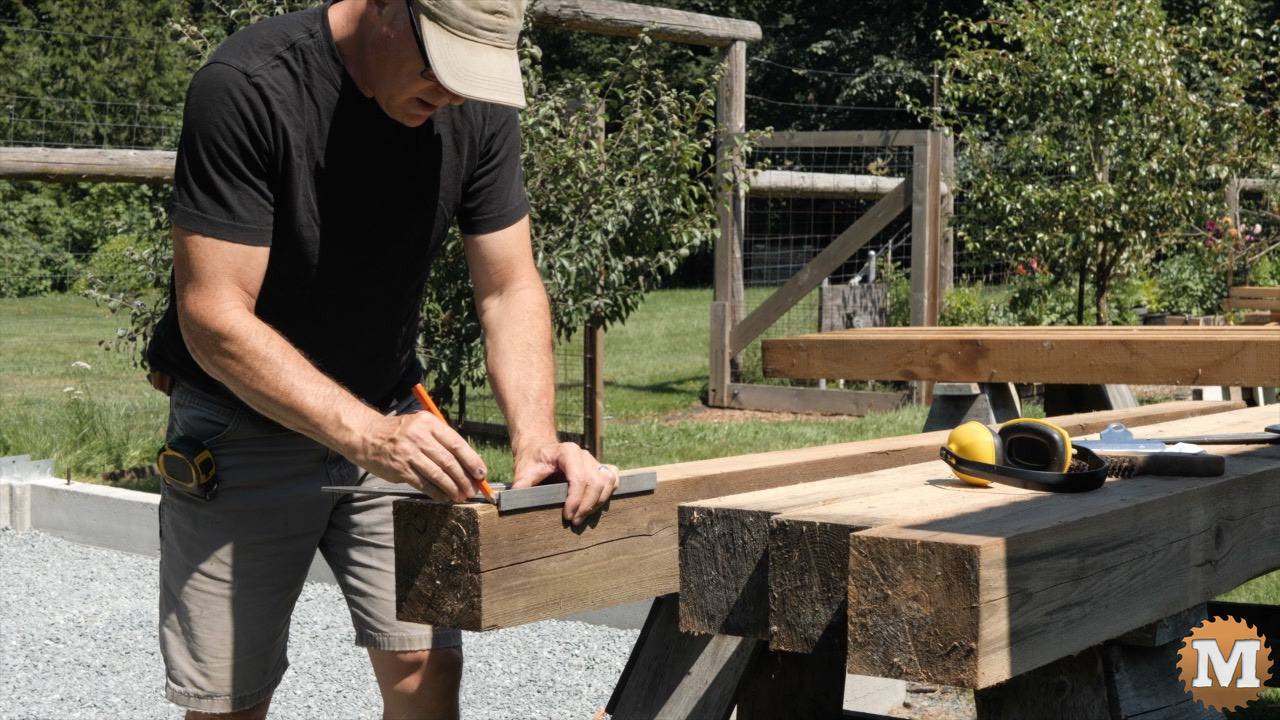
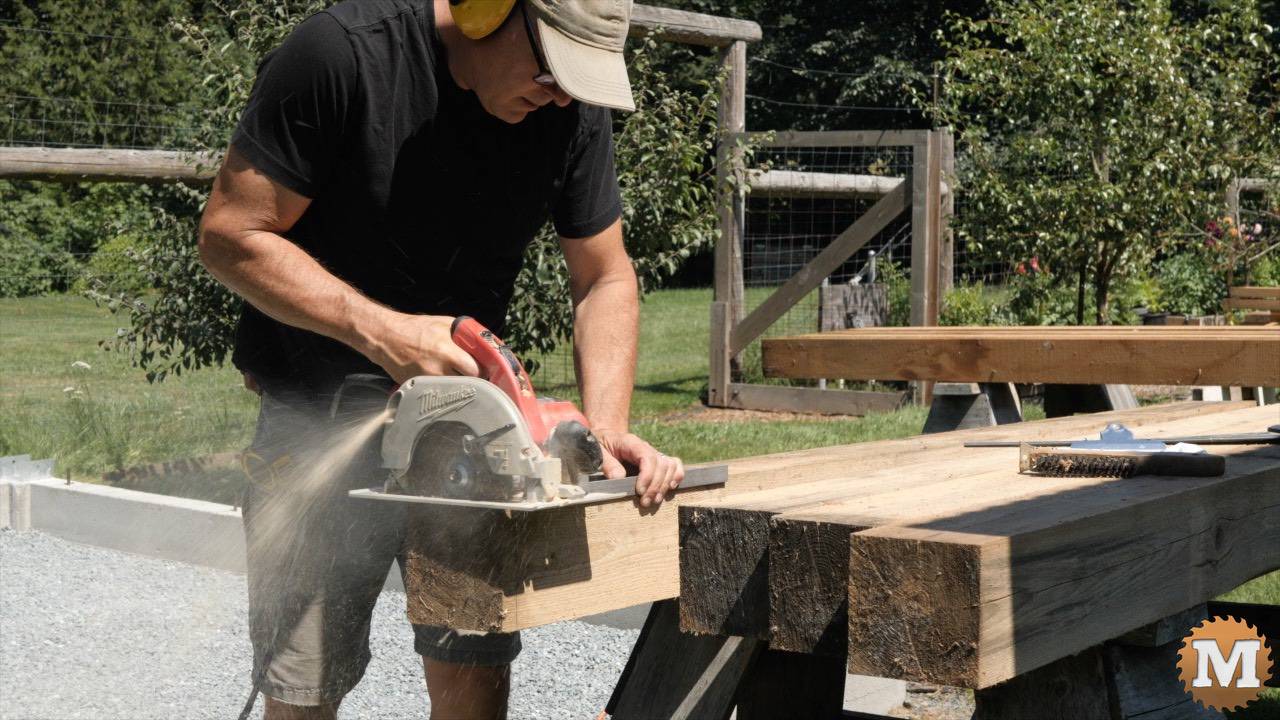
With all my timbers and boards selected and brought into the garden, I can start cutting and notching and finishing each of the pieces for this build. This is not timber framing and the joinery I’ll be using is fairly simple and straightforward.
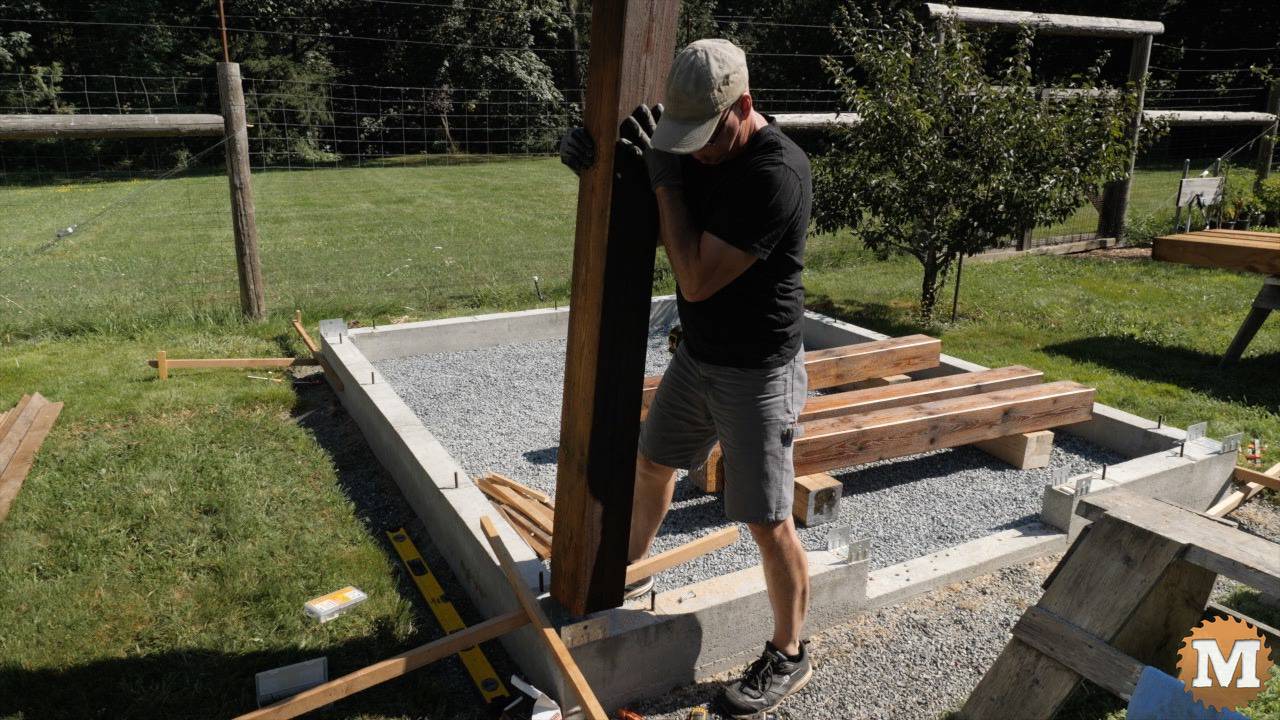
I’ll start with the four 6×6 corner posts. I cut them to length and trim down the bottom ends so they will fit in the saddles. You can get saddles that will accommodate a full dimension 6×6 but they are special order in my area. So I use the ones designed for a nominal 6×6. That being one that is 5-1/2 inches square.
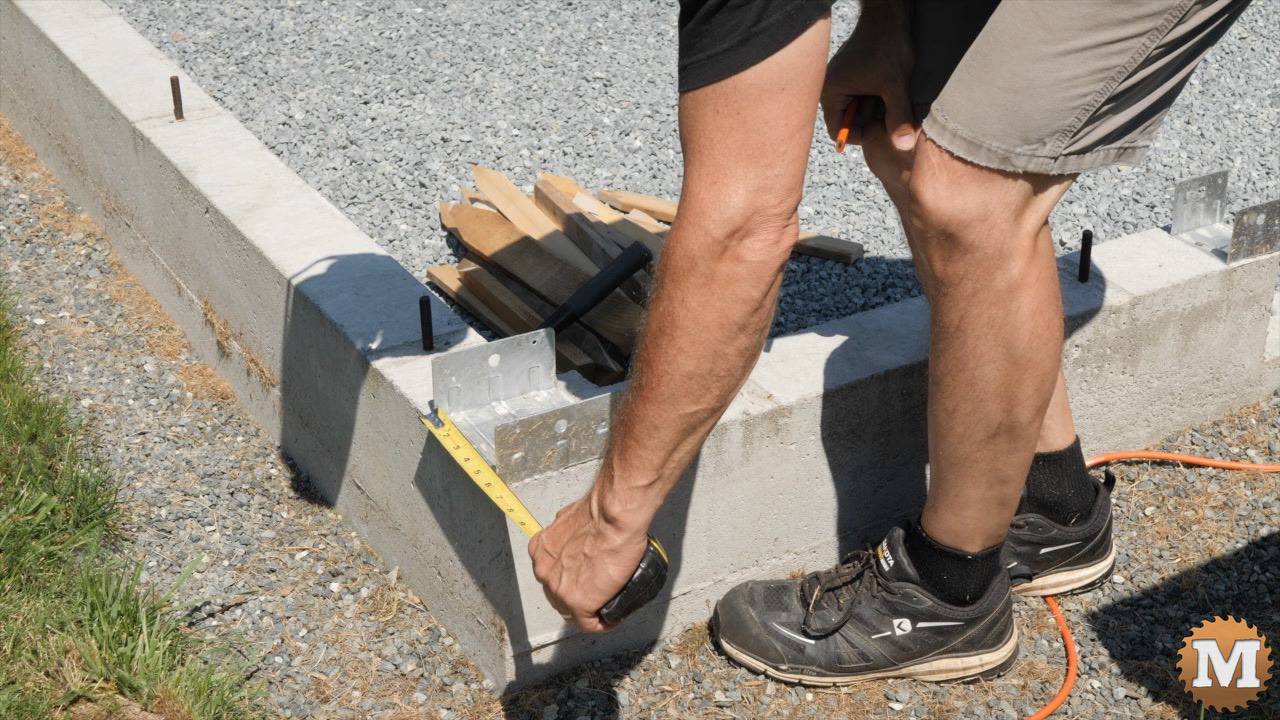
It’s no big deal to shave these down with a series of wafter cuts. I then break those off with a hammer and clean up the rough edges with a chisel.
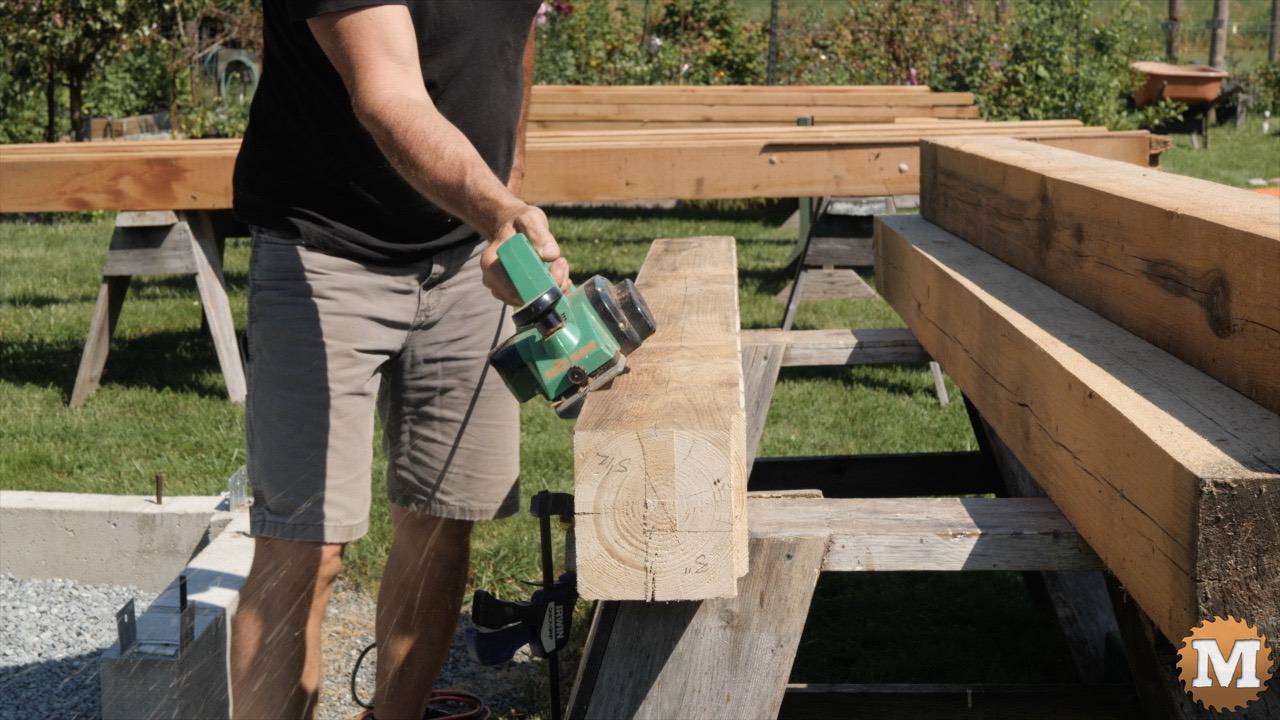
Finishing the Posts Beams and Rafters
For all the posts, beams, ties, and rafters I chamfered the edges with a power plane and a sanding disc on my angle grinder.
Then I rolled three coats of stain on these fir posts and let them dry overnight.
I can now stand each post up and secure them with screws through the saddles and into temporary braces staked to the ground.