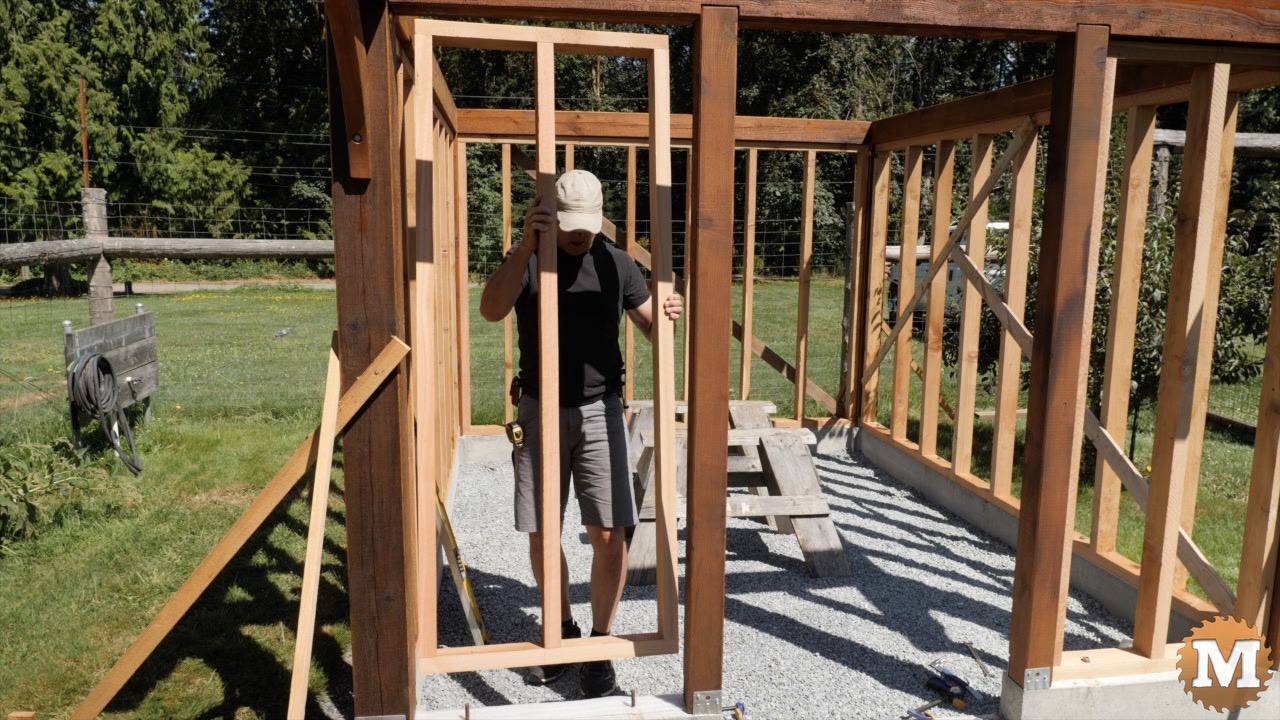
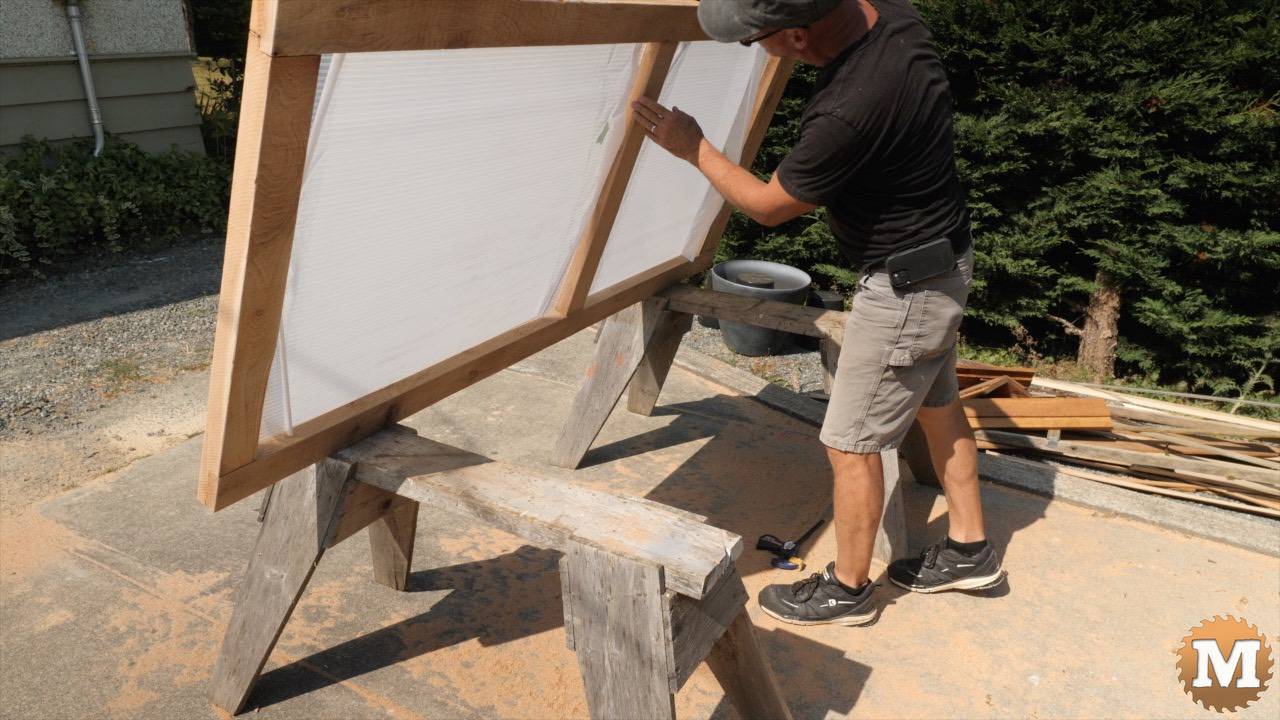
Finish Framing the Front Wall
And the last two wall sections are set in over the anchor bolts. The pilot holes for the bolts were angled so I could set them in then rotate the top of the wall up under the cross tie.
Ridge Beam Temporary Supports
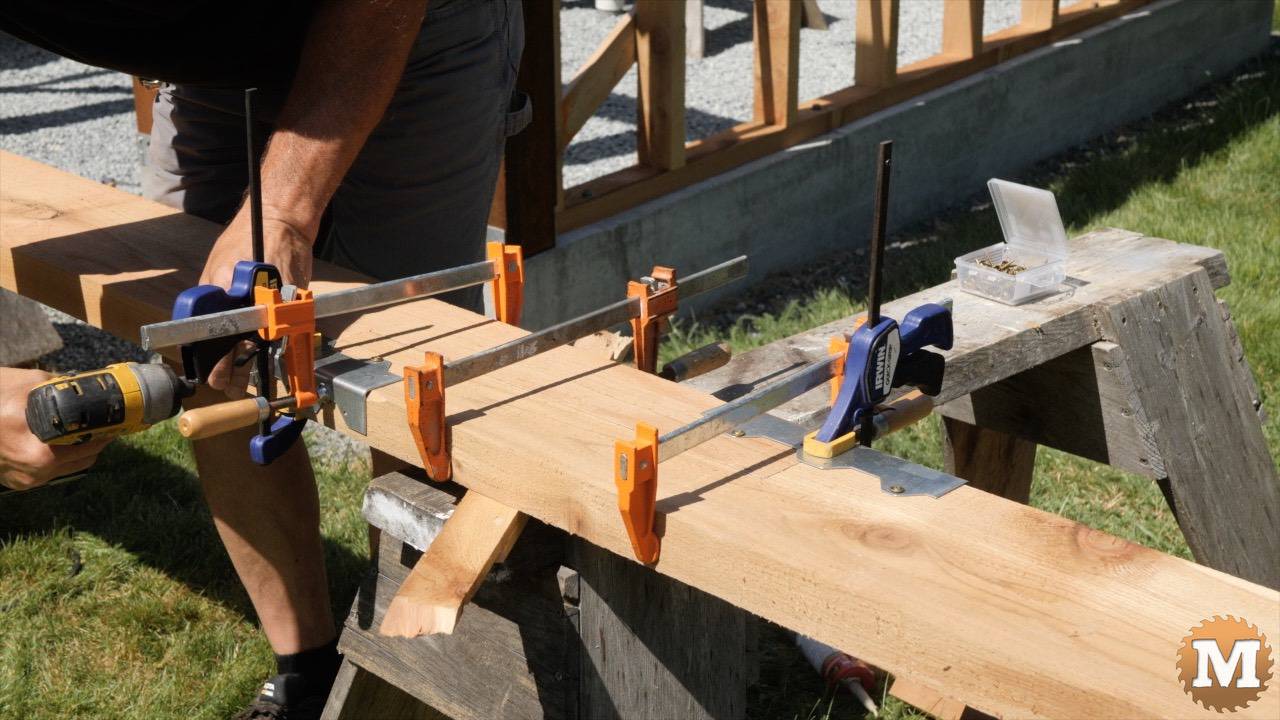
Like the North South beams, the ridge beam is also made in two pieces. I cut a lap in the end of each of the 2×8’s then glued and screwed them together. I used some angle brackets and mending plates here.
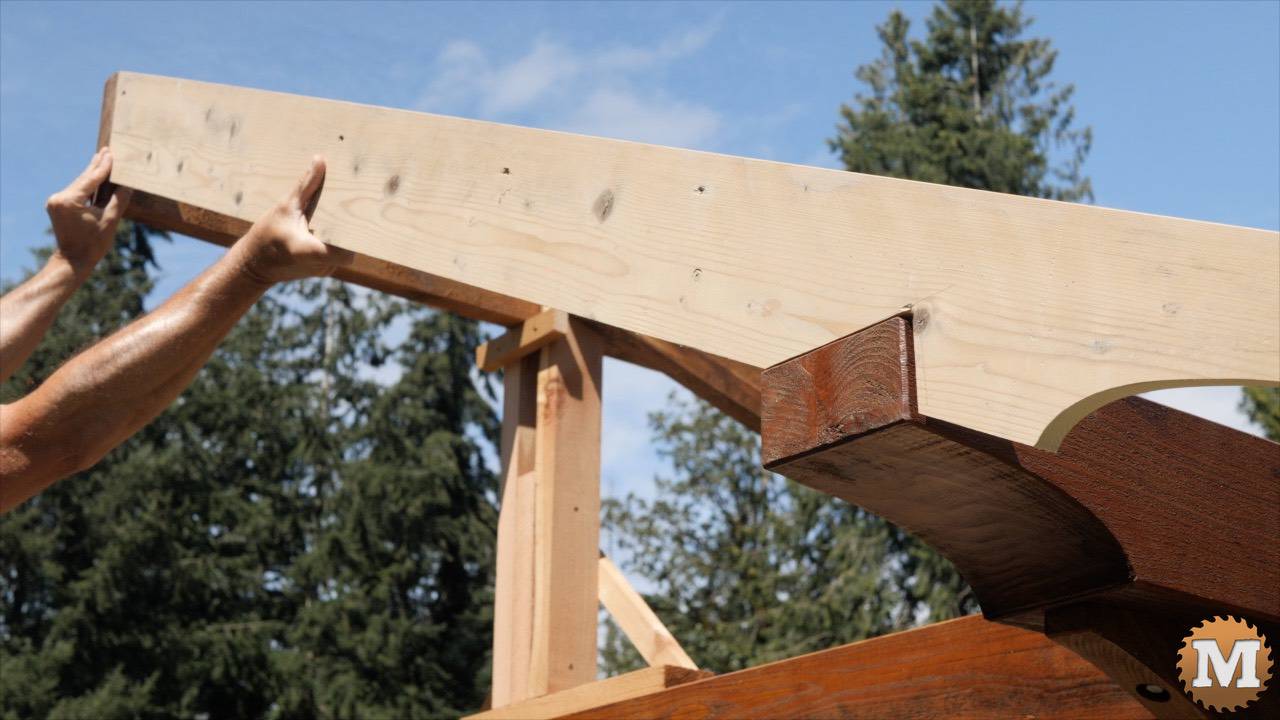
Here’s the first temporary brace I made to hold the ridge beam in place. These were carefully lined up in the center of the cross ties. And an additional angled support running to a 2×6 rafter tie that connects the two north south beams mid span.

The ridge beam is cut to length, stained, then lifted and slid into these temporary supports.


Make the Greenhouse Roof Rafters
With that ridge beam secured to the temporary braces I now can start to work on the rafters. And I went back and checked some dimensions of the structure and compared it to the Sketchup model.

And that helped me fabricate a template so I could copy this onto the 2×6 blanks I had selected for the rafters.
And that looked like it fit well enough so I started to copy the ellipse profile and the peak angle on the cedar 2×6’s.
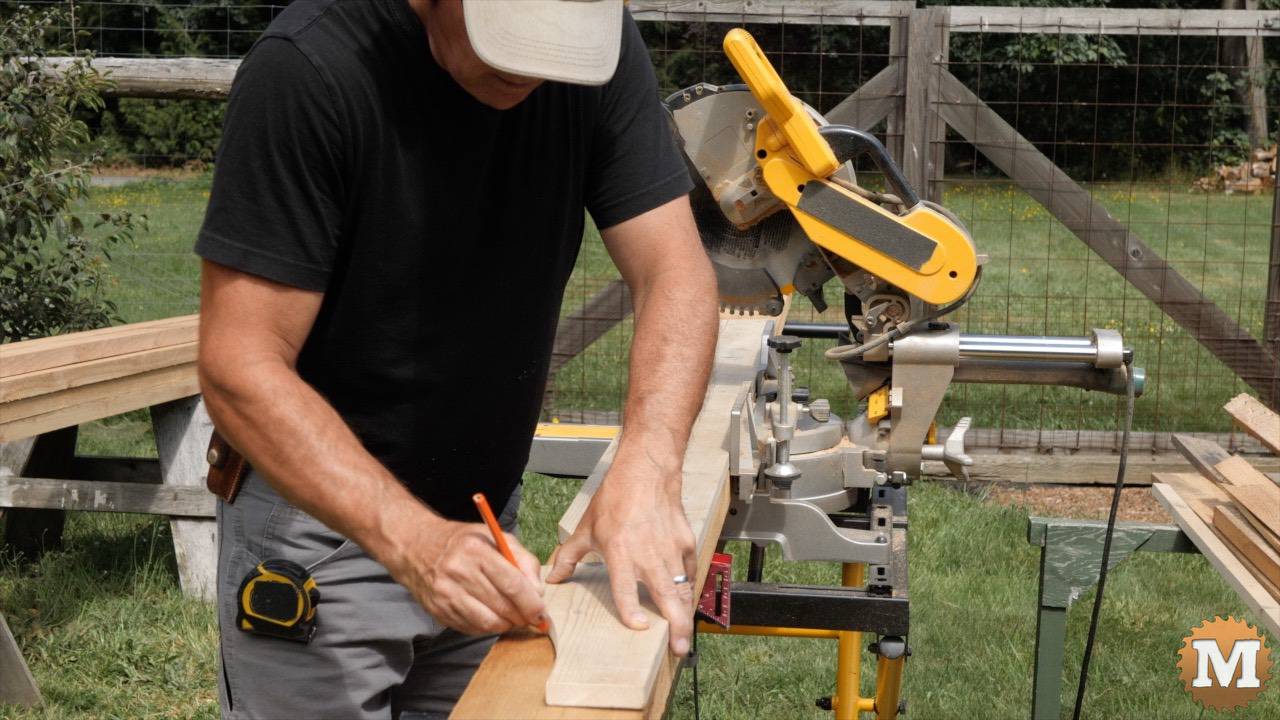
And I can cut the rafter to length on my miter saw. Then cut the tail profile with a jigsaw.
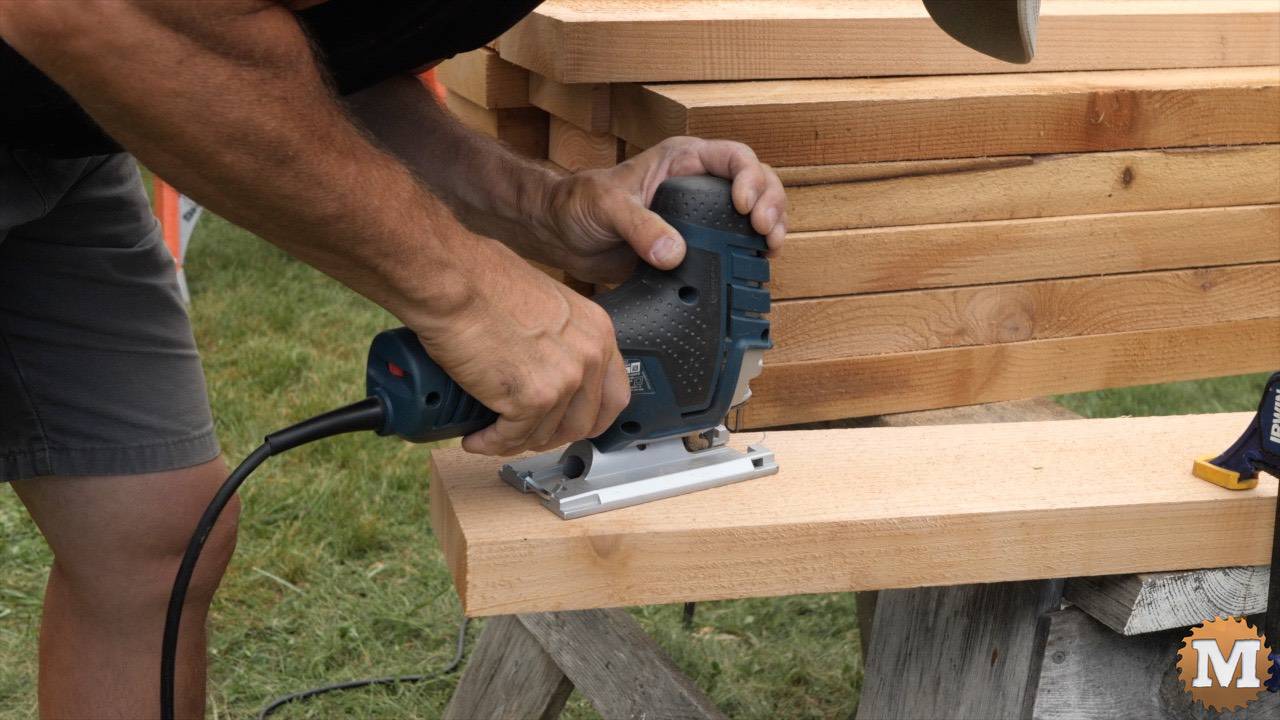
And I can chamfer the edges while holding it in this improvised slot jig.
(Disclaimer: As an Amazon Associate I earn from qualifying purchases. Thank you for helping to support my content this way. )

Then I stained each rafter and let them dry.

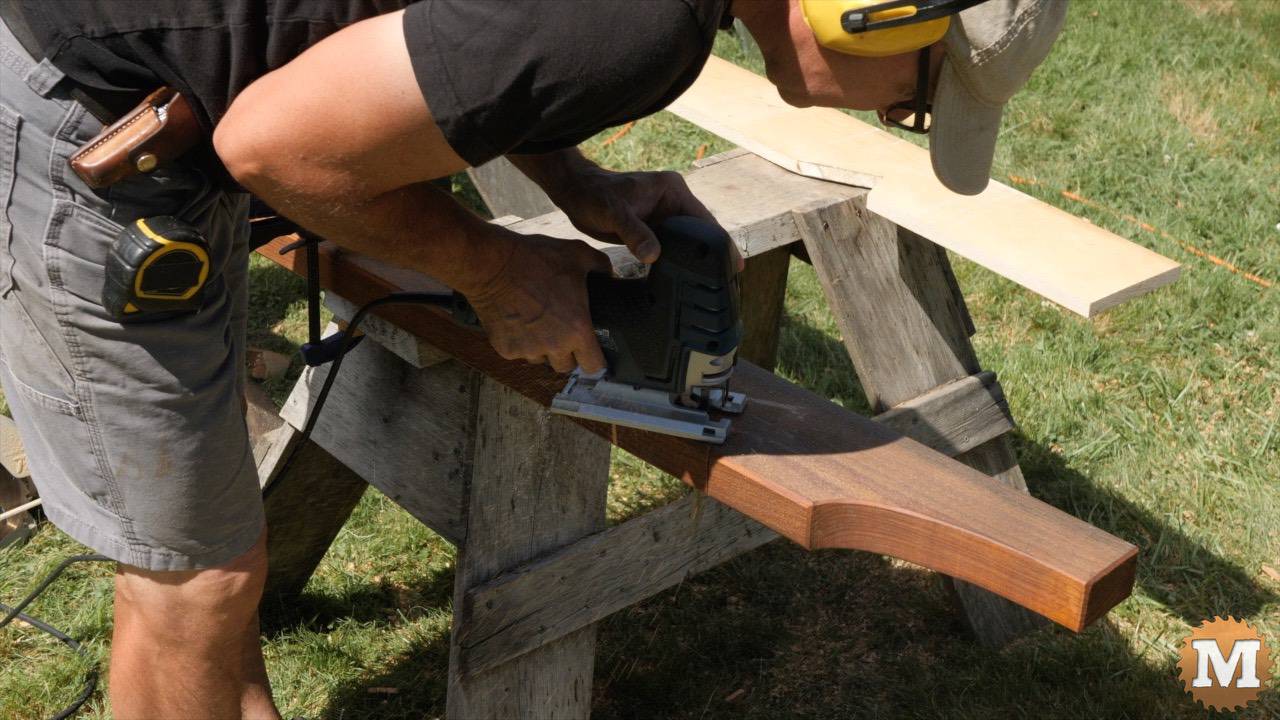
Then I reconsidered the birds mouth depth of my first pattern. I thought it might be a bit too deep. So I cut a new rafter pattern with a shallower notch and checked it’s fit.
I like it better so I went ahead and copied the birds mouth cuts on the rafters and cut them.
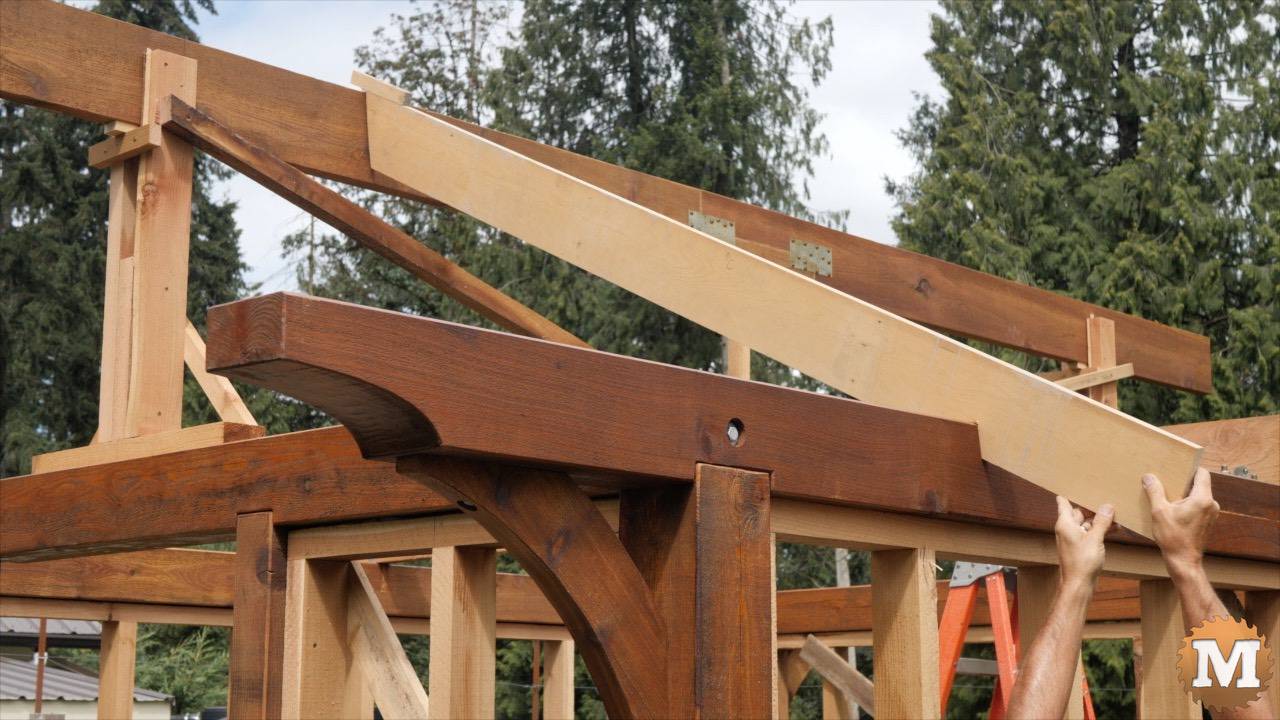
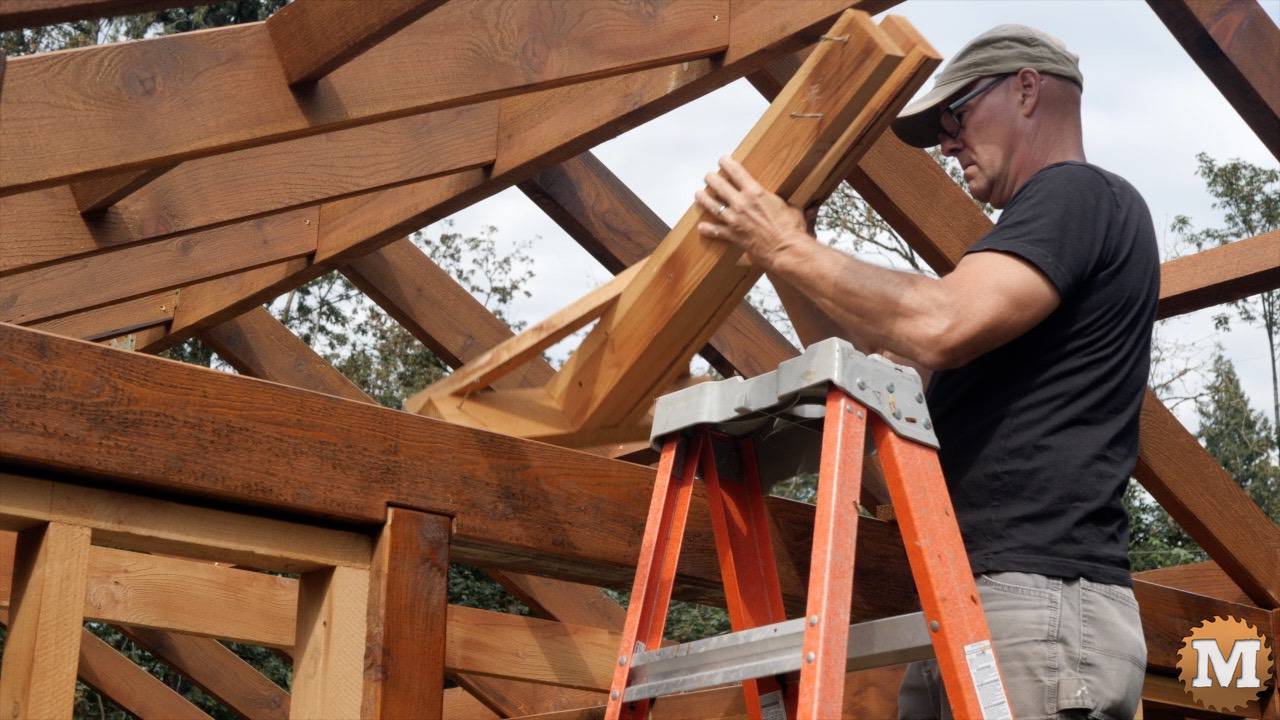
And they fit well so I attached all the rafters to the beams that afternoon.


Greenhouse Roof Rafter Blocking
The next day I cut and installed the 2×4 blocking between the rafters at the midway point between the ridge beam and North South beam.

Then some 2×6 blocking at the top of the North South beams. And these ones had an angle ripped to match the slope of the roof.
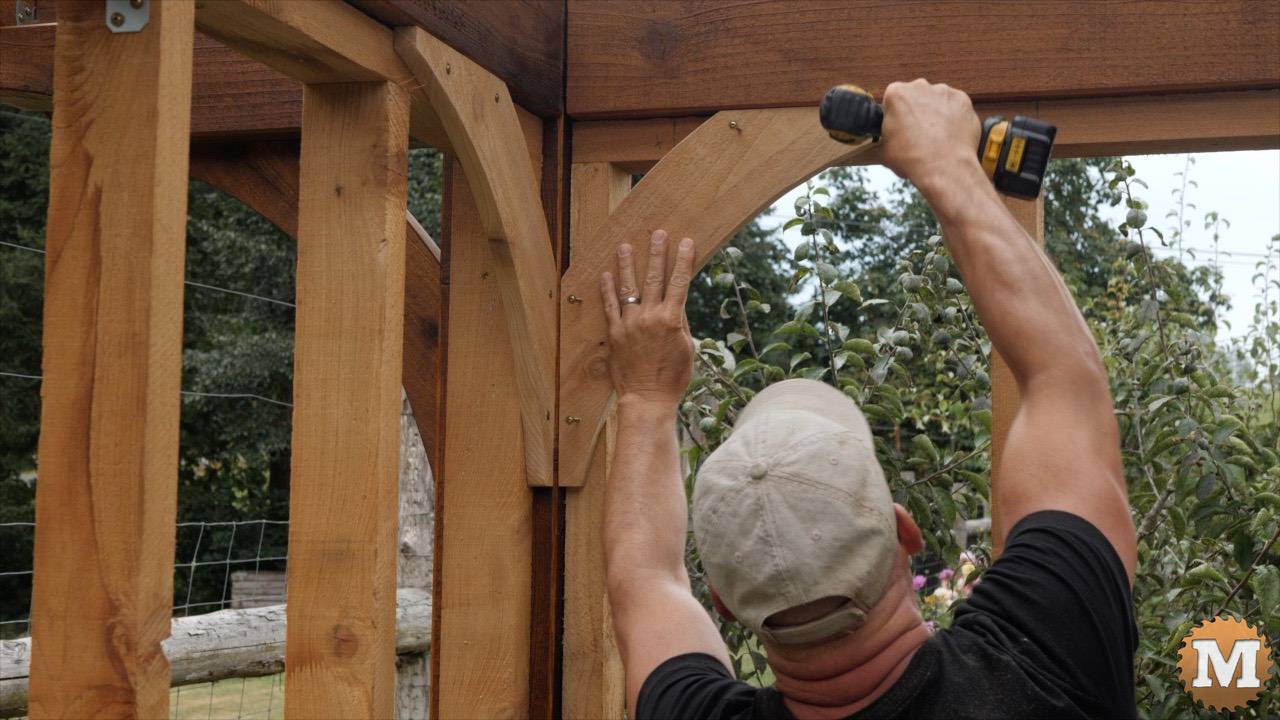
Inside Corner Braces
Next I added some flat mounted corner braces to the inside of the stud walls. These are the same shape as the outside braces but they are cut from 1″ thick stock.
Next I added some 1x4s for the facia boards ant they’re attached to the rafter tails with trim screws.

Next I removed the temporary braces supporting the ridge beam as they are not needed anymore.
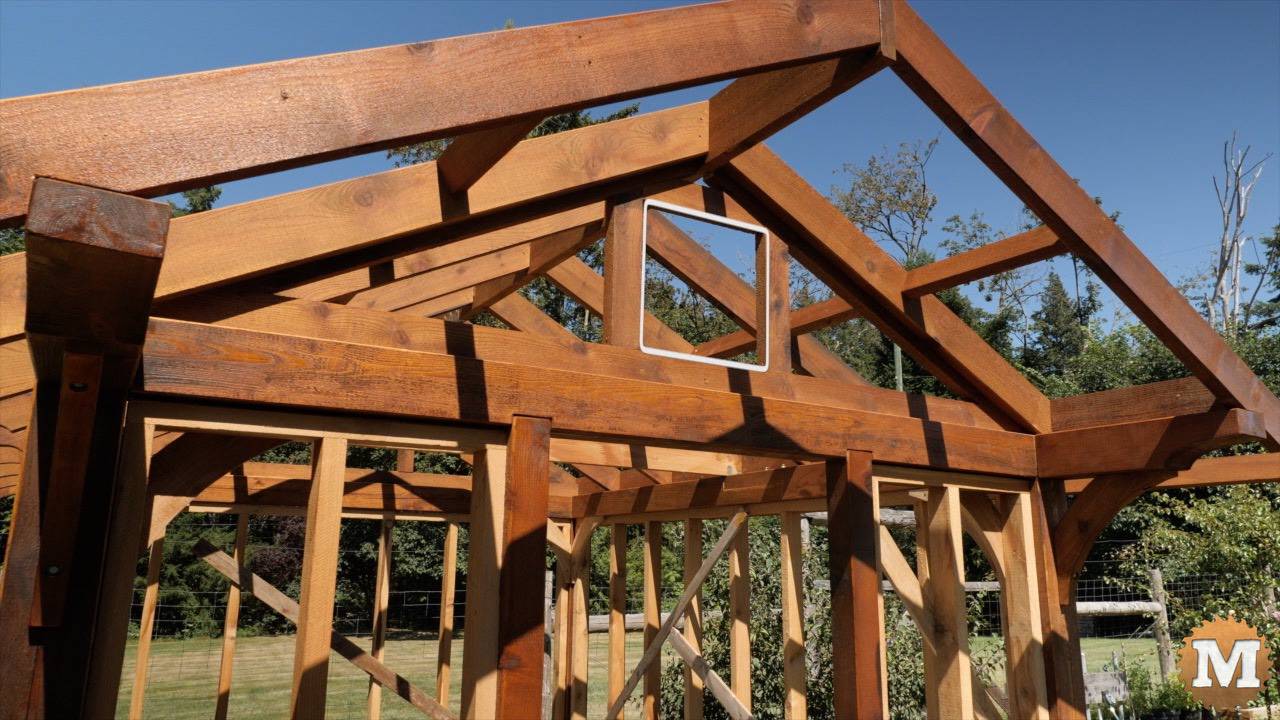
Frame the Greenhouse Gable Ends
And I’ll add some framing at each gable end. These 2x4s will support the glazing and the square opening will be used for a vent at the front and a fan in the rear.
Build the Greenhouse Door
The door is made from 2×4 and 2×6 cedar. I cut lap joints at the corners that are glued and screwed together. And the mid rail has a lap that fits into two dados.

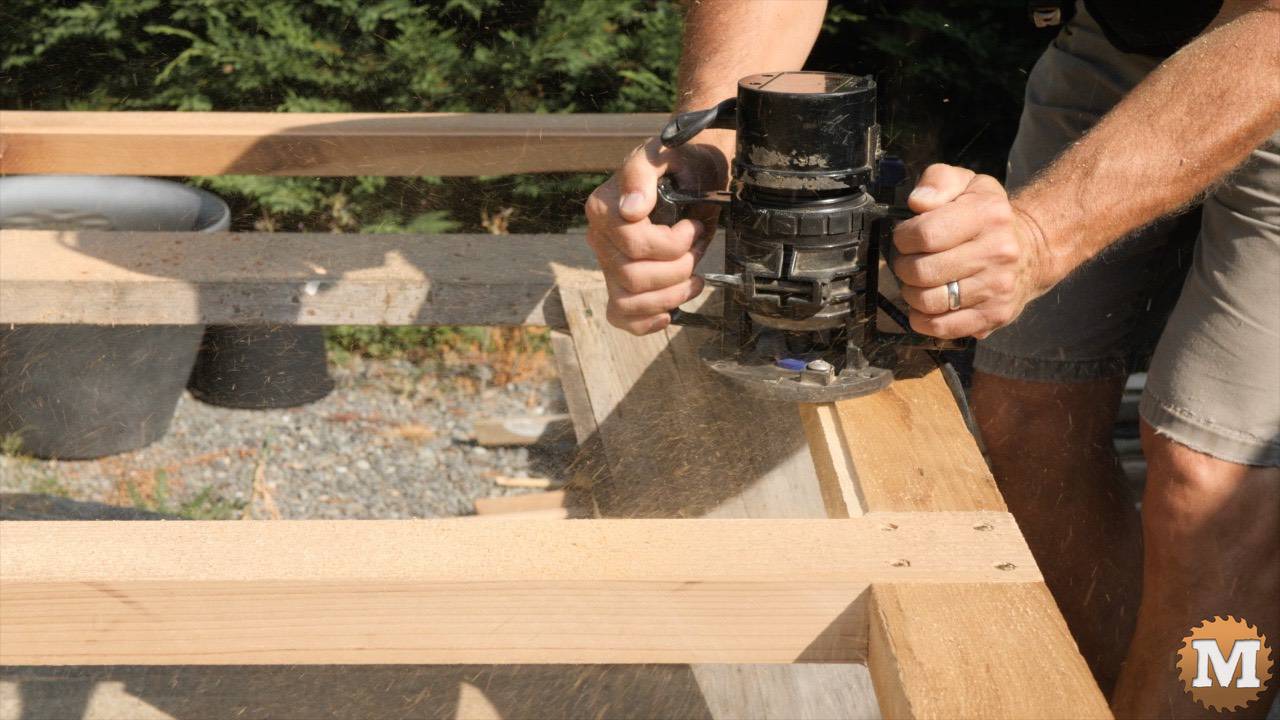
And I’ll cut a relief with my router for the polycarbonate glazing that will be added after the door is hung.
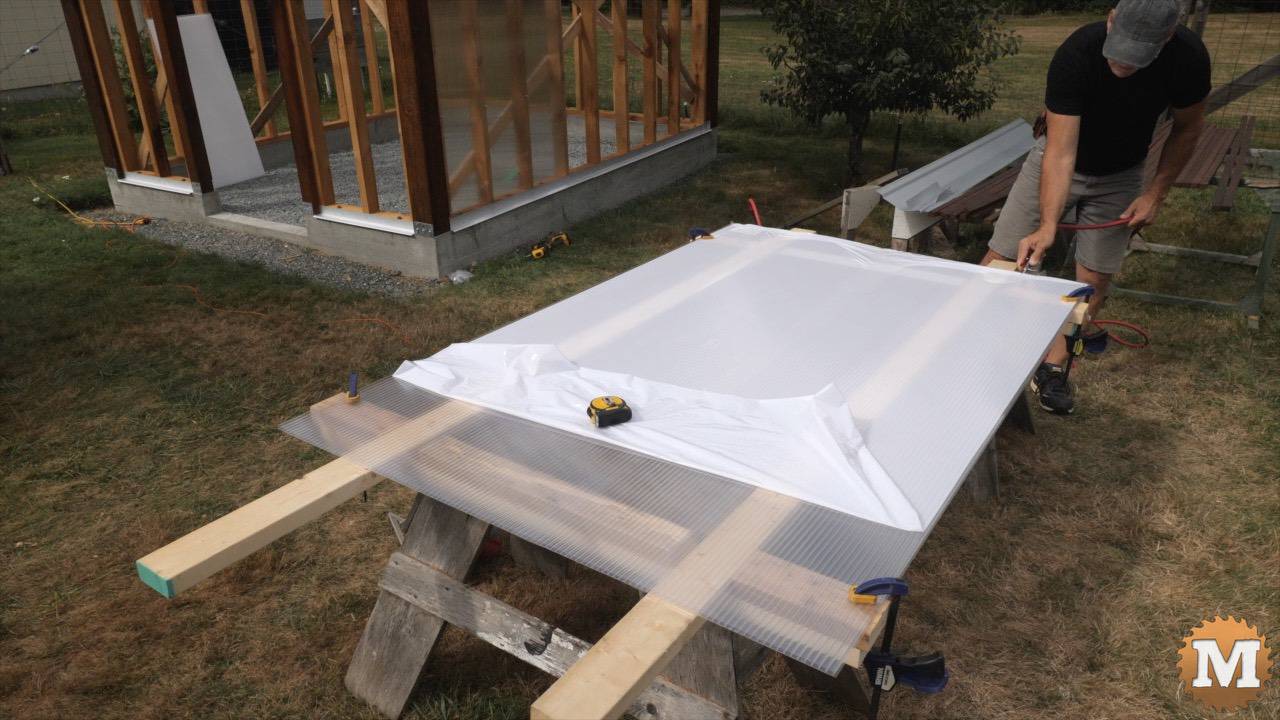
Cutting the Greenhouse Polycarbonate Sheets
Each polycarbonate panel is cut to size with a fine tooth blade on my circular saw. I use an aluminum straight edge clamped to the glazing and to my improvised work table. I screwed some 2×4’s to sawhorses to make a surface big enough for the 4×8 foot panels.
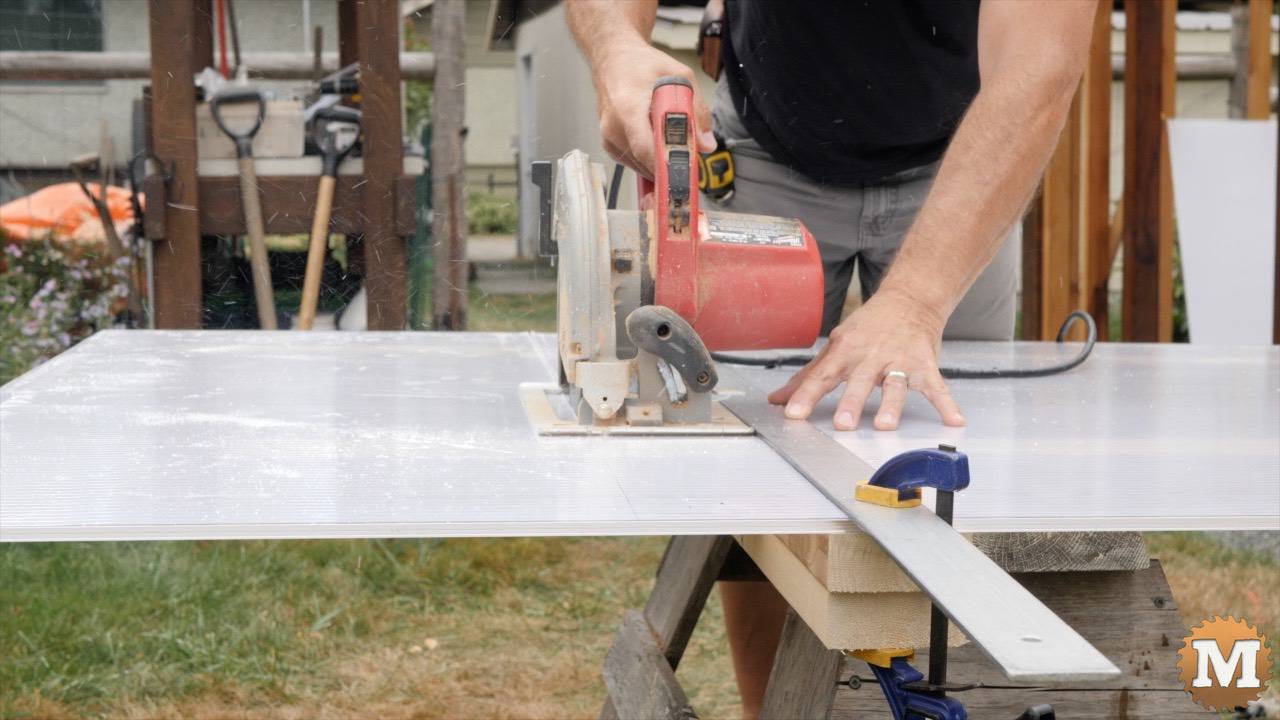
And I marked and drilled pilot holes (with an oversized bit) for the roofing screws I’ll be using to attach the panels. You need to make allowances for expansion and contraction of the polycarbonate.
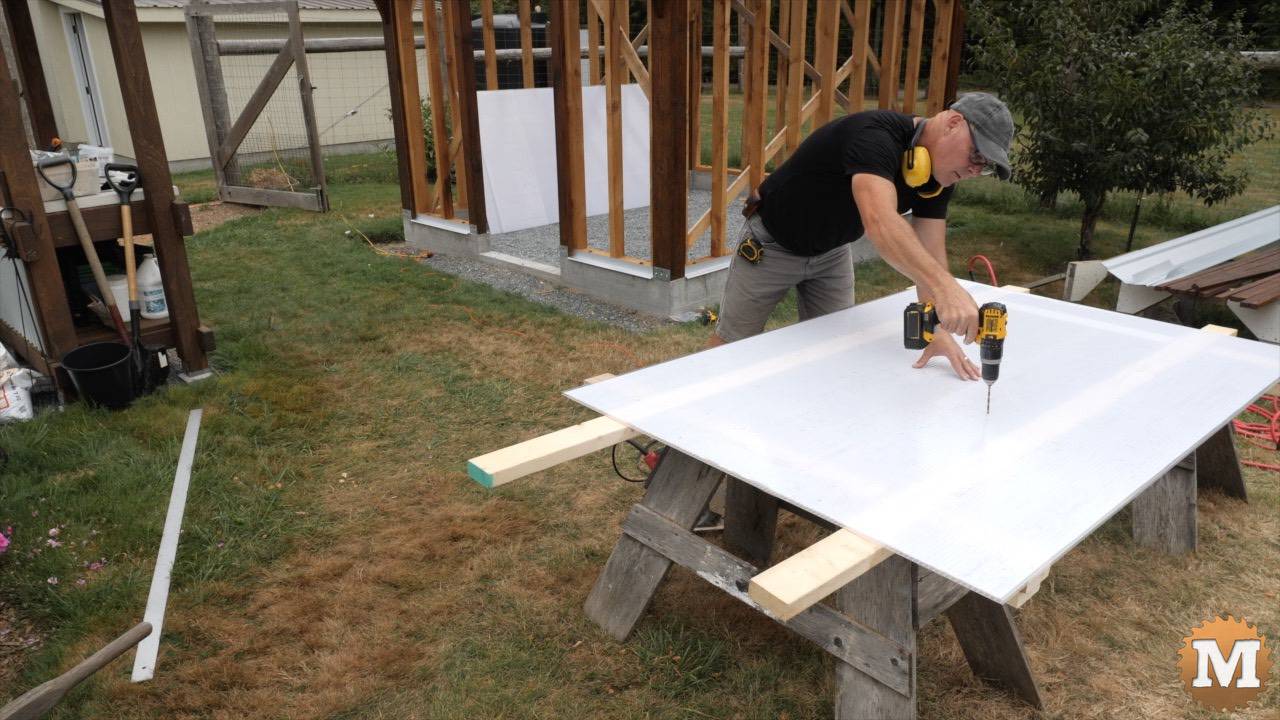
After cutting and drilling I blew out any chips within the wall with an air compressor.