This is a continuation of my series on installing a rainwater harvesting system. In this post I’ll show the excavation and pouring of a low retaining wall, or curb if you like, for the foundation of this 500 gallon tank.
In the previous post I showed all the steps I took to install a 1200 gallon tank. This smaller tank sits in our garden and collects water from this timber frame style pavilion I built a few years ago.
And I’ll be adding an off grid 12 volt solar system and pump to supply the drip irrigation to beds and hanging planters around the pavilion.
Jump to:
Off-Grid Rain Tank Part 1 – Pour the Tank Foundation
Off-Grid Rain Tank Part 2 – Build the Tank Surround
Off-Grid Rain Tank Part 3 – Tank Plumbing and Fittings
Off-Grid Rain Tank Part 4 – Install a Solar Powered Pump

See the Youtube Video Part 2 or Part 3 or Part 4
Off Grid Rainwater Harvesting System – PART 1: a concrete footing and gravel foundation

(this is a transcript from the video)
There will be some similarities in the installation of these two tanks so if you’ve already watched the first series then you may see me repeating a few of the steps. So I’ll try to move quickly here.
In the next few episodes I’ll detail the construction of the cedar and corrugated panels that surround the tank. And then cover all the plumbing and fittings to take rainwater from the pavilion and deliver it to the tank. Then finally I’ll install the solar panel and set up the pump and other off-grid electrical parts in a mini pump house at the back of the tank.
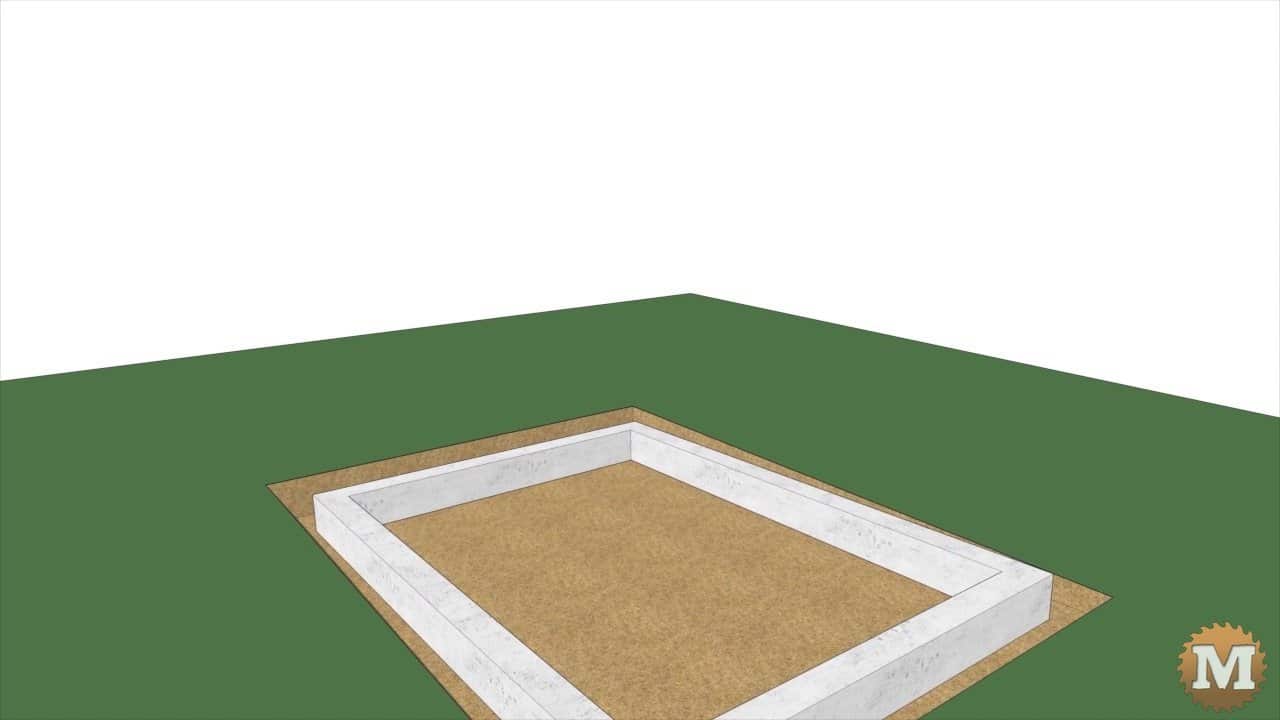
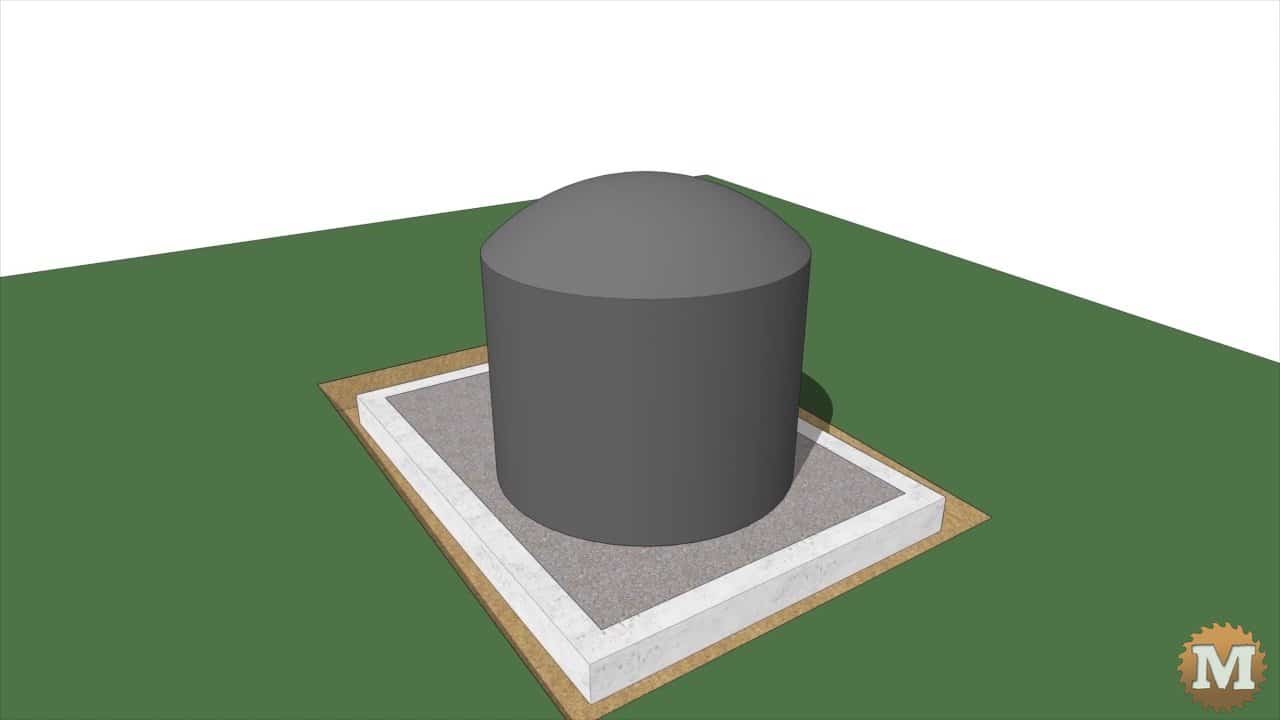
A flat and level spot is excavated behind the pavilion and a concrete curb is poured.
Then filled with pea gravel.
(Disclaimer: As an Amazon Associate I earn from qualifying purchases. Thank you for helping to support my content this way. )
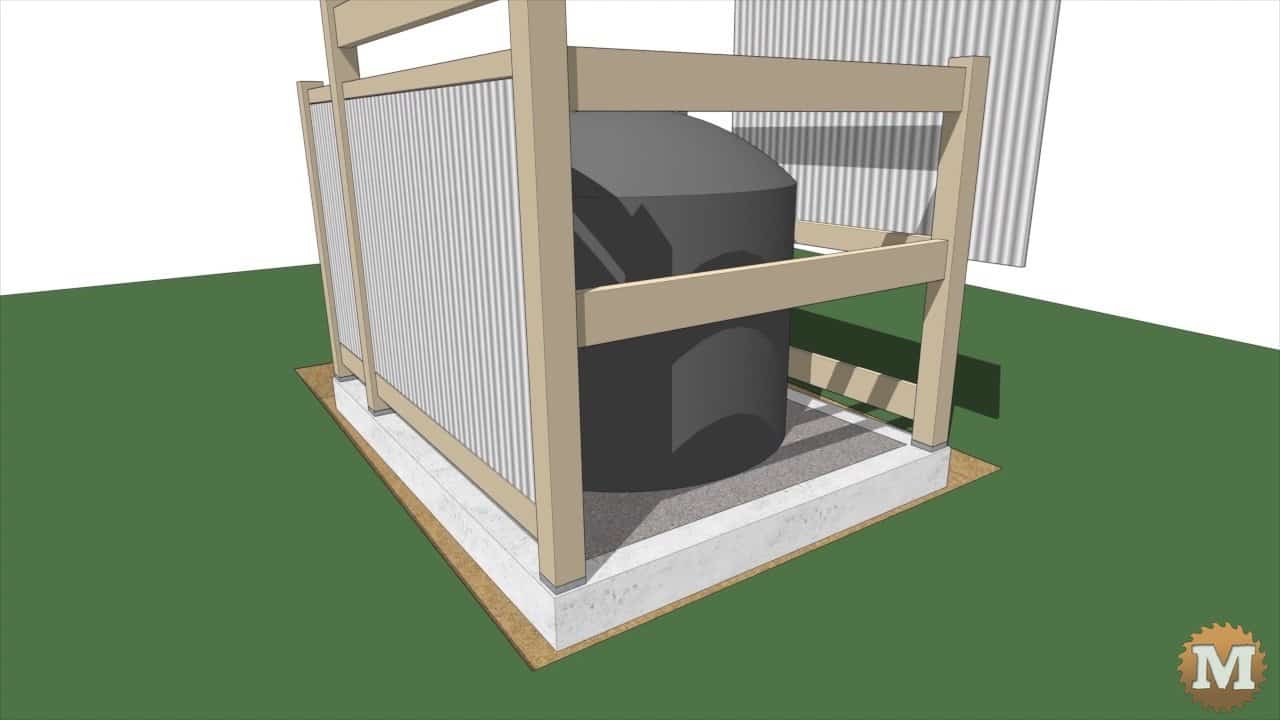
4×4 posts sit in galvanized saddles that are secured to the curb with anchor bolts.
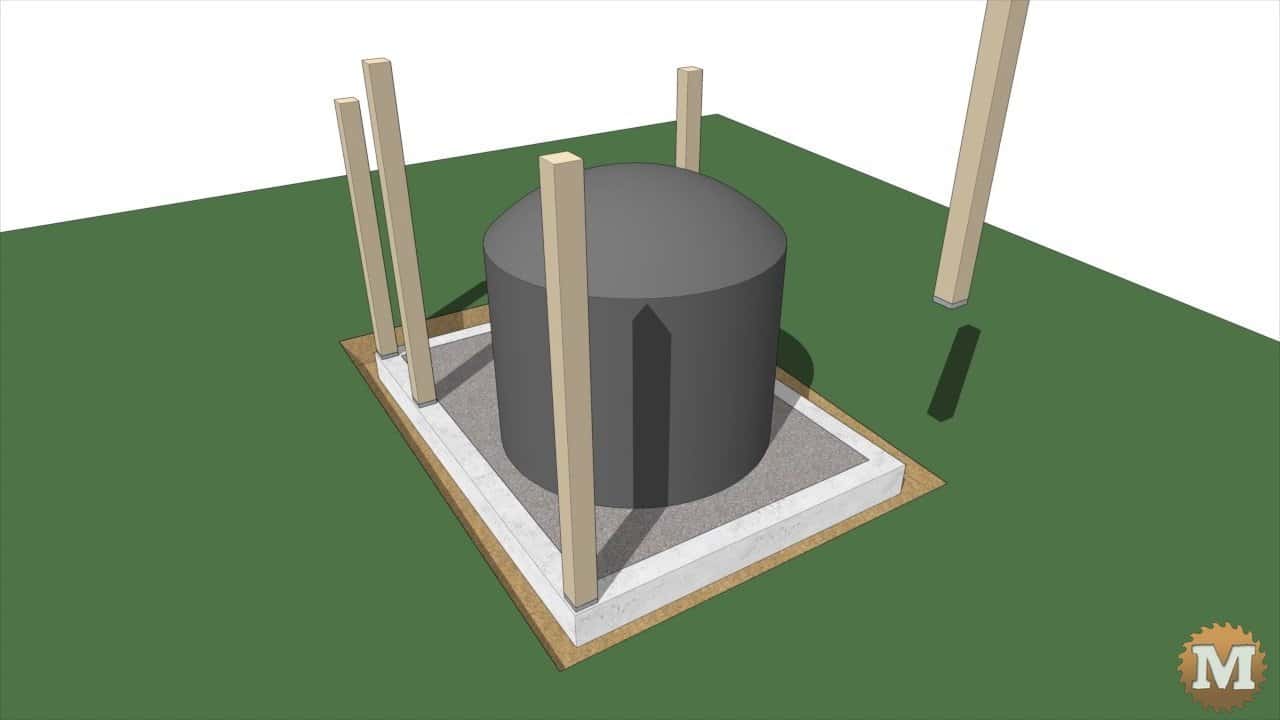
Posts and Rails
2×4 and 2×6 rails are added between these posts on all sides.
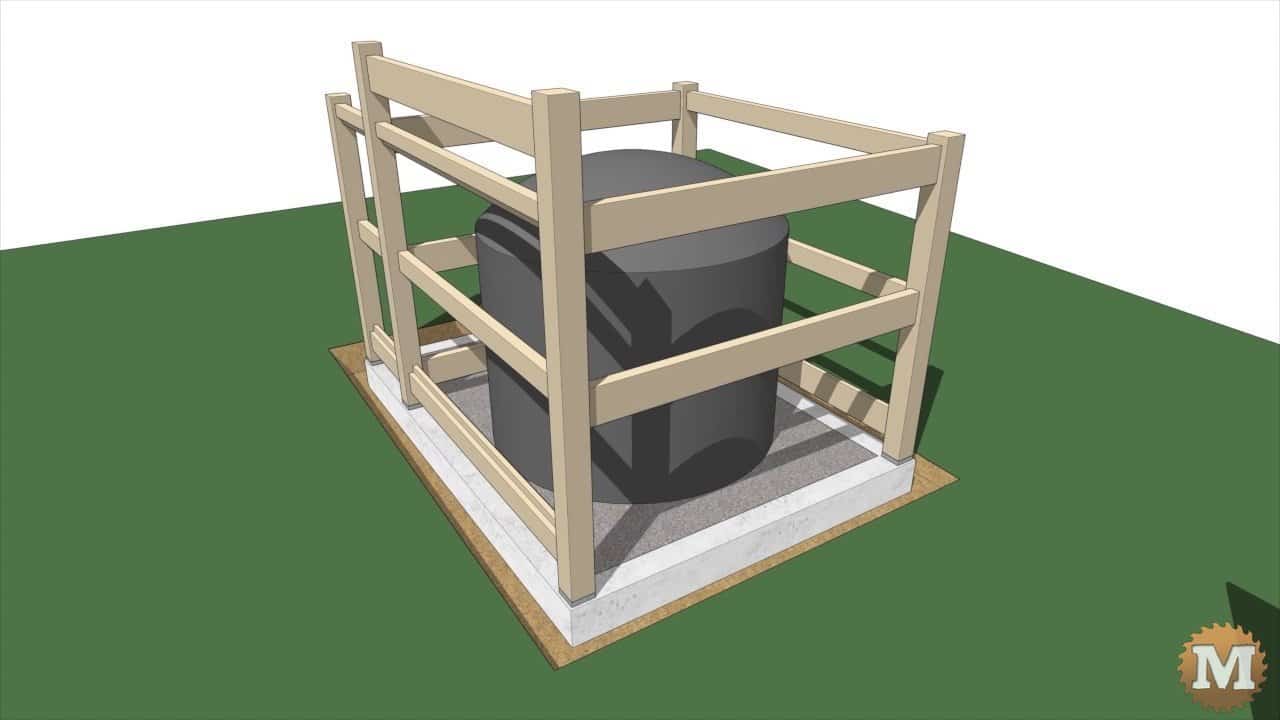
Corrugated galvanized panels are attached to these rails to complete the tank surround.
Excavating the Site for the Tank
So the real work starts with shovel and wheelbarrows — with the occasional break to pet a cat.

When this spot is flat and level I then dig a trench for a drain.

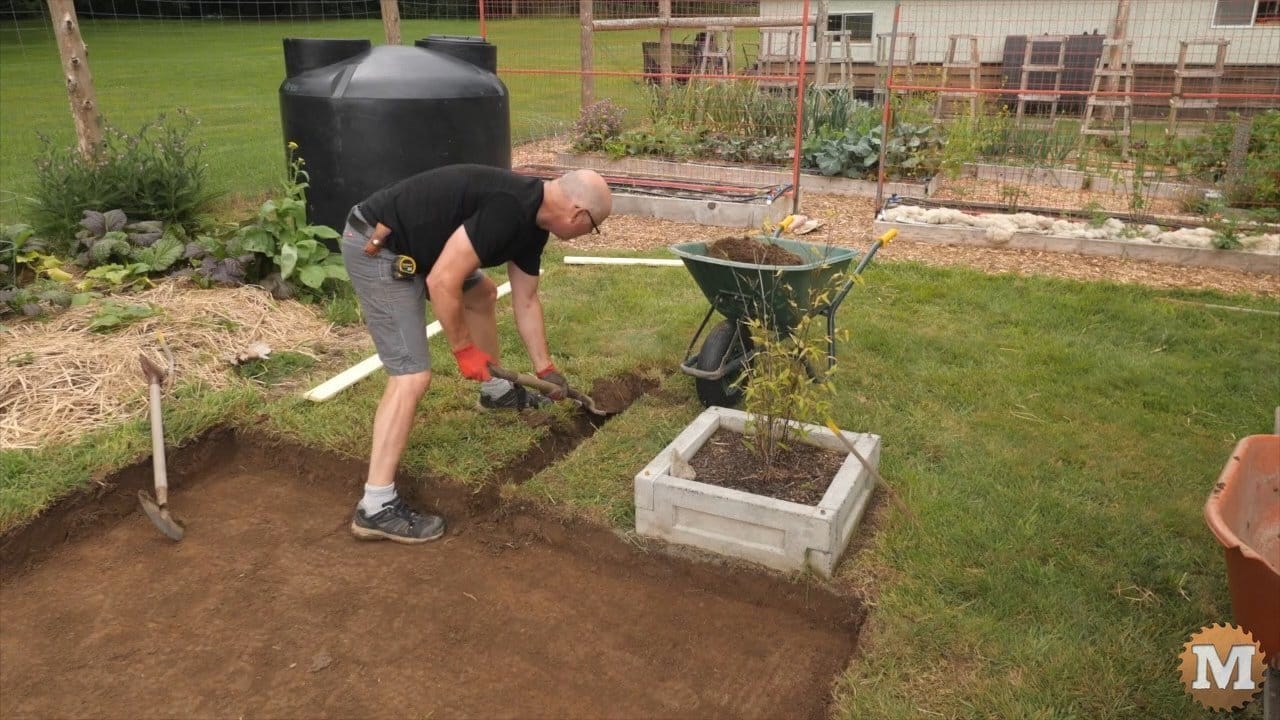
Water that accumulates inside the curb walls needs to drain away. This trench will move water from under the tank and to a dry well where it will absorb into the ground — more on that later.
Build the Forms

I’ll build the forms from 1×8’s. With the inside form walls made in two pieces.

They have a 45 degree cut to make stripping the inside forms easier.

A mending board across this cut will hold the form together during the pour.
Building the Outer Form Walls

Cleats added to these 1×8’s will make attaching stakes easier as well as clamping the forms together on the ends.

And then I can screw the outside form walls together.

And I’ll line up this wooden box to the pavilion piers.
Secure Form Walls with Stakes

Then pound in stakes and screw them to the form cleats.

Checking and adjusting for level and square as I go along.

Then the inside walls are clamped then screwed together.
Inner Walls added, Squared, and Levelled
They are levelled and squared and temporary spacers added.

Some of the stakes were too tall so I trimmed them with a hand saw.

With the forms in place I then add the pipes to the dry well.

