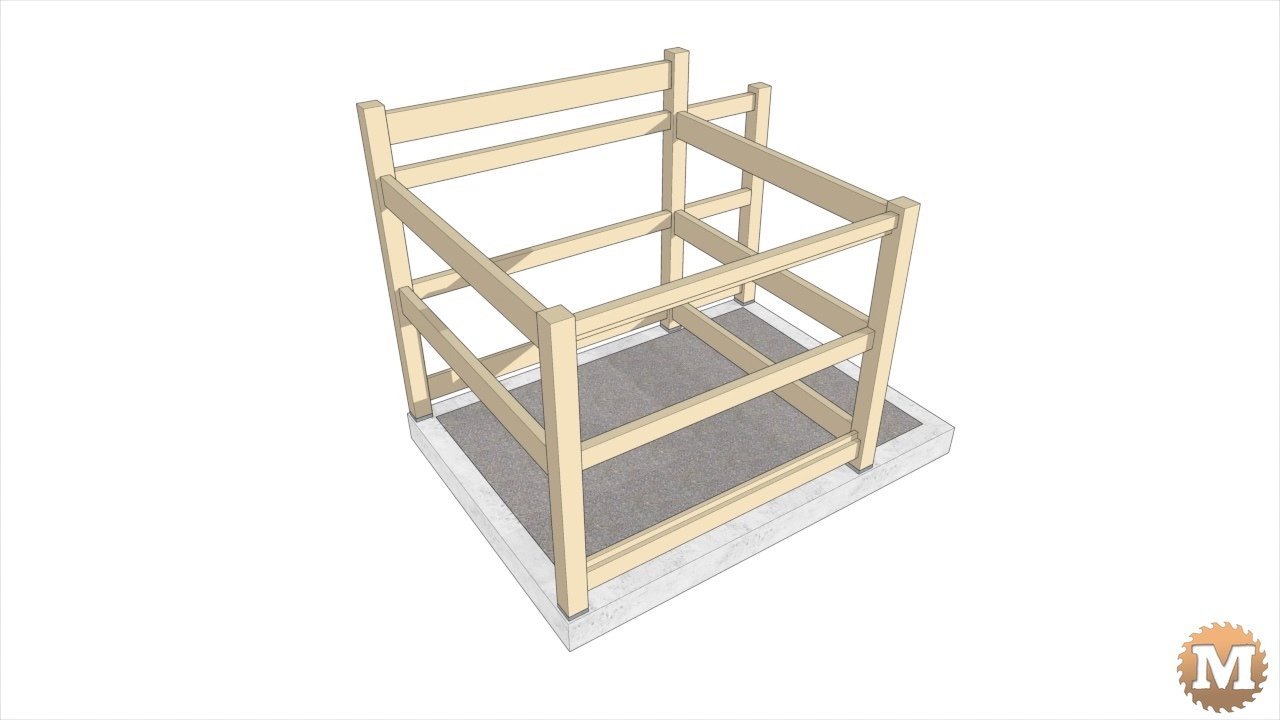
The surround has five 4×4 posts that support 2×4 and 2×6 rails.
Jump to:
Off-Grid Rain Tank Part 1 – Pour the Tank Foundation
Off-Grid Rain Tank Part 2 – Build the Tank Surround
Off-Grid Rain Tank Part 3 – Tank Plumbing and Fittings
Off-Grid Rain Tank Part 4 – Install a Solar Powered Pump


See the Youtube Video Part 1 or Part 2 or Part 3 or Part 4
Off Grid Rainwater Harvesting System – PART 2: red cedar and corrugated metal fence surround
Sketchup 3D Model
(this is a transcript from the video)
The posts are screwed to adjustable galvanized saddles. These lift the post up off the concrete by an inch.
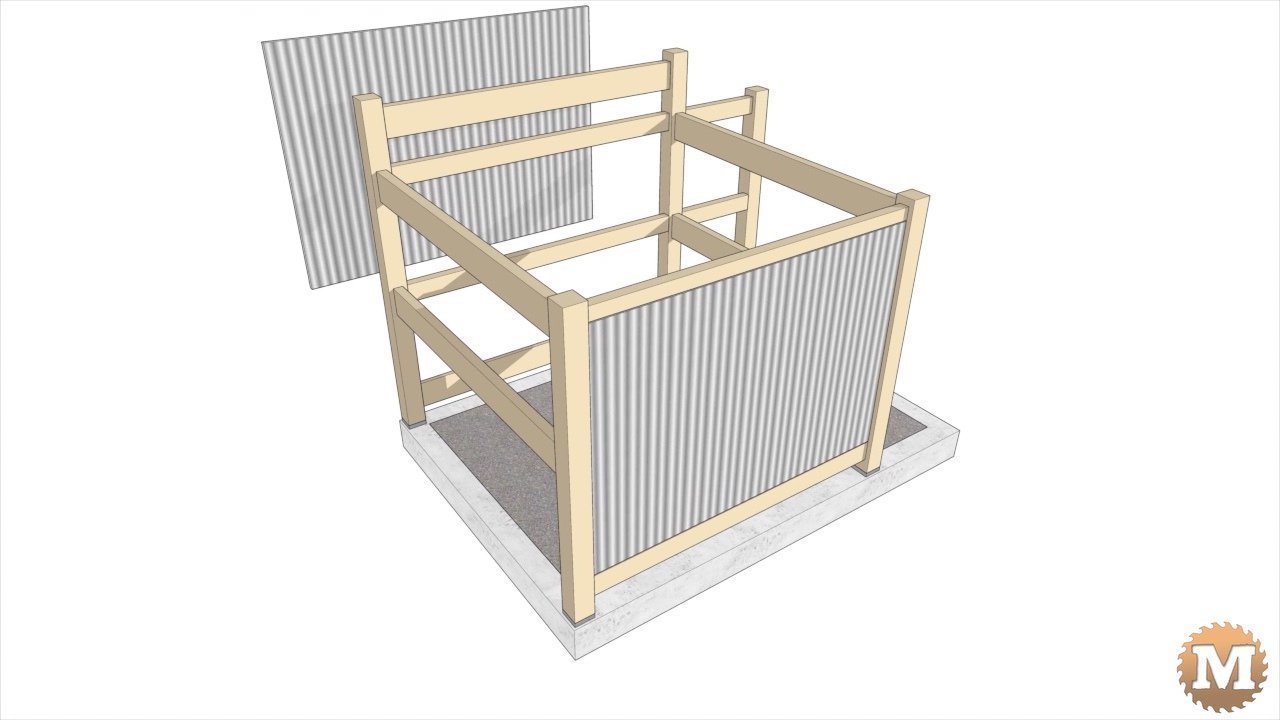
The top and bottom rails on the sides of the surround have a rabbet cut in them. So I can flush mount the galvanized corrugated panels.
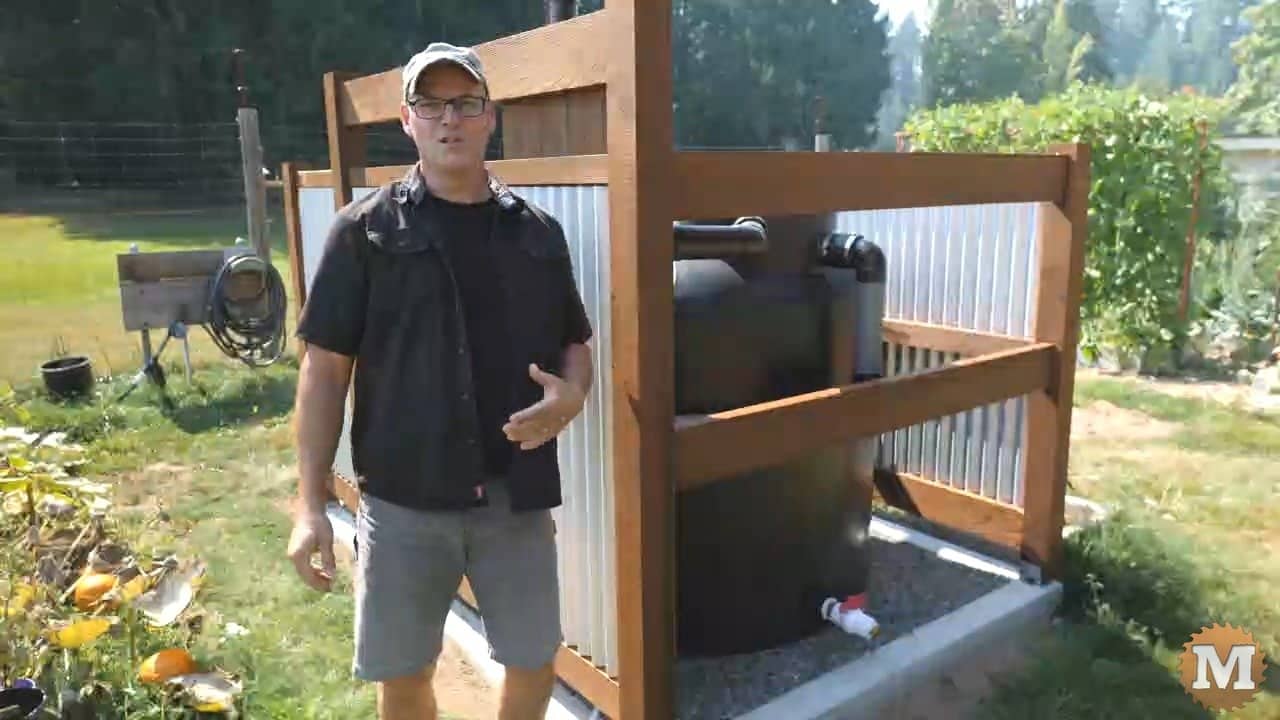
Around the back of the tank I created a space for a mini pump house. This will hold the solar controller, battery, fuses, etc for the DC water pump. This rainwater harvesting system will run completely off-grid.
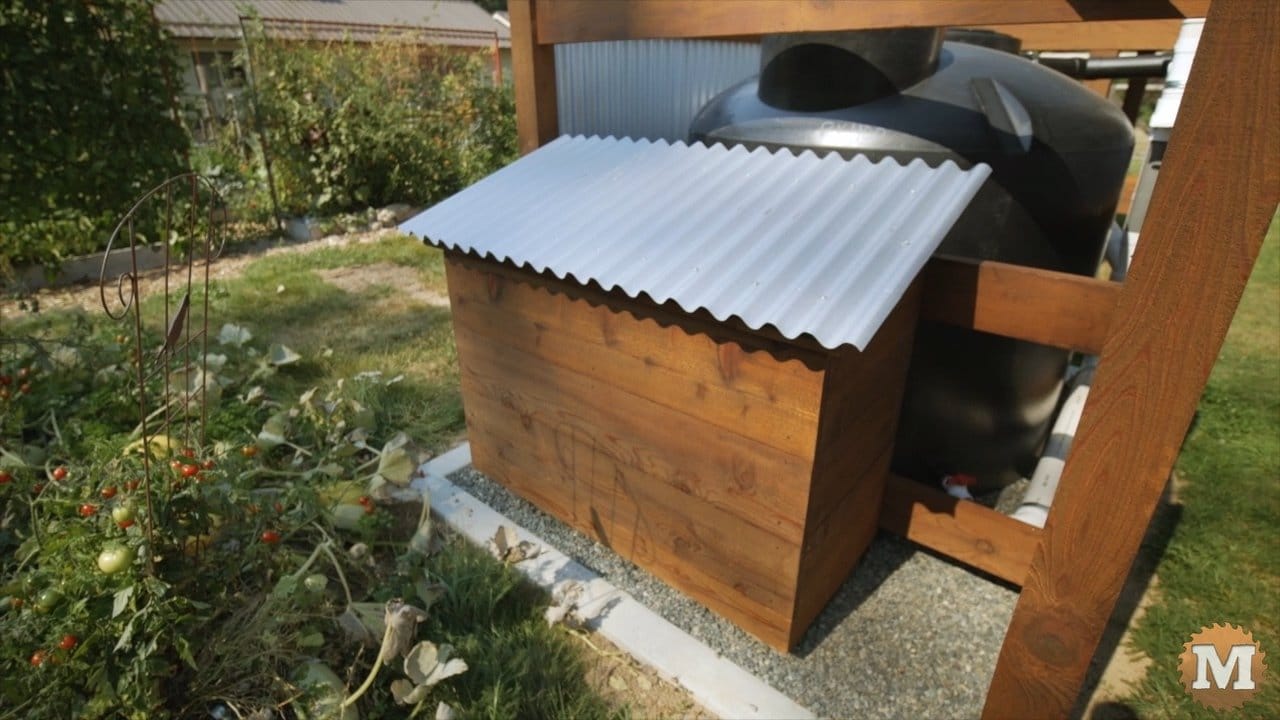
Build the Water Tank Surround
We wanted the tank and surround to feel like an extension of the pavilion. So we adopted the timber frame look with full dimension rough sawn red cedar. And we used the same stain for the surround as well.
(Disclaimer: As an Amazon Associate I earn from qualifying purchases. Thank you for helping to support my content this way. )
What I’m building here is beyond what is needed for a rainwater collection tank. But, we wanted to do something different and dress them up sorta speak. And for this particular tank the fence surround is also functional as it will support some of the plumbing and wiring later.
Our property is sloped and there’s not many truly flat and level spots. And in the winter with our heavy rains the soil can get soft and saturated. For those reasons we decided on pouring a concrete curb to hold the gravel and then this acted as a foundation for the fence surround.
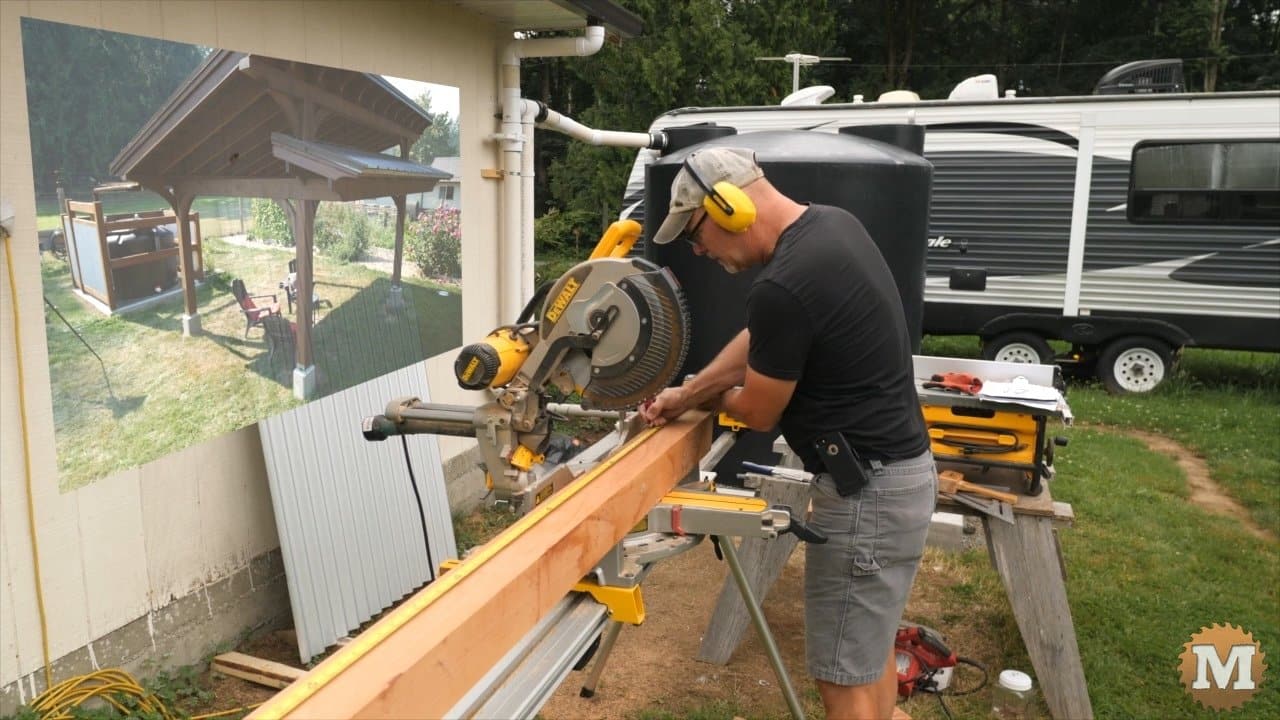
We are blessed to have lumber milled from our own trees for many of these projects. When we poured the curb I embedded some anchor bolts to hold these post saddles.With the Sketchup model done I can start cutting the parts.
I’ll cut all the 4×4’s first. Behind me there is the 1200 gallon tank that I covered in the first rainwater collection series.
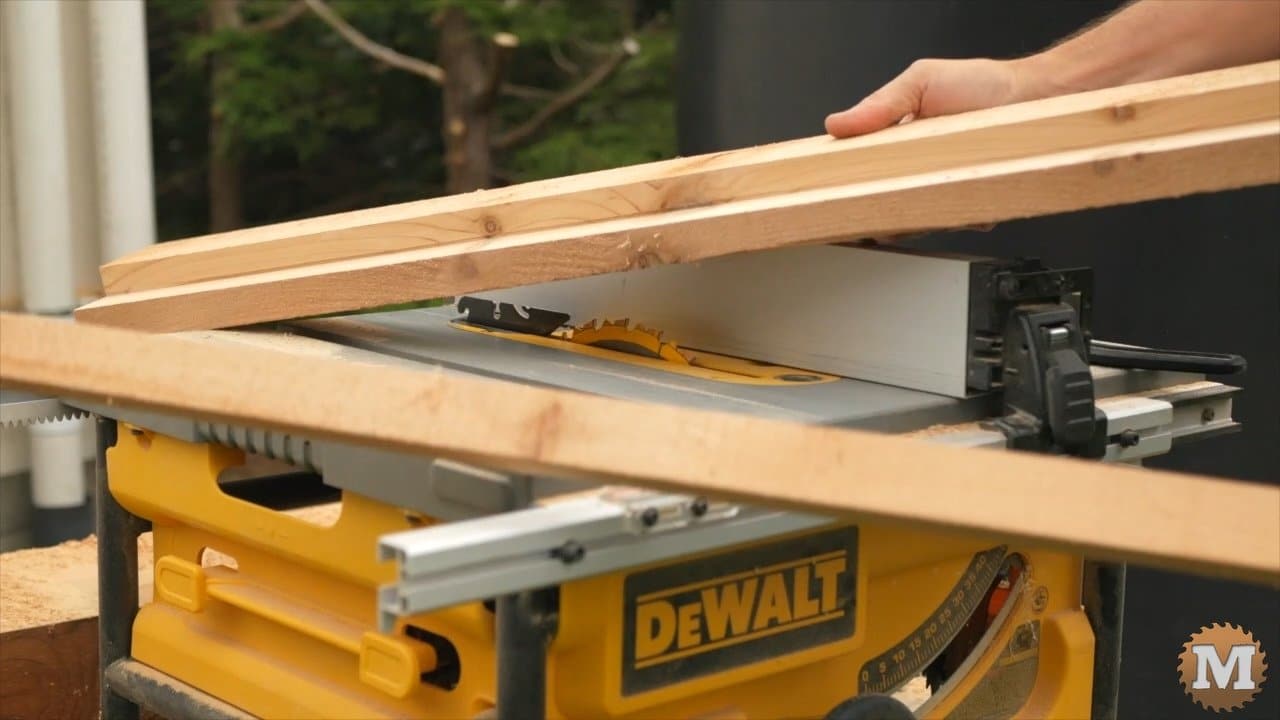
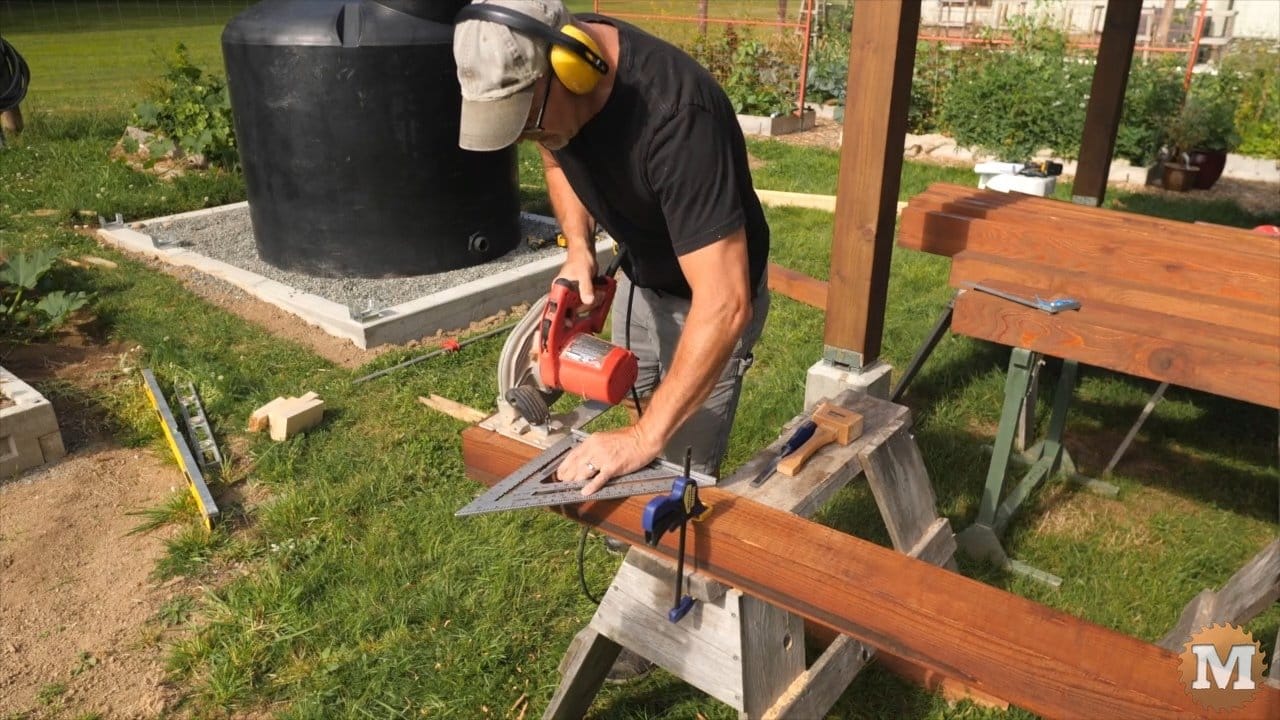
Rip the Rails on the Table Saw
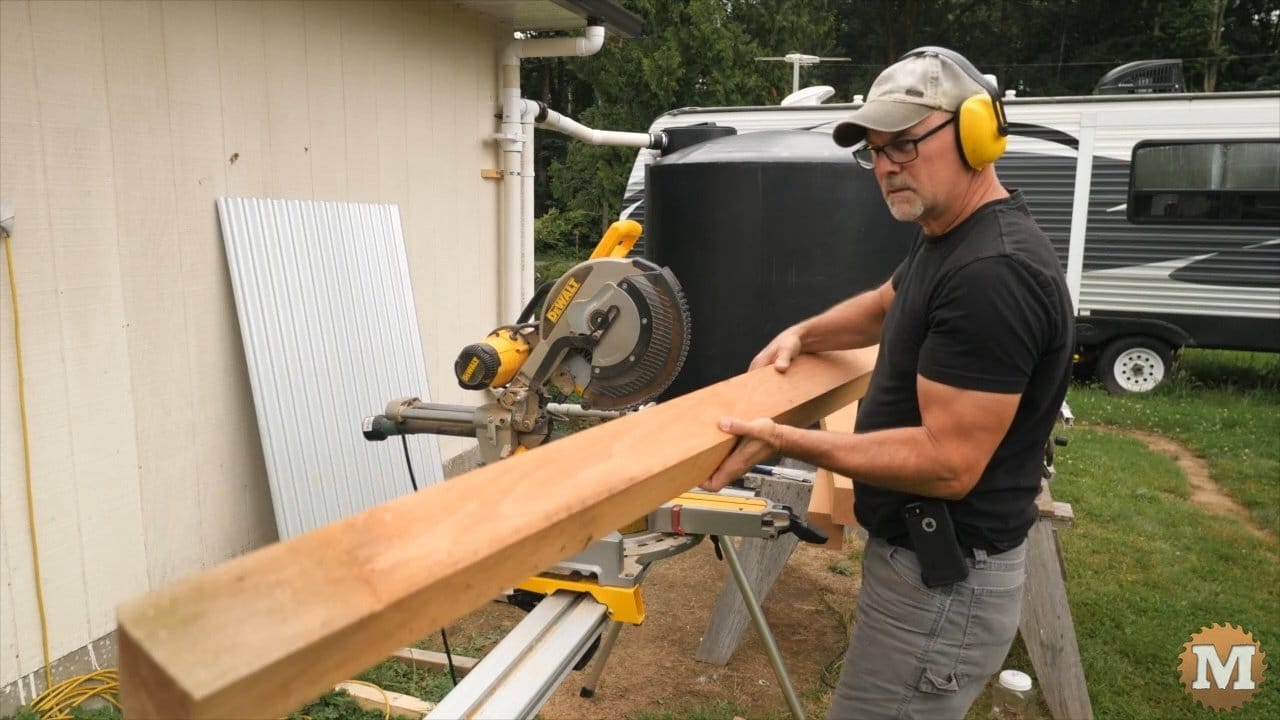
Next I’ll cut the 2×6’s for the bottom rails. And then the 2×4’s for some of the mid and top rails. I can get away with cutting everything to final size here as I was careful to set the forms and pour the curb square and level.
And then I cut a rabbet in the top and bottom side rails. A viewer in the previous series commented that I should have made the horizontal cut on a slight angle for water drainage. And that is totally true.
With all the parts done I roll on some stain. This is a one coat Sikkens semi-transparent stain. It dries overnight and , with only a single coat, the parts are not oily to handle and work with.
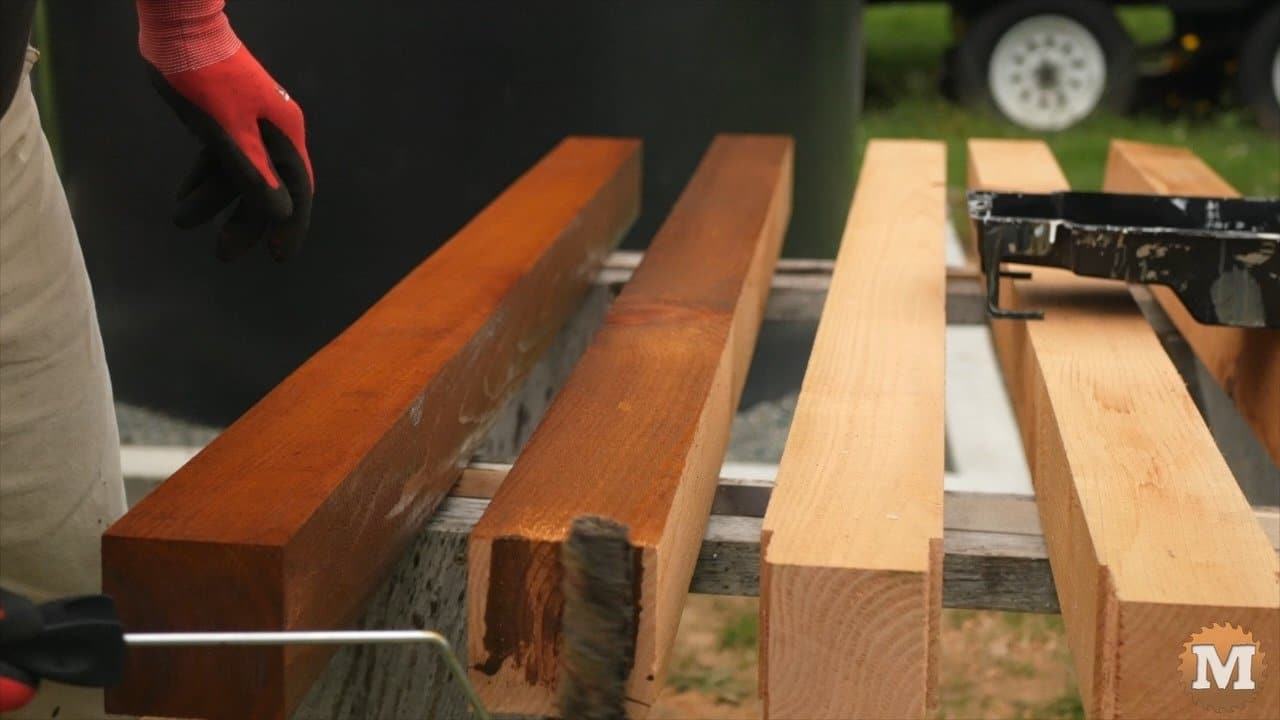
I do add a few extra coats to the tops and bottoms of the posts and to the ends of the rails. And I was thinking that I’d like to add a low profile, simple, galvanized cap for the posts. If I can find or order some somewhere. Maybe I could just cut a square of galvanized sheet metal and epoxy it on. The hardware stores in my area don’t carry a post saddle for a full dimension 4×4 so I need to trim mine down to three and a half inches. I love this western red cedar whenever I pull out a chisel or need to shave it down.
A single screw through the post saddle holds the bottom in place while I clamp a temporary brace to one side. Then plumb with a spirit level. Then I can repeat that on the second post. With the addition of another temporary brace.