Set the Footing Form in place
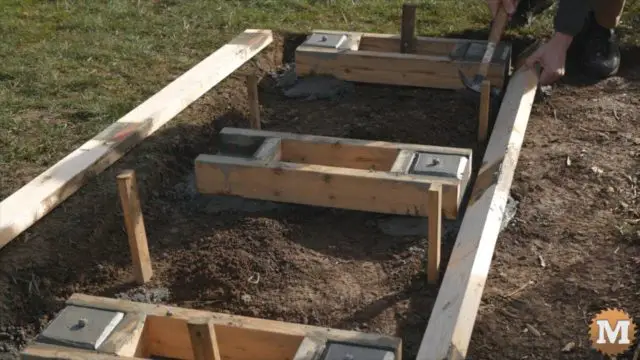
Once the holes are dug I level the frame and screw it to stakes.
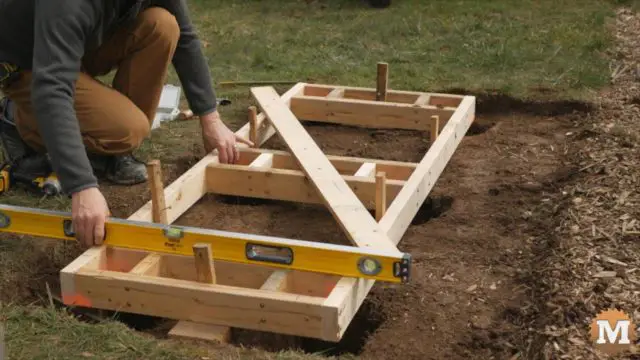
And Max came by to inspect these holes and give his approval. Thanks Max.
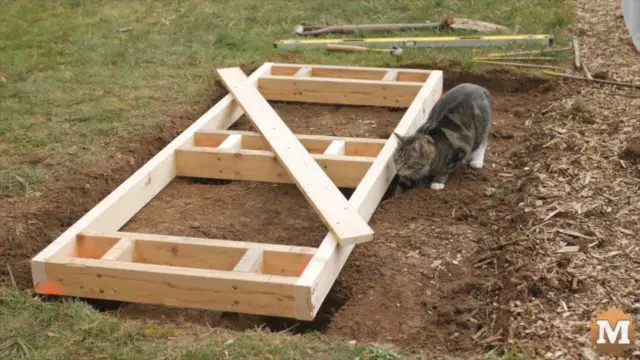
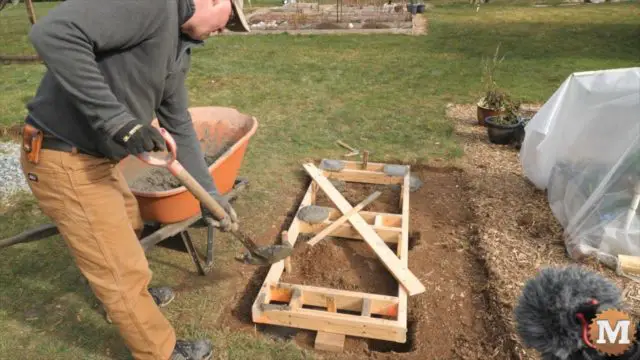
A few bags of concrete are mixed and shovelled into each hole. And I realized I could have used less concrete if I levelled this spot better and placed the form frame closer to the ground. With less of a gap for the concrete to flow away.
Pouring Concrete
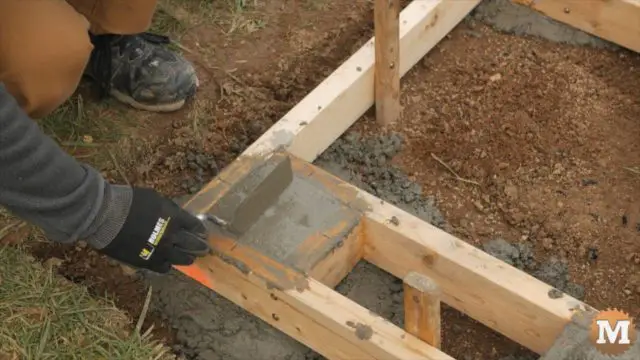
For these small footings I use galvanized carriage bolts as the anchors. I’ll mark the center then push the bolts into the wet concrete.
Carriage Bolts as Anchors
The next day I’ll strip the forms by disassembling the entire frame. I could have poured a concrete pad for this instead of footings but I need to consider the sink drain.
Stripping the Concrete Forms
The sink will be for occasional summer use so I’ll drain it into a dry well below the bench. I dig a hole then line it with heavy landscape fabric.
Dry Well as a Sink Drain
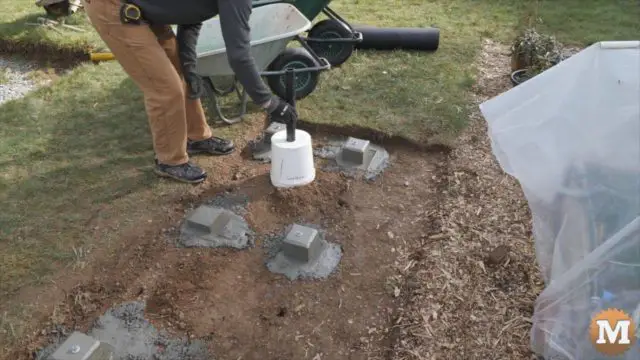
I cut a hole in the bottom of a pail for the drain pipe. This is set in the hole and surrounded and covered with drain rock. The fabric is folded over and more drain rock holds it in place.
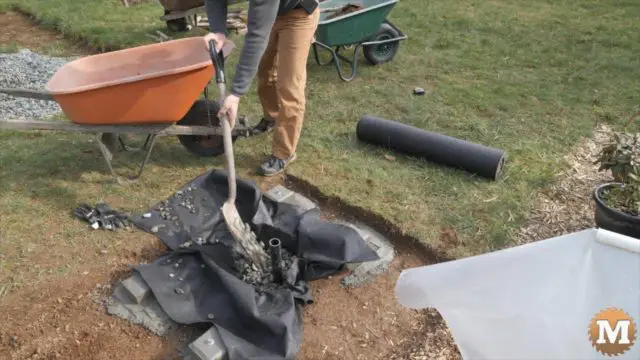
Later I shovelled in a layer of crushed stone where I removed the sod.
Assemble Potting Bench Frame
I can now begin assembling the frame for the potting bench. I attach the rails to the legs starting with the front side. Then repeat the same steps that for the back side. Roughly positioning the legs, laying and squaring the rails, then driving in a few screws.
(Disclaimer: As an Amazon Associate I earn from qualifying purchases. Thank you for helping to support my content this way. )
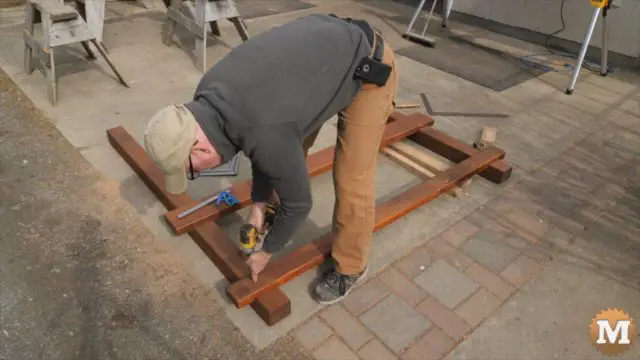
I used all GRK self drilling screws for this project. Sure they are expensive, but they make assembly faster, hold better, and should last a lot longer.
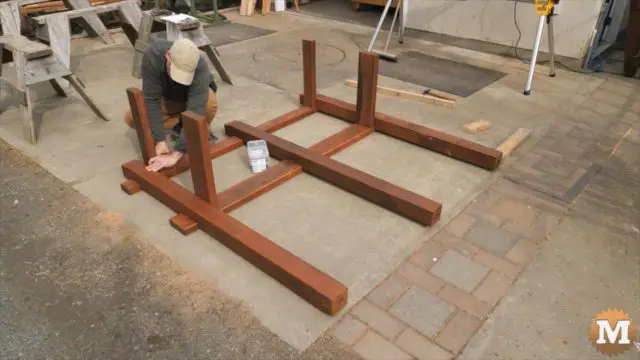
With the frame flipped over I’ll attach the 2×4 and 2×6 side rails.
Connecting the Front and Back Frame
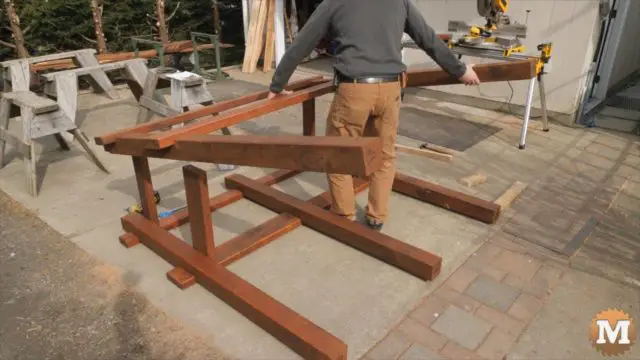
With the front side frame laid over the ends of the side rails I’ll run in some screws to complete this bare bones frame.
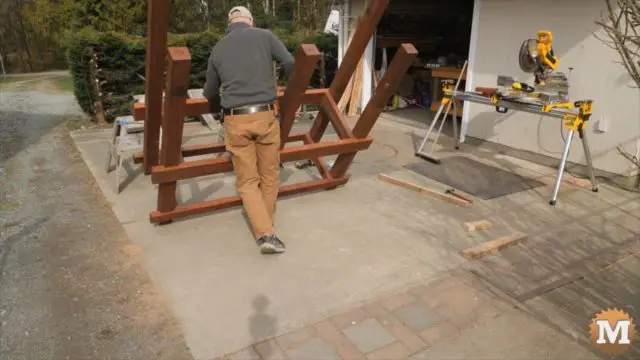
This frame can now be placed on the post saddles that are loosely bolted to the footings. These saddles are slightly adjustable so that made this step easier.
Setting the Frame on the Post Saddles
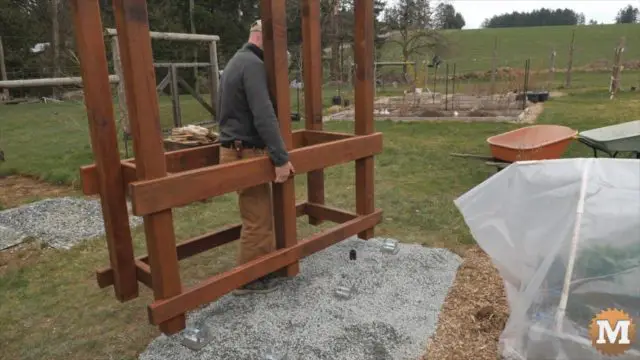
This was a bit tricky but once I had it balanced it went okay.
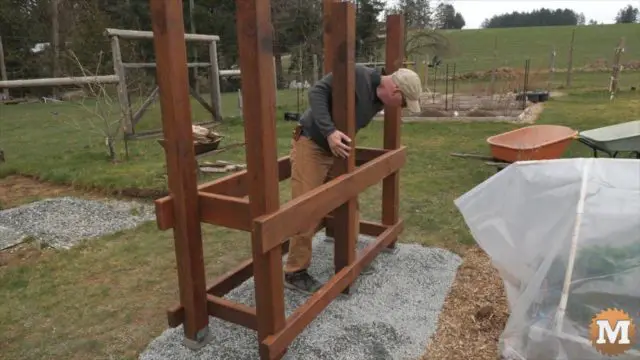
Then screws secure the legs to the saddles.
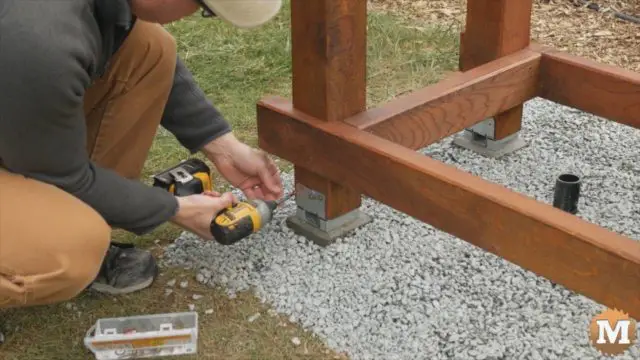
A 4×4 is screwed to the back post and the front rail. And a 2×4 added for mid support of the bottom shelf boards.
Adding Countertop and Shelf Supports
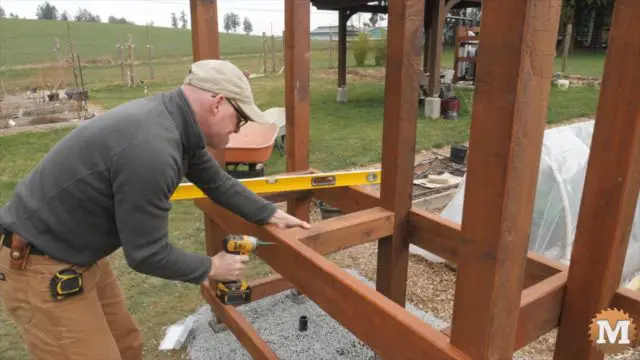
The beams will be attached to the tops of the legs with a long lag bolt. I need to countersink the head so I’ll first drill a flat bottomed counterbore with a forstner bit. Then using a drill guide I make the hole for the shaft of the bolt.
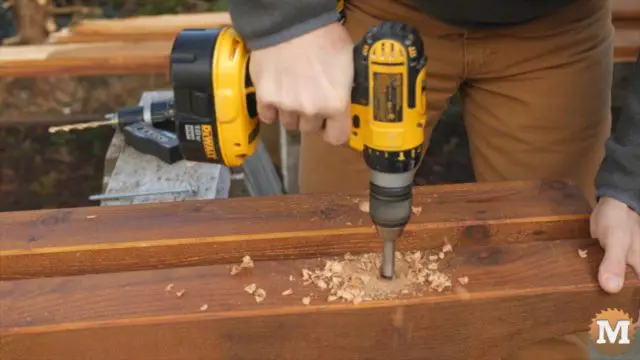
The beams are set on the legs and holes drilled before the lag bolts are run in. I guess you could also call these posts instead of legs at this point.
Installing the Beams with Lag Bolts
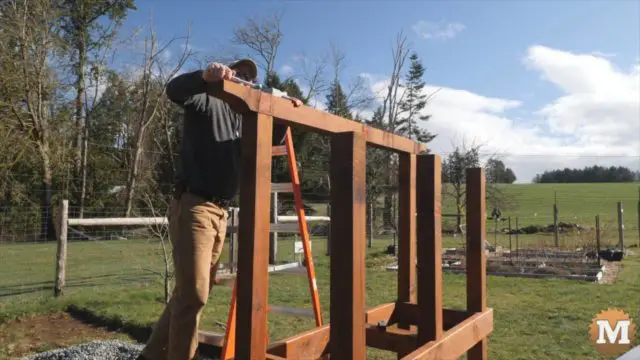
The middle back side leg (or post if you like) is brought into line with a clamp then drilled and bolted.
