In this episode of the garden potting bench build I’ll make the form and cast the concrete countertop, then add the sink and upper and lower shelves. In the previous episode I built the frame, poured footings to secure it to the ground, and added a corrugated metal roof. This is Part 2 of the series.
See the Youtube Video and download the Plans.
Background for Pouring the Concrete Countertop

(transcript of the Build Video Part 1)
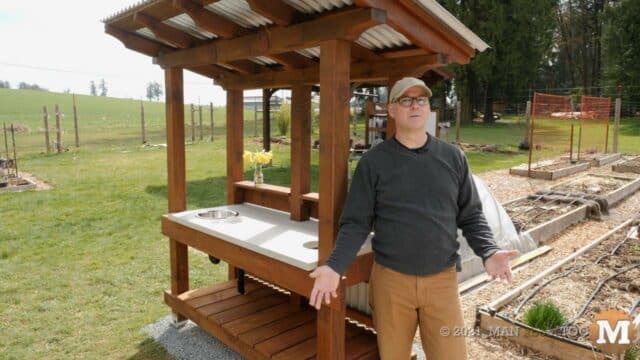
This video will focus on pouring the concrete countertop, setting it on the top rails, installing the sink and drain plumbing, and adding the top shelves, then finally adding the bottom shelves with the corrugated panel back wall.
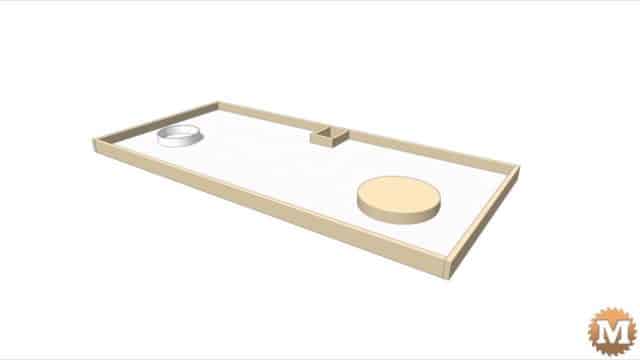
Concrete Countertop Form
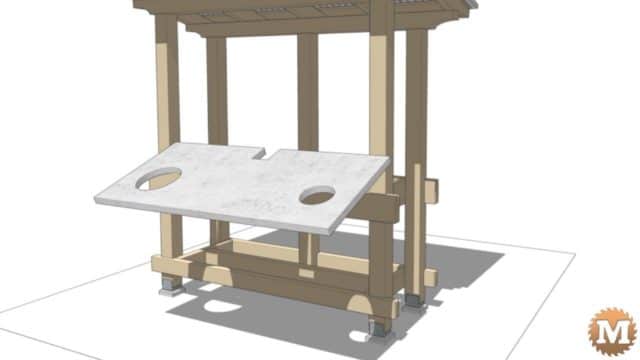
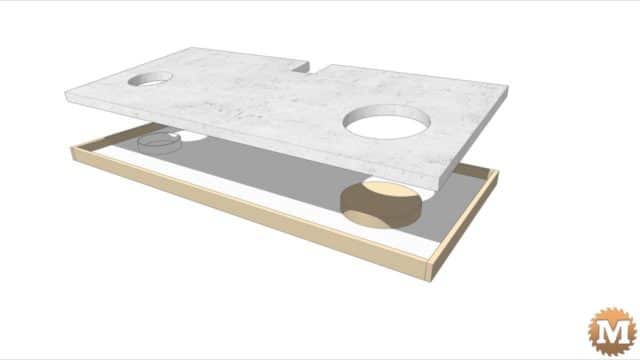
The cast concrete countertop will be poured in a shallow form made with a melamine coated board and one by walls.
The back of the countertop will be notched around the center back 4×4 support. I’ll be casting two holes during the pour: one for the sink, and the other for a waste shoot.
Make the Countertop Sink Knockout
I need to create a hole in the countertop for my DIY sink I’m making from a stainless steel mixing bowl. I didn’t have any pipe or anything else the right size for this so, I’ll have to make a disc from scratch.
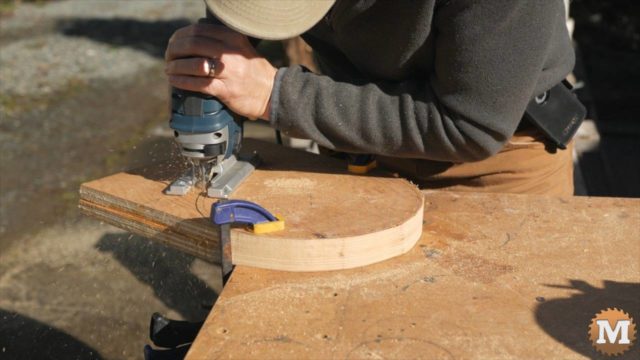
I glued two squares of 3/4″ plywood together to give me a 1 – 1/2″ tall disc. Which is also the thickness of the counter I’m making. When the glue dried I scribed a circle with a compass. Then rough cut this disc with a jigsaw.
Sand the Blank Smooth
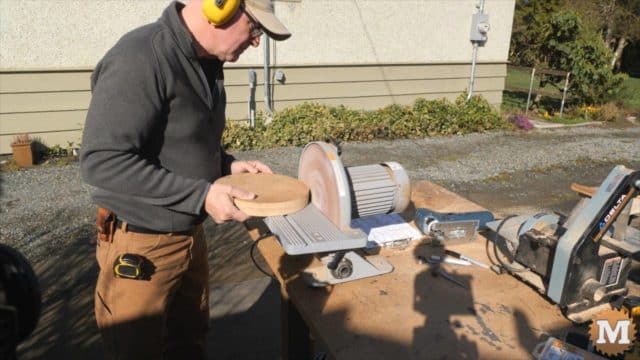
I slightly tilted the table of my disc sander to create a draft angle on the disc. Then I rotated it to sand it round and smooth.
(Disclaimer: As an Amazon Associate I earn from qualifying purchases. Thank you for helping to support my content this way. )
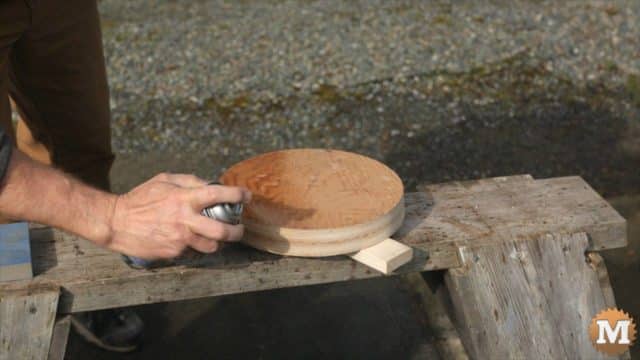
I gave it two quick coats of spray polyurethane to seal it from the concrete. To keep it from absorbing any water and hopefully make it easier to knock out after the concrete hardens.
Build the Concrete Countertop Mold
The bottom of the countertop form is made from 5/8″ thick Melanie coated board. I wanted to buy the 3/4″ thick board but in my haste I pulled the 5/8″ from the stack by mistake. It will do but the 3/4″ is stiffer so its preferred.
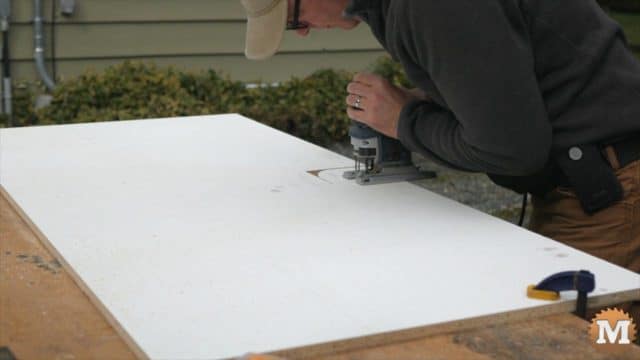
Anyways, I cut this to the final width and length of my countertop. I’ll mark the cut-out for the rear middle leg of the bench and cut this with the jigsaw.
Concrete Form Walls
The walls of the form can be made from strips of melamine but I had some one by spruce around so I ripped them to width, cut them to length, then gave them a quick two coats of spray polyurethane.

The walls are screwed to the base with self drilling cabinet screws.
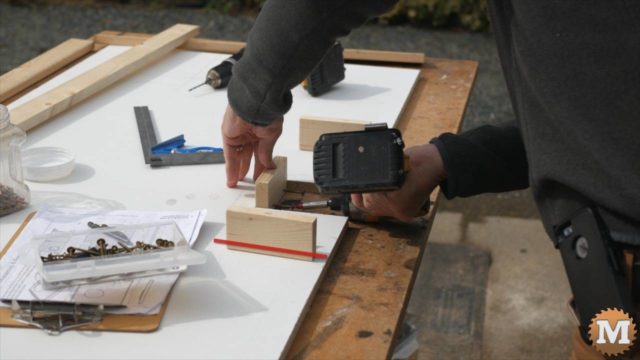
I marked a line on the walls so the screws would end up in the middle of the melamine.
Round Waste Hole Formed from Pipe
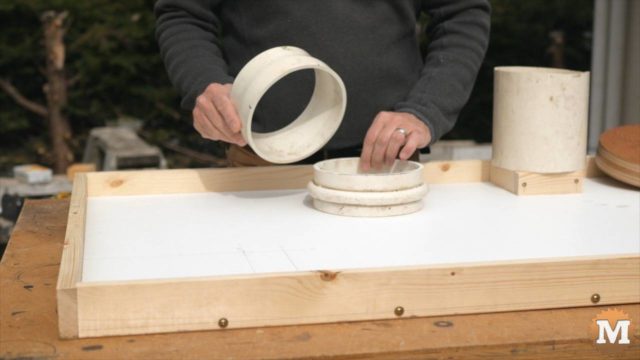
The waste hole will be formed from a section of plastic drain pipe I found. I cut a section near the end of this pipe with a handsaw. This sectional had a nice taper to it as it reduced in diameter. I thought that would be just perfect for the waste shoot.
Attach Blanks to Base of Concrete Form
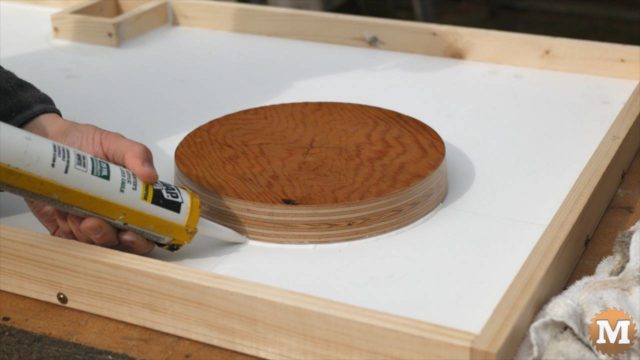
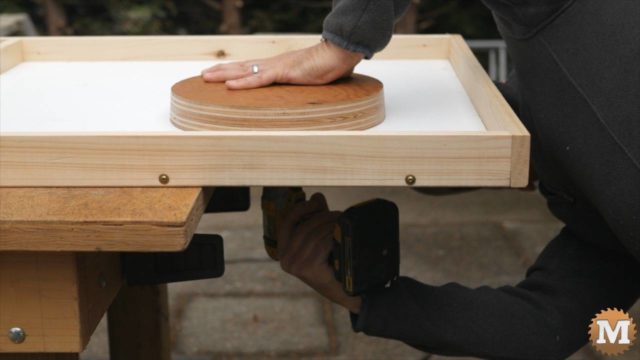
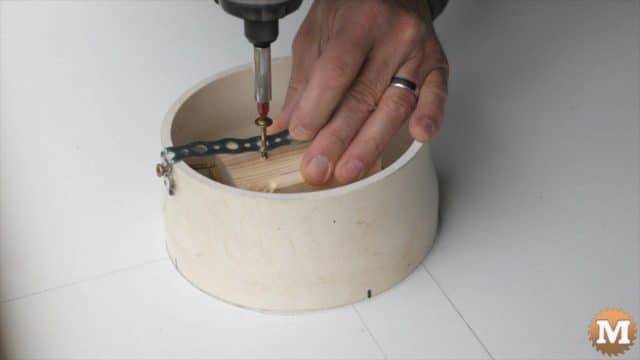
The plywood disc that will form the sink hole is screwed to the base of the form from underneath.
The plastic pipe will he held in place with a few blocks of wood and a metal scrap.
Seal all inside edges of Concrete Form
A bead of latex based caulk is added to all corners of the form and around the pipe and plywood disc.
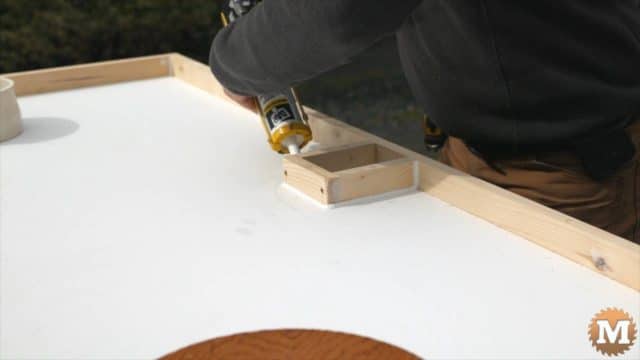
I smooth this bead and remove the excess with my finger. I’ve been using latex caulk for most of my form work as I find it easy to remove later and it’s not so overly strong. And it’s usually a bit cheaper than pure silicone.