Define the Materials for the Cut List Plugin
You need to assign and define the material to the components. And in Sketchup that very easy. I do that in the materials pallet where I can define the colour of an item. And I’ll talk a bit more about that in a second.
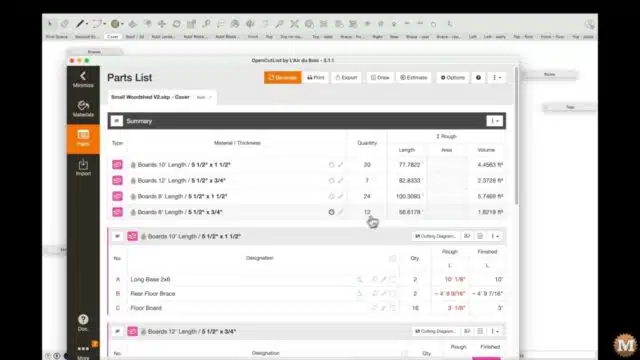
Cut-List Parts List Summary
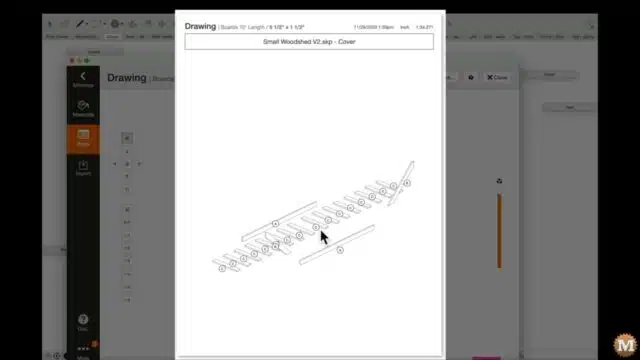
I can click the Draw button in the Parts List Summary. Assign some of the variable or just use the defaults, and hit generate. It will shaw a fully labelled view of your project that you can rotate and also expand to create an exploded view.
Back on the summary page, it lists all the board sizes I can buy and the total quantities required.
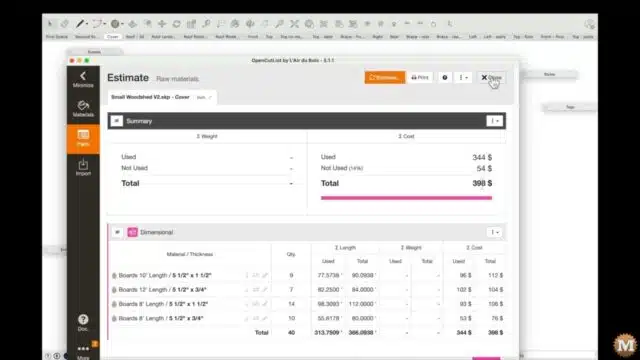
Materials Cost Estimate
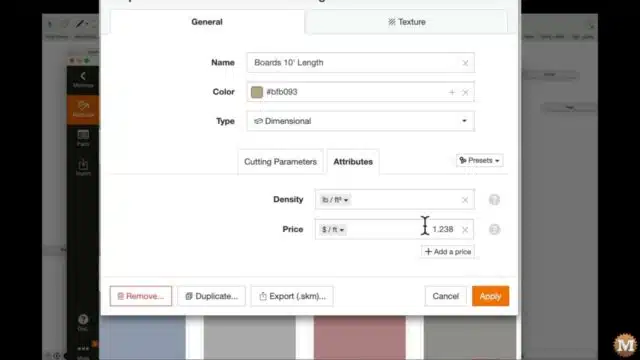
And if you assign a price per foot to each of the materials then it will also generate a material cost for you. At the time I was working on this it would cost approximately $400 dollars in lumber. Prices are set under the Attributes tab.
Board Stand Length Variables
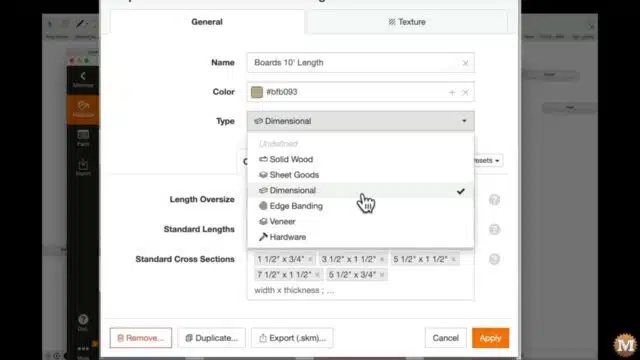
On the materials tab I can define the board standard lengths plus any oversize variables. That is a 10′ board is usually an eighth or so longer when you buy it. For example.
I did do a bit of work trying to initially group components into what I thought was the most efficient board length. But, I think the plugin can do all of that for you. In this window I have a 10′ board and listed all the standard sizes such as 1×2, 2×4, 2×6, 2×8, and 1×6. And you can add more if you need. I entered the actual values here.
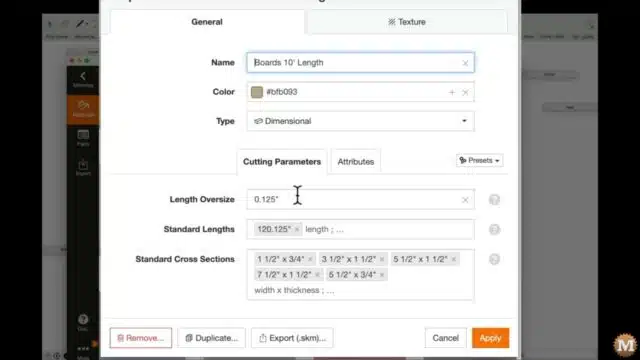
And I set this as Dimensional under material Type.
Automatic Part Naming
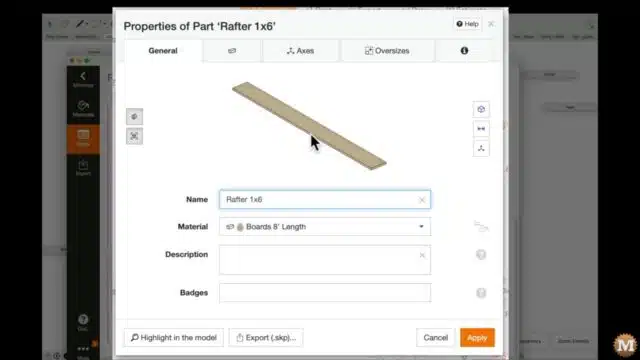
So back on the Parts List it shows the Part Name that I defined for the component, a part letter, A B and C, the quantity of each required, plus a rough and finished length.
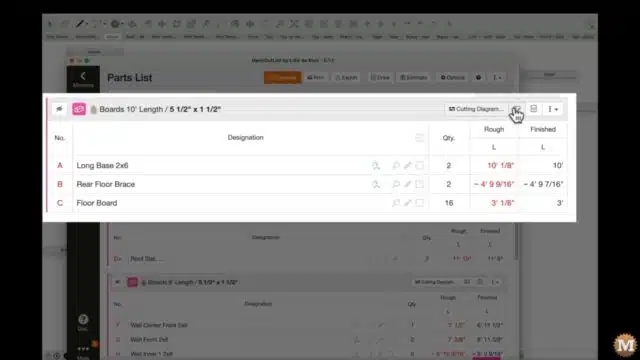
And you can generate a drawing that will show only those components that are made from that particular board length and size.
(Disclaimer: As an Amazon Associate I earn from qualifying purchases. Thank you for helping to support my content this way. )
Sketchup Drawing Plan Cutting Diagrams
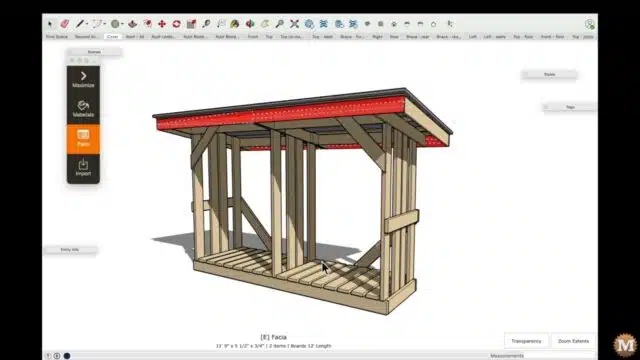
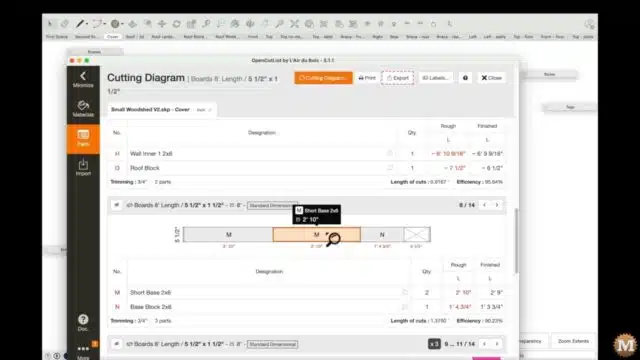
If you hit the Cutting Diagram button if will provide a visual reference for all the rough cuts you need to make. For the Facia (Part E) for example, you can double click and it will highlight that part in the model.
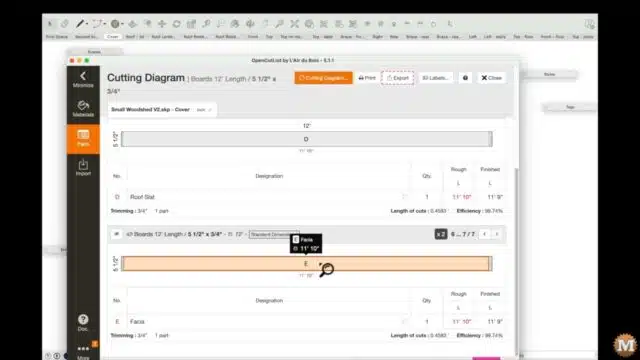
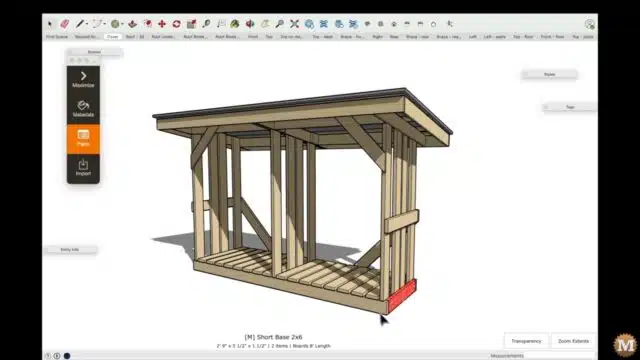
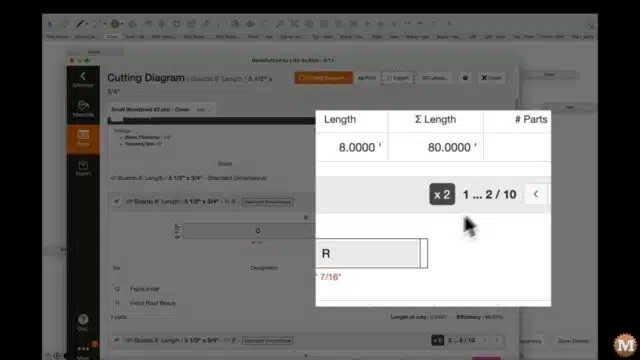
And see that again for Part M, the short base 2×6.
A single click on a part name shows that part. And it will indicate the number of boards dedicated to each of the rough cuts.
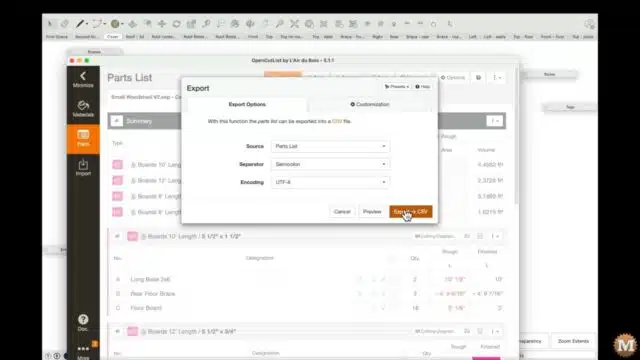
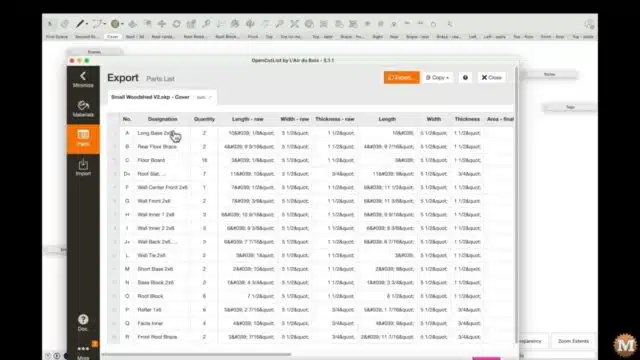
You can also export a CSV file. Comma Separated like a spreadsheet. And I’m sure there’s more that this plugin can do if you dive into it further.
FAQ
Can you draw plans in SketchUp?
No, you cannot draw plans directly in SketchUp. You can however, add some dimensions in 3D Sketchup.
Is SketchUp good for building plans?
Yes, SketchUp is a good software for creating building plans.
How to do I create a SketchUp drawing?
To create a SketchUp drawing, follow these steps:
Open SketchUp on your computer.
Click on File and select New to start a new drawing.
Use the drawing tools, such as the Line, Rectangle, or Circle, to create the desired shapes and objects.
Use the Push/Pull tool to extrude or manipulate the shapes in 3D.
Add details and textures to your drawing using the Paint Bucket tool.
Use the Orbit, Pan, and Zoom tools to navigate and view your drawing from different angles.
Save your drawing by clicking on File and selecting Save or Save As.
Then send the model to the Layout Program.
Then add views, notes, and dimensions.
That’s it! You have created a SketchUp drawing.
Does the SketchUp Free version come with LayOut?
Yes, SketchUp Free includes LayOut.
Thanks for reading. See the next post where I detail the Sketchup Firewood Drying Shed Animation.

