Build your own Timber Frame Woodshed for Firewood Storage and Drying. Plans available for download in PDF Format.
part 1 of 3 | see part 2 | see part 3
See the How to Video.
We heat our house with wood and need a drying and storage shed as close to the wood stove as possible. There’s a perfect spot for the woodshed right beside the house here that has easy access through the front or back door. It’s also close to the driveway for loading with my truck. The internal volume of the wood shed is 392 cubic feet (11.1 cu meters). A full cord of wood is (4’ x 4’ x 8’) 128 cubic feet (3.62 cu m). So stacked to the top of the walls, this woodshed holds 3 cords of firewood.
Part 1 – Build the Timber Frame Style Woodshed

Timber Frame Design
Here’s the 3D model I created in Sketchup. I wanted the woodshed to be designed and built in a timer frame style with some simple joinery.
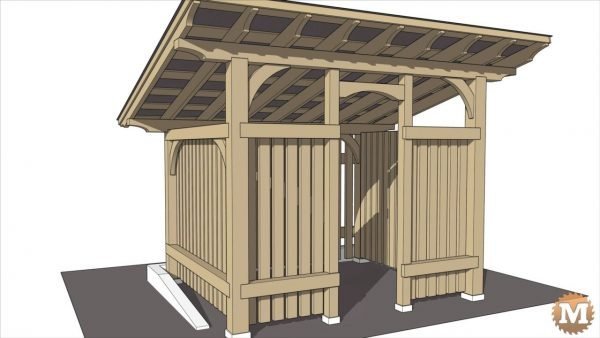
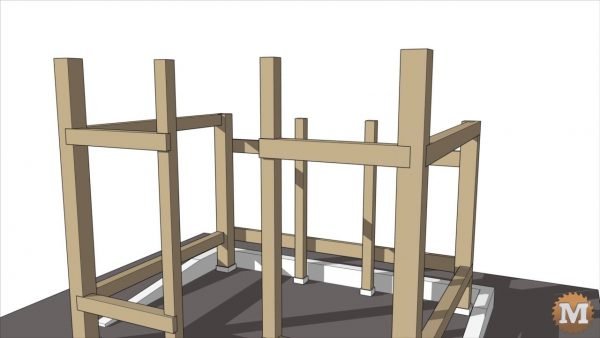
The four corner posts are 6″x6″ connected with girts that are 4″x5″. The door way and rear wall supports are 4×4’s, front cross members connect the front corner posts to the doorway. Across the back of the shed I have a pair of 2×6’s.
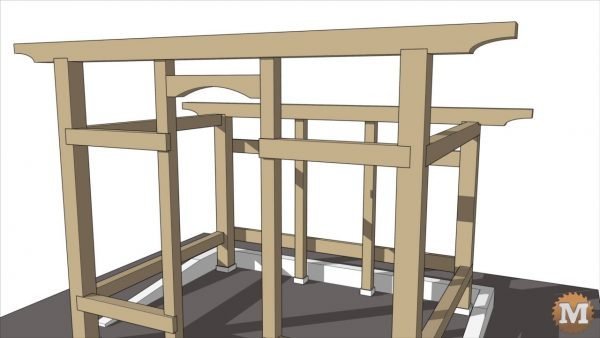
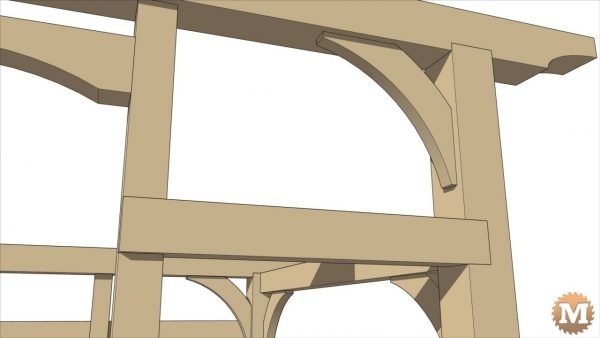
The front and rear beams are 6×6 and there’s a curved header over the doorway.
All eight curved corner braces were made from 2×8 stock.
The rafters are 2×6’s, topped with strapping and a metal roof.
(Disclaimer: As an Amazon Associate I earn from qualifying purchases. Thank you for helping to support my content this way. )
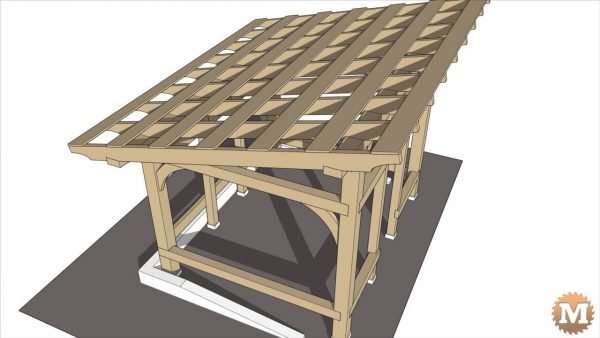
The walls are made from 2×4’s for strength, and spaced for ventilation.
My shed is 8 feet by 9 feet in size. I have a full set of plans available for download.
It’s easy to modify the dimensions on the plans for the size you need.
Ideal Timberframe WoodShed Location
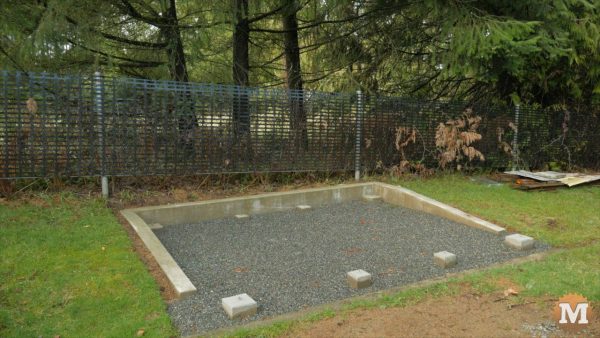
Last fall we excavated and levelled this spot, built plywood forms and poured a low retaining wall. Then dug holes and poured the footings. The floor is fine crushed stone over a weed barrier.
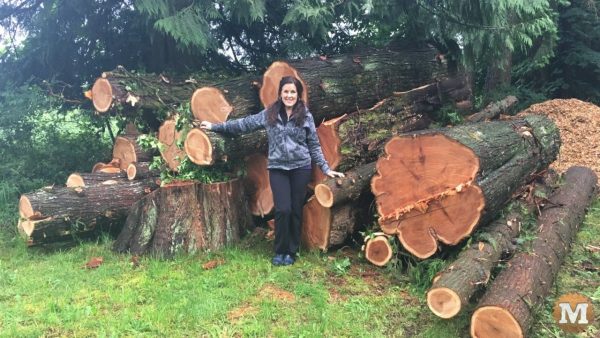
Two years ago we had a few large red cedar and fir trees felled on the property. Here’s a pic of Marilyn with some of the logs.
Our friend Jay came with his bandsaw mill to turn these logs into lumber for future projects we had planned for the property.
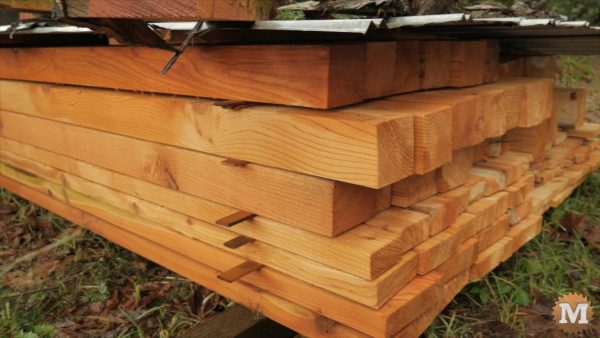
I stickered up the boards and covered the stacks with old tin and left to air dry. For this project, I’ll use mainly this red cedar and some fir for the rafters.
