I install a 1200 gallon (4550 liter) rainwater harvesting tank to collect water for our garden when our irrigation well runs low in the summer. This is four part mini-series.
Jump to:
Part 1 – Pour a Rainwater Tank Foundation
Part 2 – Rainwater Tank Plumbing and Fittings
Part 3 – Rainwater Tank Pump and Irrigation
Part 4 – First Run of Tank Drip Irrigation System

Install a Rainwater Tank – PART 2: the Plumbing and Tank Fittings
(this is a transcript from the video)
This is part two of my series on installing this 1200 gallon rainwater harvesting tank. It the first episode, I excavated a level spot beside this shed and poured a curb to hold the gravel that supports the weight of the tank AND allows water to drain from around the tank without causing erosion.

In this episode I’ll show how I connected this tank to the gutters.
Link Gutters on Two Buildings
To get the most water I can in our dry summers, I connected the gutters from the larger workshop to this shed and that gave me about 1400 square feet of roof.
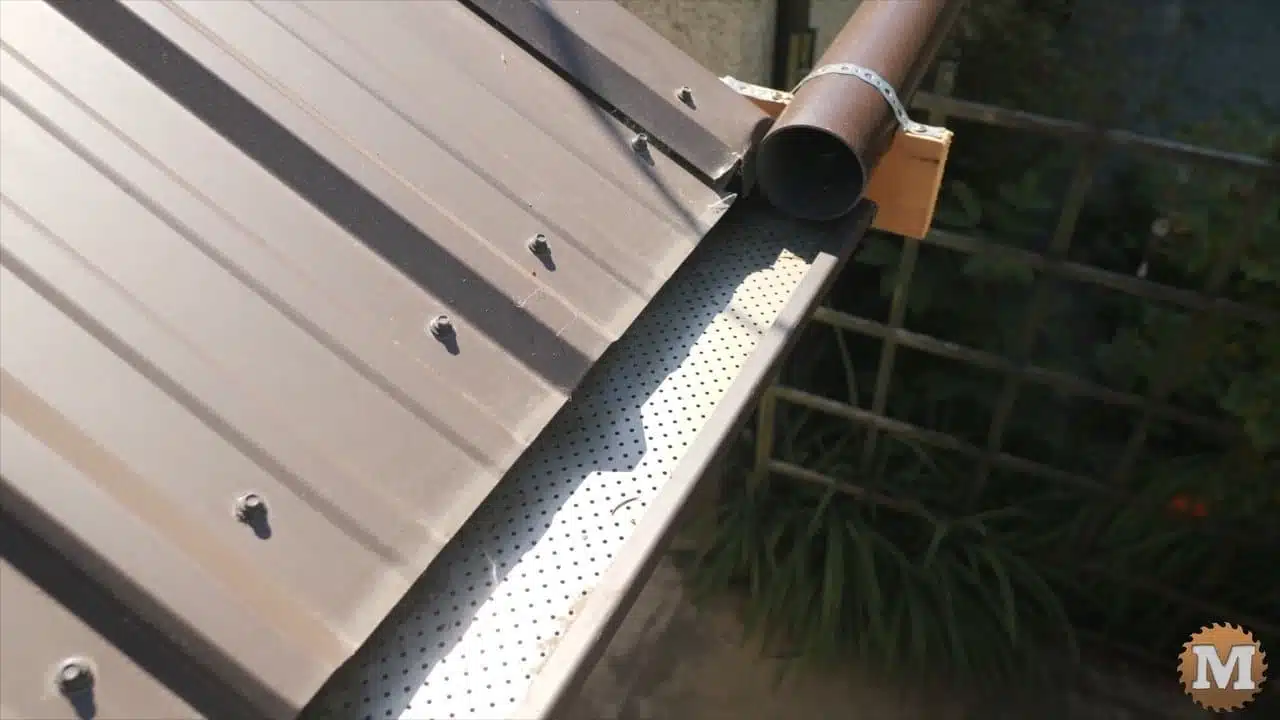
A few years ago I installed a steel roof on these buildings and added new gutters that have a leaf guard.
Because of that I won’t need to add a leaf screen to the downspouts. And that’s good because I don’t have a lot of distance from the bottom of the gutters to the top of the tank.
(Disclaimer: As an Amazon Associate I earn from qualifying purchases. Thank you for helping to support my content this way. )
I have just enough space for pipe slope so I can connect BOTH sides into one. In the winter when we get heavy rains I can remove the pipes that connect the gutters between buildings and reinstall the aluminum downspouts.
Downspout Plumbing
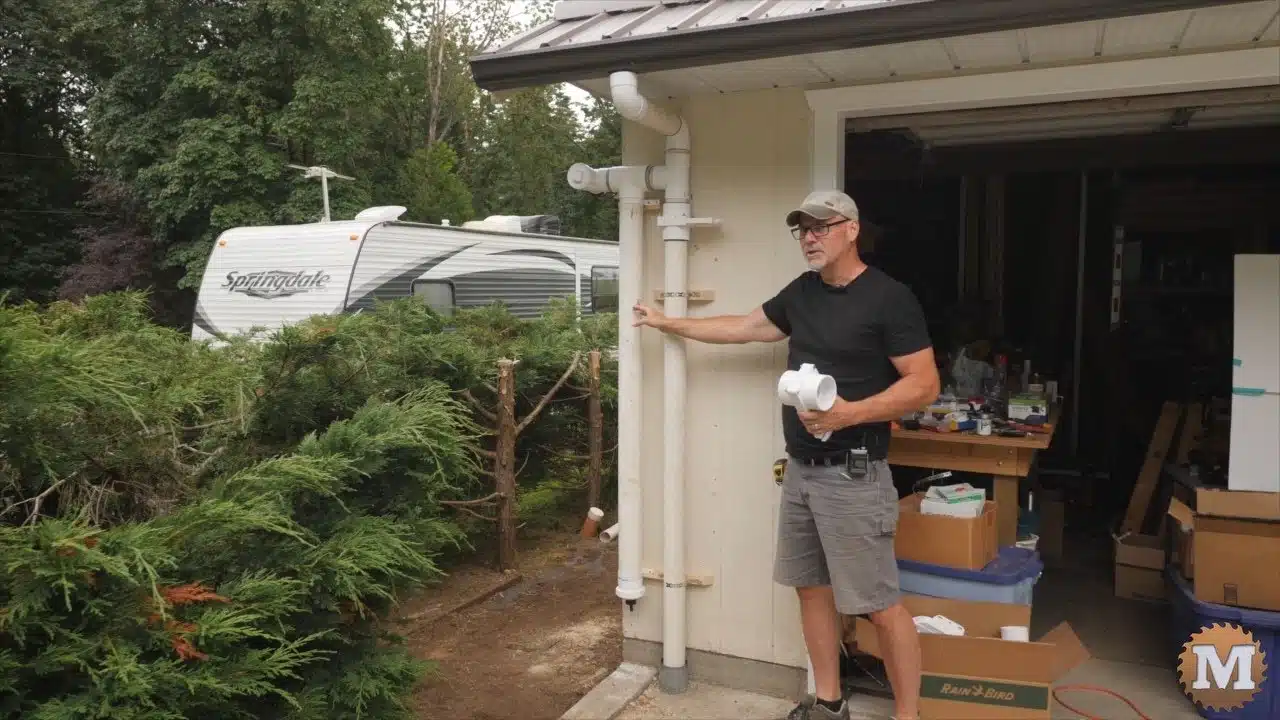
I replace the downspout on the shed here with 3″ PVC drainpipe. I added a gate valve for water collection in the summer. I close the valve and water backs up and fills the first flush diverter then runs around the building to the other side.
On the opposite side of this smaller workshop I’ll put together another pipe and fitting assembly as the first one.
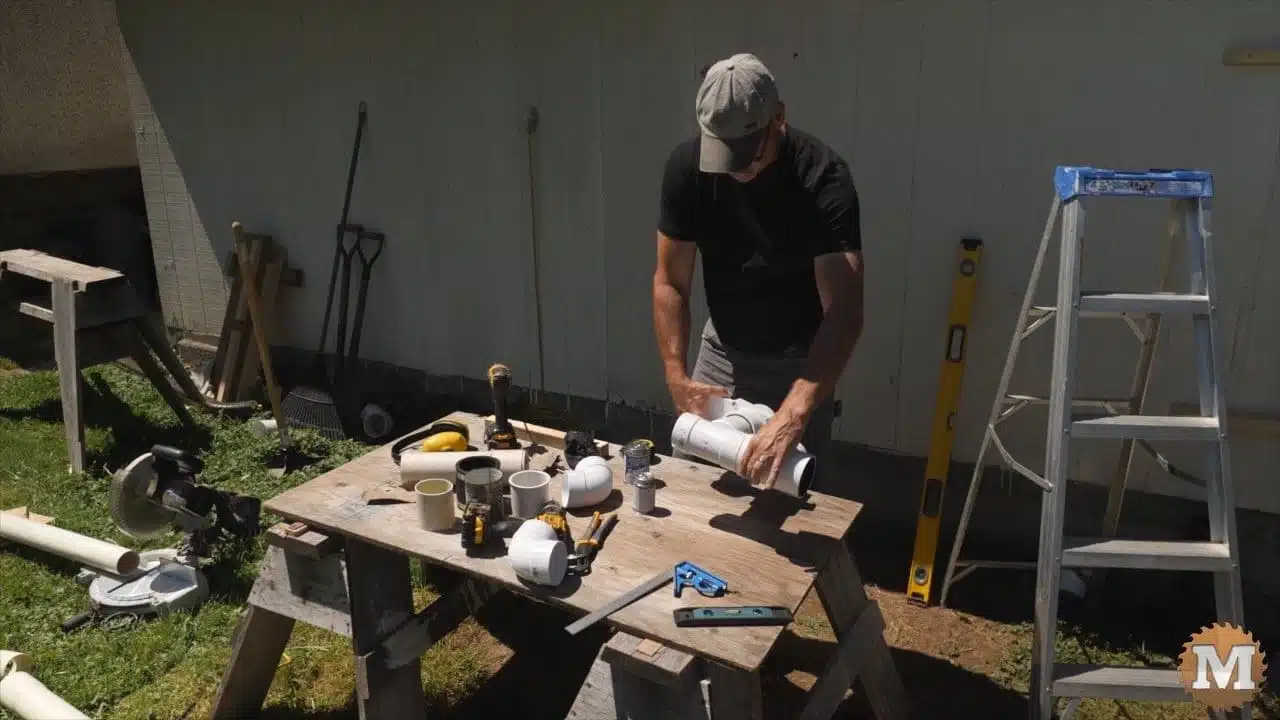
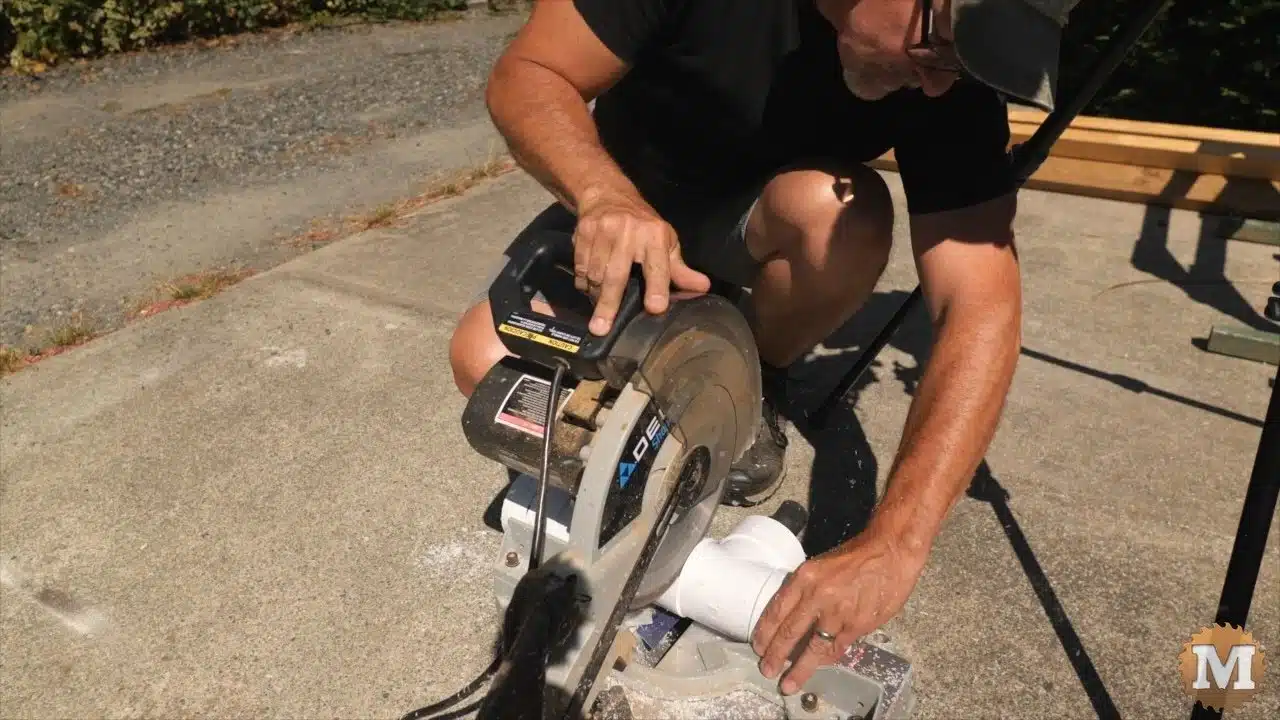
Plumbing and Fittings
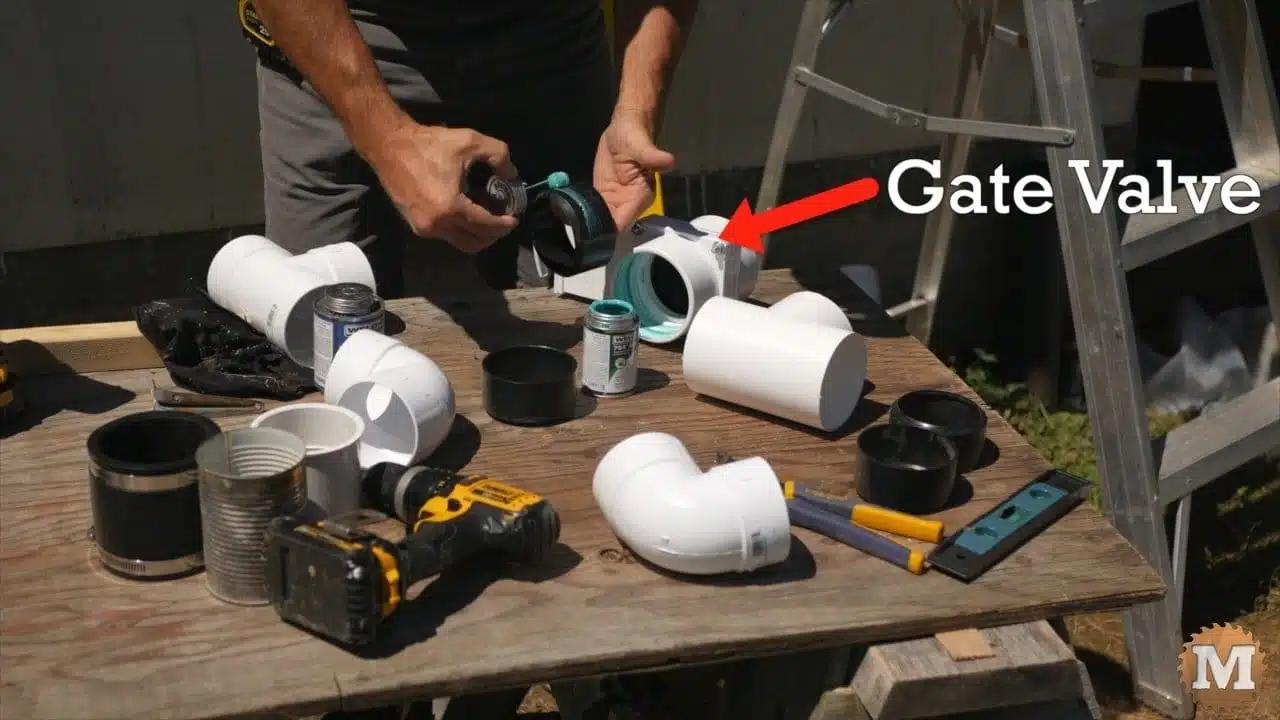
The gate valve and the “T” at the top of the first flush diverter are designed to fit a Schedule 40 PVC pipe. That’s a thicker walled version of the 3″ drain pipe I’m using for everything else. So I need to first glue in these sleeves to allow me to connect everything together.
I could only find the black ABS sleeves but they will work fine for this. I just need the right glue that works on PVC and ABS together. And you have very little time, a few seconds really, to get the parts in the right position once you glue them and slide them together. And there’s no going back for a second try.
So planning is key to making this work. I dry fit everything first and use a sharpie to mark what goes where. Except, the morning I was working on this assembly.
I work as a Paramedic and my schedule is erratic and not always consistent. I worked a night shift and didn’t get enough sleep in the morning, then tried to do some plumbing. Not a good combo.
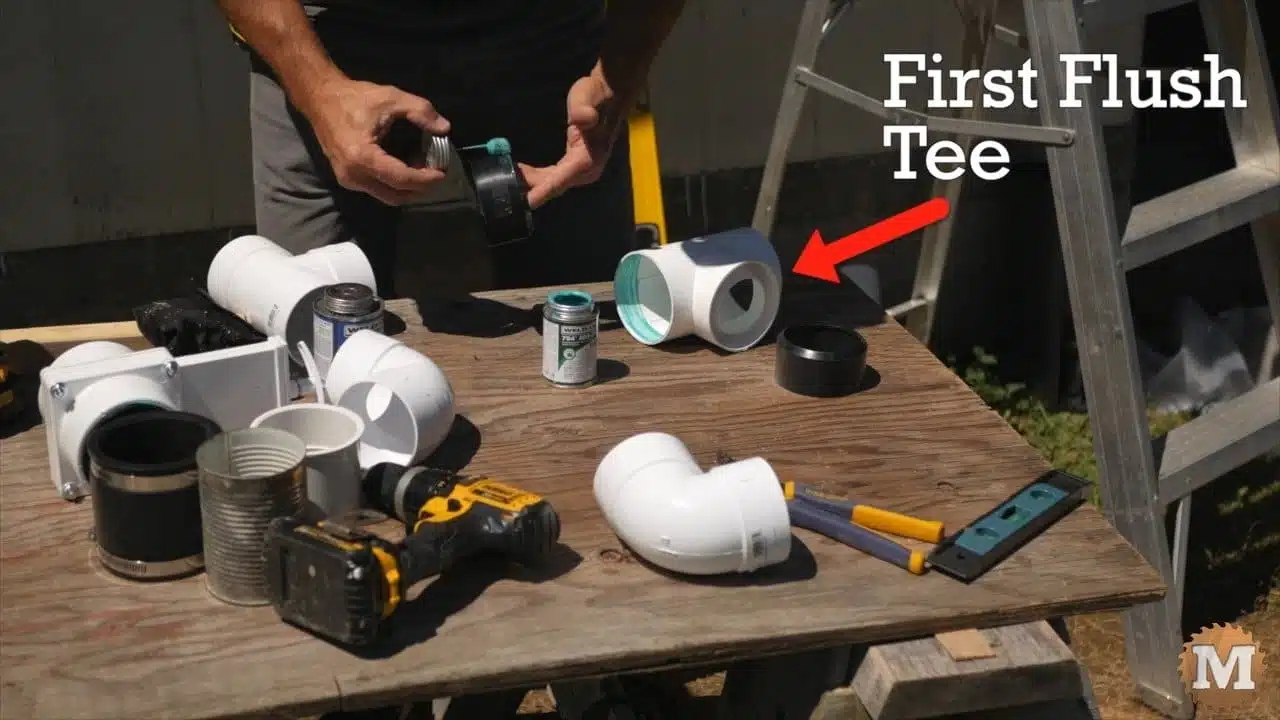
I glued the sleeves into the “T” at the top of the first flush diverter and that was okay. But, right there is the problem.

For some reason I was thinking that the “T” that sits above the gate went in the same orientation as the first flush T. And I went ahead and glued them together.
And that’s the moment right there that I realized what I did. And then some choice words came out of my mouth.
Making Mistakes (just part of it)
Cause the first flush T is a specialized part that I ordered. And getting a replacement would put me back days and days. And there was rain in the forecast.
Then I took a break to calm down. I realized to fix it I had to separate those two T’s.
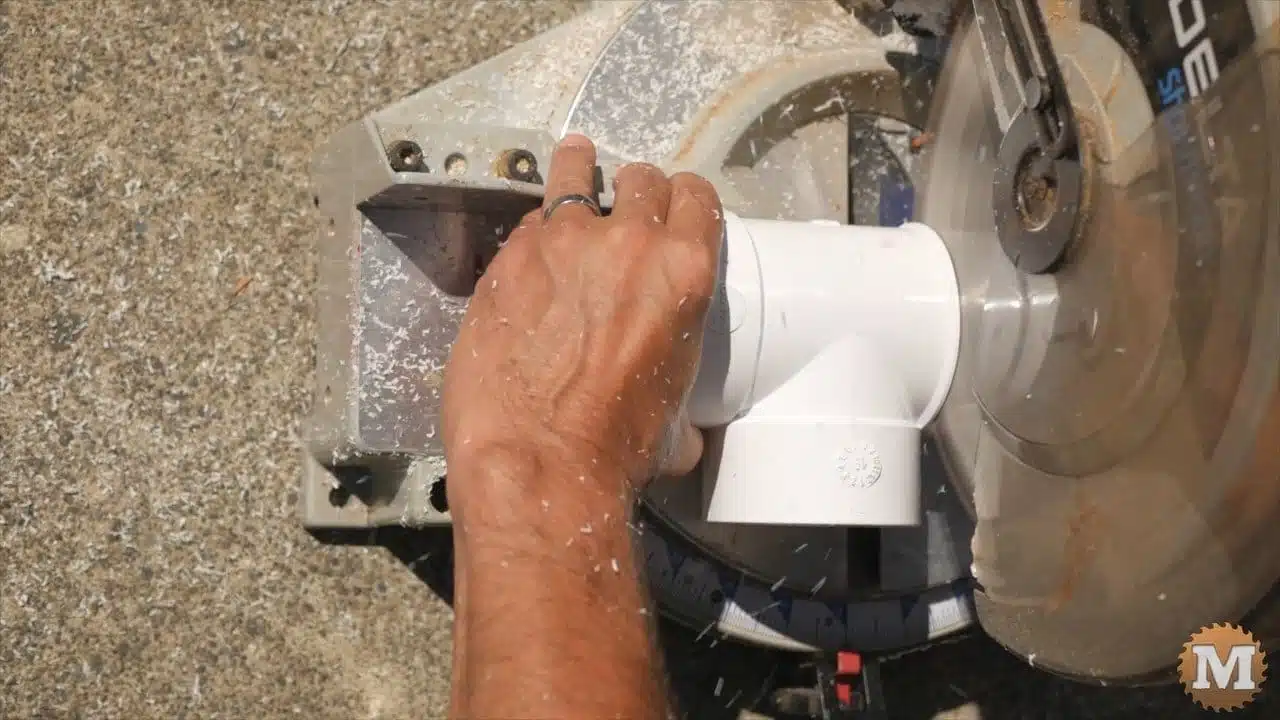
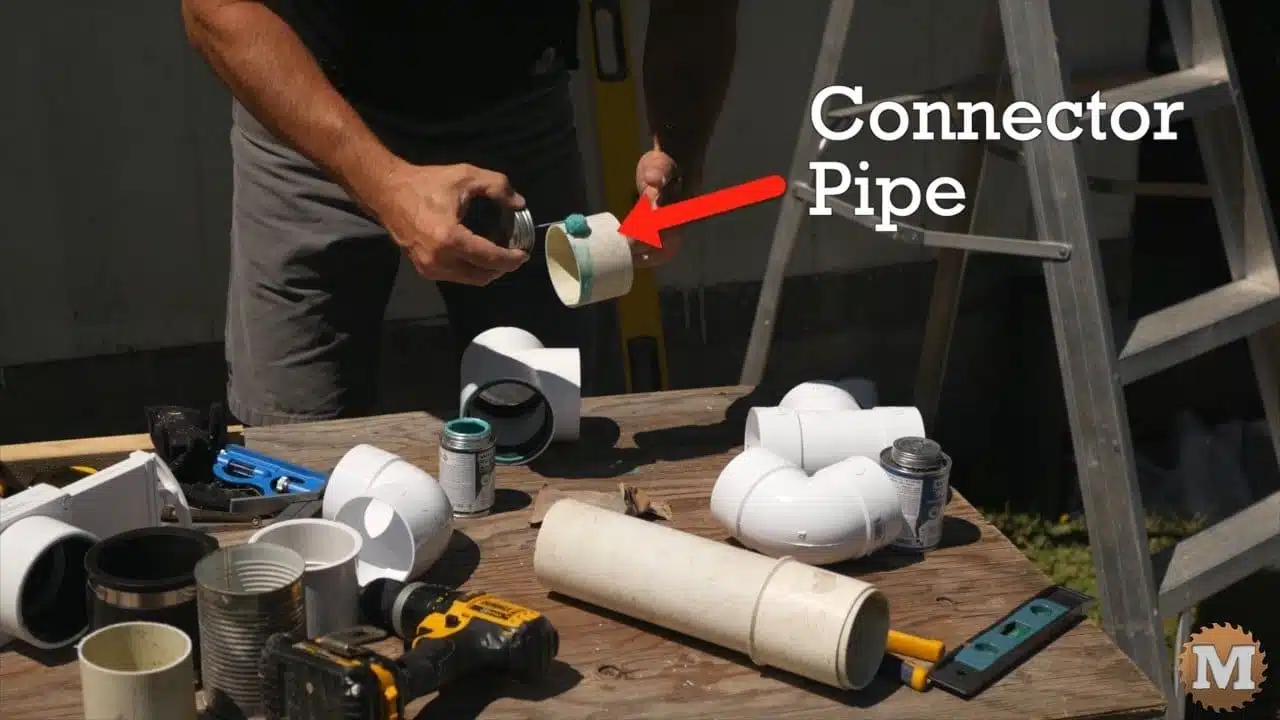
And as I mentioned the glue is unforgiving. I had to cut off most of the standard “T” and glue a new one on the first flush “T” on the other side. Later I’ll use a rubber coupling to adapt the messed up end of the first flush T to the pipe that heads to the tank.
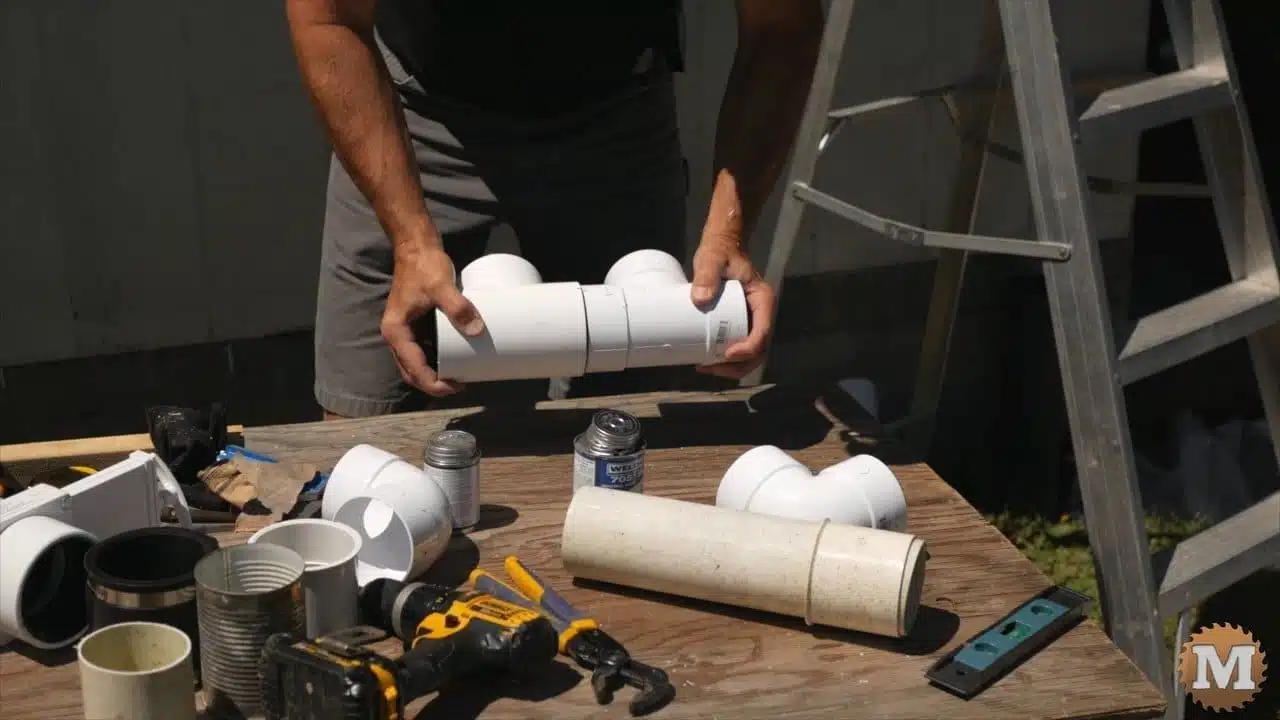
So now back on track, I assemble the rest of the parts in their correct orientation.
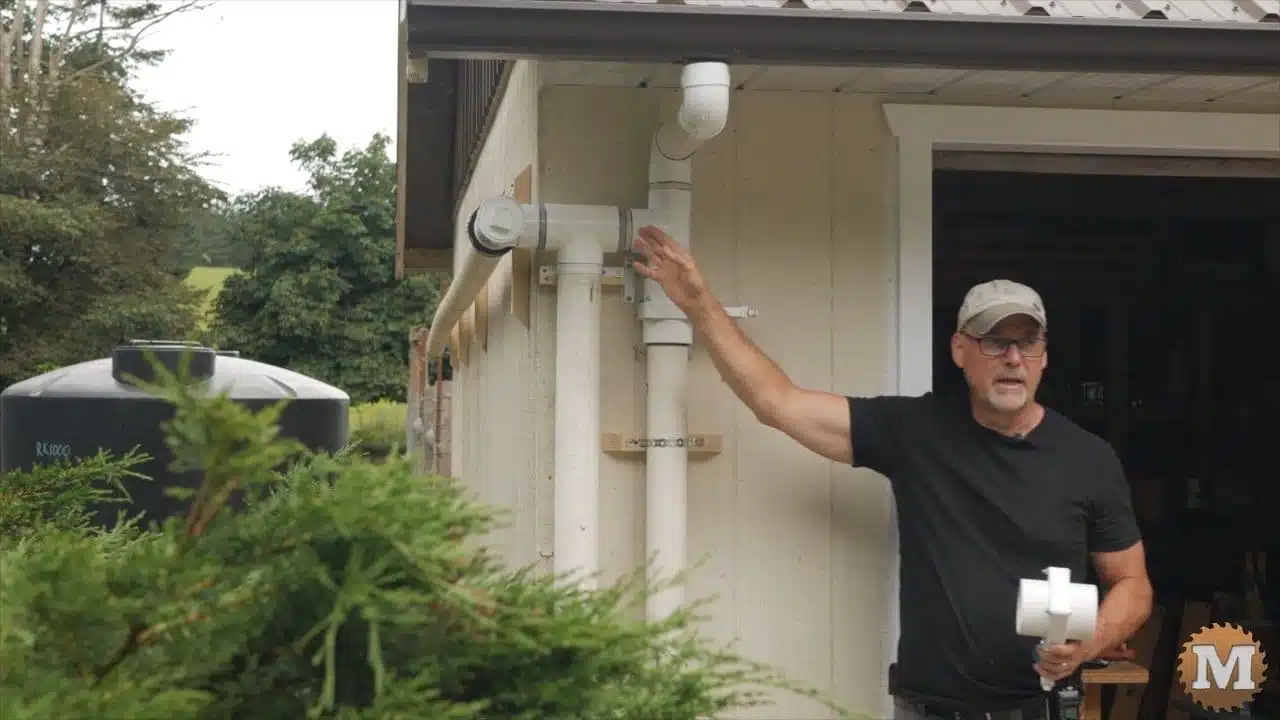
Attach Plumbing to Wall and Gutters

This assembly is attached to a pipe that runs down the wall and into a 4″ drainpipe below ground and is loosely attached to the wall while I work on the section that goes from the gutter outlet to the first “T”.
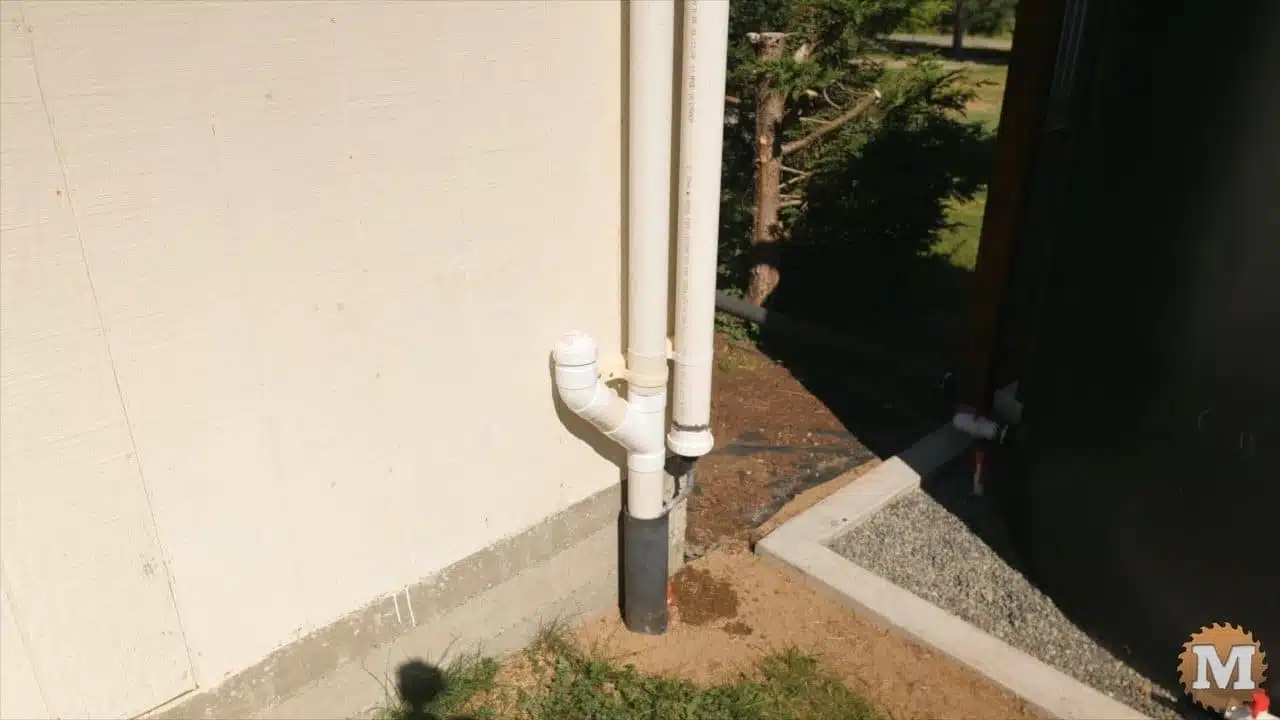
After that’s in place I added more straps to hold these pipes to the wall. And glued a section of pipe for the first flush chamber along with the threaded section for the cap and small drain at the bottom.
With the new downspout assemblies in place with the bypass gate valves and first flush pipes, it’s time to get the other parts of the rainwater harvesting tank ready.
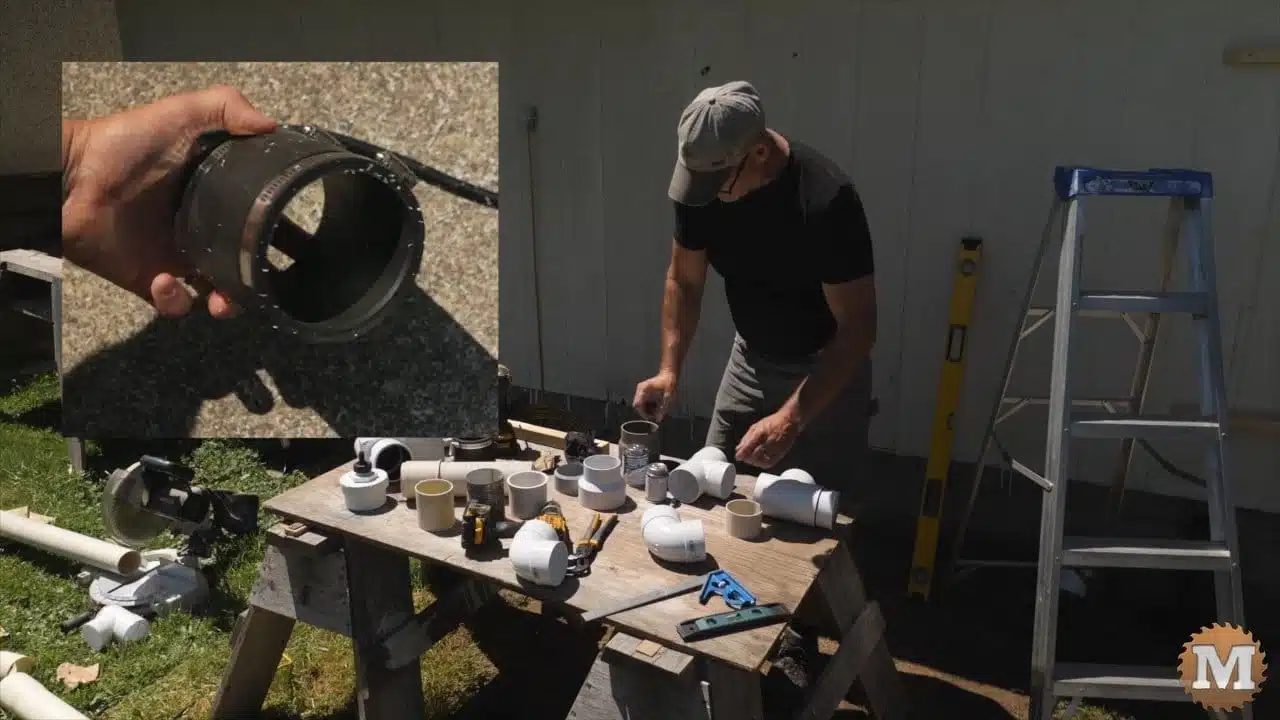
I bought some of the tank parts and decided to make some of them from existing fittings.
Rainwater Tank Float and Screen
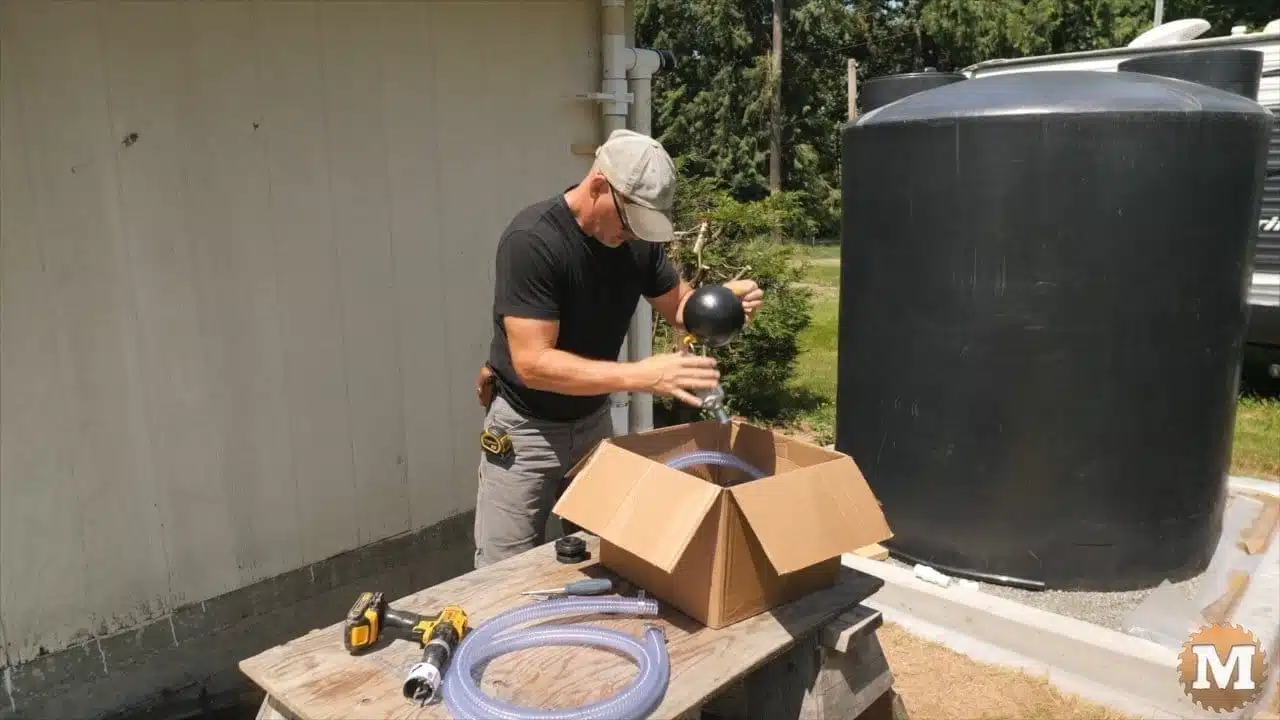
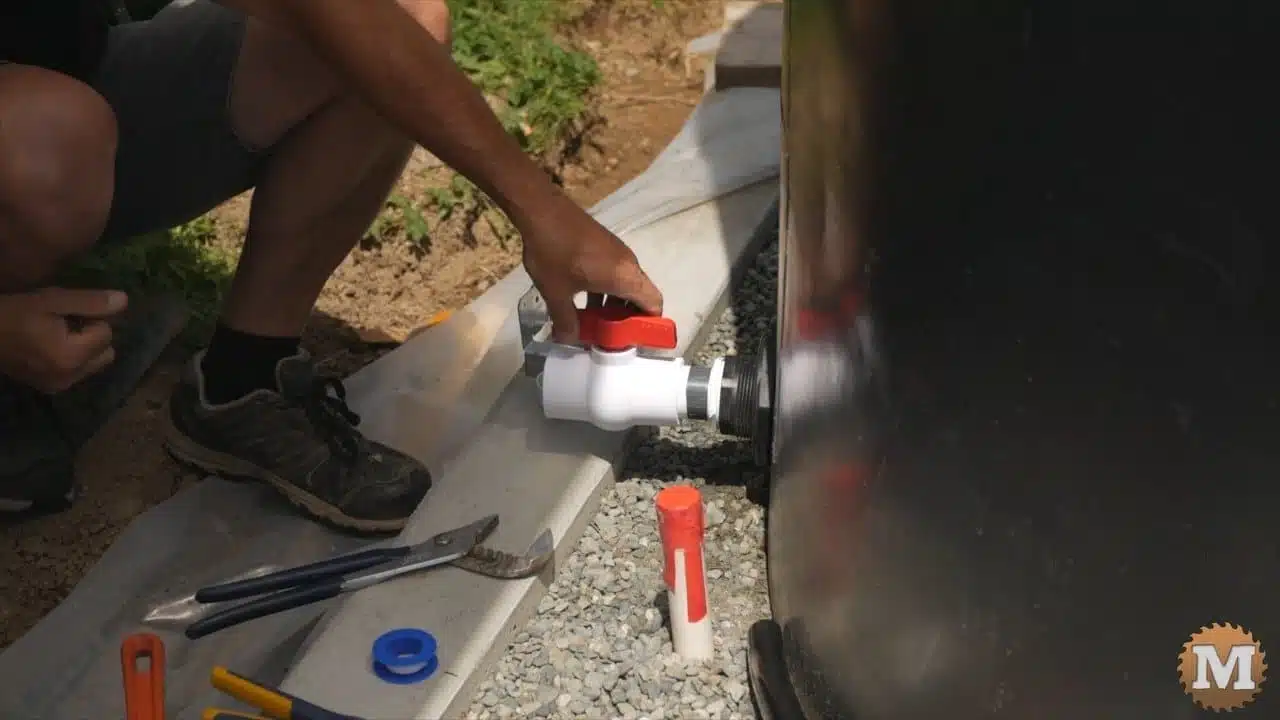
The tank I bought has a 2 inch bulkhead fitting already installed. It’s for connecting more tanks together and for draining the tank quickly. Or, it can be used for drawing off water. I’ll be adding a float and screen to this tank so I can draw off the cleanest water that’s just below the surface and away from any sediment in the bottom.
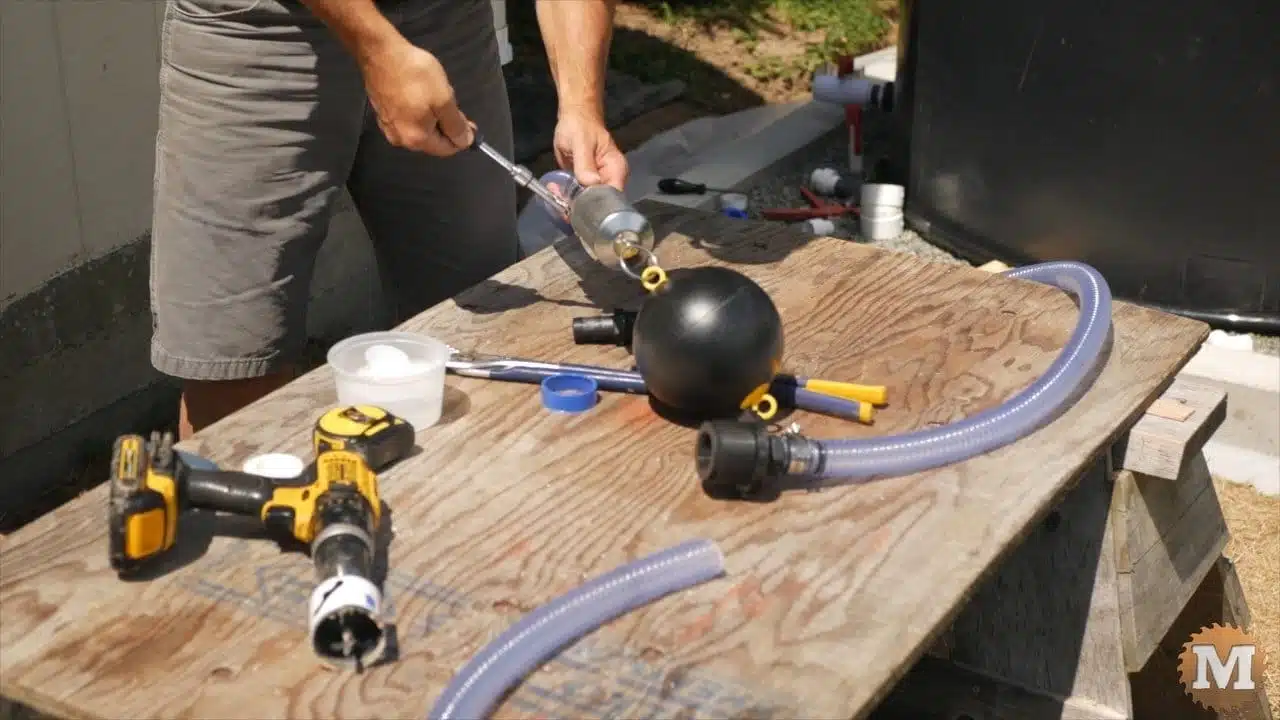
So I need to add a ball valve to this existing bulkhead fitting. I first add a reducer down to one and a half inches. I didn’t have channel lock pliers big enough for these so I used a pipe wrench, which is overkill but worked. Then a short nipple, and then the ball valve.
I cut this hose down to a length appropriate for the height of this tank. I guesstimated this. There’s a barbed fitting that goes into the inside part of the bulkhead fitting first.
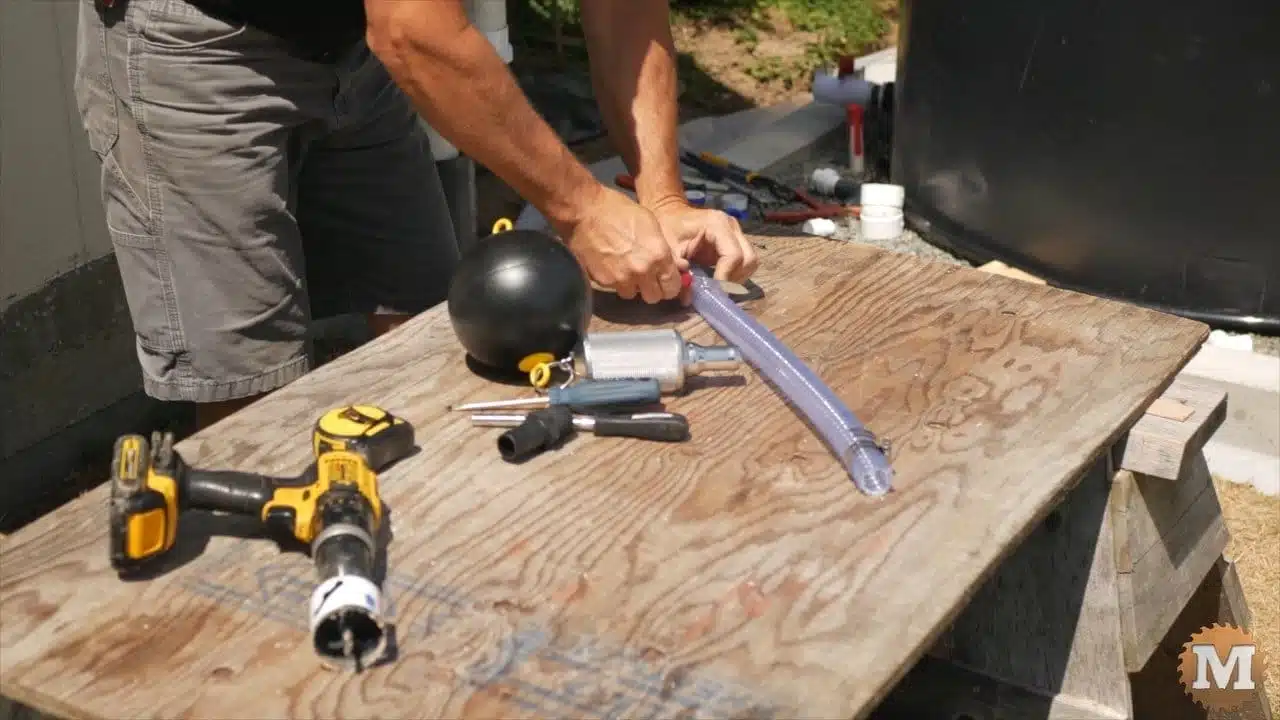
Then the clear flexible hose goes onto that. It was tough to get this on, even with some soapy water as a lubricant. Stainless steel hose clamps secure it. But, I’m sure that’s never coming off anyways.
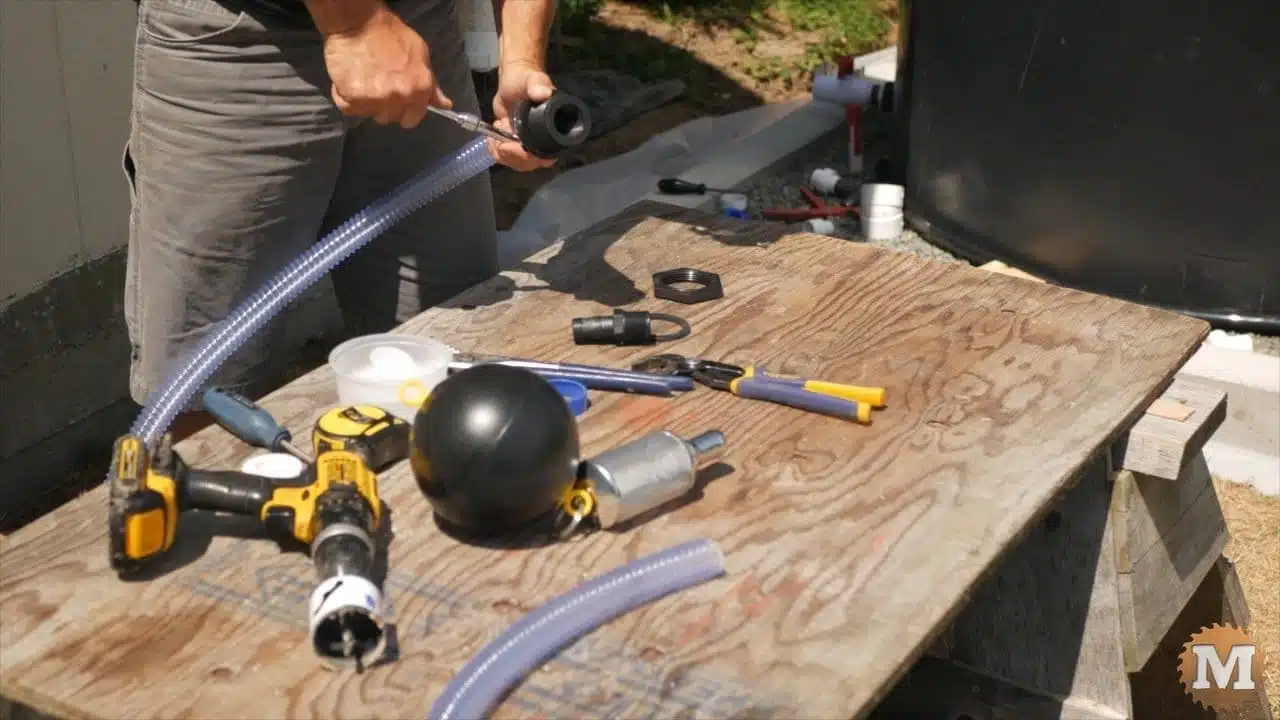
Then the screen and float goes on the other end. And a lanyard is tied to the float. This will keep the screen up off the bottom of the tank when the water level gets low.
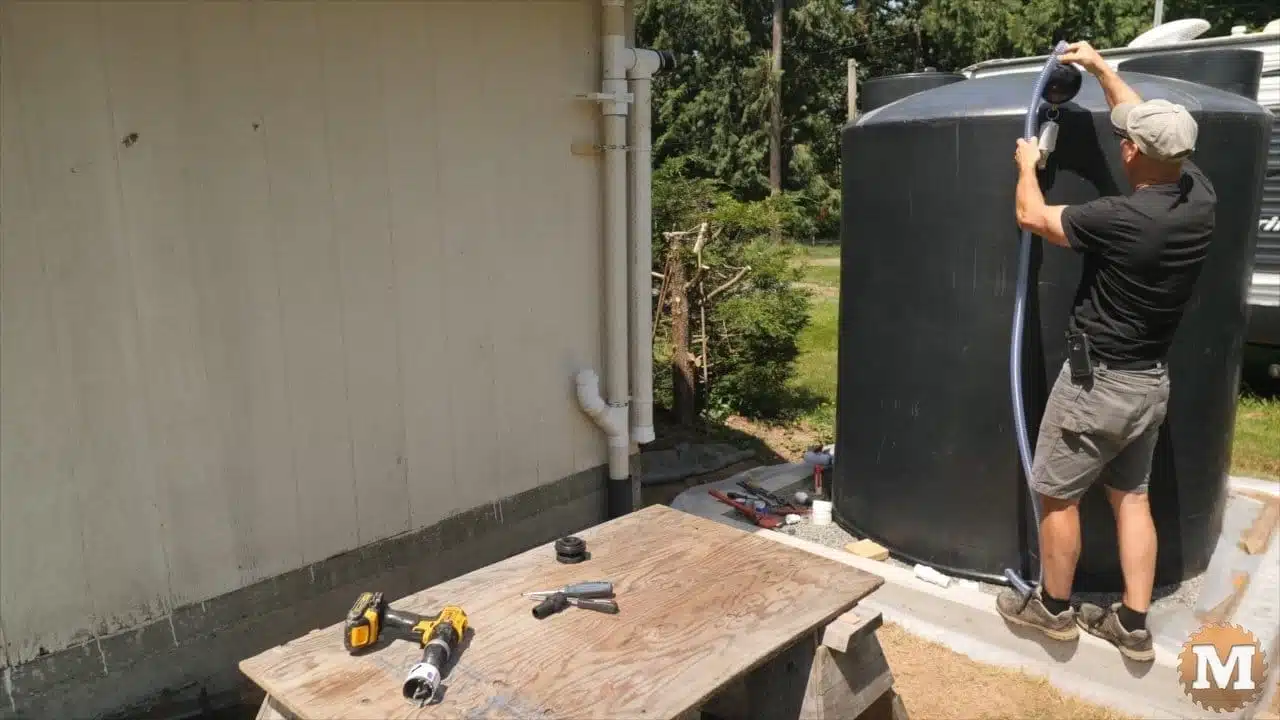
I’ll need to drill a hole in the tank for a bulkhead fitting for the hose that’s connected to this float. I’ll use a hole saw for this and position this hole 4 about inches off the bottom.