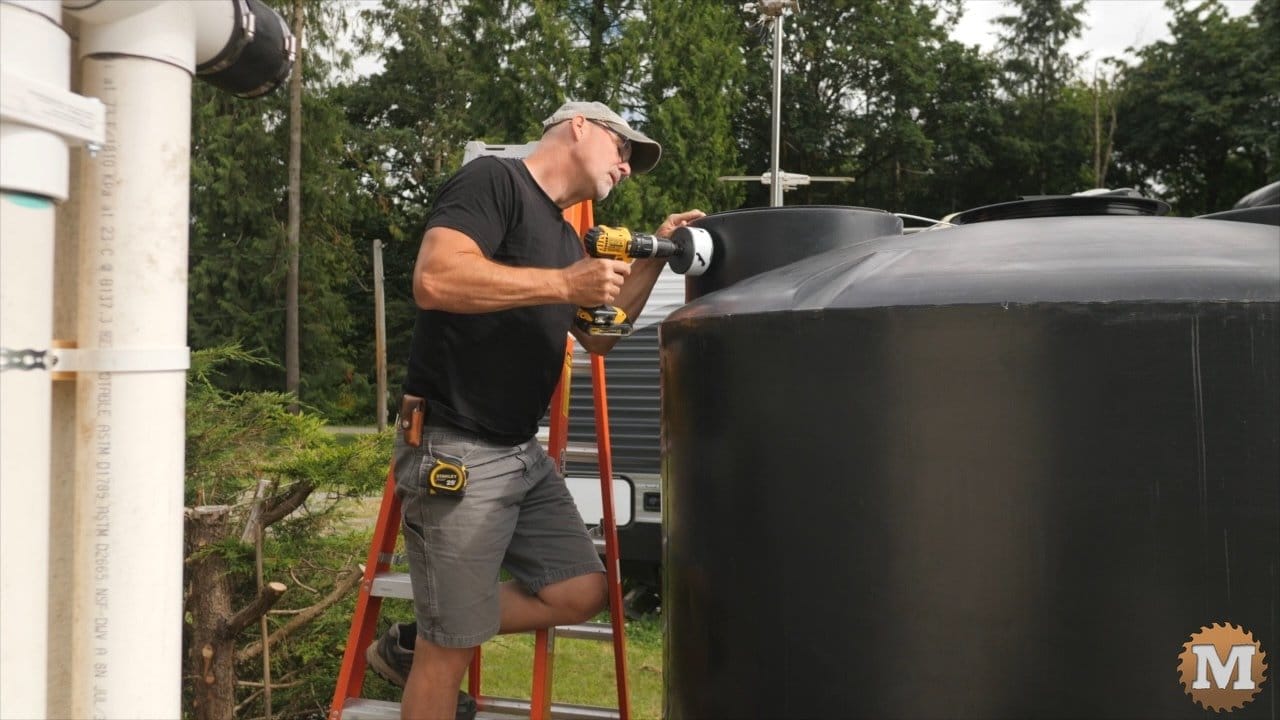
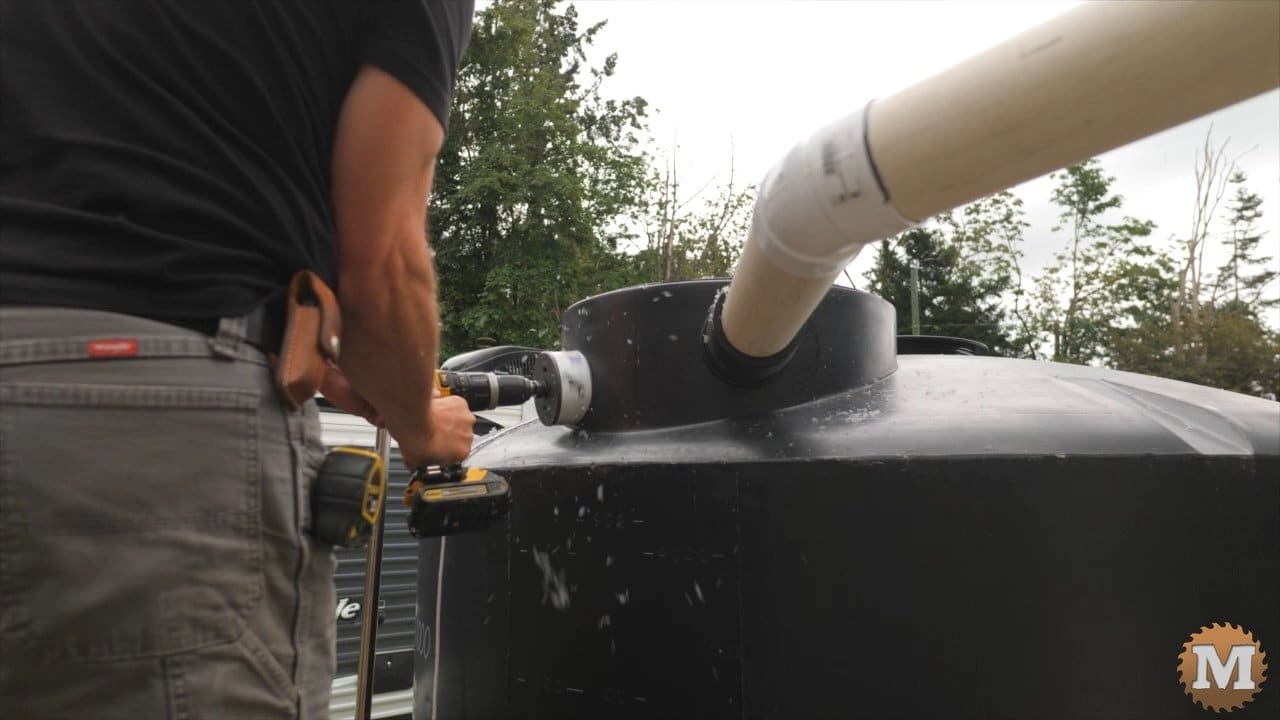
Drilling into the Tank

Then, the challenge is to get this end through the hole in the tank. Thanks to a few other YouTuber’s (I’m looking at you Frank Howarth) the trick is to use some string. I taped it to a pipe then fed that through the hole. Then the other end is attached to the opposite barb.
I now pull the string to bring the bulkhead fitting through the hole and attach the nut.
A Trick with some String

I snug this up with pliers. I gotta say, there was some anxiety doing this. It felt pretty tricky the first time. But it went well.

I’ll be connecting this fitting to the 1″ pipe that runs under the curb later.
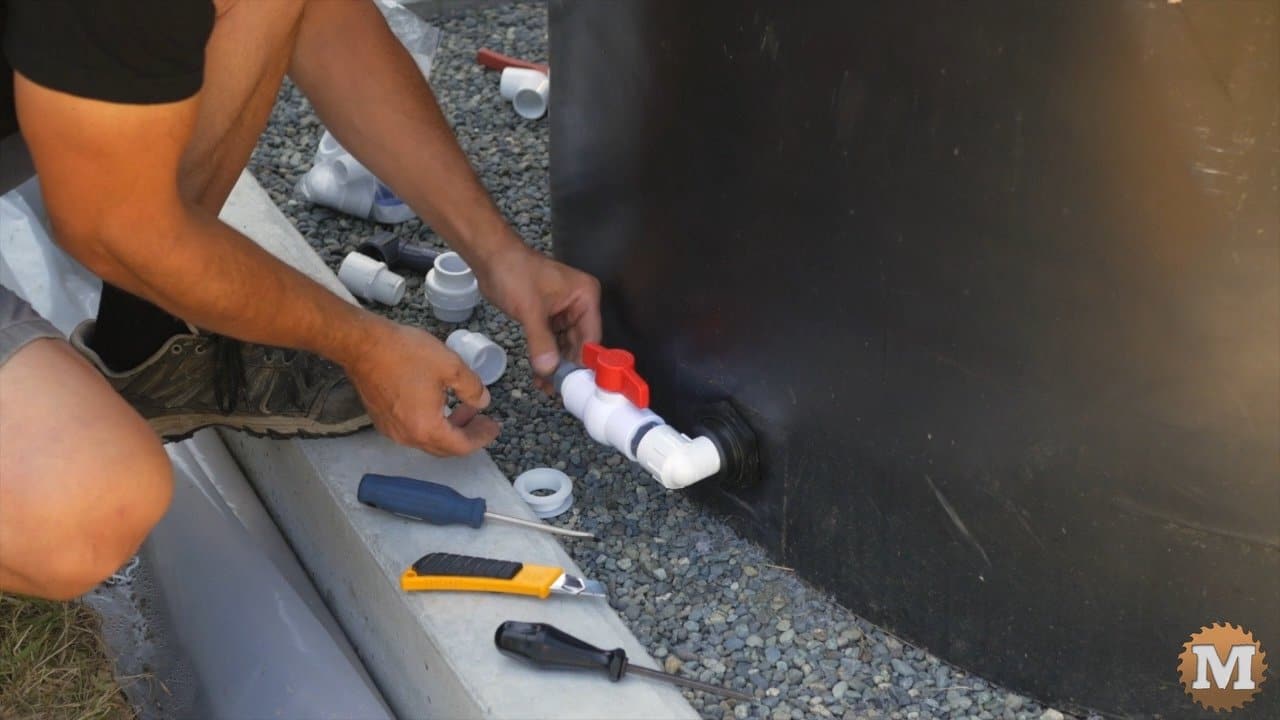
But for now I’ll add an elbow and a ball valve so I can make the tank now water tight. I detailed that in Part 1.
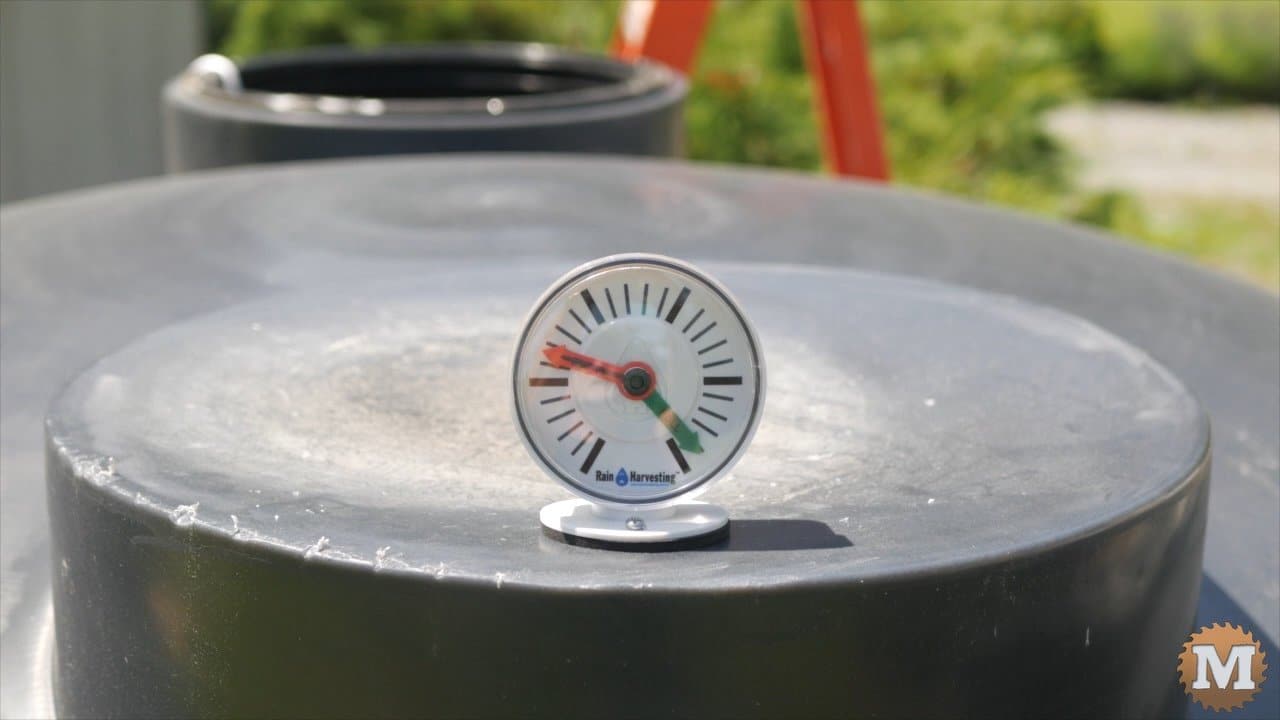
Rain Tank Gauge
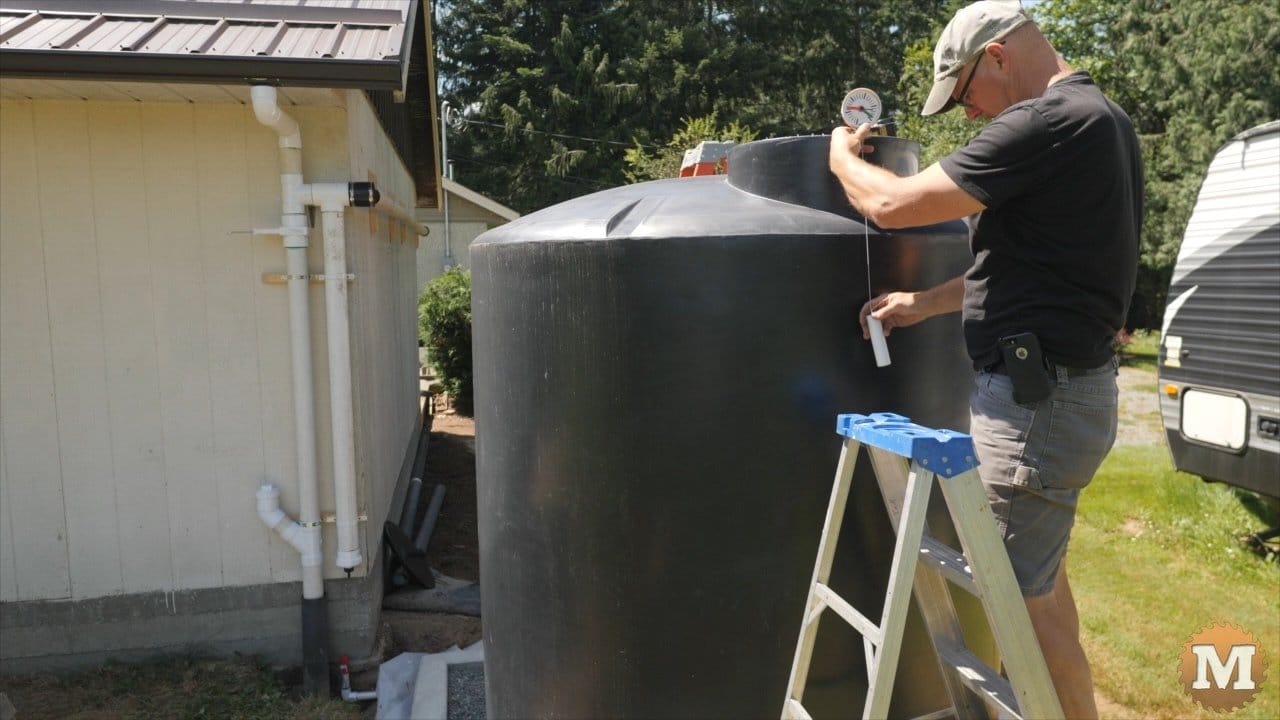
On the other side of the tank I’ll add a gauge. It’s a float on a spring coiled spool that you set to your low and high water points. I added this away from the float to they don’t get tangled.
Lining up the Inlet Hole
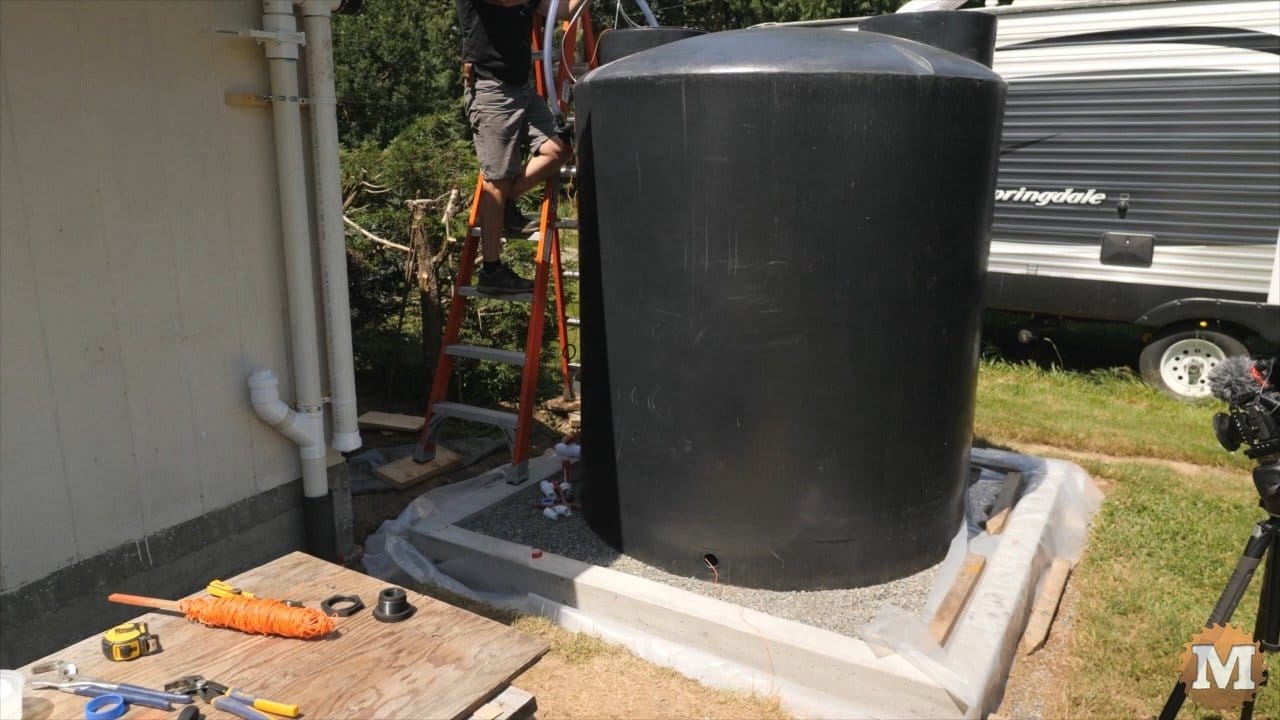
To find the best spot for the tank inlet I sighted down a large speed square.
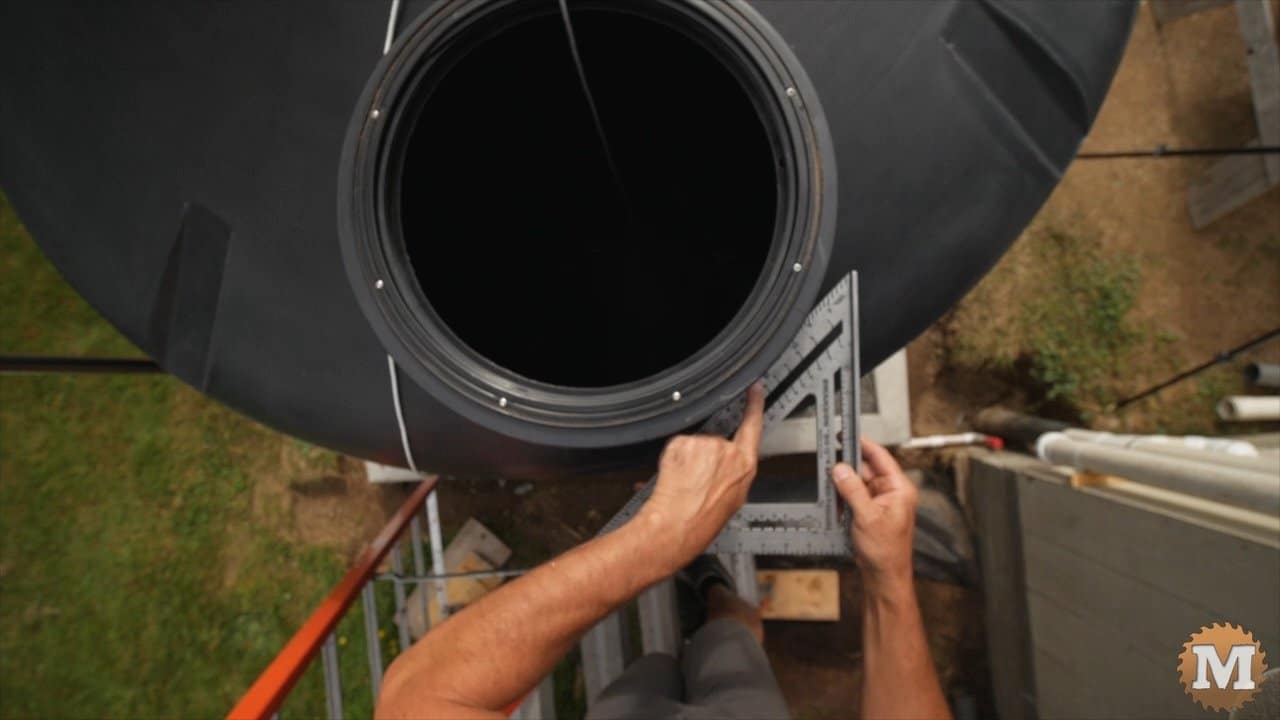
I lined up one edge to the curb and marked the point where the 45 degree edge contacted the tank. That way I could use standard 45 degree elbows to connect the pipe to the wall. I wanted this hole as high up on the tank as possible. I need as much water in there as it hold.
It took some planning, checking, and head scratching to be sure I had this right before I drilled into the tank.
(Disclaimer: As an Amazon Associate I earn from qualifying purchases. Thank you for helping to support my content this way. )
Feeling confident, I used a large hole saw for the inlet and overflow pipes. On the slow setting, I drilled until the pilot bit pierced the tank, then clicked the drill in reverse to cut the big hole. This keeps the hole saw from grabbing. And it worked great.
The rubber grommet fits in the hole and the pipe expands the rubber and make the seals waterproof. Well I hope, it certainly is very tight. And there won’t be much pressure at the top of the tank anyway.
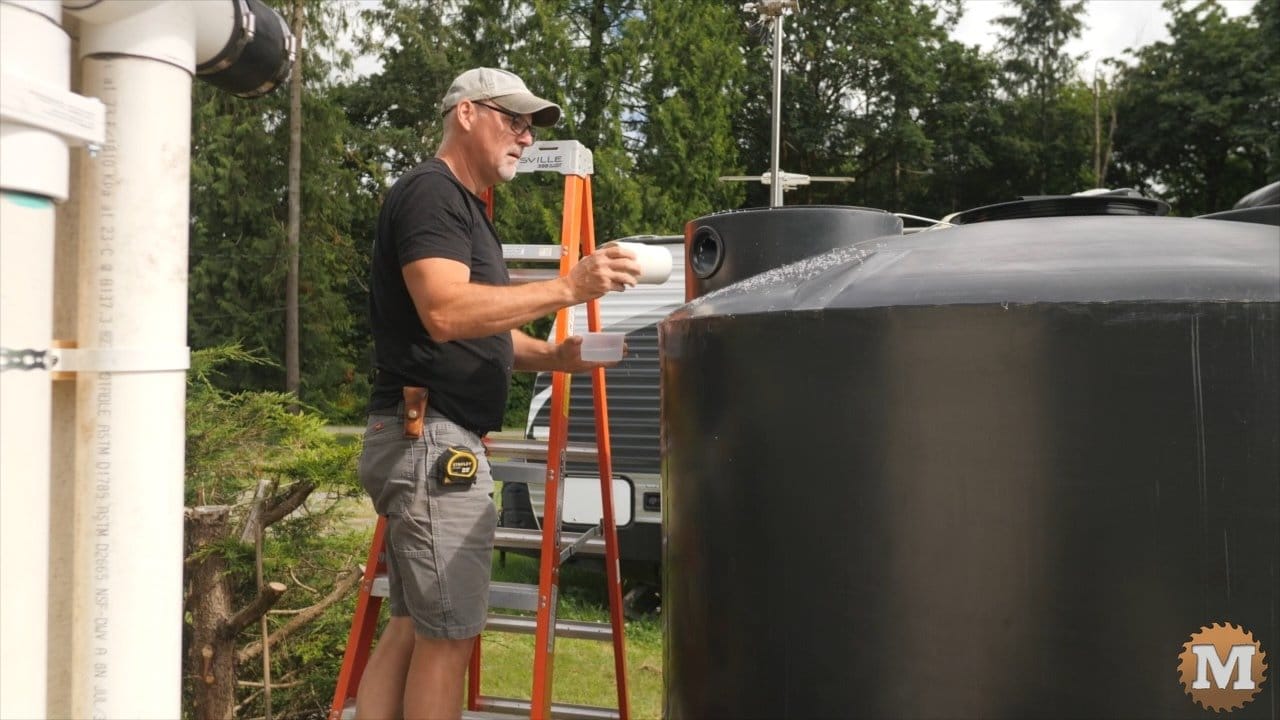
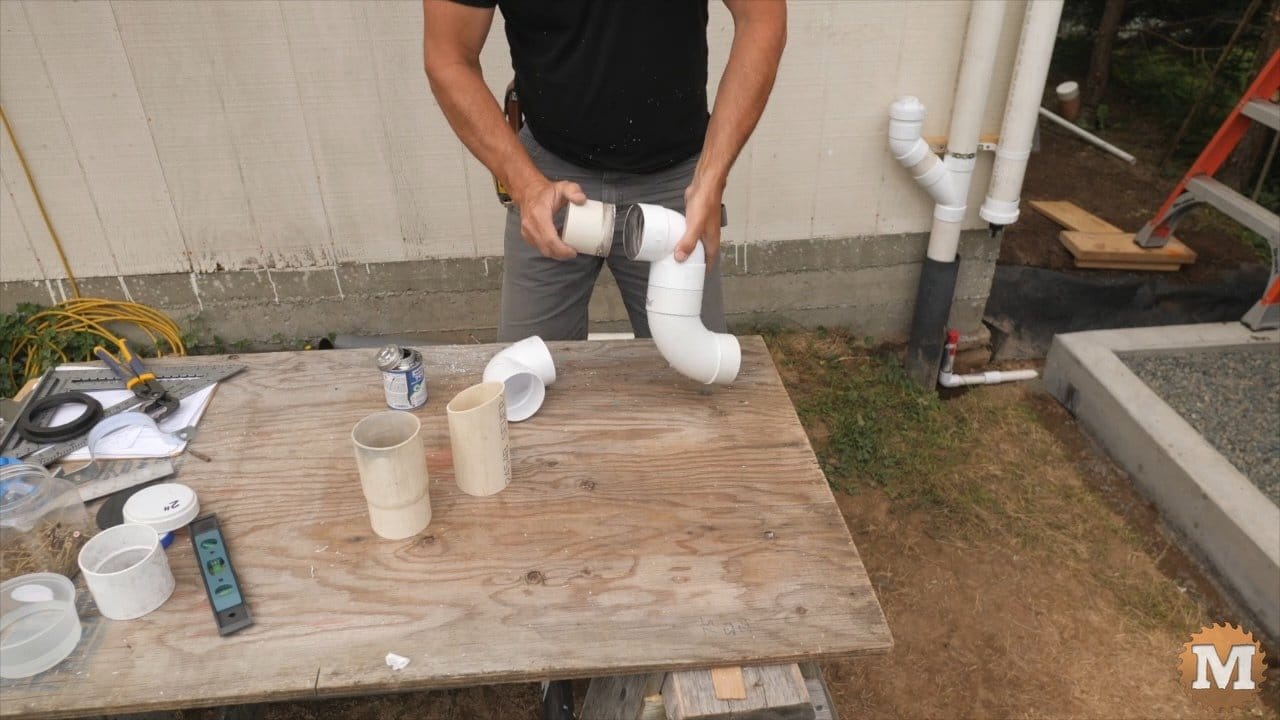
Tank Calming Inlet Piping
So water does not stir up sediment when the tank is filling, I’ll run a pipe to the bottom with two elbows to create a calming inlet. So the water fills the tank from the bottom and doesn’t splash. I glue up a 90 and 45 fitting and attach it to a straight pipe.
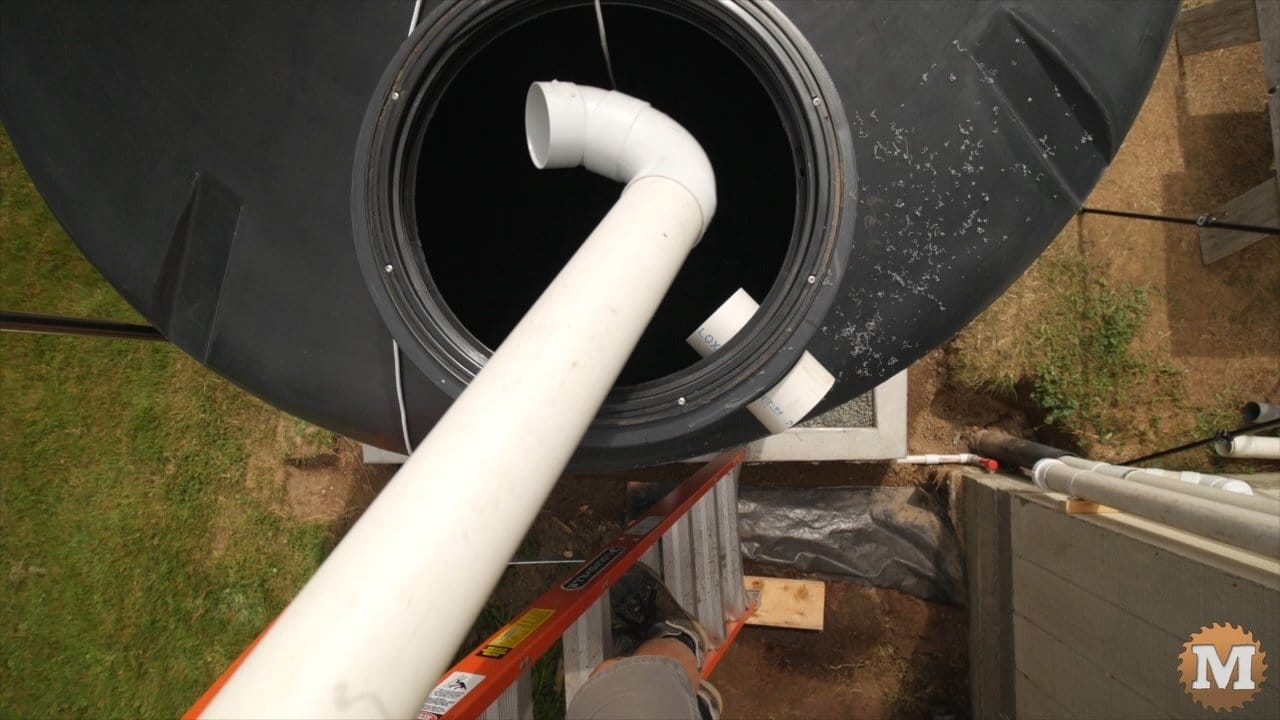
Then set this in the tank and mark it on the down facing elbow. I cut this to length then dry fit it. I’ll attach these with a stainless steel screw instead of permanently gluing them.

I cut all my PVC pipe on a 8″ compound miter saw. It’s fast and leaves a clean, square edge.
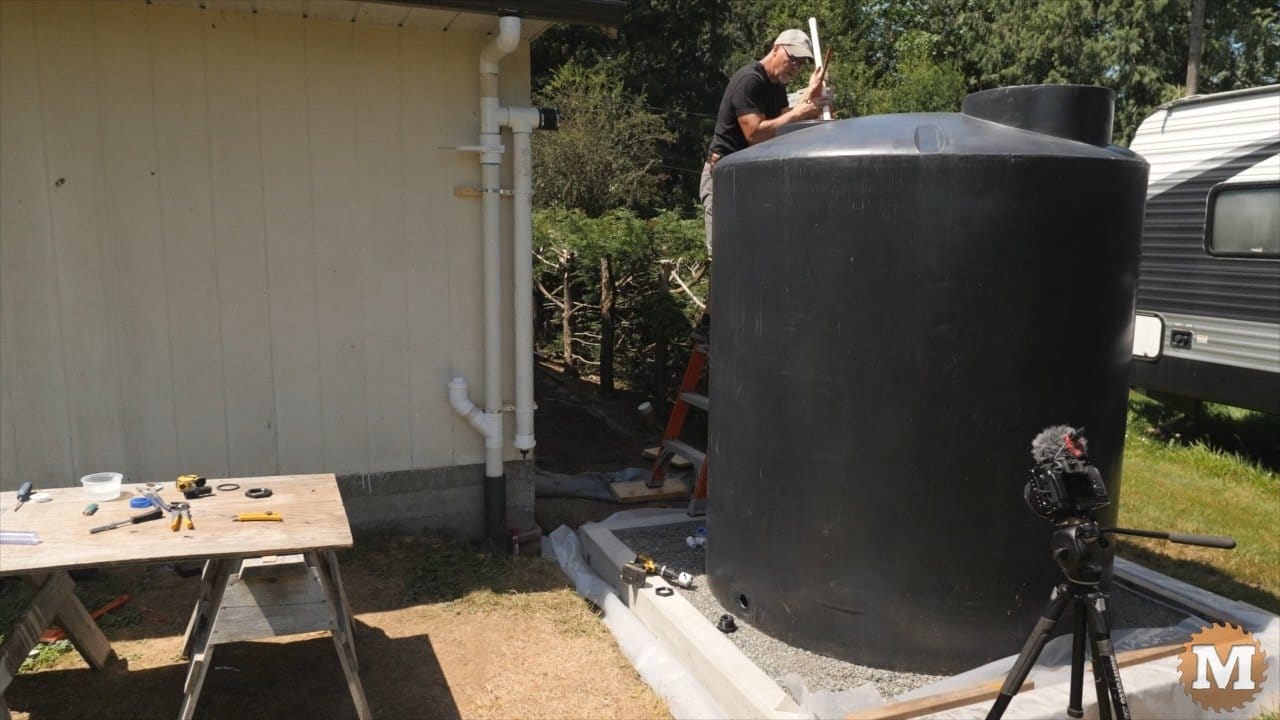
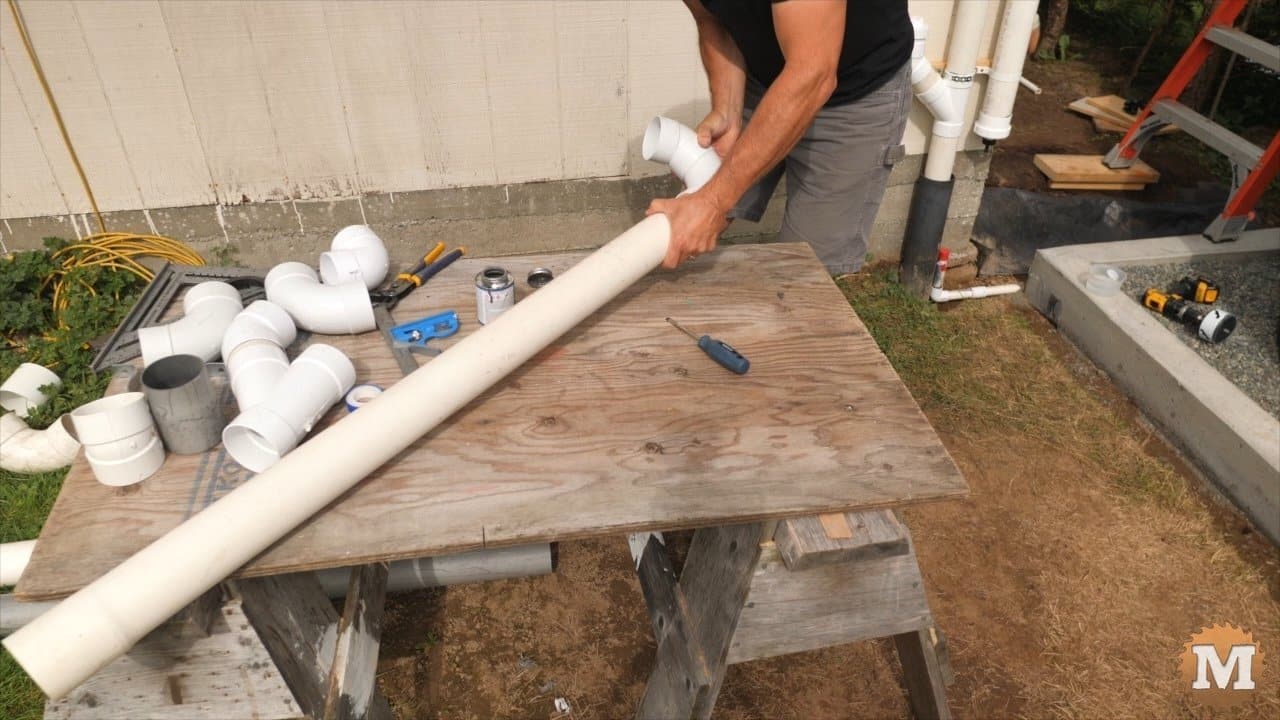
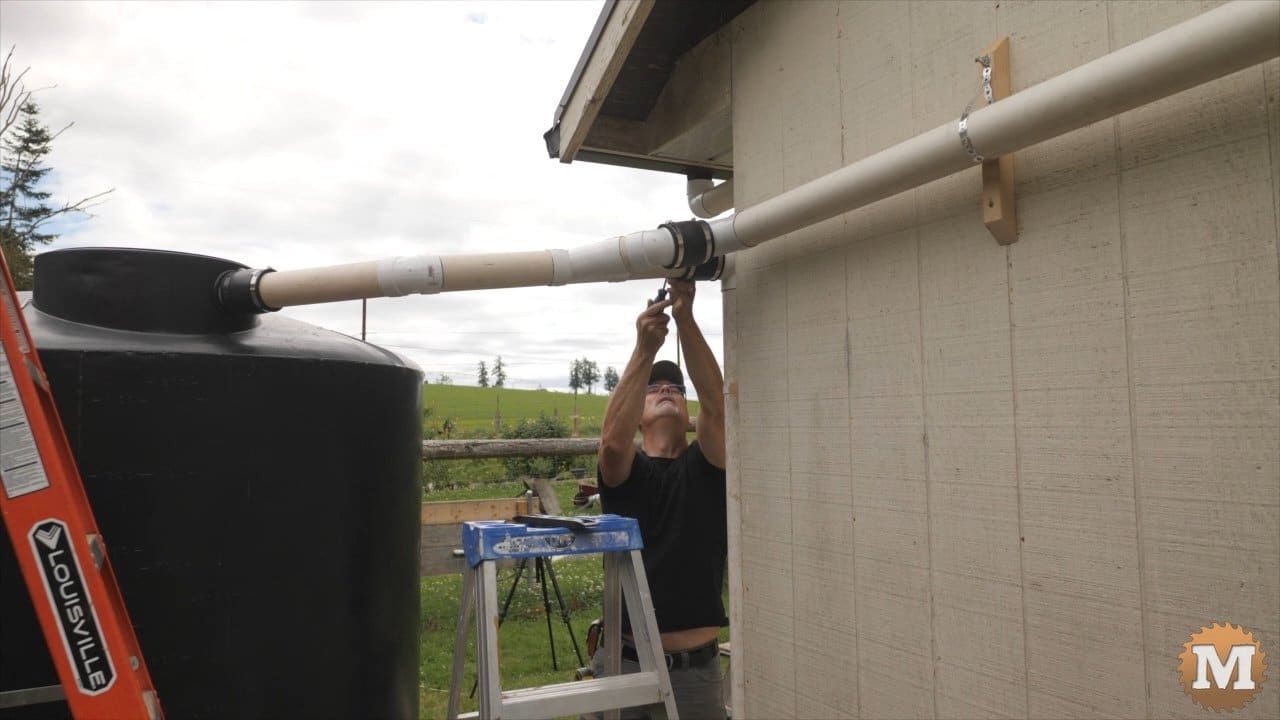
Connect Downspouts to Tank

For a lot of the sections of the plumbing here I tried to think about having to disassemble things later. So I only glued what I really needed to. And… maybe that’s just my lack of confidence.
I like these 3″ flexible rubber couplings with the two screw clamps. They are great for quickly taking sections apart. And to manage tough connection points or those that require some flexibility. With my limited plumbing experience I need all the help I can get.
I made an assembly of pipe with a Y to finally connect the pipes from both sides of the building. And that has a 45 degree elbow before it runs into the tank. This part has 3 rubber couples so it went together without too much fussing. And I like that I can take this overhead part of the plumbing off the tank if I need to.
Tank Overflow Siphon and Pipes
For the tank overflow I’ll use standard fittings to create a siphon. It’s a series of 90 degree elbows and an angled pipe. When the tank is full this siphon will skim water off the surface and send it down a pipe on the side of the tank to the drain that runs out to the ditch on the road.

On the end, there’s a screen to keep mosquitoes out of the tank.
You can buy a siphon formed from one piece but my suppler was out of stock. I think it might actually be cheaper than making your own when you add up the cost of the fittings.
Now, I can drill the hole for the overflow siphon. It’s just slightly lower than the inlet hole. And I needed it to rotated around this access hatch wall so it didn’t run into the inlet pipe.
And I can glue that in place.