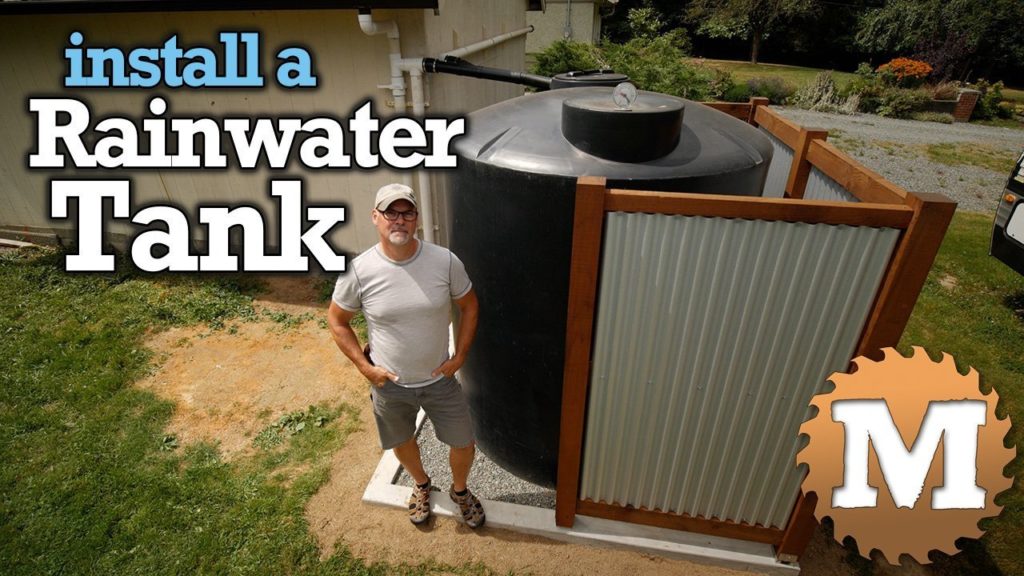
I install a 1200 gallon (4550 litre) rainwater harvesting tank to collect water for our garden when our irrigation well runs low in the summer. This is four part mini-series.
Jump to:
Part 1 – Pour a Rainwater Tank Foundation
Part 2 – Rainwater Tank Plumbing and Fittings
Part 3 – Rainwater Tank Pump and Irrigation
Part 4 – First Run of Tank Drip Irrigation System

Install a Rainwater Harvesting Tank – PART 3: tank pump irrigation
(this is a transcript from the video)
Even after we had 5 feet of mud removed from our shallow irrigation well, it still runs dry in the middle of summer. It’s definitely better than it was, but to expand our garden we need more water.
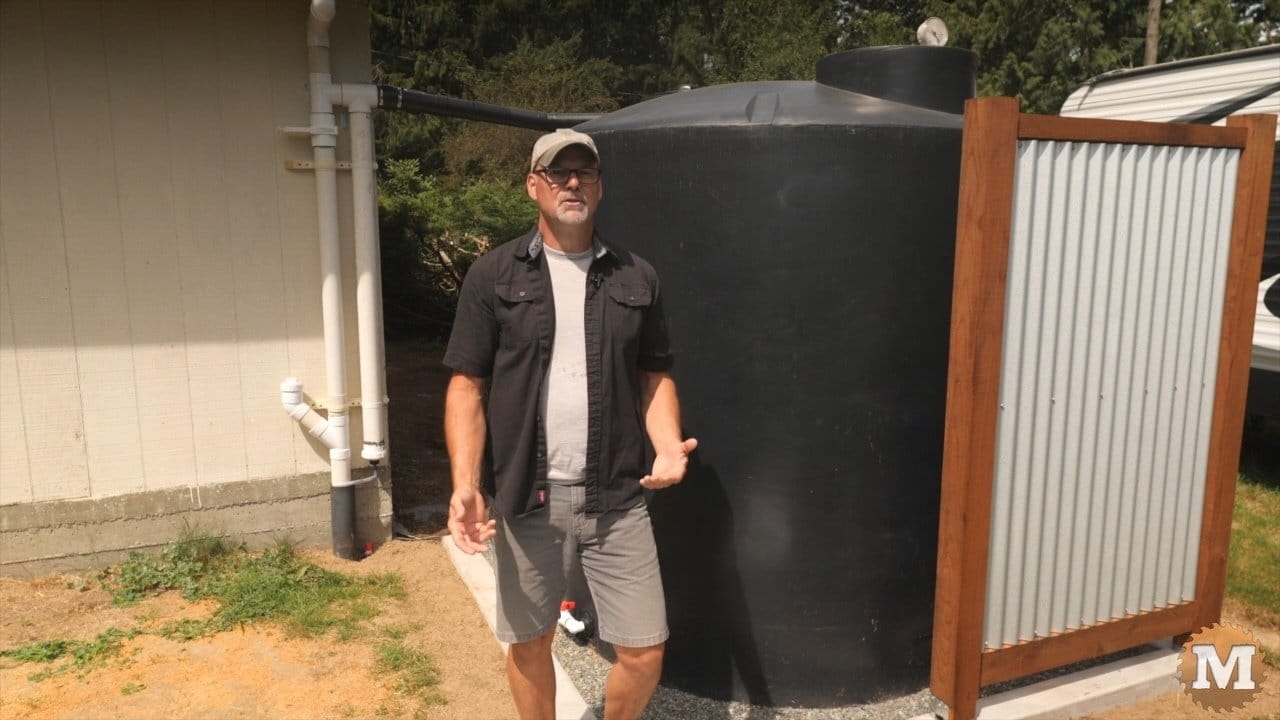
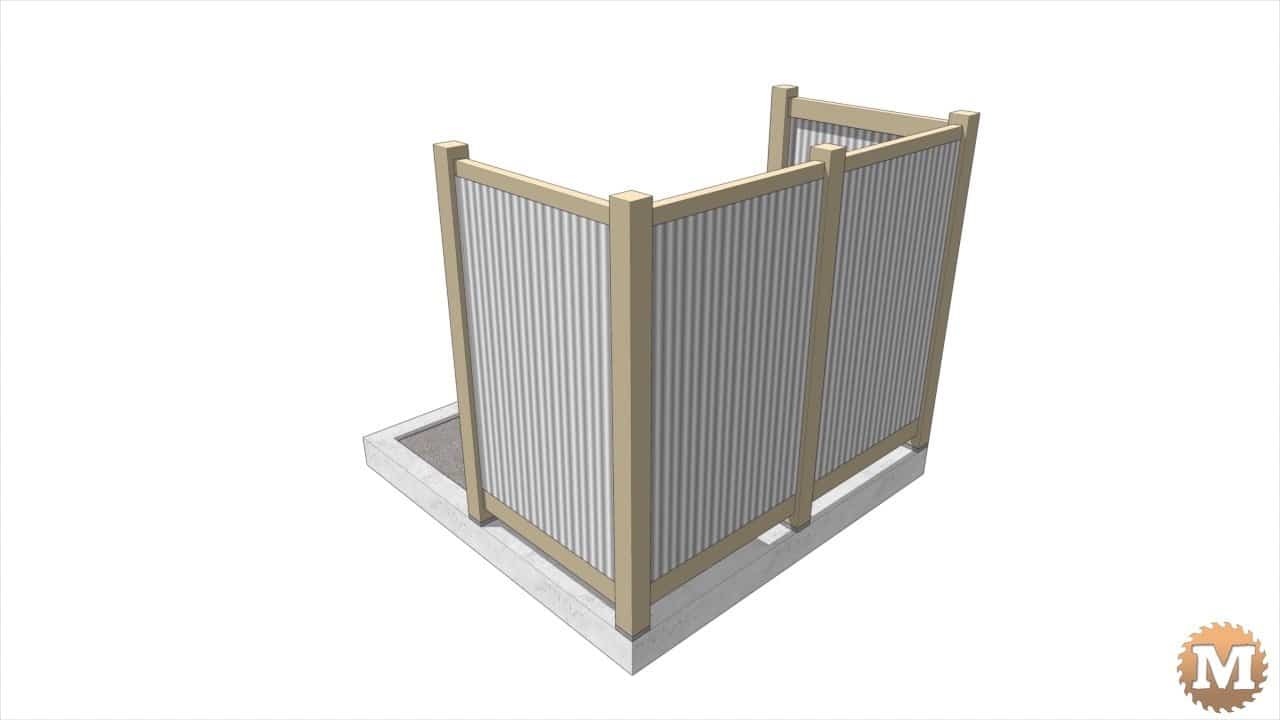
Cedar & Corrugated Fence Surround
In this part of the series I’ll build a cedar and corrugated metal fence around the tank. So there’s the bare concrete curb filled with pea gravel.

The fence surround is constructed from 4×4 posts that are attached to galvanized post saddles. (I embedded anchor bolts in the concrete for these saddles.) There are 5 posts in total.

Between the posts I have a bottom rail made from a 2×6 then a mid rail and top rail made from a 2×4.

When we poured the concrete curb I embedded some anchor bolts to hold these adjustable post saddles.
(Disclaimer: As an Amazon Associate I earn from qualifying purchases. Thank you for helping to support my content this way. )
I like these as they lift the post off the concrete by an inch.
Post Saddle

And they are slightly adjustable. I find that my anchor bolt placement can be off a bit so this really helps.
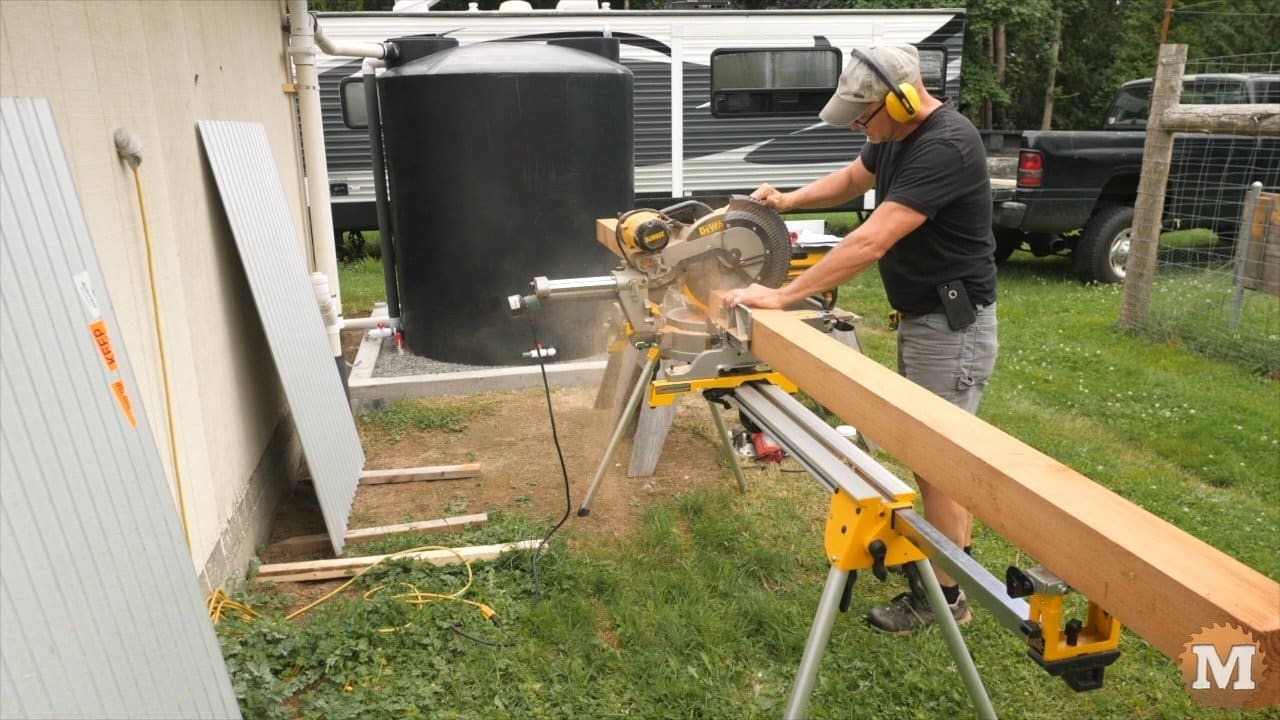
After the design is done in Sketchup I can start cutting the parts. I have some cedar milled from trees that we fell on our property. These have been air drying for a few years. I had them milled full dimension and I really like the rough sawn look.
With a square curb I was able to design all the individual parts to be the same size. All the posts are the same length as well as all the rails are the same length. And this made cutting everything straightforward and pretty simple.
I cut all the 4 by 4 posts first.
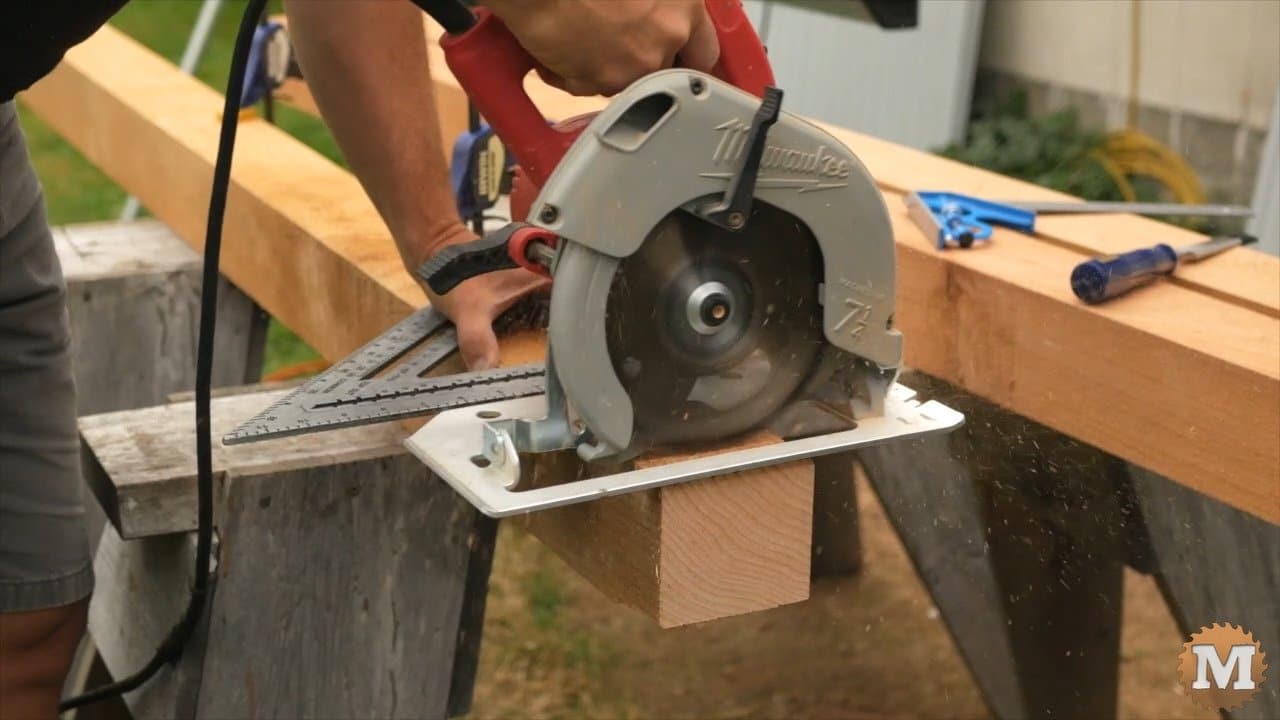
The post saddles are designed for a nominal 4 x 4 which is actually 3.5 inches square. So I need to trim down the bottoms of the posts.
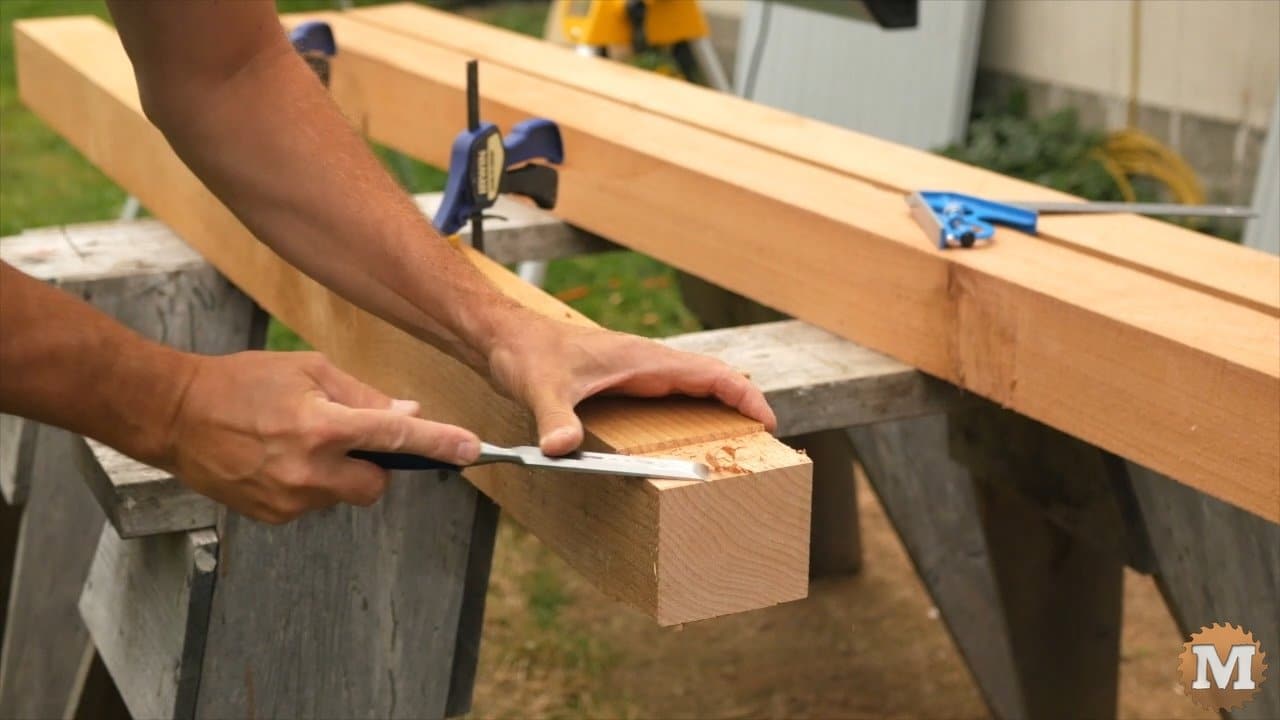
And I’ll break these wafer pieces off and finish with a chisel.
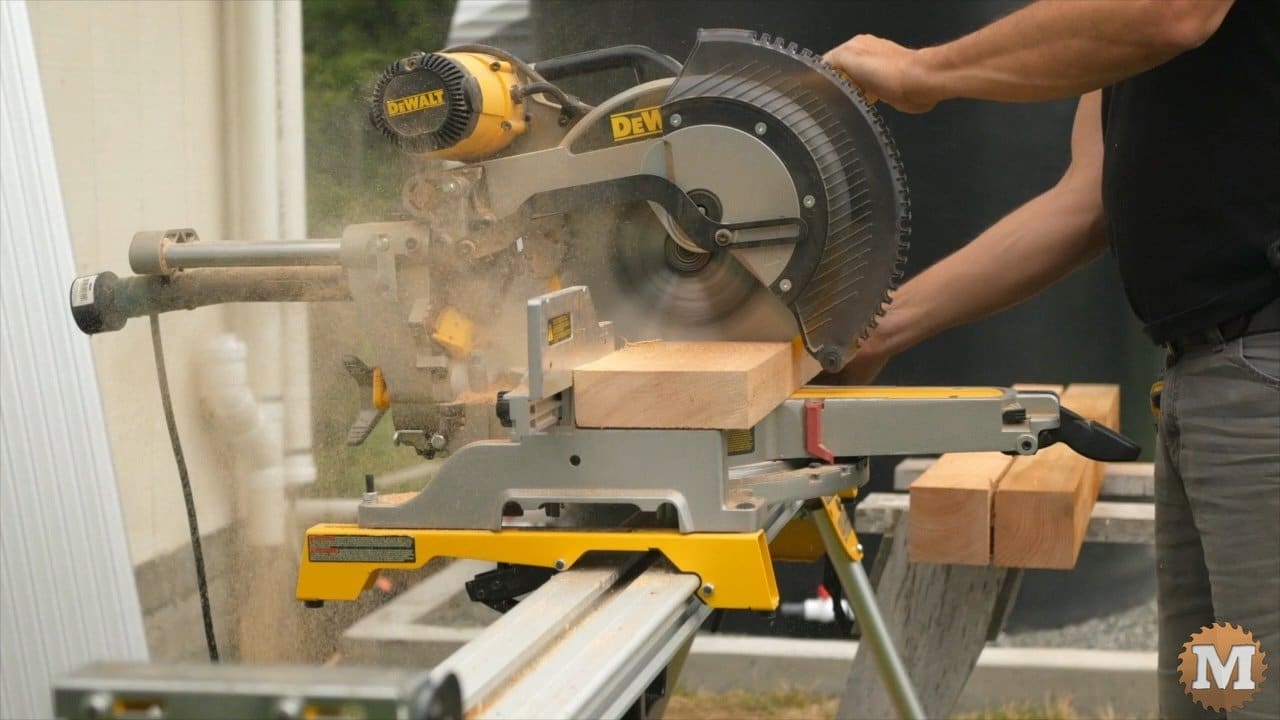
Next I’ll cut the 2×6’s for the bottom rails. And then the 2×4’s for the mid and top rails.
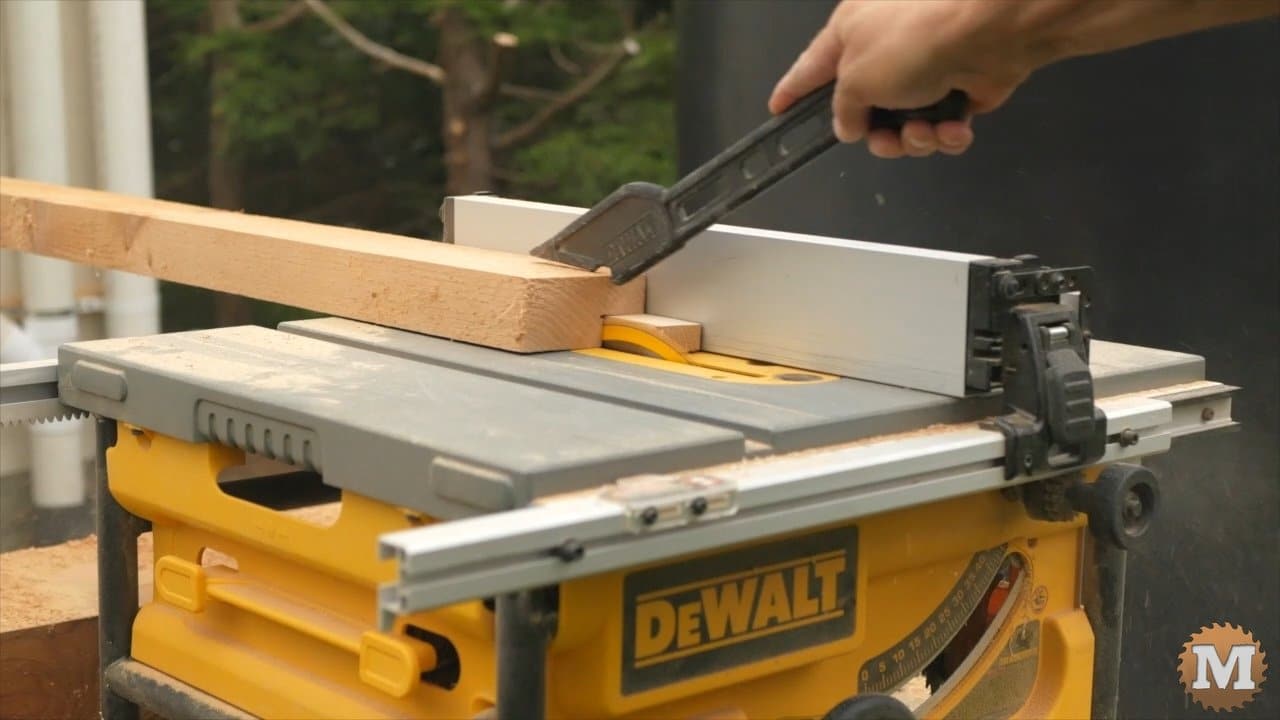
Ripping Rails
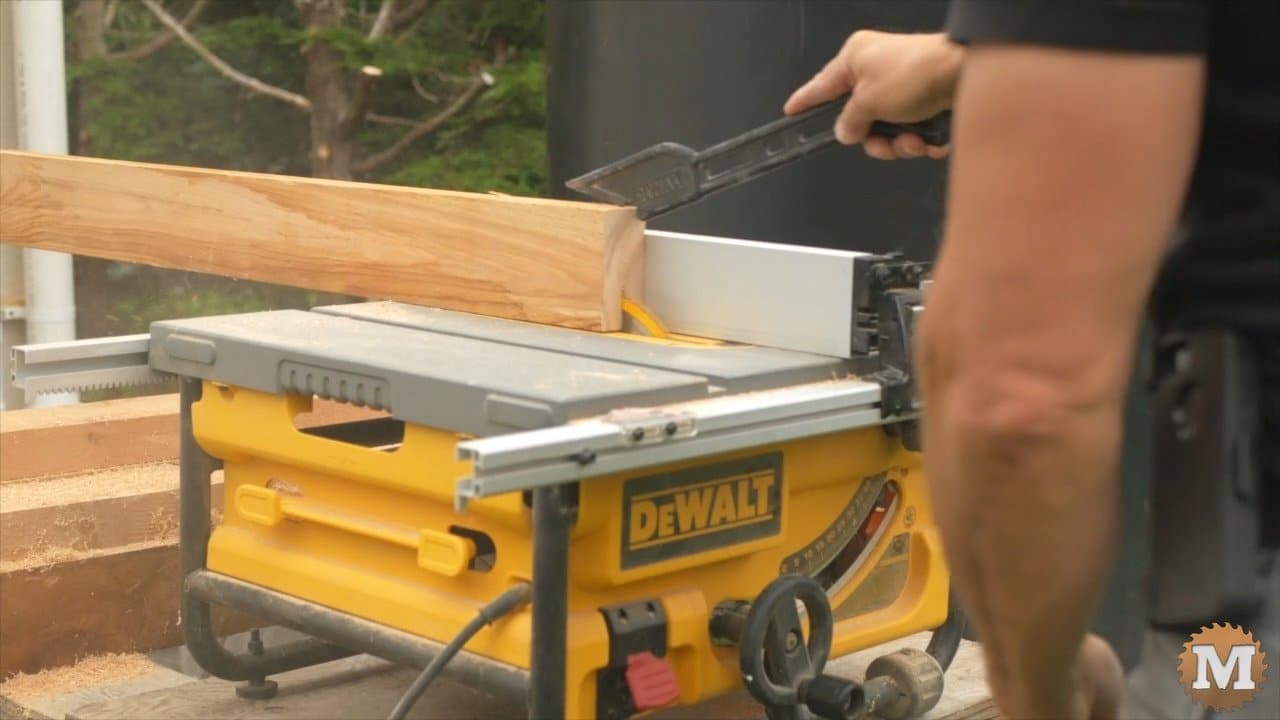
To flush mount the galvanized corrugated panels I cut a rabbet in the top and bottom rails. And I can use my portable table saw for this.
With all the parts cut I roll on a coat of stain. This is a one coat Sikkens semi-transparent stain.
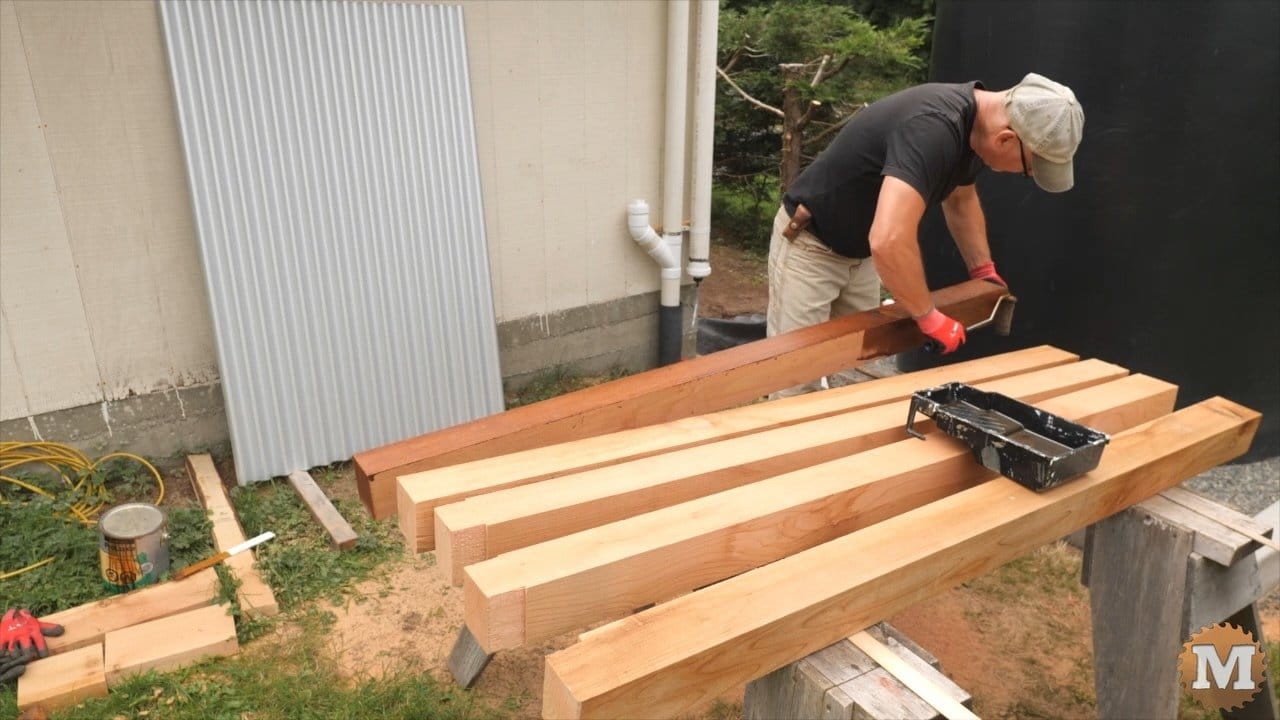
The colour is called butternut. I used this same stain on the Garden Pavilion a built a while back. It’s pretty fast to apply it with a roller. I add a few extra coats to the tops and bottoms of the posts. And the ends of the rails.