Build the Mini Pump House
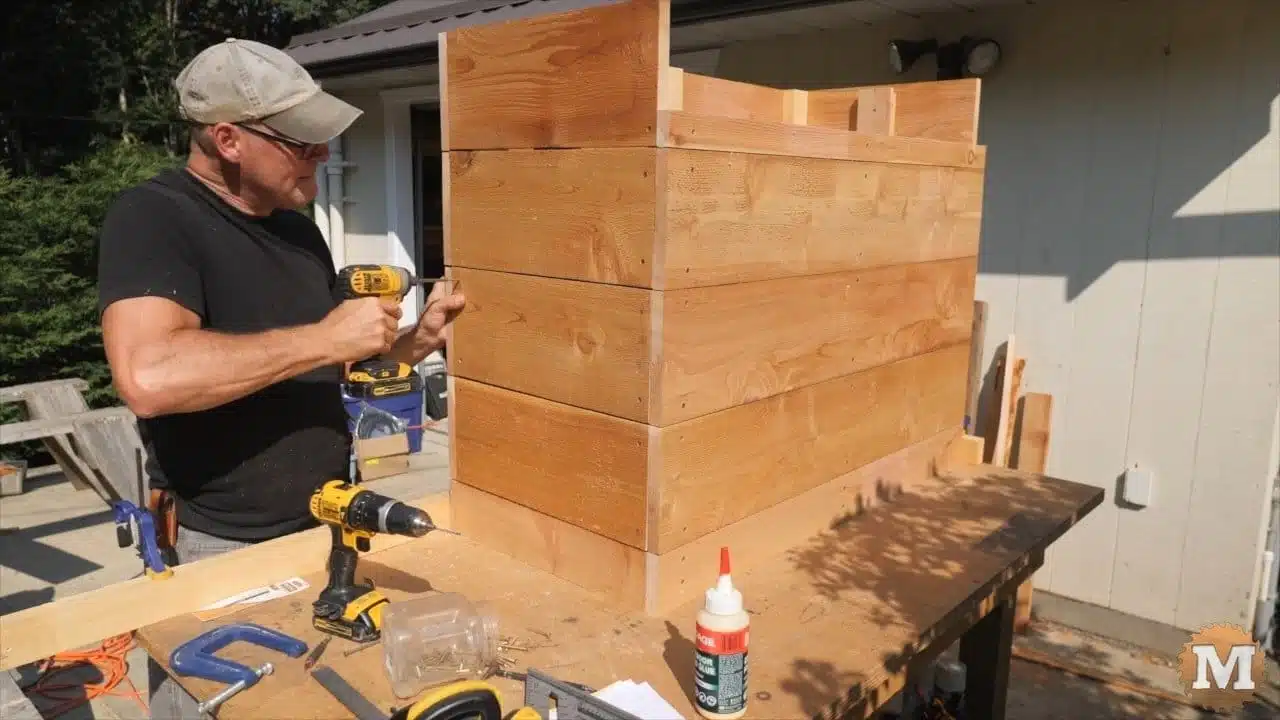
The mini pump house will be a box with a sloped hinged lid. I made some walls with 2×3’s and 1×8’s. Then screwed these together. And I’ll add an exterior grade plywood bottom.
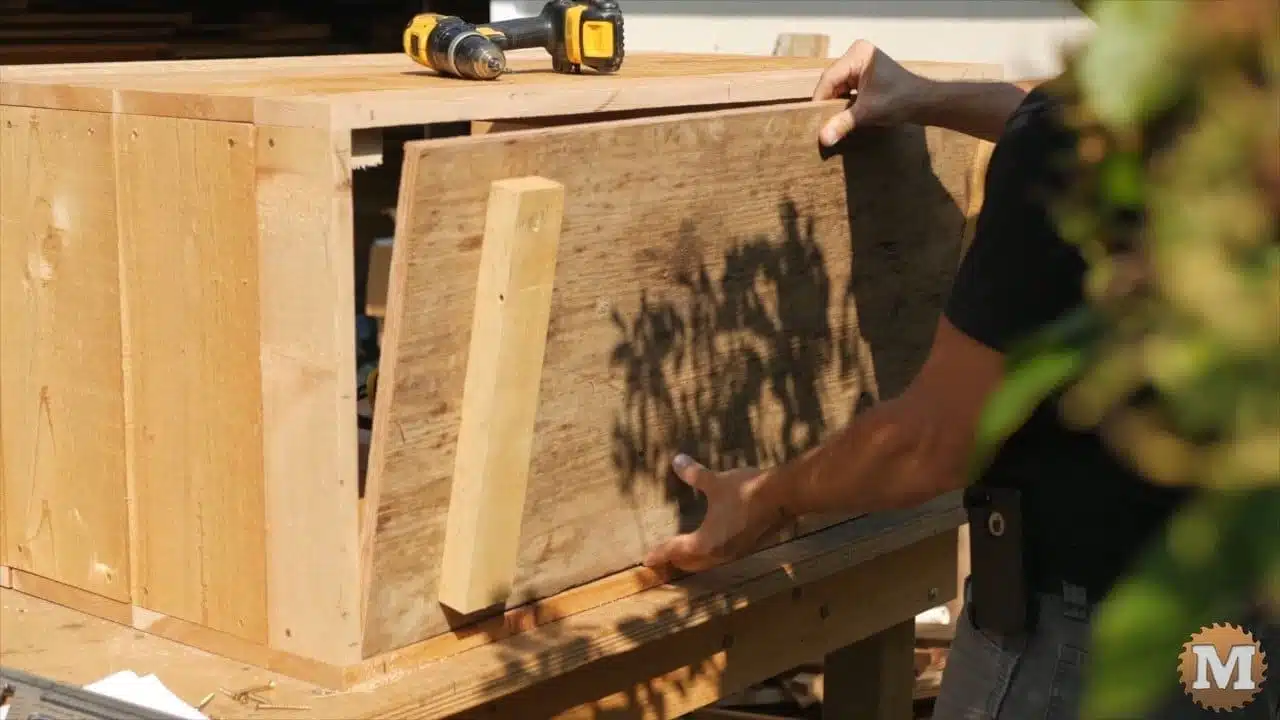
And I can cut the end walls for the sloped top. I stained the box and added a top from plywood and attached it with gate hinges.
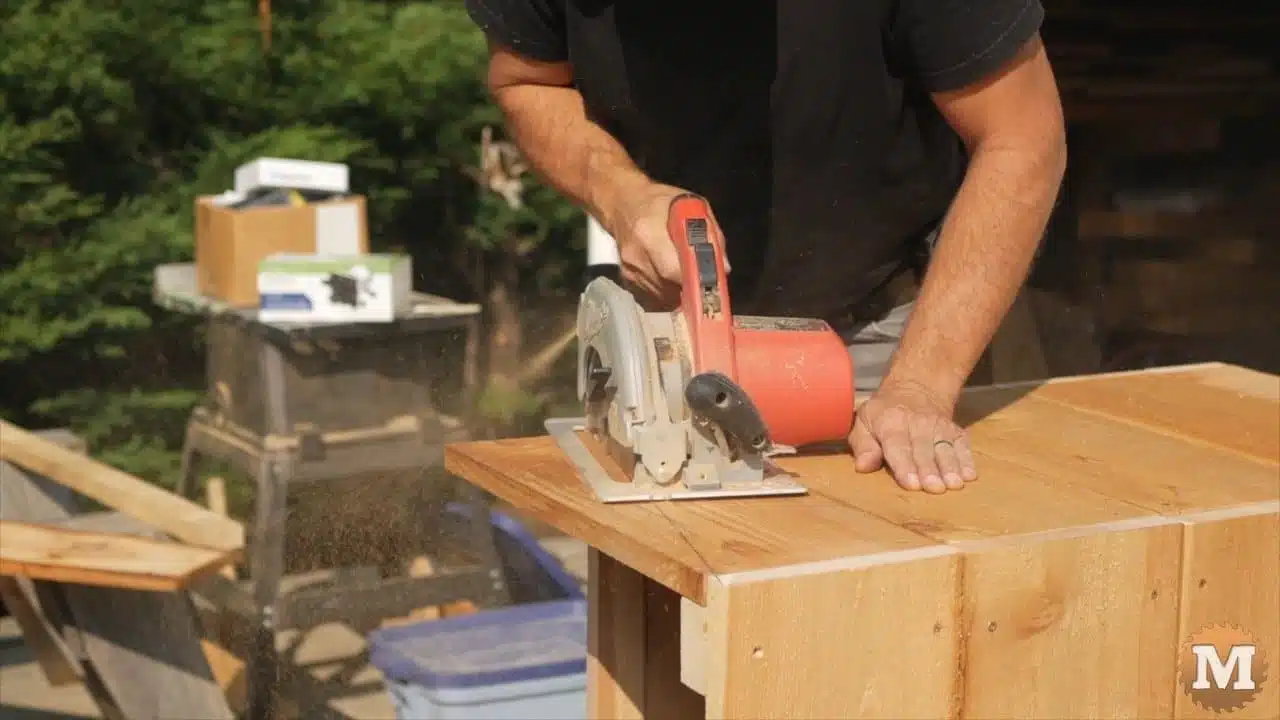
Cutting Slope in Side Walls
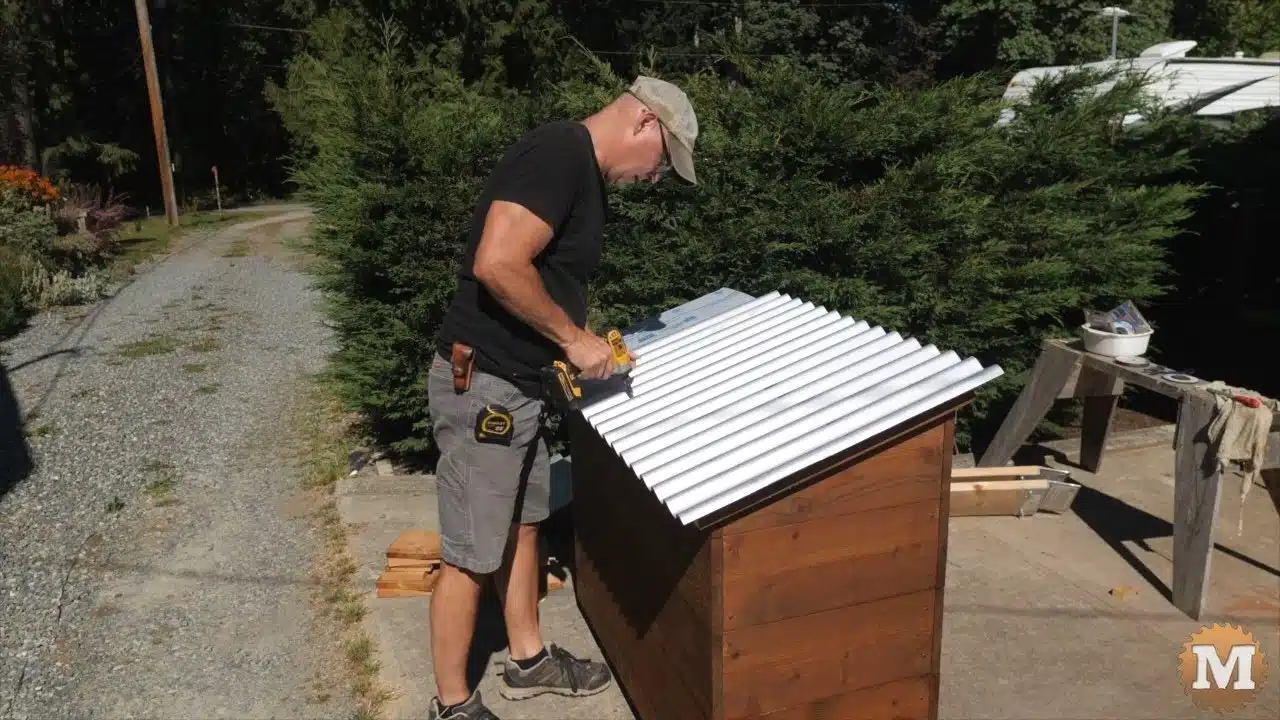
This plywood has a synthetic roofing felt tacked on then corrugated panels attached.
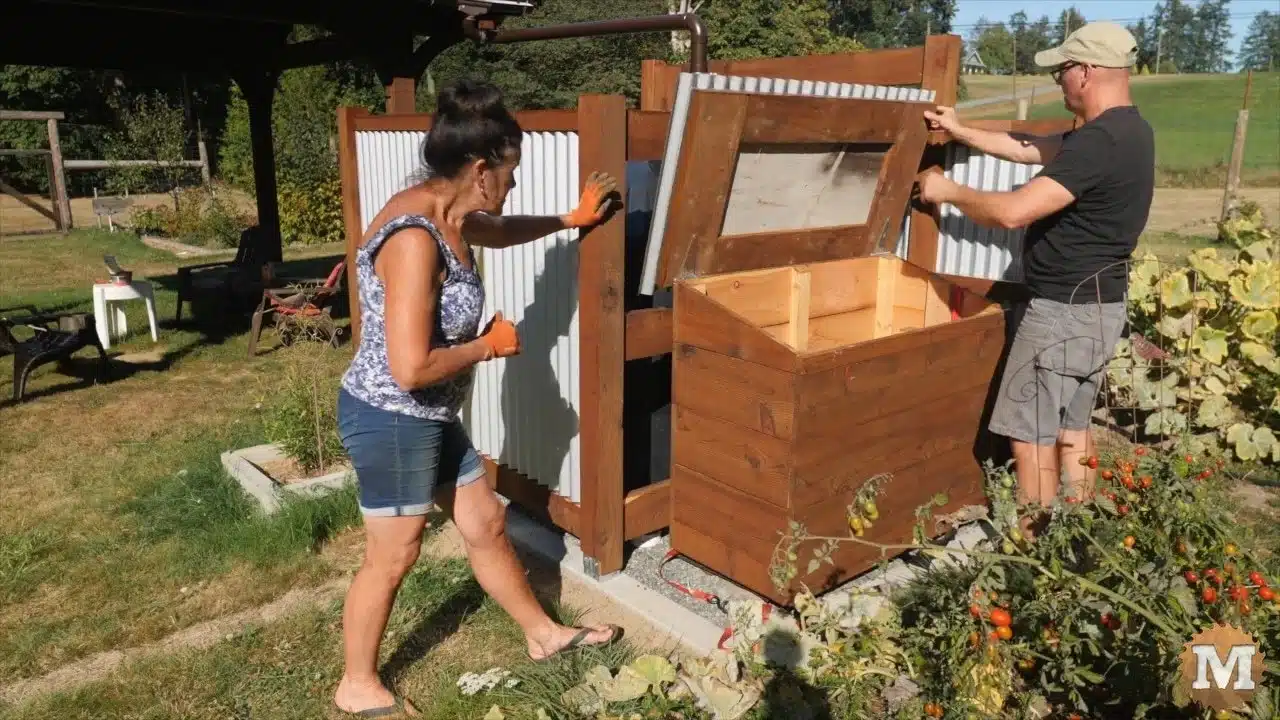
Hinged Lid
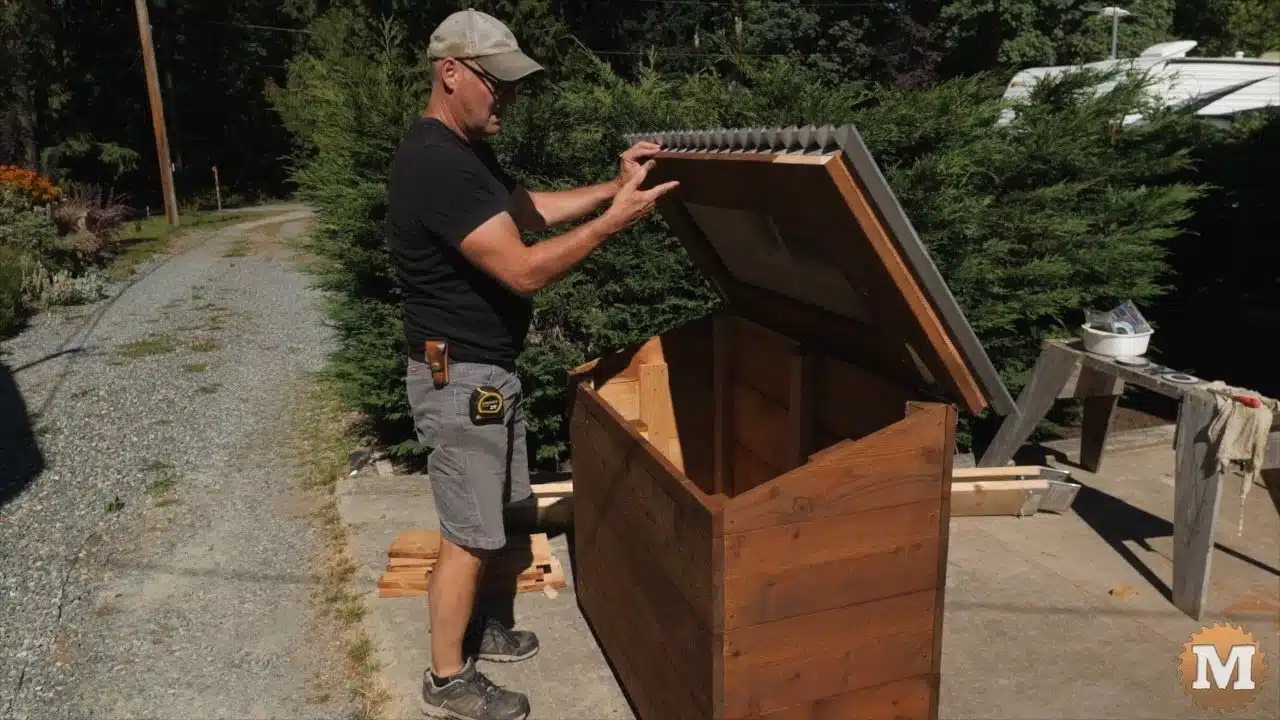
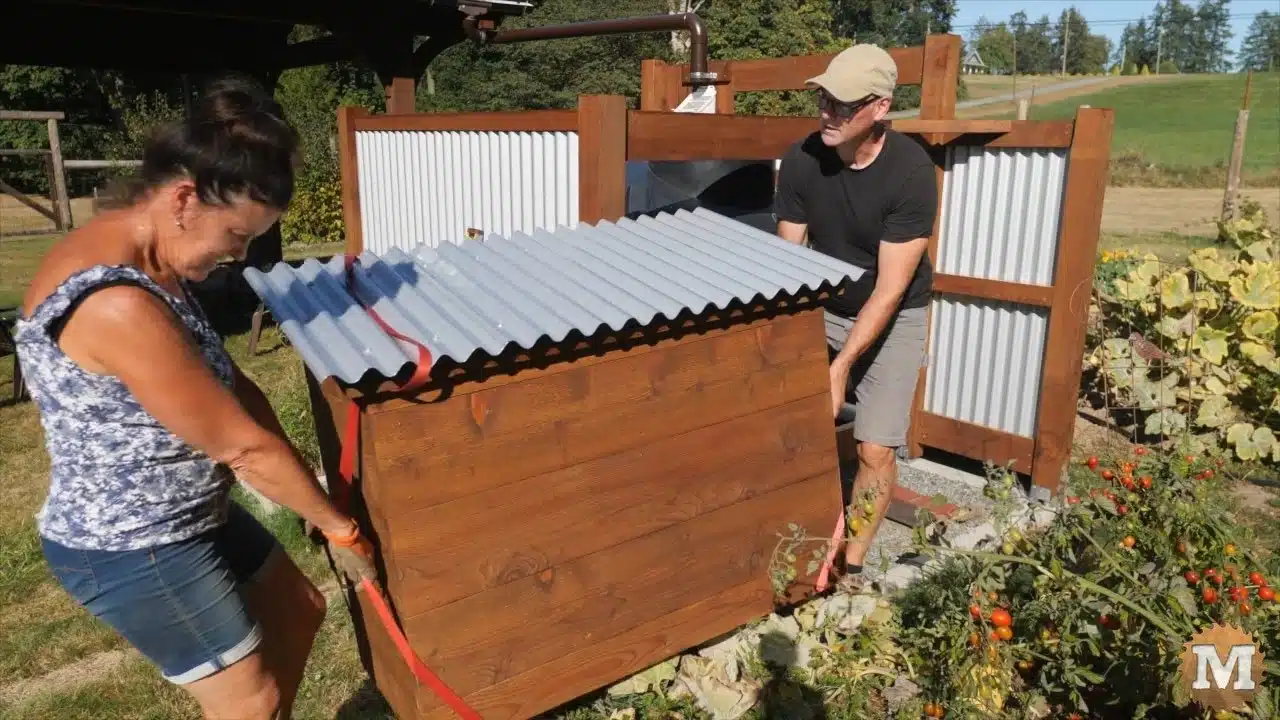
We temporarily set this box in place to see how it fits. And that’s pretty much all the carpentry work done.
Set Mini-Pump House in place
So I hope you have enjoyed this post, and thank you so much for reading. If I make any further improvements or changes I’ll post them here.
And, while you are here, please hit the Support Link to help us make more projects and videos like this. We really appreciate anything you can do to help us out!
Jump to:
Off-Grid Rain Tank Part 1 – Pour the Tank Foundation
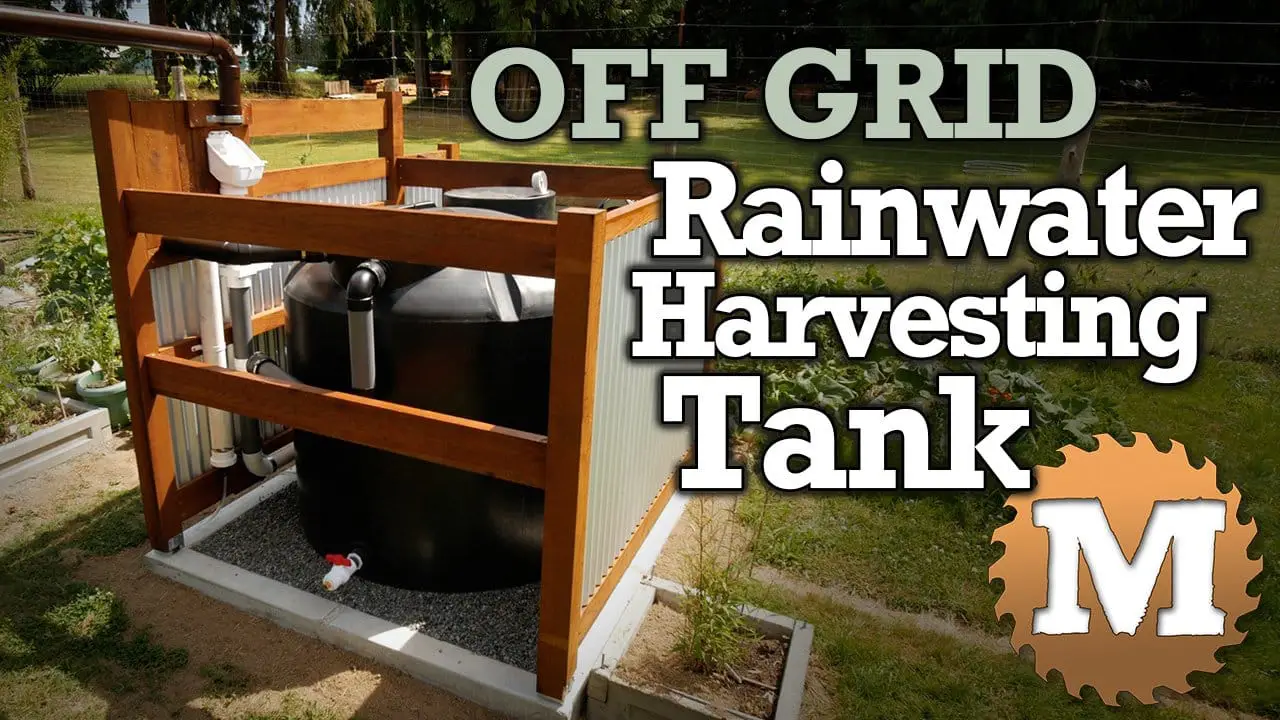
Off-Grid Rain Tank Part 2 – Build the Tank Surround
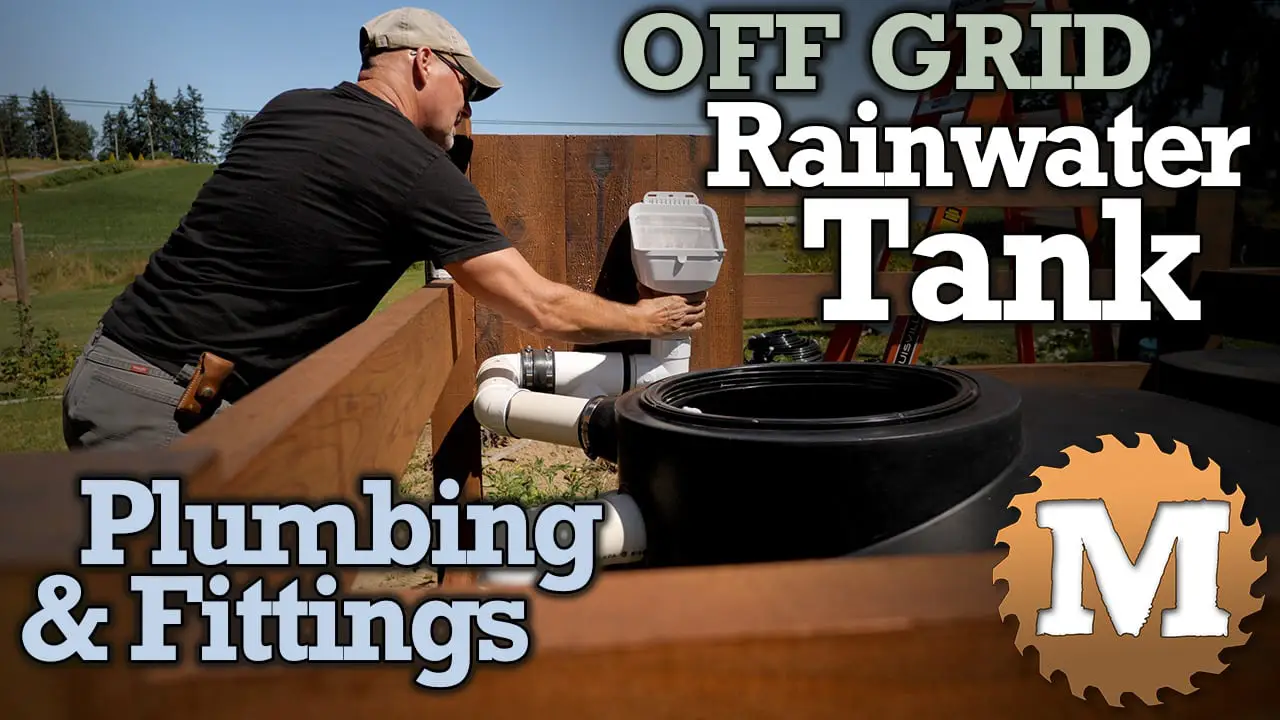
Off-Grid Rain Tank Part 3 – Tank Plumbing and Fittings
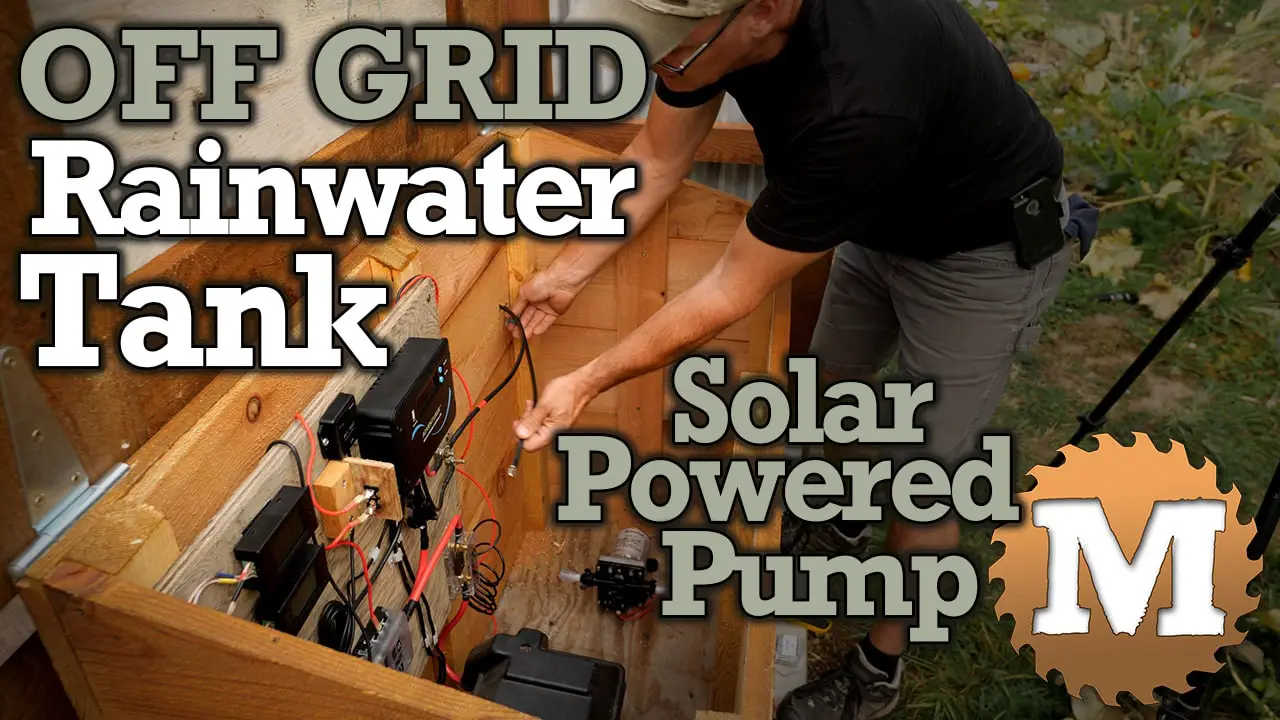
Off-Grid Rain Tank Part 4 – Install a Solar Powered Pump