Set Posts in Saddles and Plumb
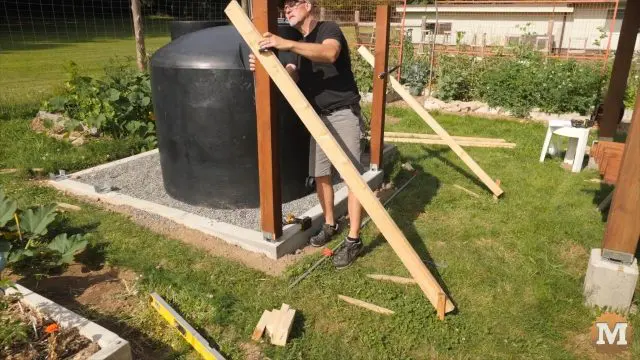
I use small blocks clamped to the post to support the rails. And a long pipe clamp pulls them together and holds them in place while I drill pilot holes then run in the screws.
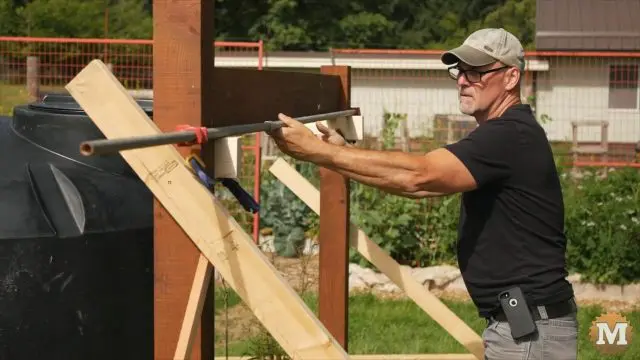
I’ll be toe screwing the rails into the posts. And I think this will do for this particular project.
Once I got a feel for how this was going together I drilled all my pilot holes in the rails ahead of time. And sometimes started the screws in the holes. This can make working solo a lot faster and easier.
Next I’ll add the middle rail. Again, blocks support the rail while I bring the posts together with a pipe clamp. And run in more and more 3″ screws.
A post is added to the East side, plumbed, and supports added. This side has two taller posts and a higher rail. I needed this additional height to support the 3″ pipe from the pavilion gutters and to support some of the plumbing setup.
Attach Rails to Posts with Screws
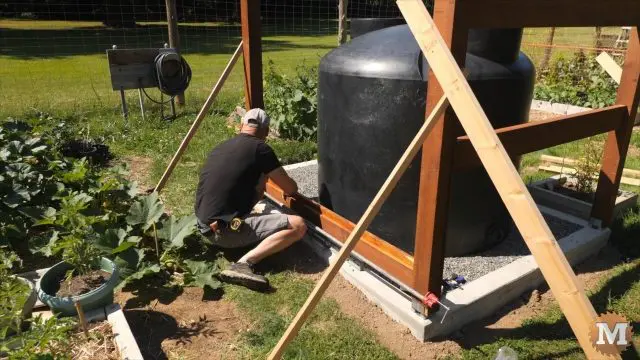
For the rest of the sides I’ll add rails starting at the bottom and work my way up the post. Then the mid rail followed by the rabbeted third rail. And a 2×6 at the top.
And around the West side all of this gets repeated.
At the back South facing side I’ll add three 2×6’s.
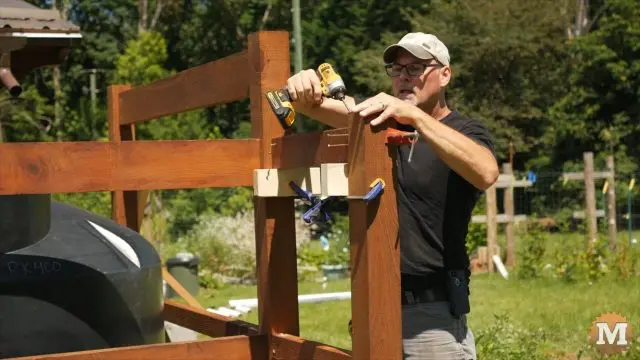
We have consistent wind coming from the west so I though I’d add some additional protection for the pump house with this short section of fence.
I’ll jump ahead in time here to show the corrugated panels being added. Eighth inch spacers lift the panels to center them vertically. I used 1″ roofing screws that have a metal and rubber washer. I set my post spacing so I could overlap these a few corrugations and not have to cut them.
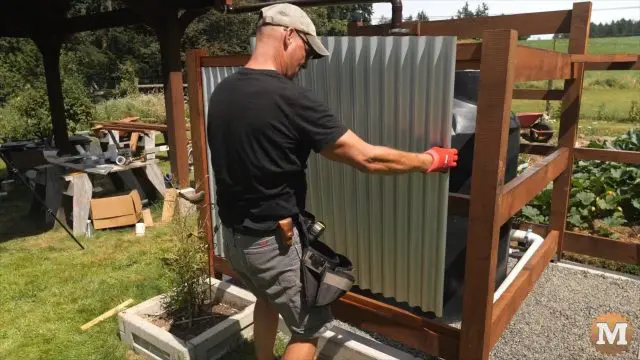
Except for the last panel. I have an attachment for my drill that cuts sheet metal pretty well. But not as good as I hoped for these corrugated panels. It left a rough edge but I was able to straighten it somewhat with a hand seamer.
Ripping Panels to width
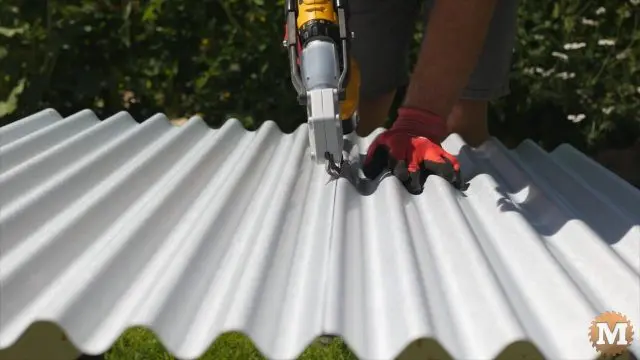
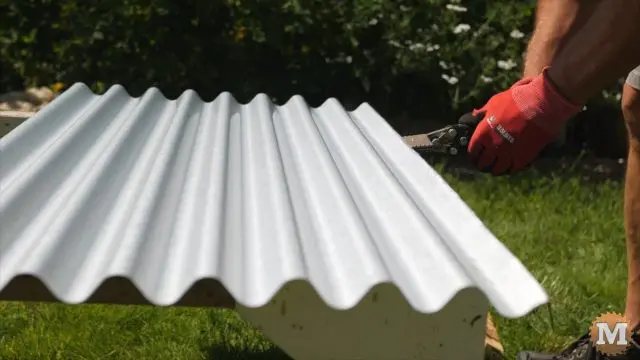
Later I made some cuts with an angle grinder running against a straight edge that was clamped to the panel. And that worked much better.
