Building the Inner Walls of the Form
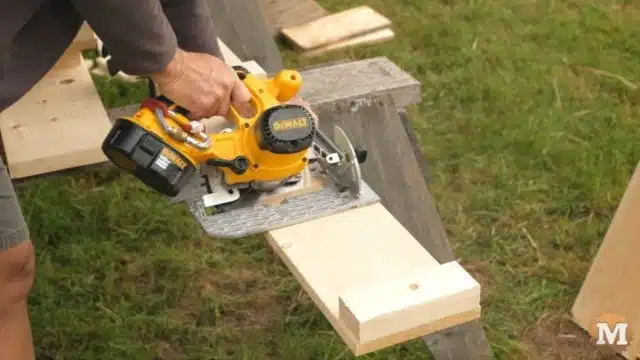
So I made the inner forms walls in two pieces. I cut the end off the inner form wall at a 45 degree angle on one end.
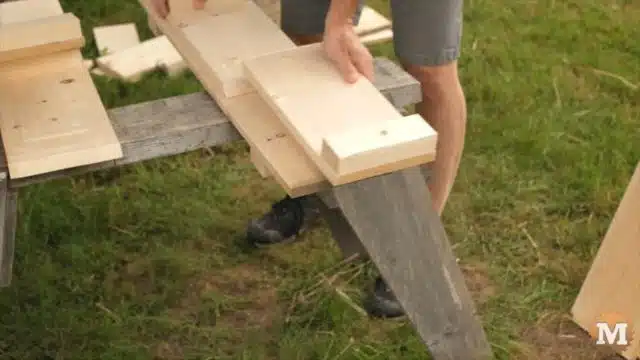
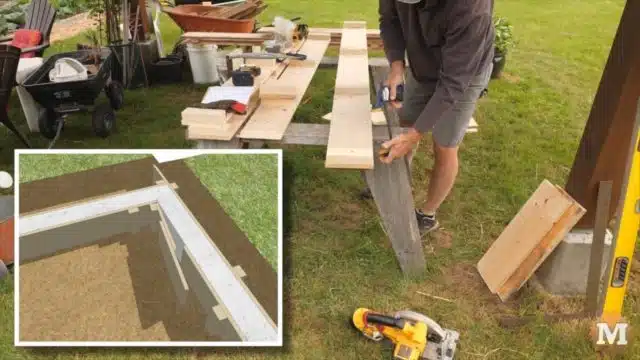
Then I reattached it with a mending board.
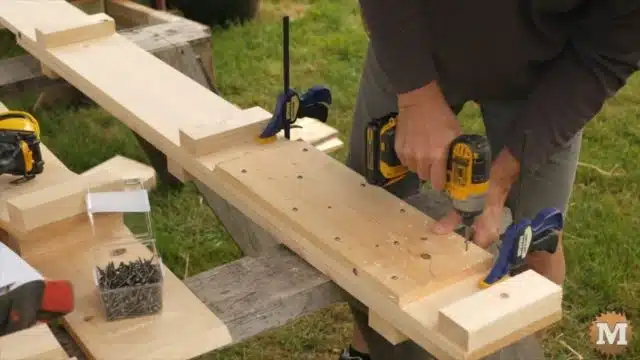
I figured this will make stripping the forms easier as this piece can pivot away from the corner. I’m not sure if I really needed to build them this way but it only took a few minutes to do this.
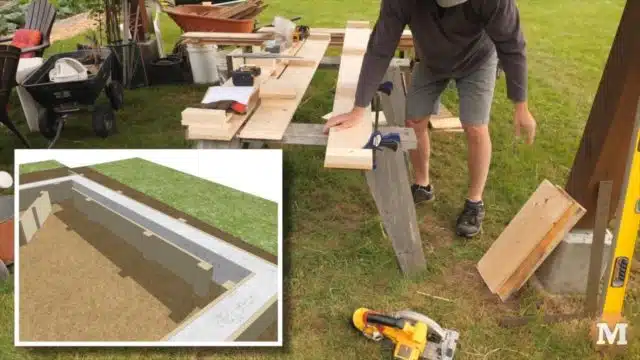
This idea came about as I was working on a square concrete planter form. It seems that it can be challenging to disassemble the inside of a closed space. More on that project in a future video.
Installing the Inner Walls
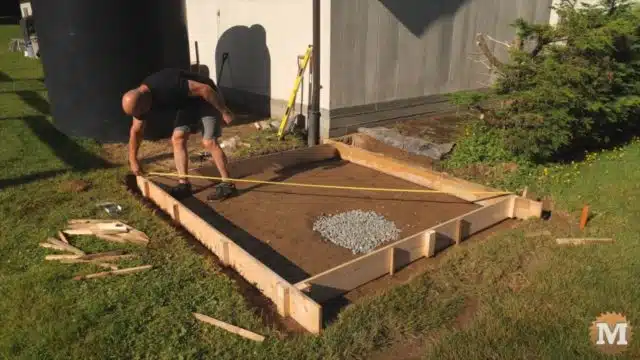
I clamp and screw the inner forms together. And attach the 5 inch spacer blocks. That worked great. It help suspend the inner form at almost level as I pounded in the stakes. I ended up using two blocks at each corner.
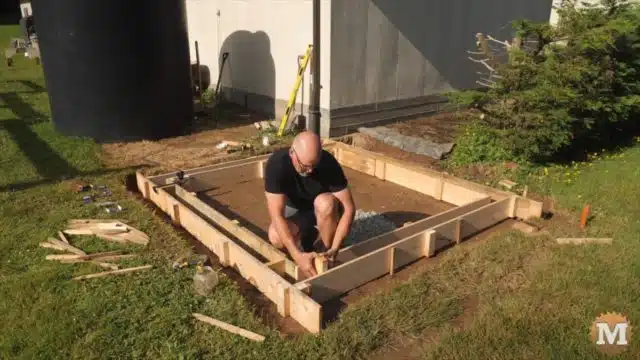
Once these were removed I coated the inside of the form with vegetable oil.
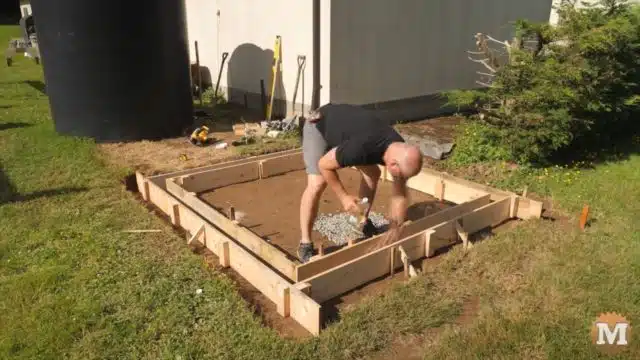
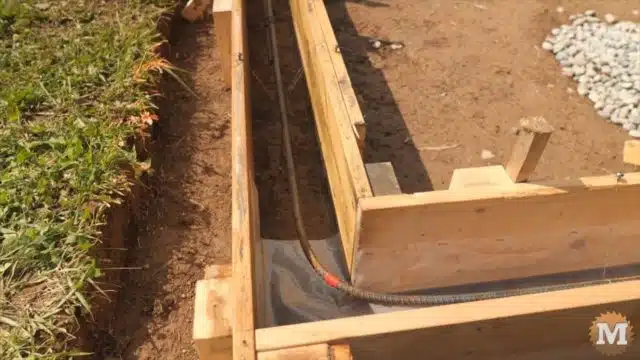
I bent four 10 foot lengths of rebar, wired them together and suspended them from wire so they would stay in the center of the curb during the pour.
Suspending the Rebar on Wire
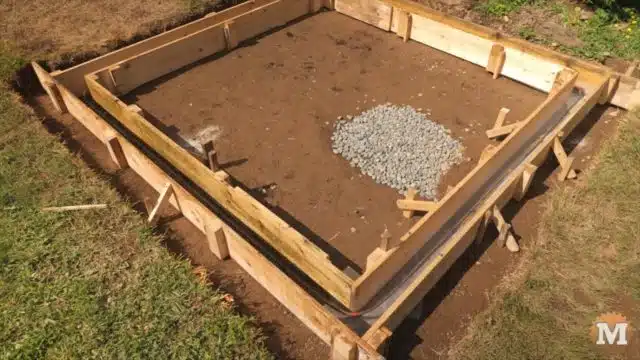
Pour Concrete in the Rain Tank Curb Forms
Now it’s a matter of loading the concrete mixer and filling the forms. My little mixer can handle 2 bags at a time.
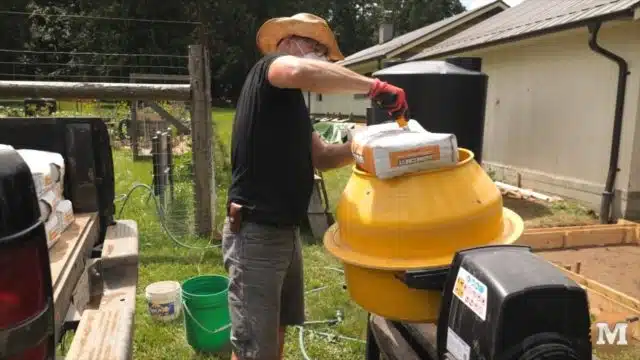
To save my back I have the bags stacked at the end of my pickup box. I add some water, set the bag over the drum and cut it open to dump it in. Then start the drum spinning before tilting it. When this is mixed I do the same with the second bag.
(Disclaimer: As an Amazon Associate I earn from qualifying purchases. Thank you for helping to support my content this way. )
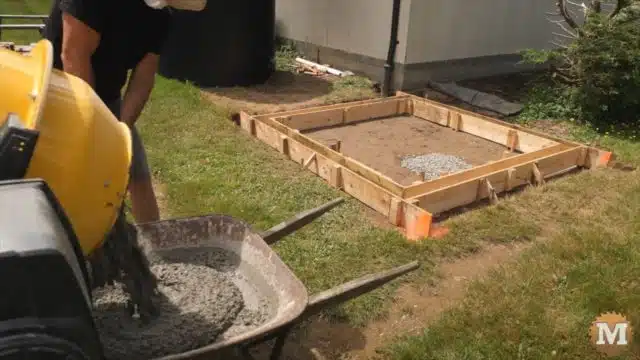
After a few minutes I rotate the drum over to the other side and dump it in a wheelbarrow.
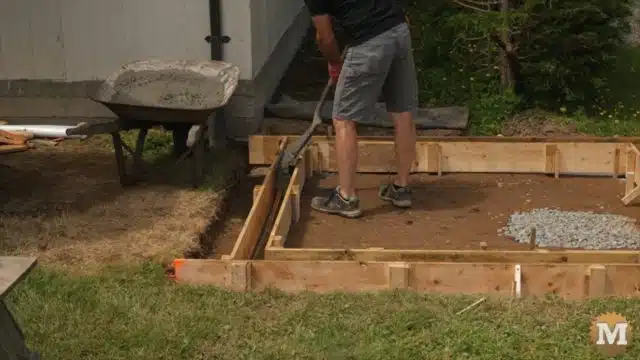
Shovelling Wet Concrete into Forms
The curb is narrow so I opted to fill the forms by hand with a shovel instead of just pouring the concrete right out of the wheelbarrow. Given the slope and access, I decided I’d spill a fair amount of the wet concrete so, shoveling would take longer but waste less. And this worked well.
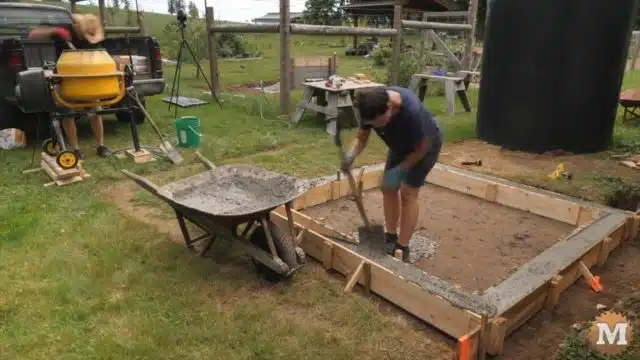
Marilyn came to give me hand and that went much faster. We got into a flow and the pour went much faster than I expected. I loaded the mixer and Marilyn filled the forms.
Anchor Bolts
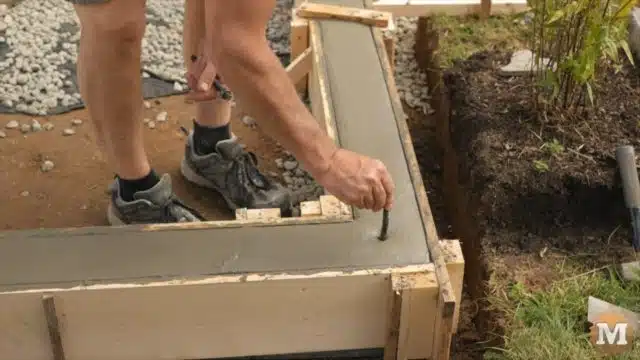
Before the concrete hardened I added some anchor bolts for the post brackets. And covered the fresh concrete with plastic.
Stripping the Forms
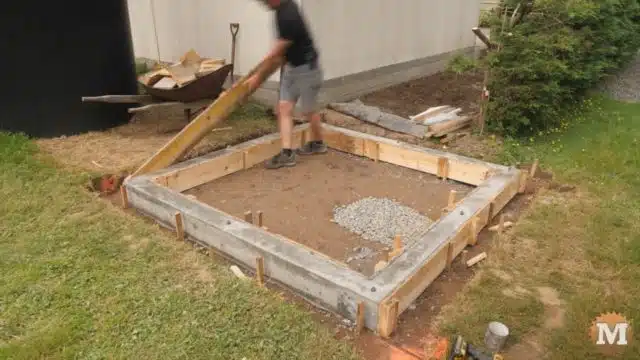
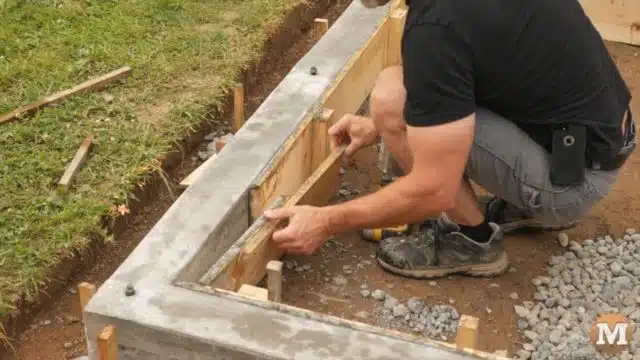
After a few days I stripped the forms. And this went well. The outside boards came off without any problems. And the inside ones as well. The curb looked great. I kept it covered with plastic to cure for a while longer.
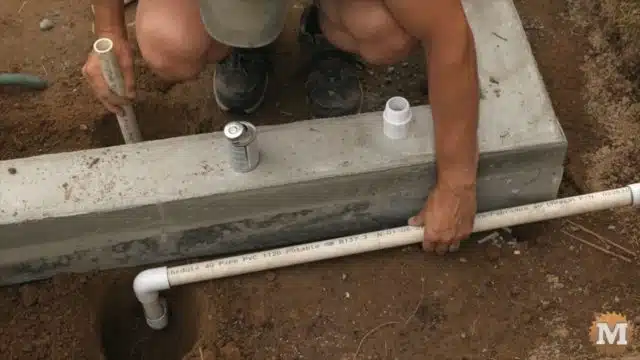
I’ll be installing a pump in the shed beside the tank so I roughed in a 1 inch water line that drops under the curb and over to the wall of the shed. More on that in Part 3 of this series.
Fill the Rainwater Harvesting Tank base with gravel
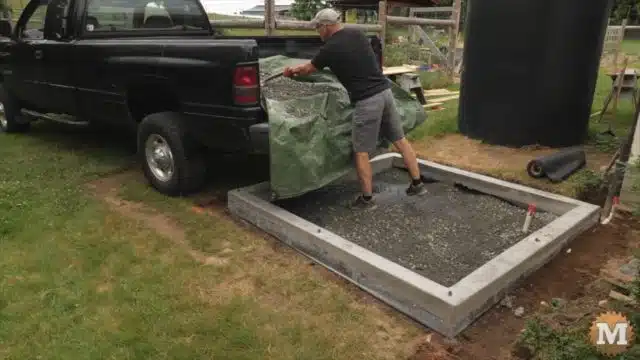
I rolled out some drain fabric and shoveled in a layer of crushed road base. Raked this flat and packed it down.
Packing the Gravel
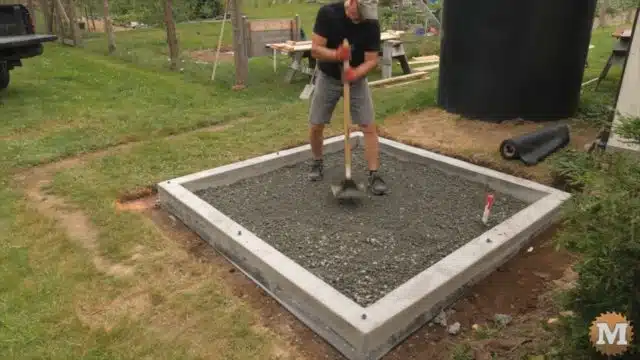
Then I topped up the base surround with 3/8″ pea gravel. It’s a finer round rock that drains well and has no sharp edges that could puncture the tank. The pea gravel does not pack so well so I added some sand to it. And that seemed to help.
Sliding the Tank into place
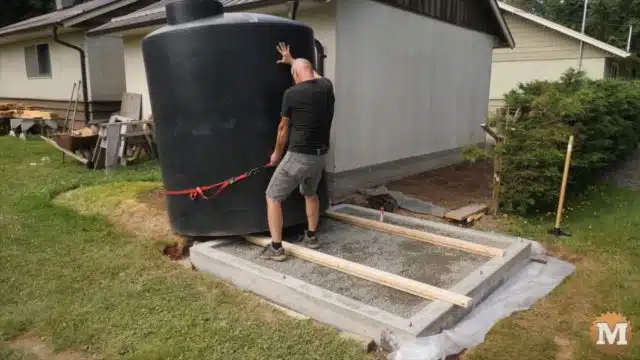
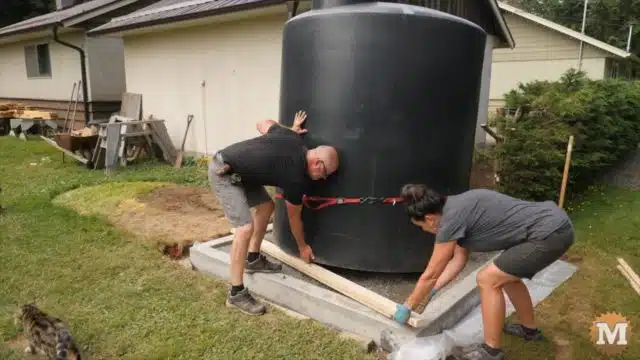
With the gravel level and packed we slid the tank into place. We used some 2 by fours and a strap around the tank to help with this. It was satisfying to finally get the tank into place.
So I hope you have enjoyed this post, and thank you so much for reading. If I make any further improvements or changes I’ll post them here.
And, while you are here, please hit the Support Link to help us make more projects and videos like this. We really appreciate anything you can do to help us out!
Jump to:
Part 1 – Pour a Rainwater Tank Foundation
Part 2 – Rainwater Tank Plumbing and Fittings
Part 3 – Rainwater Tank Pump and Irrigation
Part 4 – First Run of Tank Drip Irrigation System


