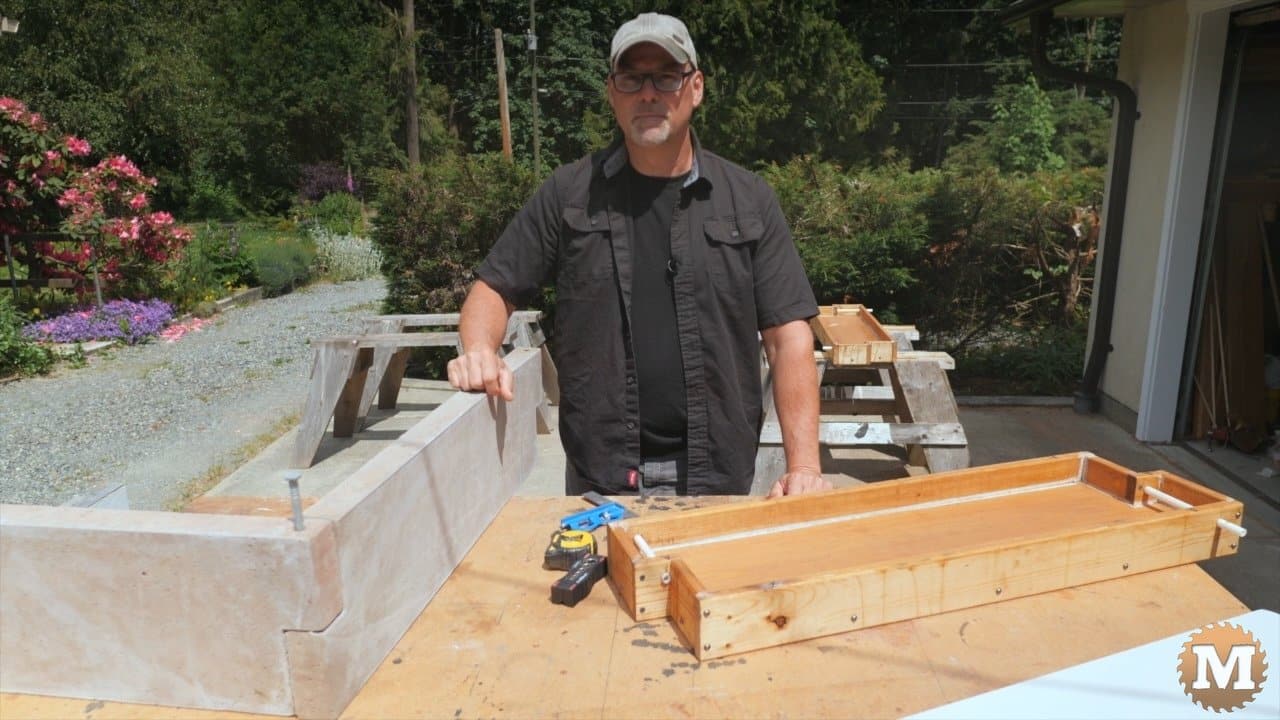
Make your own concrete raised garden beds! Build the forms and cast your own concrete panels that join together to make long lasting and durable garden boxes. This is Part 1 of this mini-series and the 4th version of the forms and panels.
I’ve been thinking about the design of the form for the concrete raised garden beds panels I’ve been casting. I want the forms to be easier, and faster to build, especially for those with little or no woodworking experience or tools. And I also want the casting process to be easier. And I think I got it with this new version of the forms. See Part 2.
How much concrete does it take to pour each size of panel?
Here’s the approximate square foot volume for this 2” thick panel:
36” panel = 0.363 cu ft
Bags of ready mix concrete are sold in various sizes. Here is how much a bag of Quikrete will make:
40lb bag = 0.30 cu ft
50lb bag = 0.375 cu ft
60lb bag = 0.45 cu ft
80lb bag = 0.60 cu ft
Check the instructions on the bag to see how much it makes.

Background for the SUPER Simple Concrete Raised Garden Beds Project – PART 1
(this is a transcript from the video)
The concrete garden panel forms I’ll be making today are about as simple as I can design them. They still create a great panel that is long lasting and rot proof for your concrete raised garden beds. And they still link together and can be be arranged in a number of shapes and sizes.

And these can also be stacked to make taller beds.
You won’t need a lot of tools to make these new simplified forms. Only a few hand tools and a drill. I’m taking things right down to the basics here, to show you the bare minimum you need to do build the forms and cast the concrete panels. You won’t need a table saw, or a drill press, or any other power tools.
I have a new set of plans and have them available for download. These plans will also have a more detailed list of materials and step by step instructions.
This will be a detailed tutorial. So if you are an experienced woodworker then maybe this video is not for you. But, I’ll be trying some new ideas here that can also be applied to the other forms I’ve designed.
So here’s how these new simplified forms go together:
Jump down to the Cost Breakdown section below
Concrete Form Parts
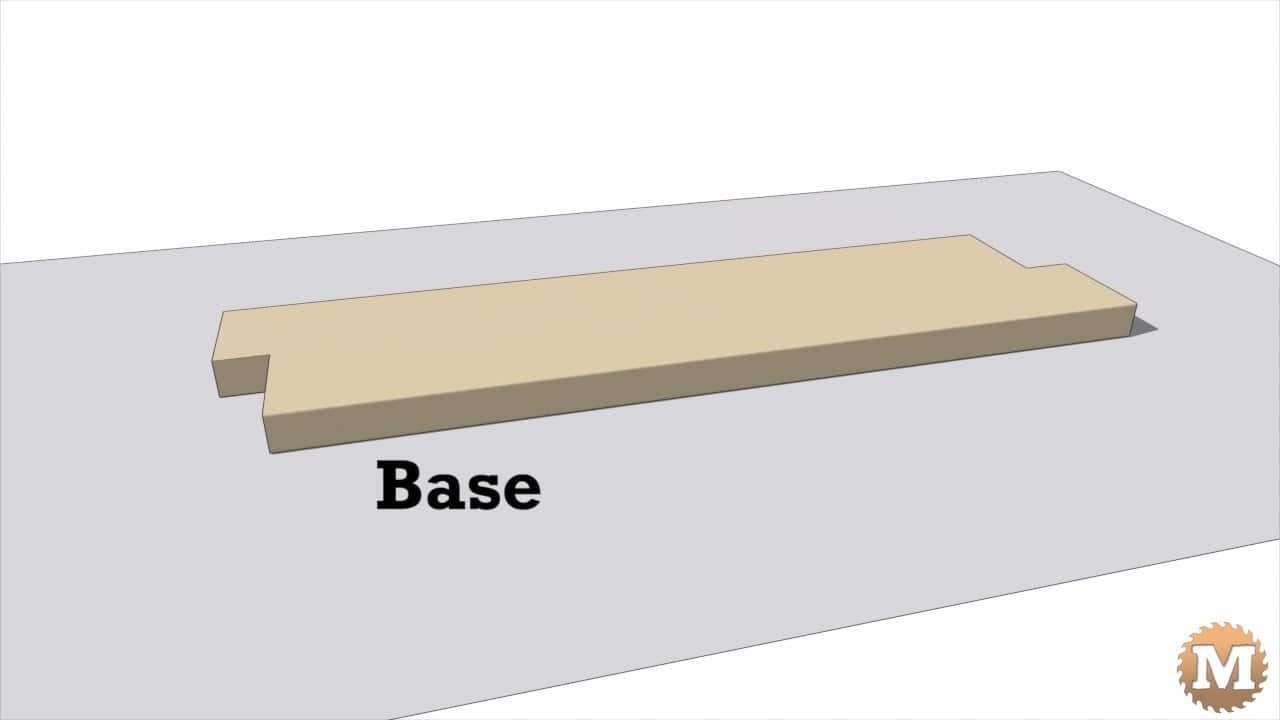
The base is made from a 2 by 10 and acts as the bottom of the form and the support for the 1 by 4 walls.
Each end is assembled from three pieces with the middle piece having a hole to support a pipe.
(Disclaimer: As an Amazon Associate I earn from qualifying purchases. Thank you for helping to support my content this way. )

The sides have a hole for the other end of the pipe.
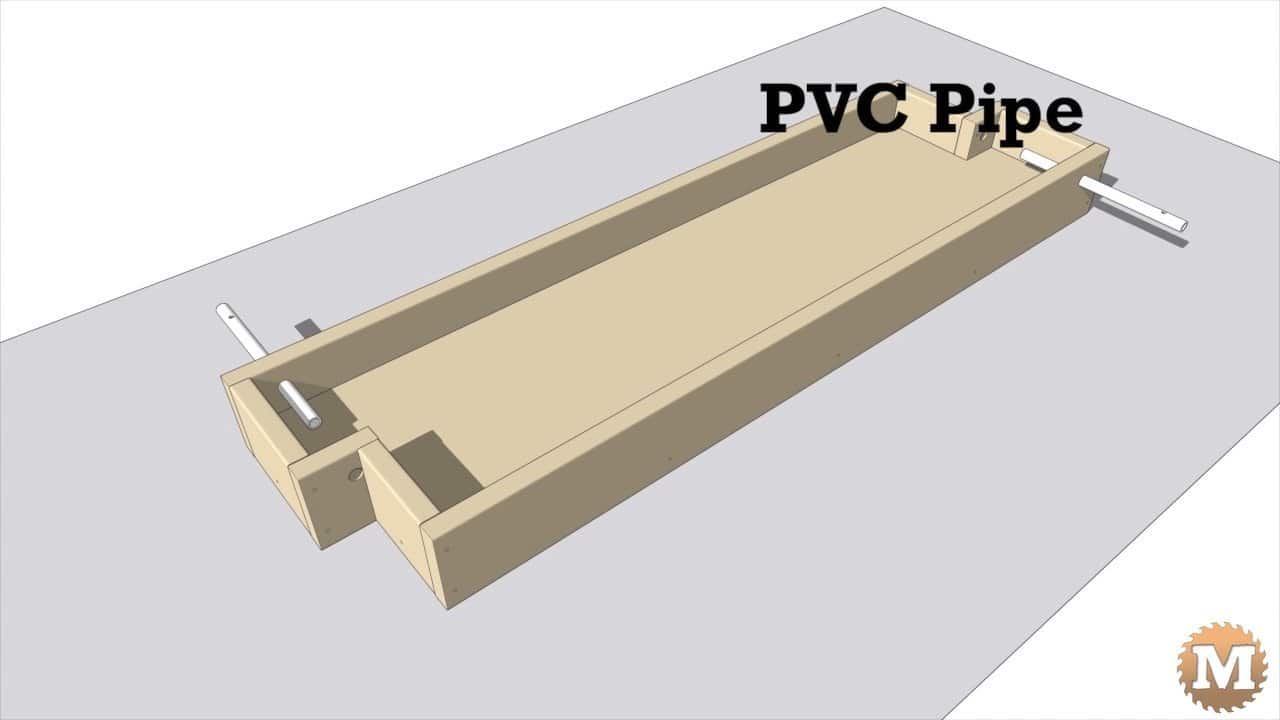
The pipe is PVC plastic and forms the holes in the casting.
Drop the Panel
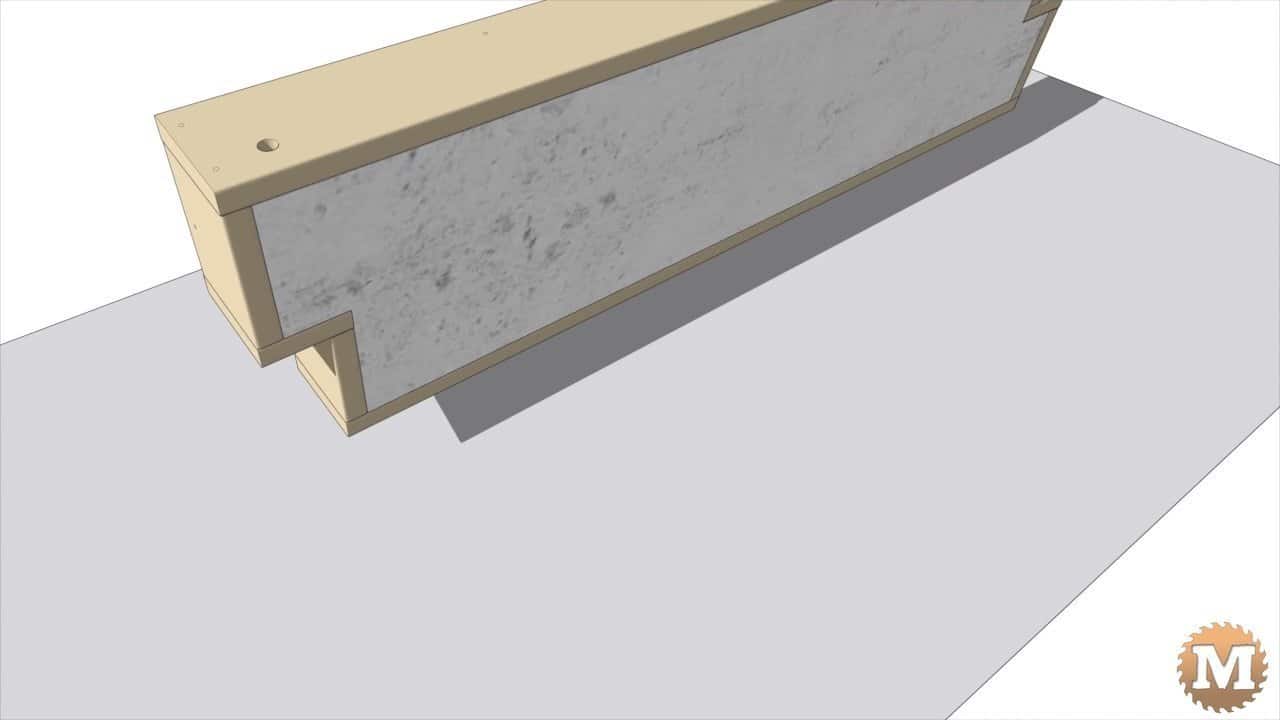
Once hardened, the pipes are slid out of the casting through the sidewalls.
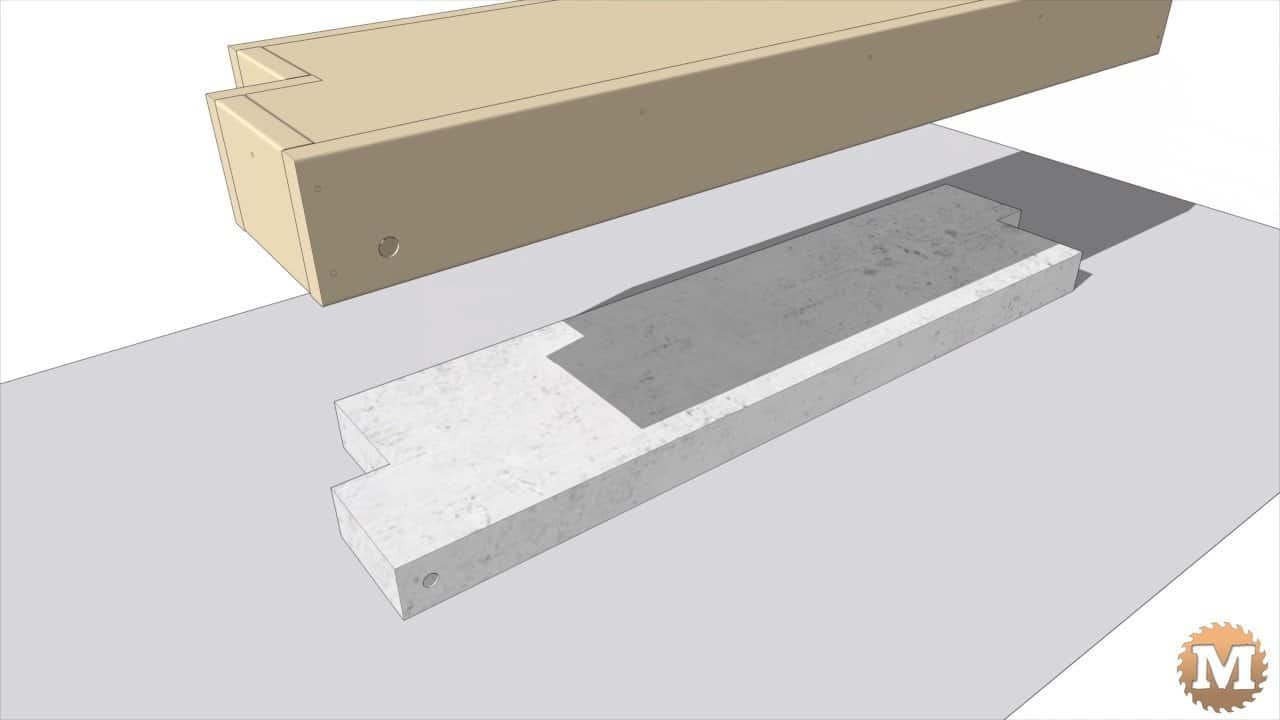
The form is turned over and the casting removed.
Make the BASE of the form for the Concrete Raised Garden Beds
If you’re at all intimidated by woodworking — don’t worry, I’ll go through everything you need to do.

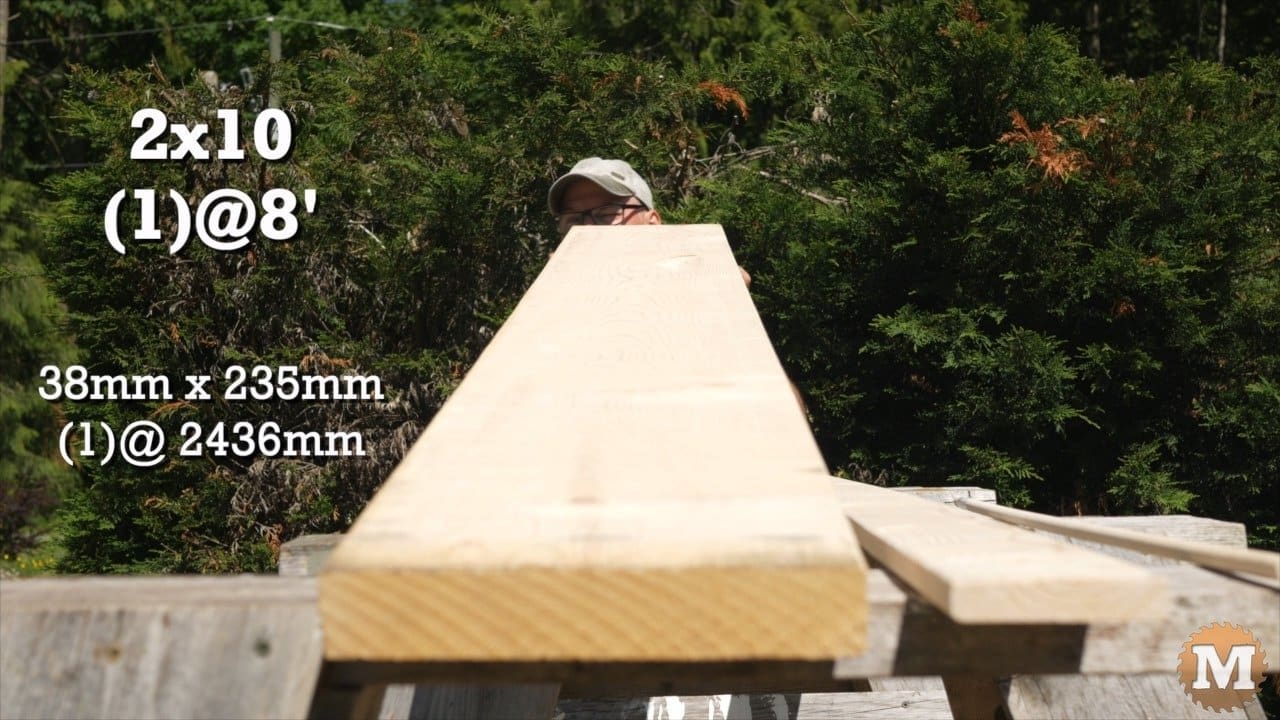
The lumber for these simplified forms are all standard sizes and can be bought at any big box hardware store or lumberyard. Look for boards that are straight and flat without any twist or any cracks — and few if any knots. Try to select the best ones you can find even if you have to sort through a pile.
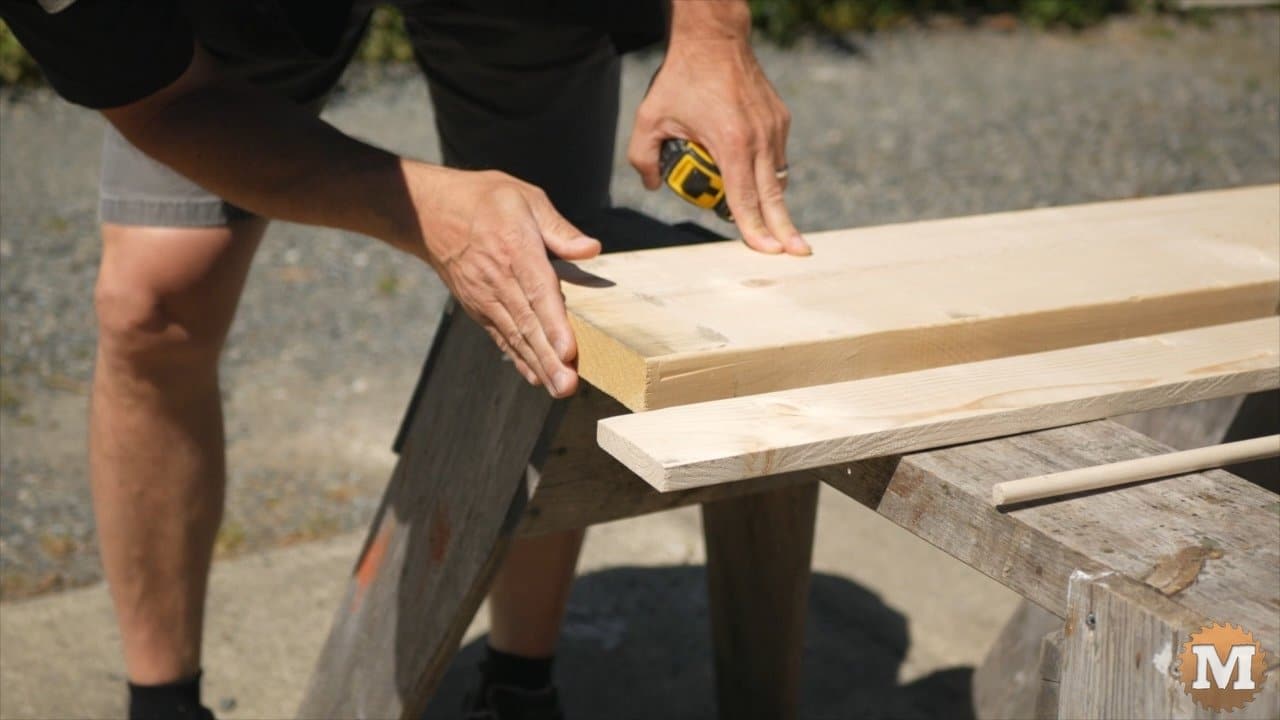
Good lumber will make everything easier so it’s worth it to be fussy here. I’ll look at the condition of the end of the 2 by 10 and 1 by 4.
I want to avoid any cracks.
Layout the Cuts
I also want to check the width of the board. It should be 9-1/4″.
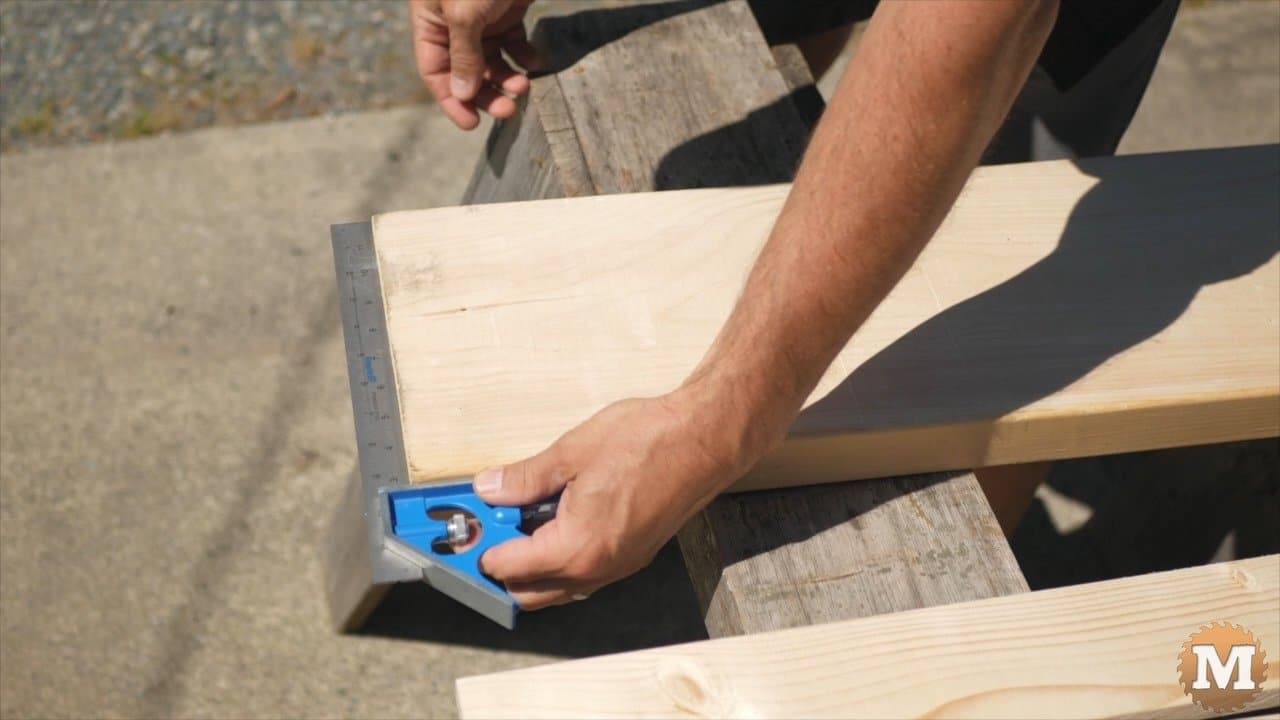
And I’ll check if the ends are cut square. If so, then I’ll take advantage of that for one end of the base.
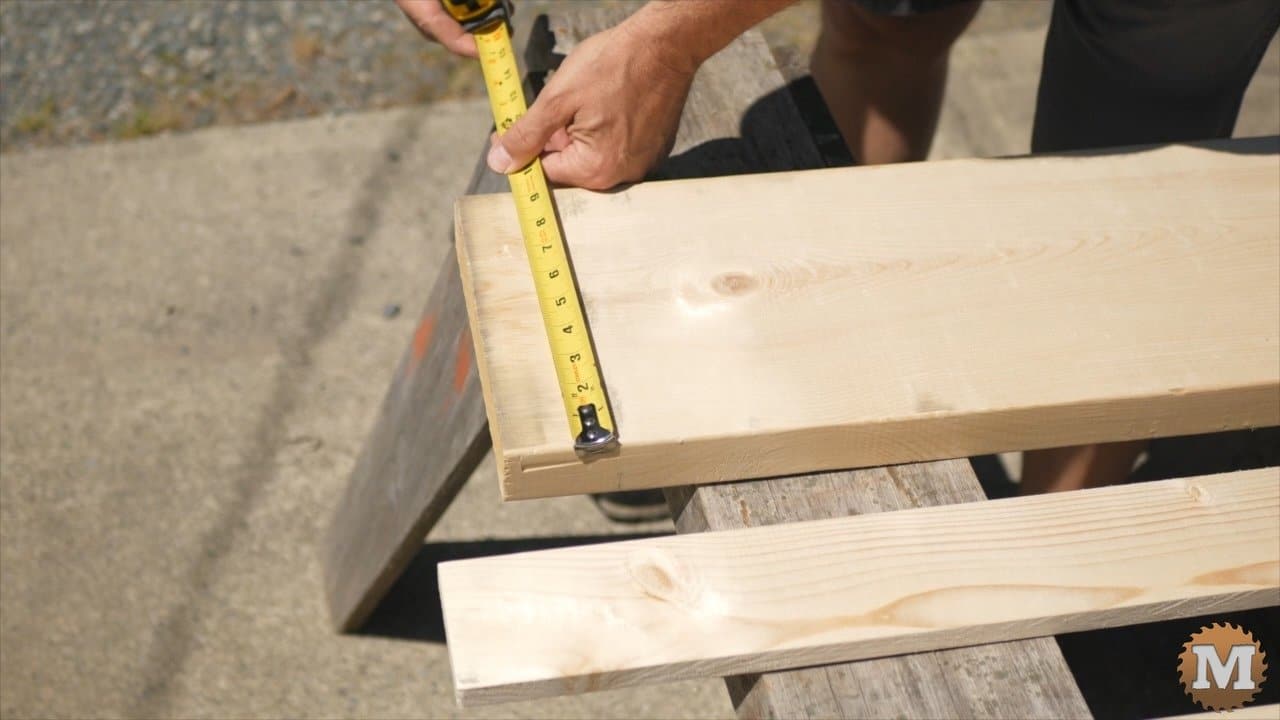
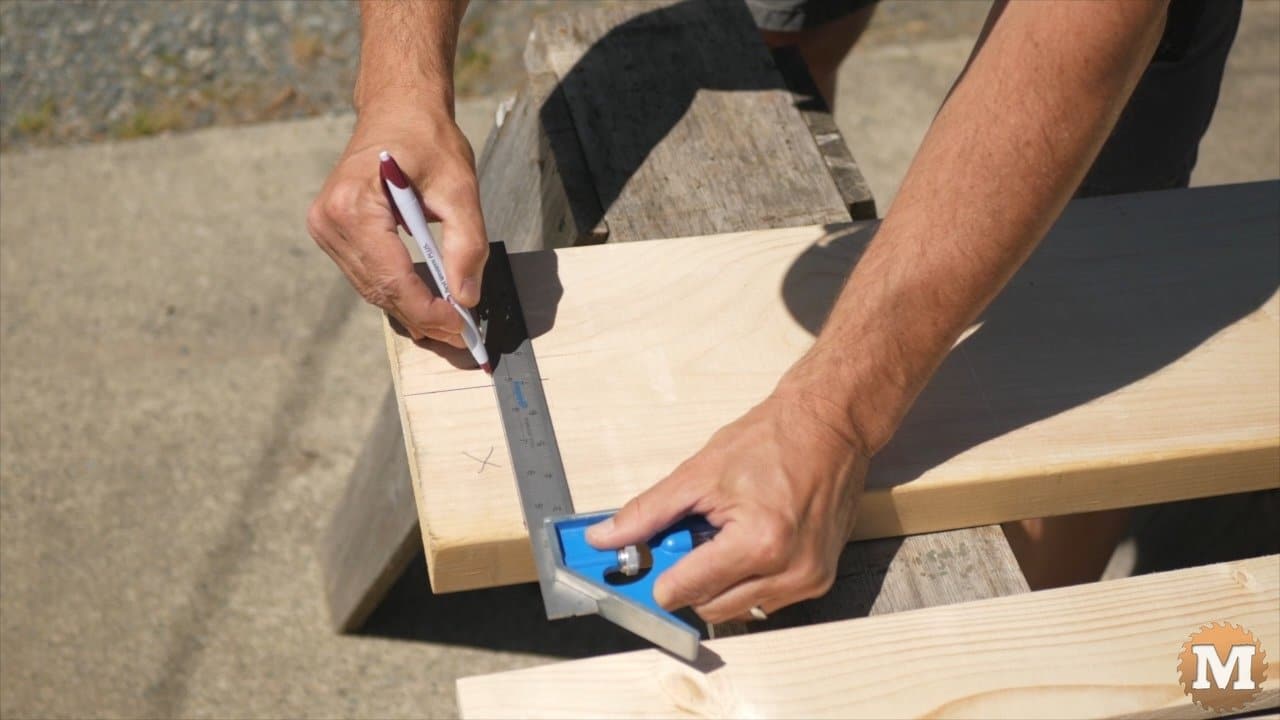
I’ll make a point 4-5/8″ from one side. This marks the center line of the board.
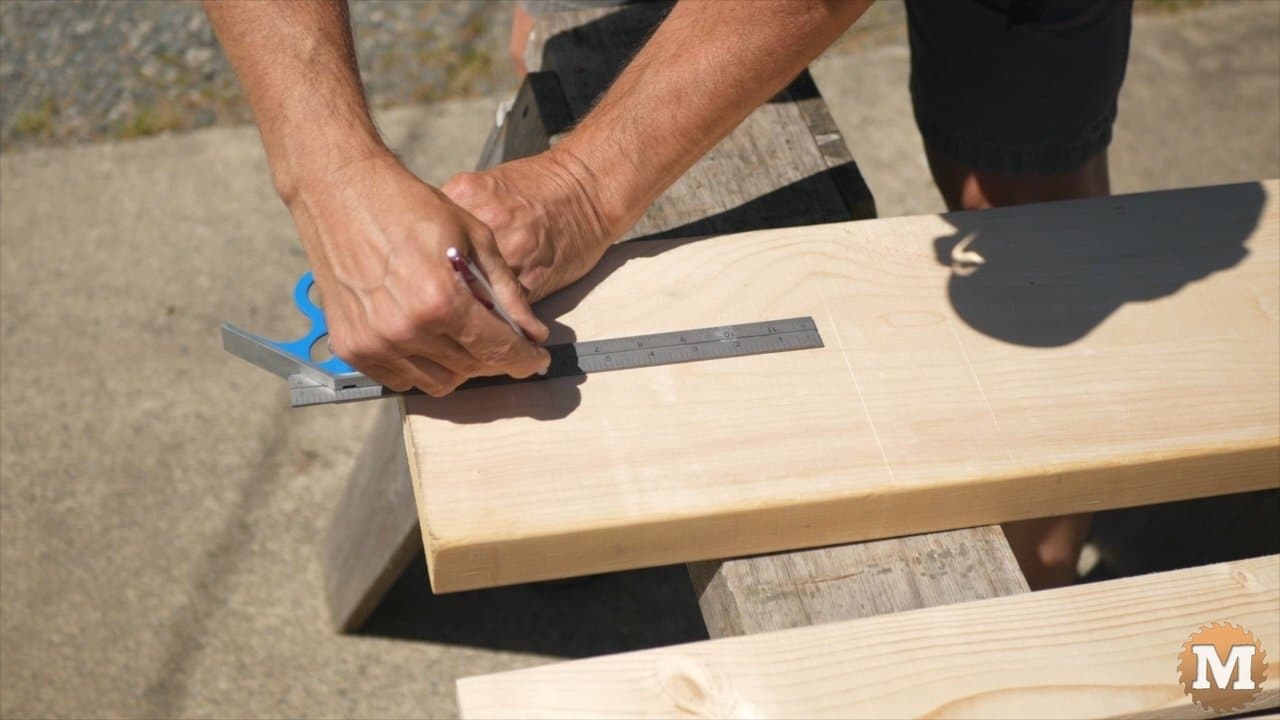
With my square on the end, I’ll draw a line in a couple of inches.
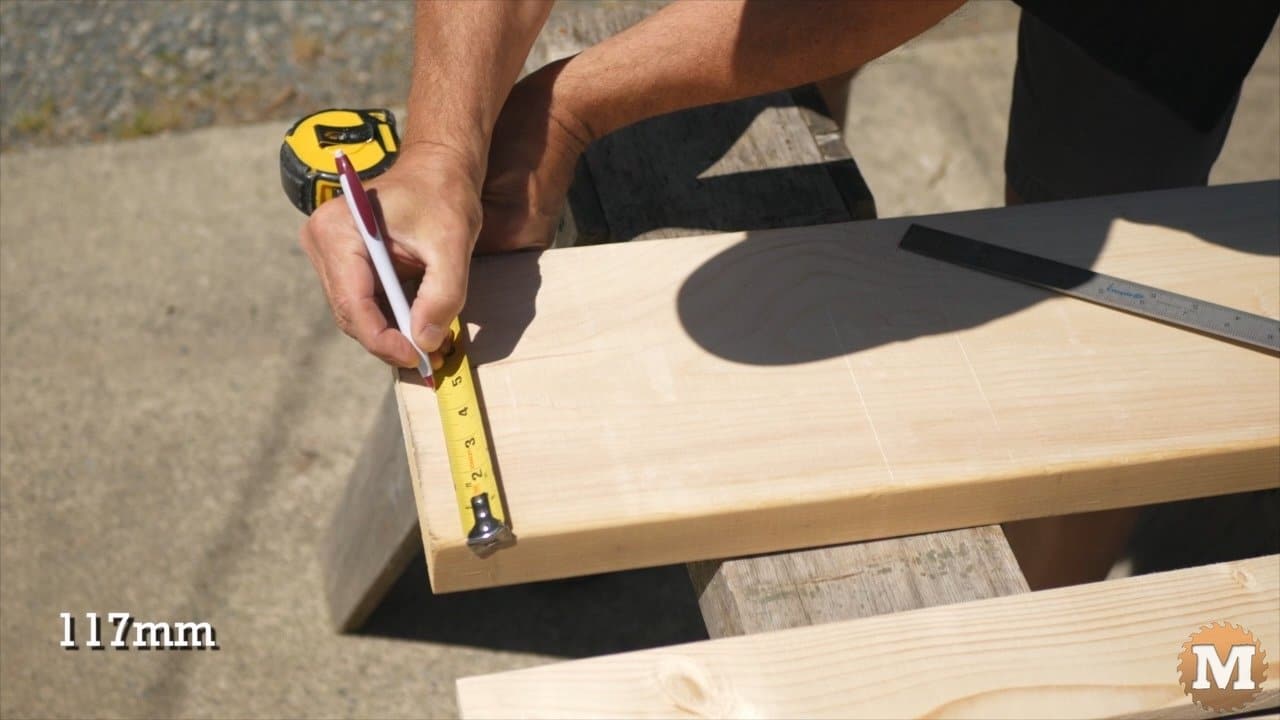
I’ll try to indicate metric equivalents where possible. The plans have dimensions in both inches and millimeters.
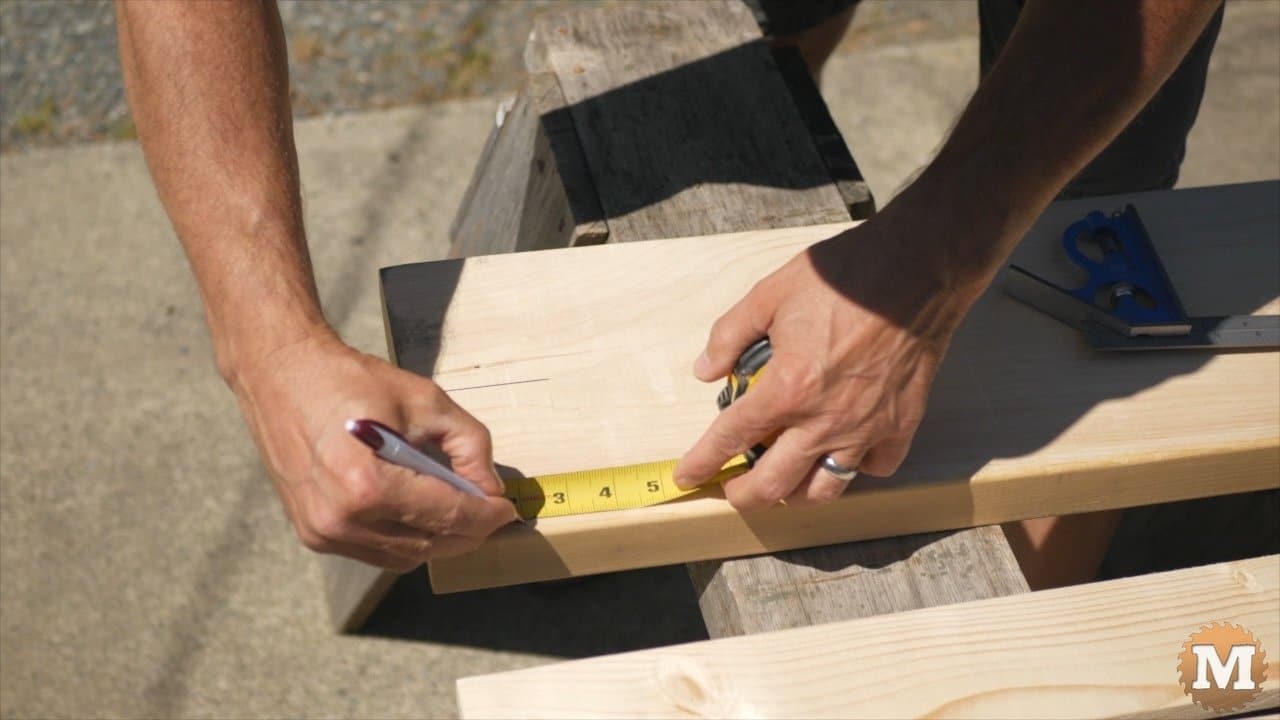
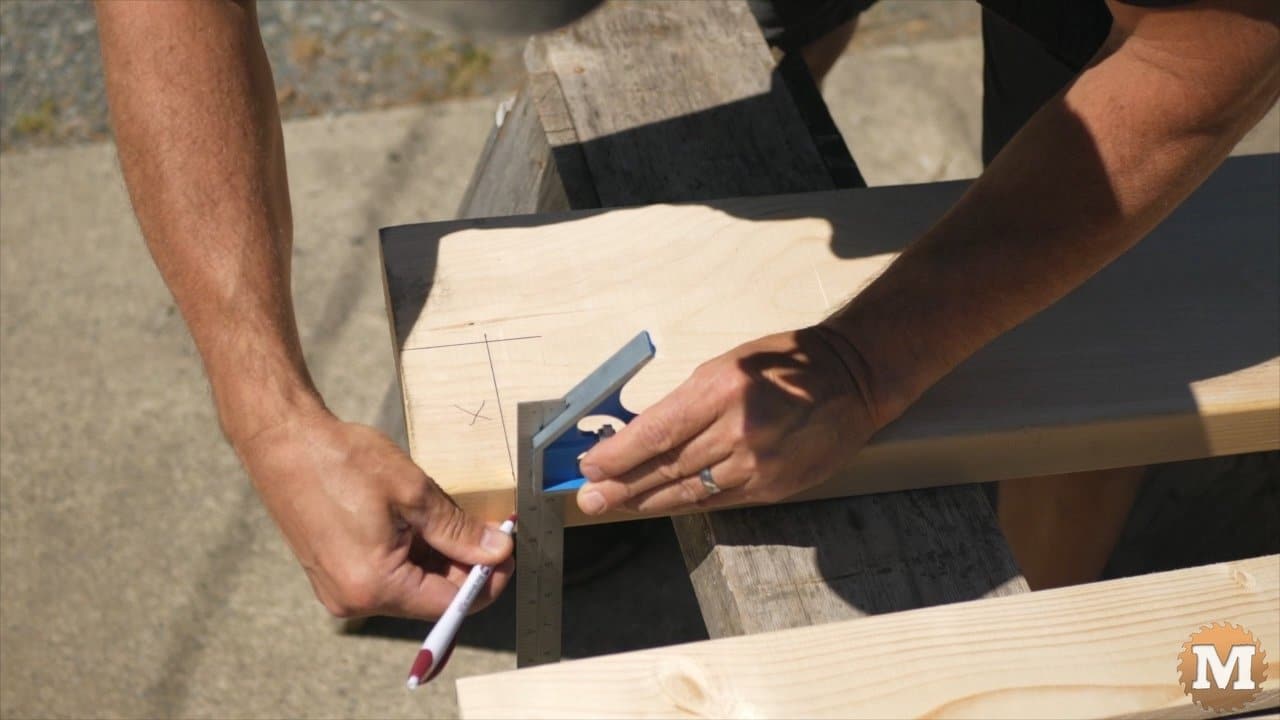
I’ll make another mark two inches in from the corner and draw a line with the square.
This is the corner I’ll be removing.
Ready for the Saw
I also trace these lines around each edge to the other side. This will help me check that I’m sawing straight and square.
To make the base I’ll be using two hand saws, a regular saw and a finer tooth stiff-back miter saw, a pencil or a pen, a measuring tape, and a 12-inch combination square.
From an eight foot two by ten, two eight foot one by fours, and a four foot length of three-eighths pipe, you can build two 36 inch forms.
I support the board over sawhorses. You could use some chairs for this as well.

