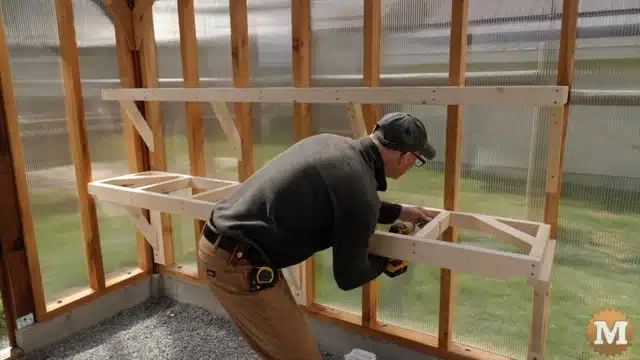
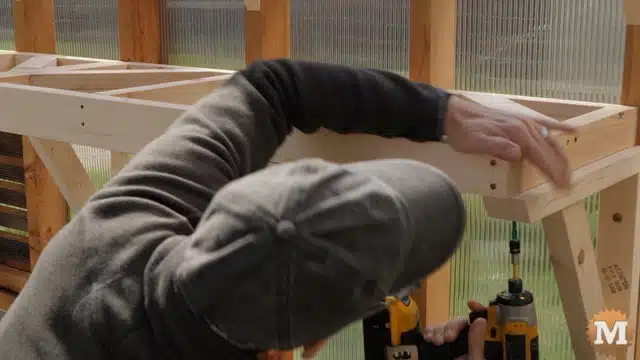
Mark Shelf Locations in the Greenhouse
In the greenhouse I’ll measure and mark a level line for the edge of the upper shelf. I used a straight 2×3 for this. It was pretty bright in there and difficult to see my laser level. This alternative worked just fine.
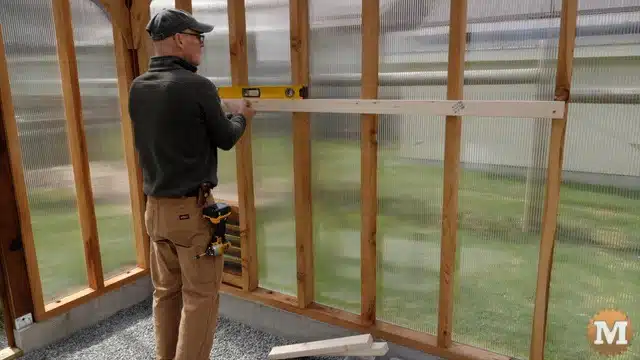
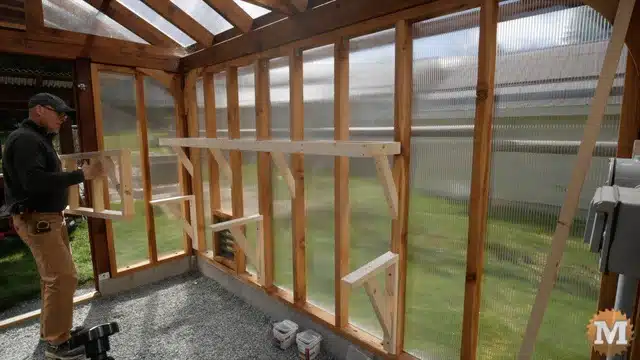
At this mark I’ll attach two temporary cleats to support the upper shelf. I set it in place and drive screws through the rear horizontal 2×3 and into the cedar wall studs. I used the 4″ screws for this.
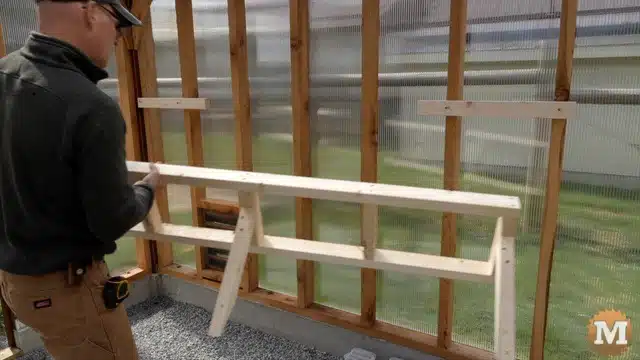
After checking level, I’ll drive screws through the braces and into the studs.
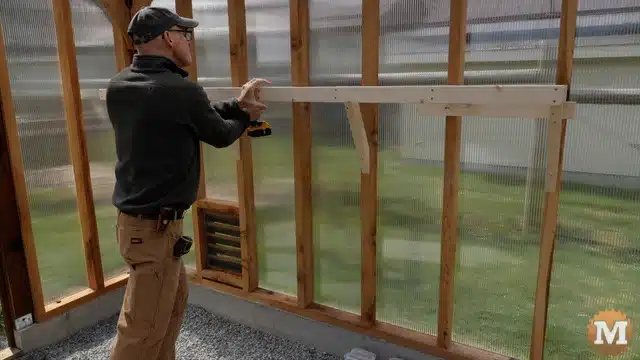
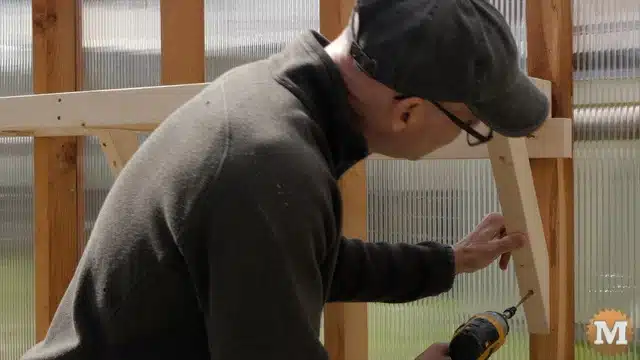
Attach the Lower Shelf Brackets
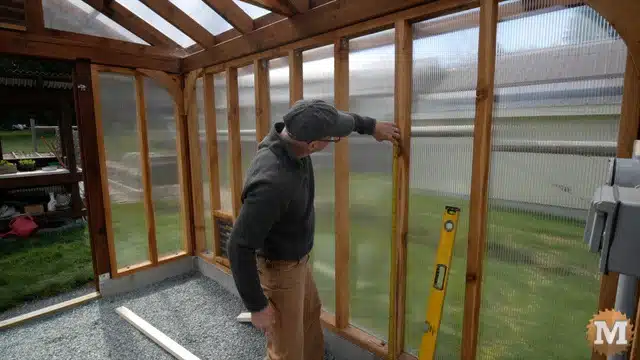
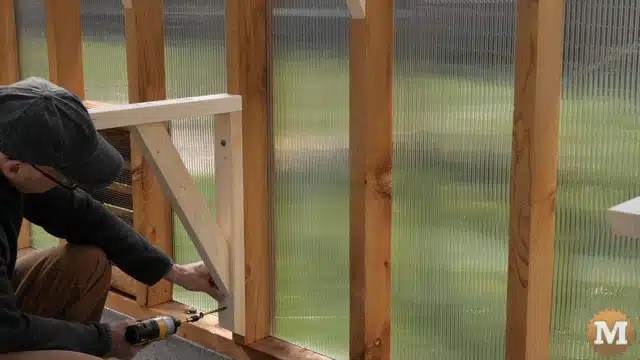
Now I can get ready to attach the lower shelf brackets. I’ll mark their upper edge then run in the 5/16″ lag bolts with my impact driver.
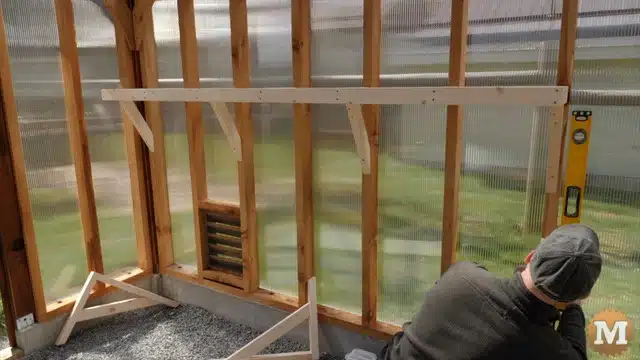
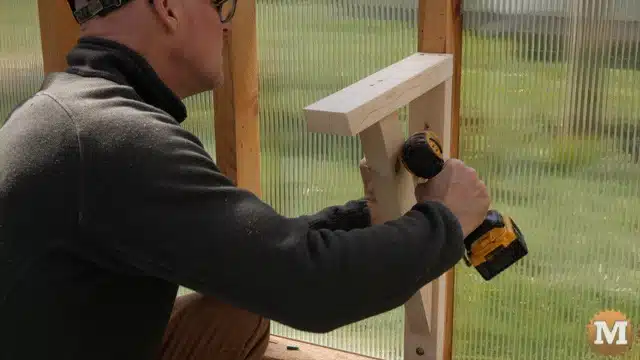
And I’ll check that each bracket is plumb as I attach them.
Add the Lower Shelf Sections
Now I can lay the two lower shelf sections over these brackets.
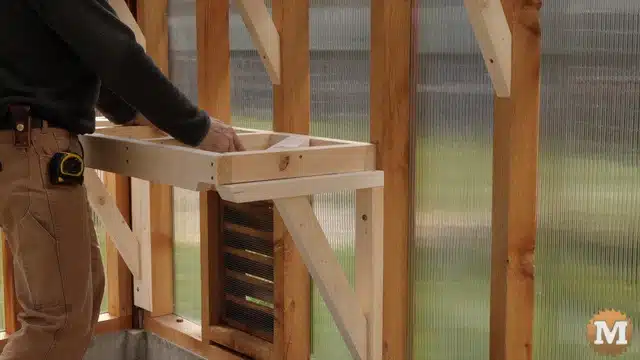
Like the upper shelf, screws are run in through the rear 2×3 and into each stud. And a screw is also run up from under the bracket into a cross member of the shelf.
