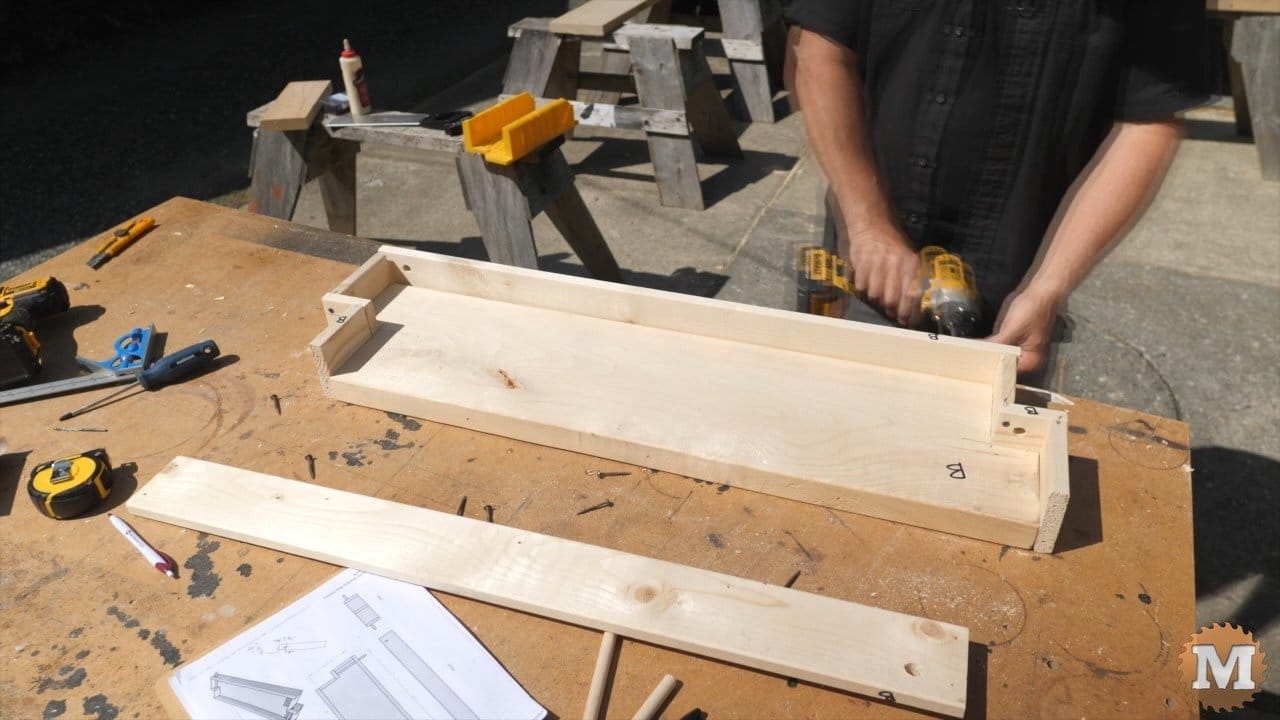
Assemble the END WALLS – Form for Concrete Raised Garden Beds
Here’s where we’re going to assemble the end wall pieces together and we’re going to use some #6 1-5/8″ drywall screws put them together with and a little bit of wood glue.

If you’ve got some exterior wood glue that would probably be preferable but I think any wood glue would probably be fine.
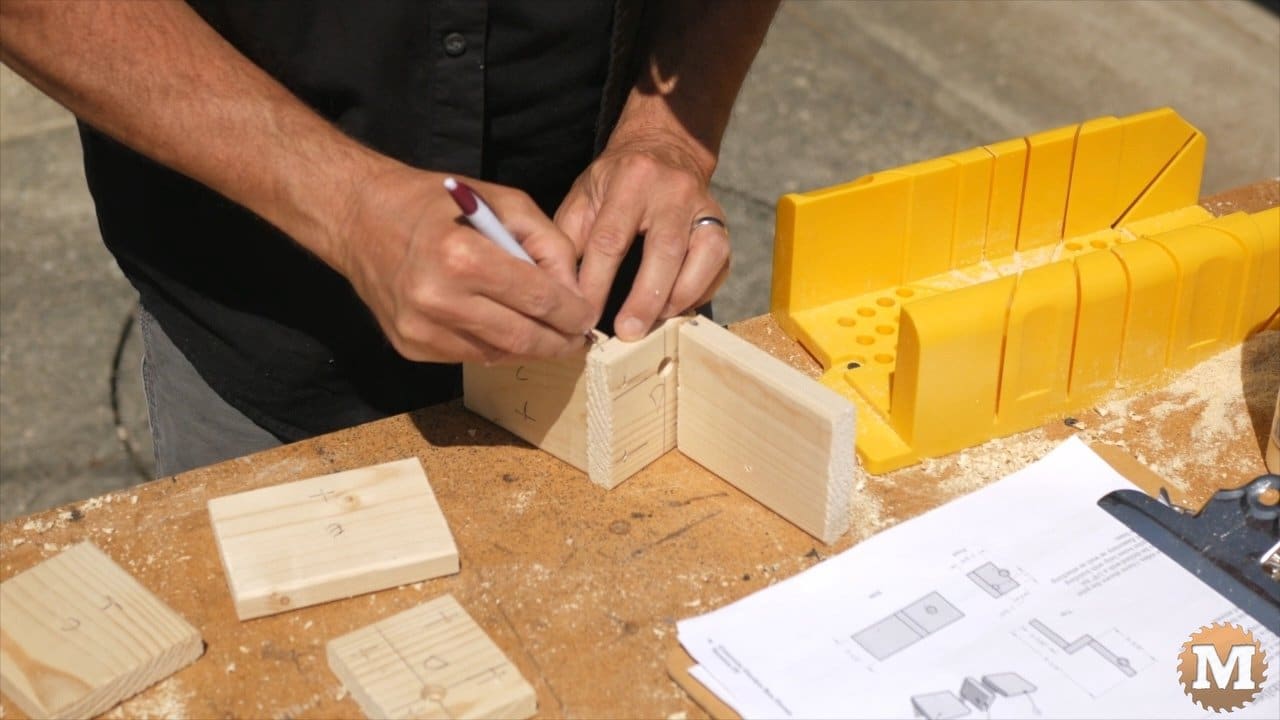
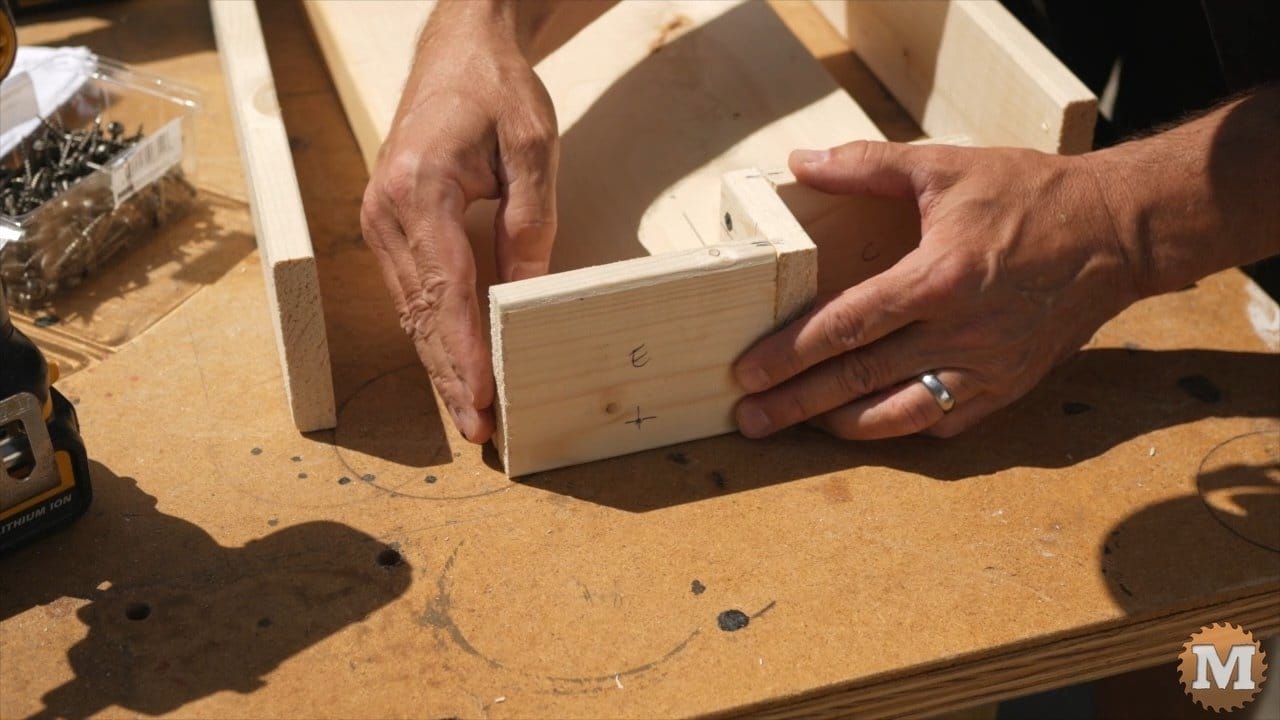
Use our miter box to help hold some of the pieces together. What I like to do is to just visualize how it’s going to go. So I’ve got my Part B here part and D there and then I’ve got my Part C like that and then what I like to do is where D and E meet I’m going to put two double lines like that and then where Part C and D meet I’m just going to put a single line across that so when I’m moving pieces around to put it together then it’s easy for me to figure out okay which piece was from where right so then I know that these two were meant to go together like this.
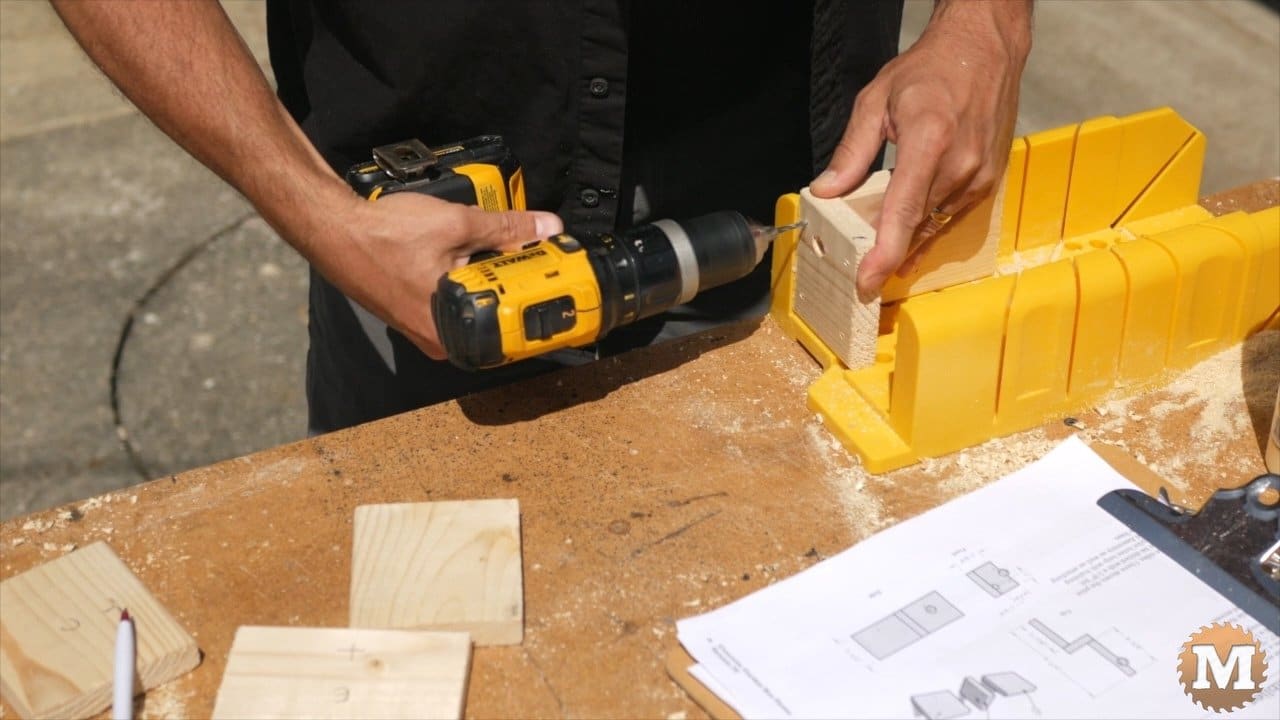
What I do is I’m going to hold those pieces and I’m going to use the miter box to help hold it square use my 1/8 bit and just go slightly in two part what is it part E you see just two little starter holes there and I can apply a little bit of wood glue.
Glue and Screws

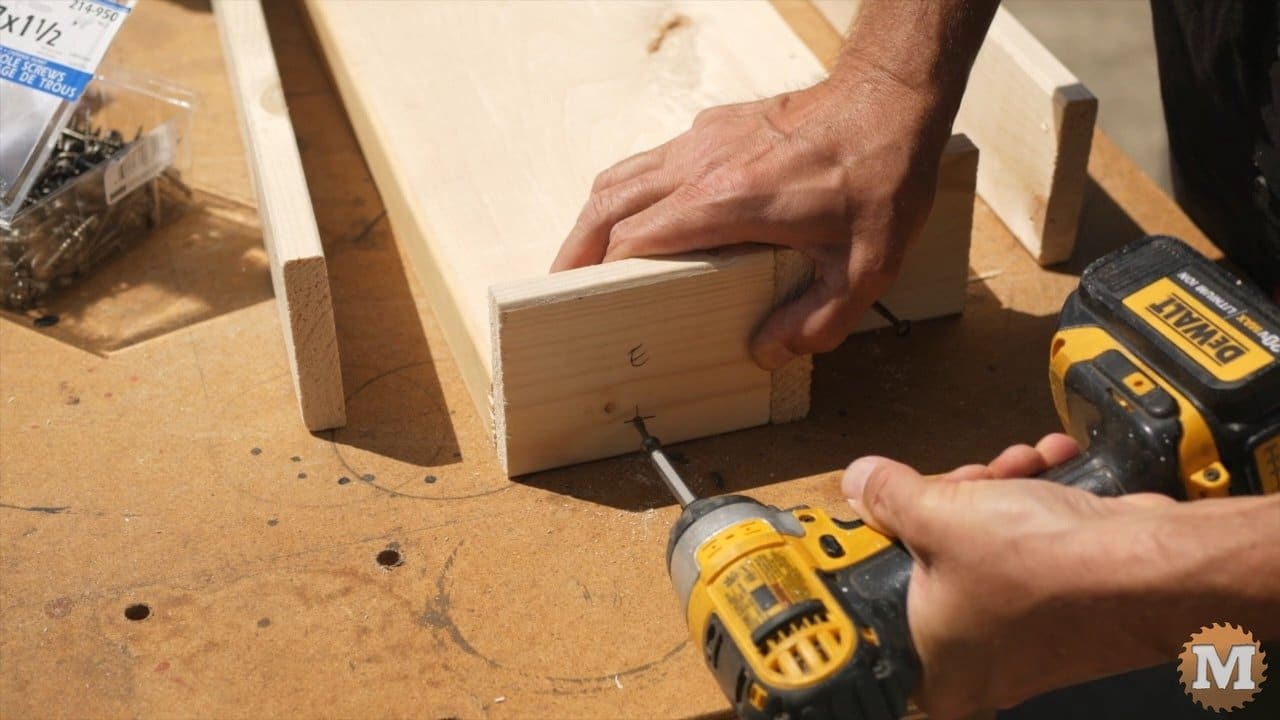
Again use these alignment marks to help me remember which way it went take a couple of these little drywall screws and just start them in the pilot holes from Part D.
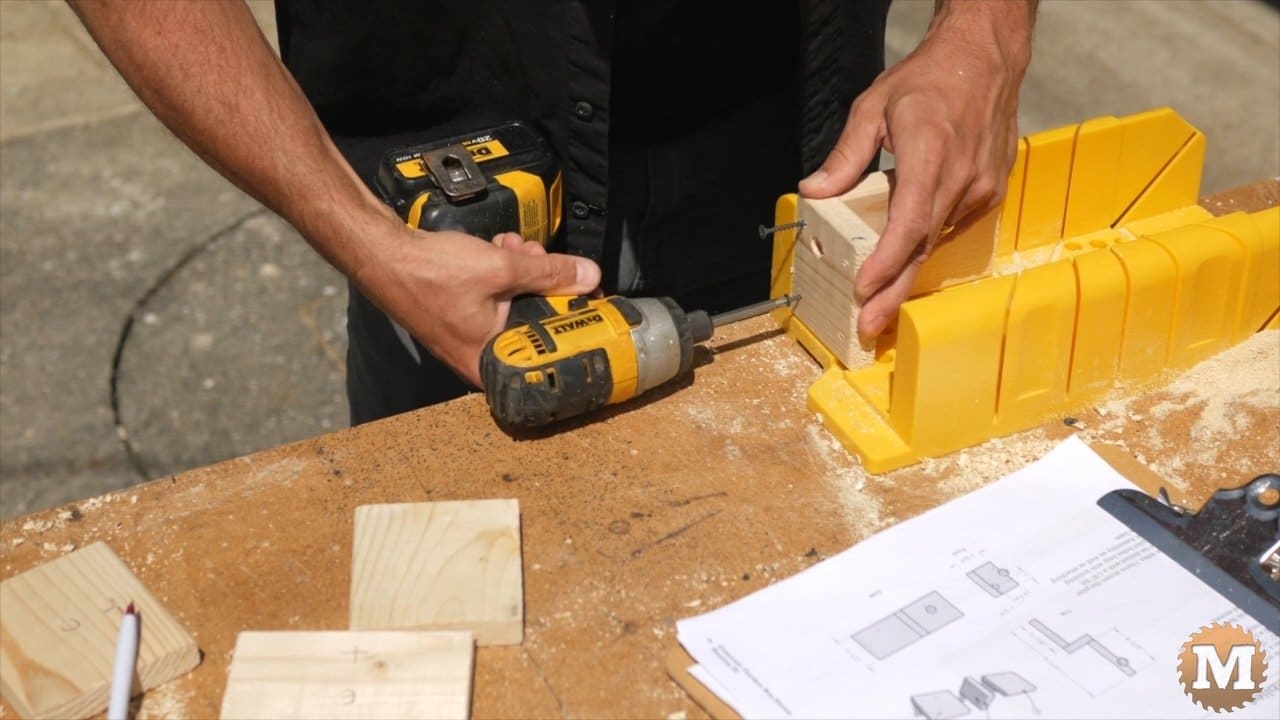
I’m going to snug those and then I’m gonna check with my fingers to see how this is aligned. It looks pretty good so then I’m going to snug them a little bit tighter by hand. Just so they’re flush with the surface.

Hand Tighten

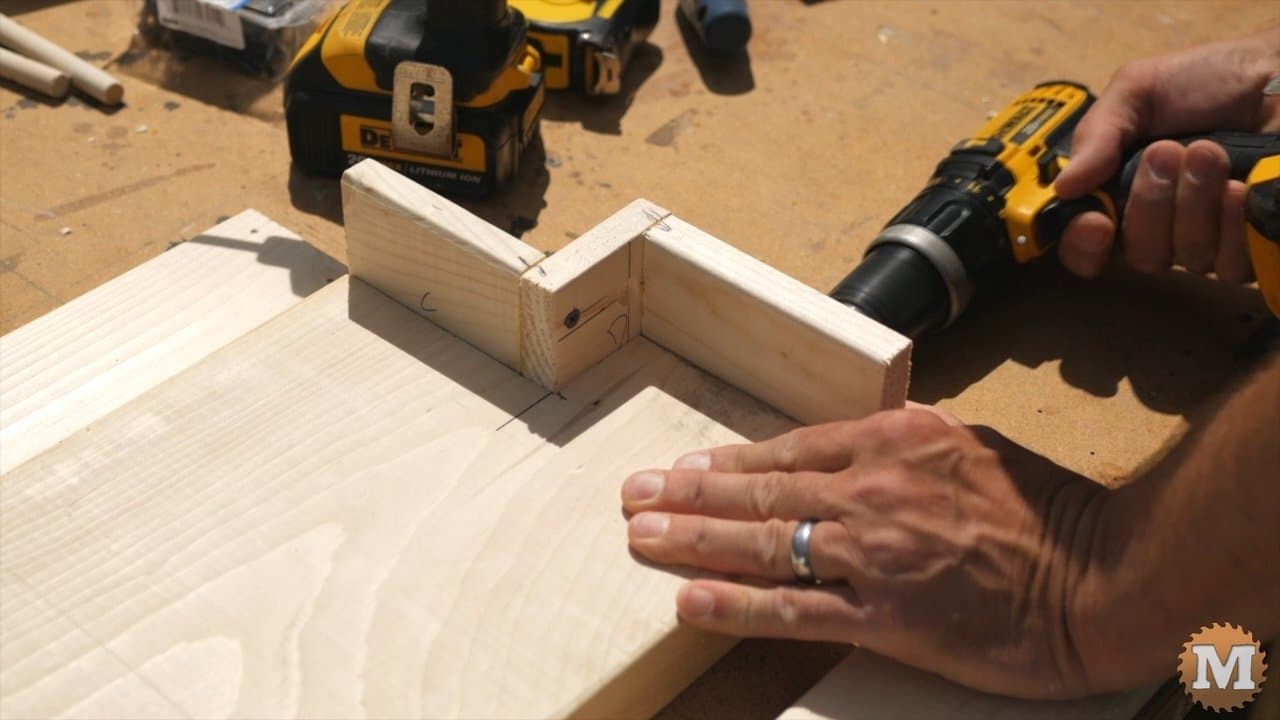
And then Part C is going to go like that so again to just hold it in place through the pilot holes into Part C and a little bit of wood glue.
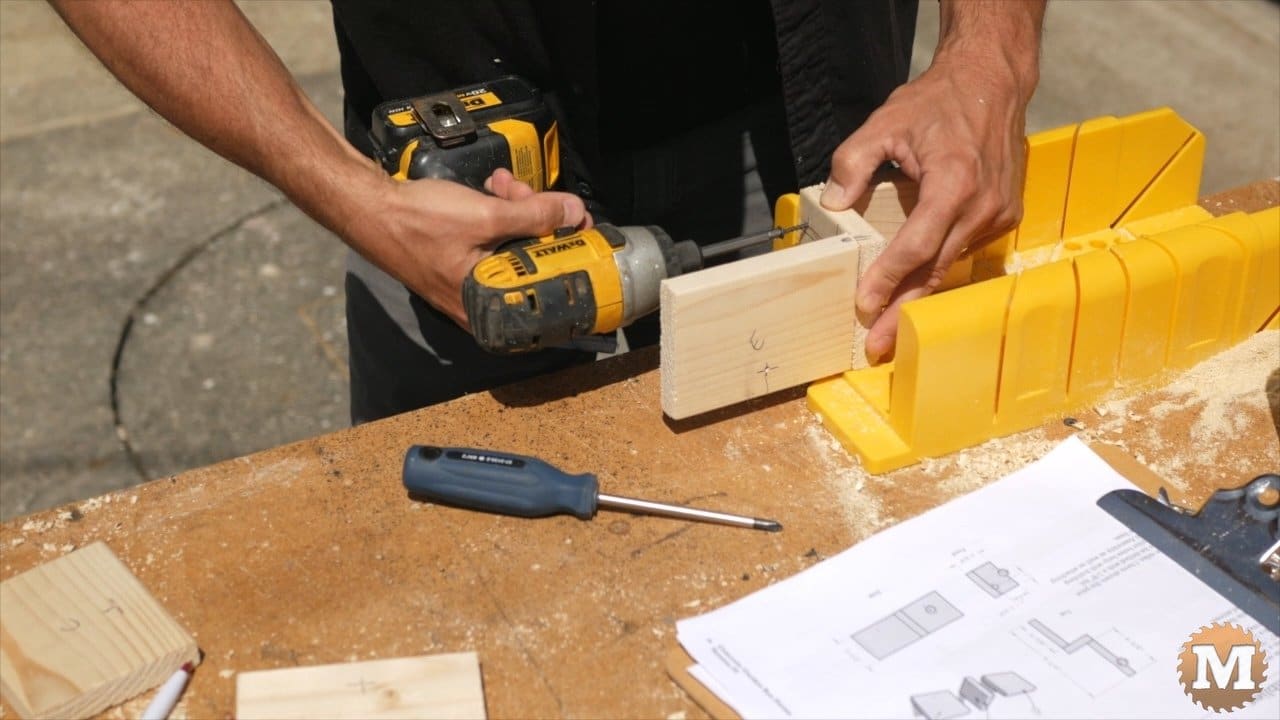
Set them back in place start the screws check for alignment here and then finish tightening by hand.
I like to do it by hand so then I can kind of get a feel if I’m starting to split any of the wood.
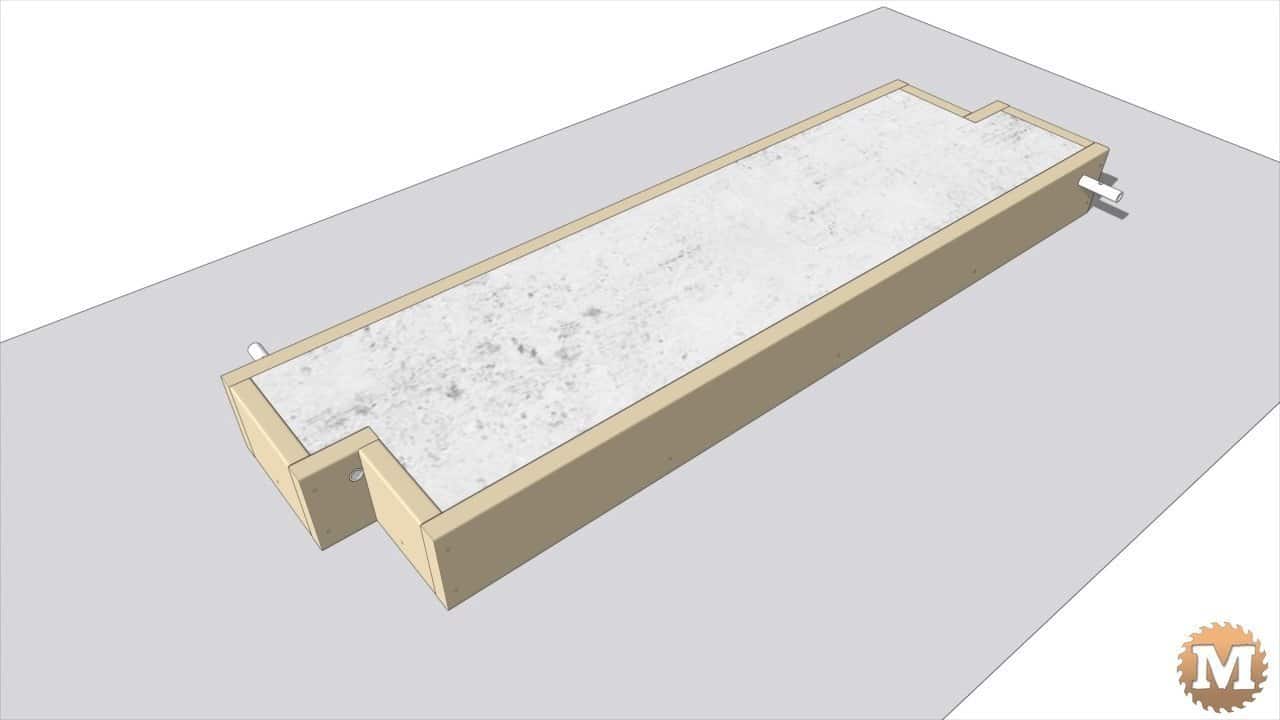
TEST FIT
All the main components are made now it’s time to test fit and assemble the form for the first time. We’re going to start with the ends.
(Disclaimer: As an Amazon Associate I earn from qualifying purchases. Thank you for helping to support my content this way. )
Set them in place basically you want to see how they fit and we want to make sure it doesn’t extend anywhere past here.
Make sure that it fits nicely in the corners as well.
Then we’re going to run screws in through these two sections right there. I’ll use pocket hole or flat head cabinet screws here. These are 1-1/2″. They’re #7 so we can just start those now we’ll go down to the other end to put the other end. Now test fit this other end see how it fits in the corner.
It doesn’t extend past here. This board must be slightly more than nine and a quarter. So we’ve got a little bit we’re gonna have a little bit of gap when this comes together in this corner but that’s no problem.

Okay I messed up these a little bit. I put D the wrong way around on both of these ends so the glue wasn’t completely set up so I just pulled the screws out, flip this around and put it back together.Now the holes line up properly.
Now let’s just attach the sidewalls, we need to line this edge up to here.

I’ll run in just one screw right now to hold this in place into these ends.

And some screws in here and do the same on this side starting at this edge here because I want these to line up.
We want to see if they can line up. Sometimes they’re a little bit tight and we need to open up this hole a little bit with the half-inch bit.

We’ll just make it a little bit bigger and then we’ll see how this fits.
This lines up pretty well but it’s a little bit snug so I’m going to do the same.
LABEL PARTS
Last thing to do is to label the parts so we can assemble it exactly the same again. This is my second form so it’s going to be labelled “B”.

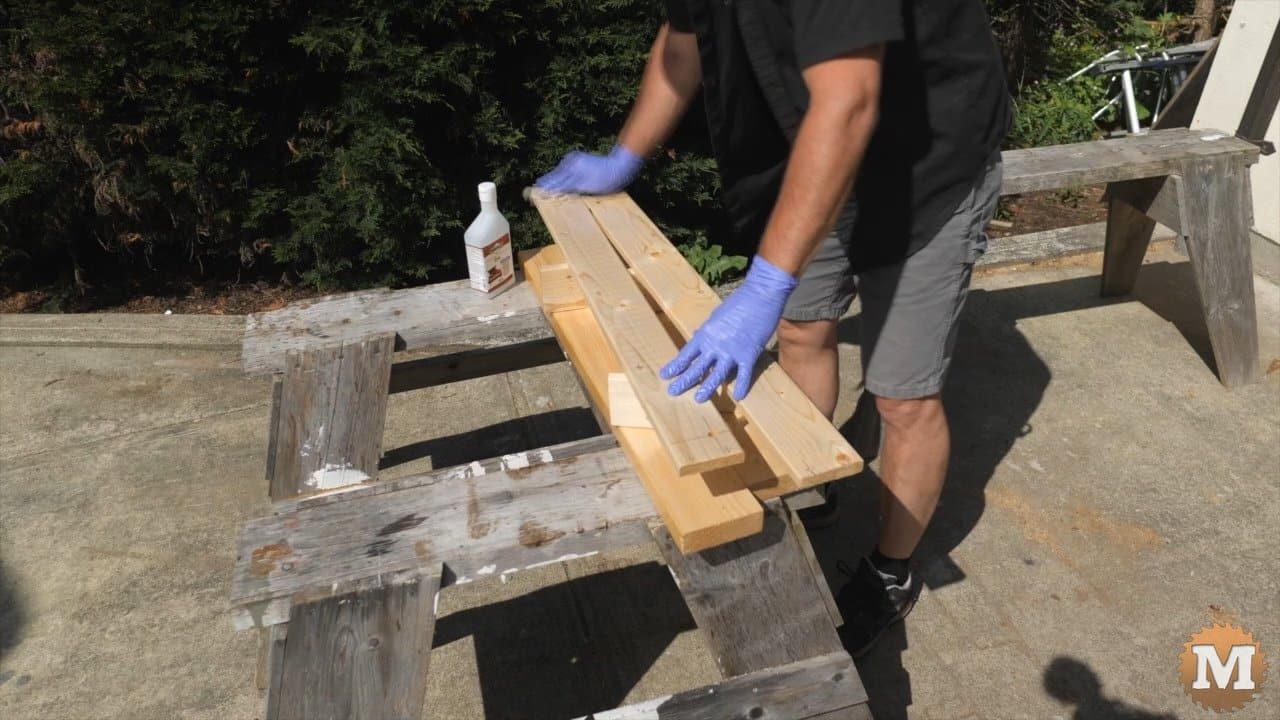
Apply MINERAL OIL
Now that we know that it fits well together we have all the parts labeled, looks like the holes are aligned properly now we’ll take it apart and coat it with mineral oil.
You can buy “Butcher’s Block” oil for these. Or straight food grade mineral oil a bit cheaper in pharmacies.

It’s very fast to apply. Just smear it on and let it soak in. Two coats will do.

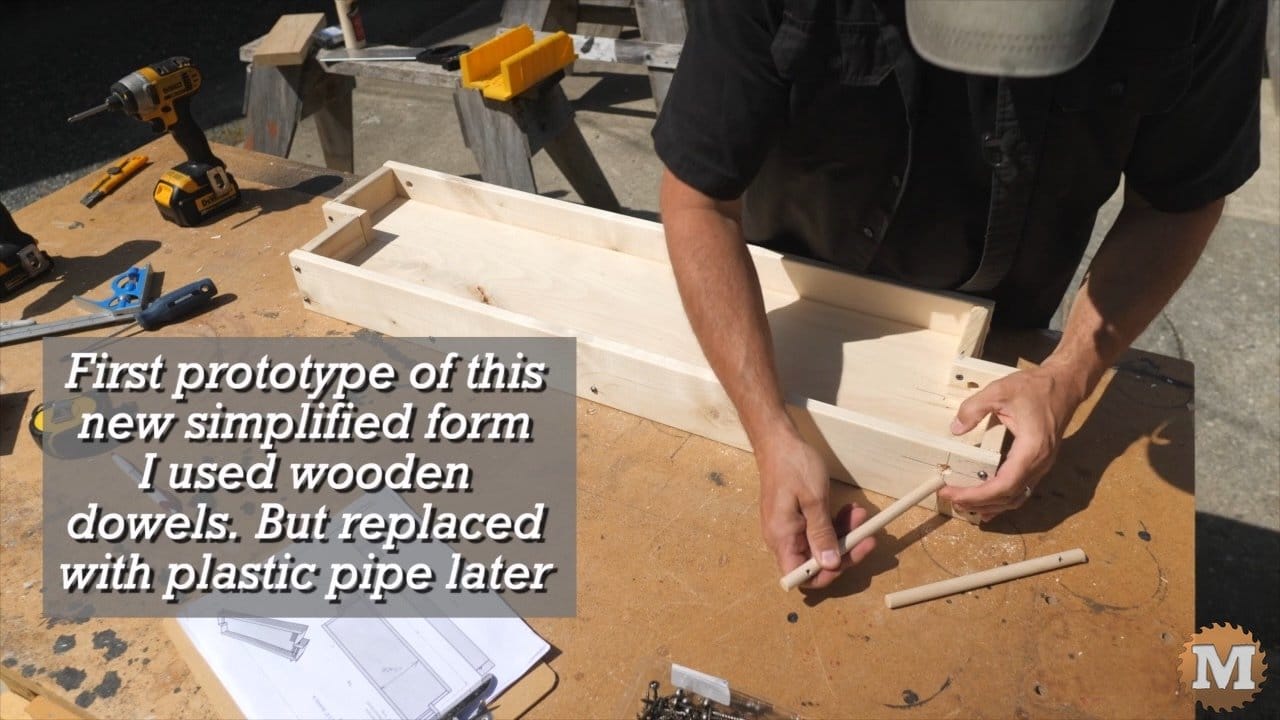
This is a continuation of my series on making these concrete garden box panels.
In the first video I made the forms from plywood. In the second I simplified the design to make the forms easier to build. In third video I cast the panels with lightweight concrete. And in Part 4 I made them thinner using CSA Concrete.
Cost Breakdown
The construction materials total is for making two 36″ forms
(1) 2×10 @ 8 ft = $8.75
(2) 1×4 @ 8 ft = $8.66
(1) 3/8″ water pipe @ 5 ft = $2.25
So for 1 form the total materials to build it is: $9.83
The additional materials to complete the forms
Wood Glue 16oz (473ml) $6.00
Latex Caulking small tube 5.5oz (162ml) $2.47
Mineral oil (Butcher’s Block Oil) 17oz (500ml) $15.00
PAM Cooking Spray 6oz (170g) $3.97
The glue, caulking, mineral oil, and cooking spray are enough for maybe 6 forms so I have estimated the cost for one form to be: $4.57
Concrete
(1) bag of any ready-mix concrete
I used 66lb (30kg) bags @ $6.08 each
This is more than required so there could be more savings to be had when pouring bigger batches. The Cement Dye I used was optional so not added here.
So, to make one panel the cost is $6.08
Minimum Tools Required
Woodworking Tools I used:
DeWalt 20V MAX Compact Drill/Driver set $200.00
Hammer $10.00
Miter Box & Saw Set $19.95
Hand Saw $20.00
Drill Block $13.00
Drill Bit Set $24.00
#2 Phillips Screwdriver $5.00
Sandpaper $5.00 (3 sheets)
12″ Combo Square $20.00
Framing Square $20.00
Small Spirit Level $2.97
Measuring Tape $6.00
Driver Bit Set $20.00
Wood or Rubber Mallet $8.00
Mixing Bin $7.68
There’s some real opportunities to save money on tools if you shop around. Or even to borrow some. And, there are cheaper drill/driver combo sets available that would work just fine.
Hardware
Drywall Screws #6 1-5/8″ $4.45 (100 pieces)
Pan Head Screws #7 1-1/2″ $8.91 (250)
Galvanized Framing Spikes 12″ $0.99 each
So I hope you have enjoyed this post, and thank you so much for reading. If I make any further improvements or changes I’ll post them here.
And, while you are here, please hit the Support Link to help us make more projects and videos like this. We really appreciate anything you can do to help us out!

