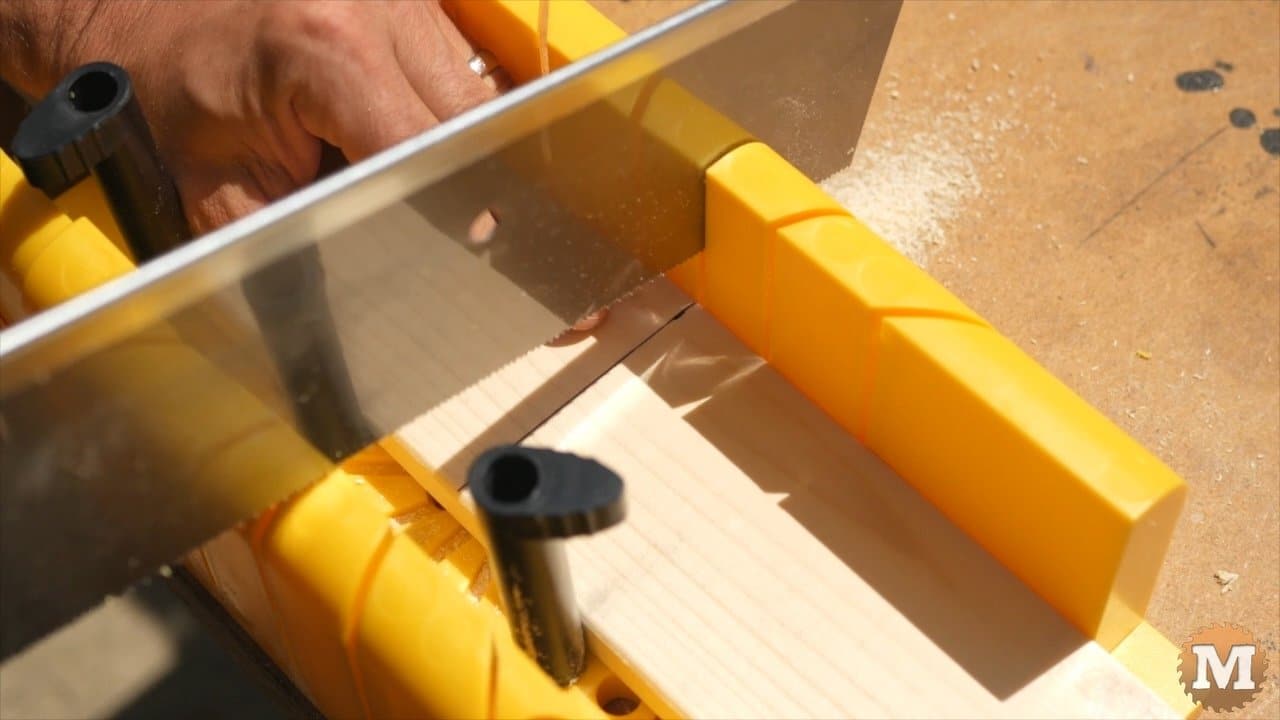
Sawing the Form Base
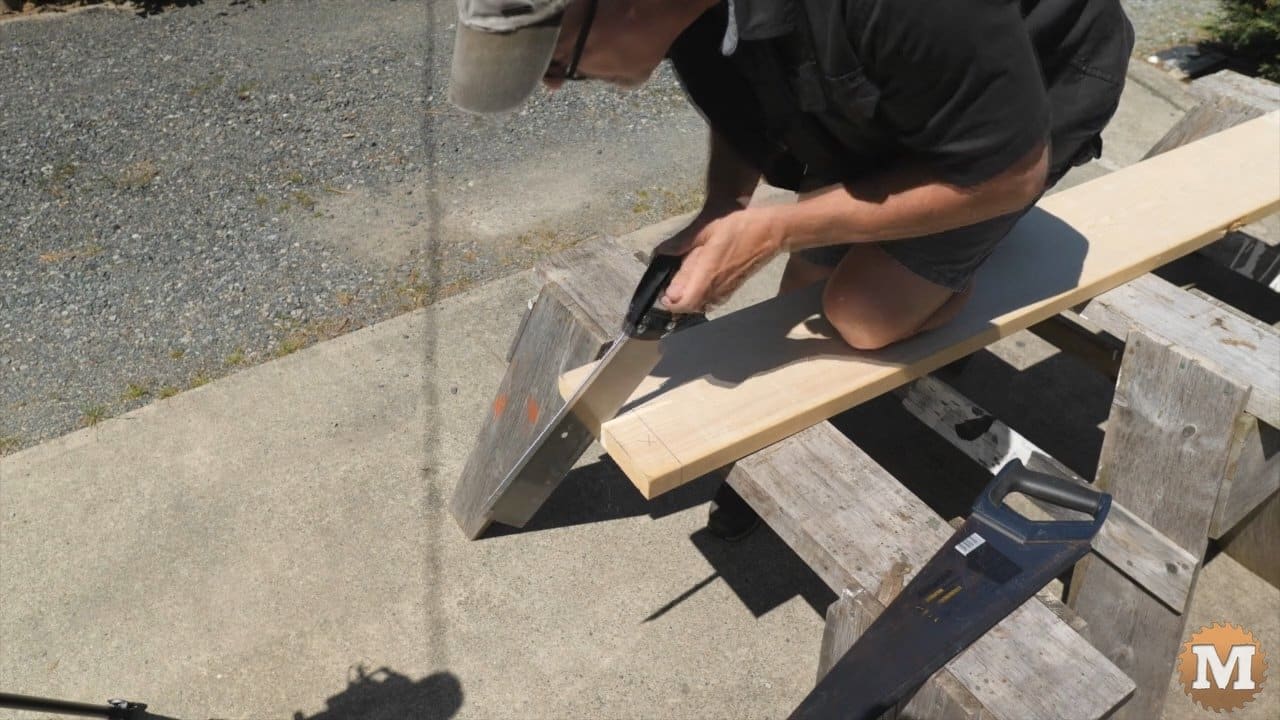
I use the fine miter saw to make the first cut two inches in from the end of the board. Part way through these cuts you can stop and turn the board over to see how you’re doing. And to make some adjustments as you go.
I’ll start the other cut with my miter saw it has a stiffer blade and it’s easier to get off to a good start with.
The 36 inch panel I believe is the most versatile size for a garden bed but, you can make the panel’s any length you like. The concrete raised garden beds can be any size you want.

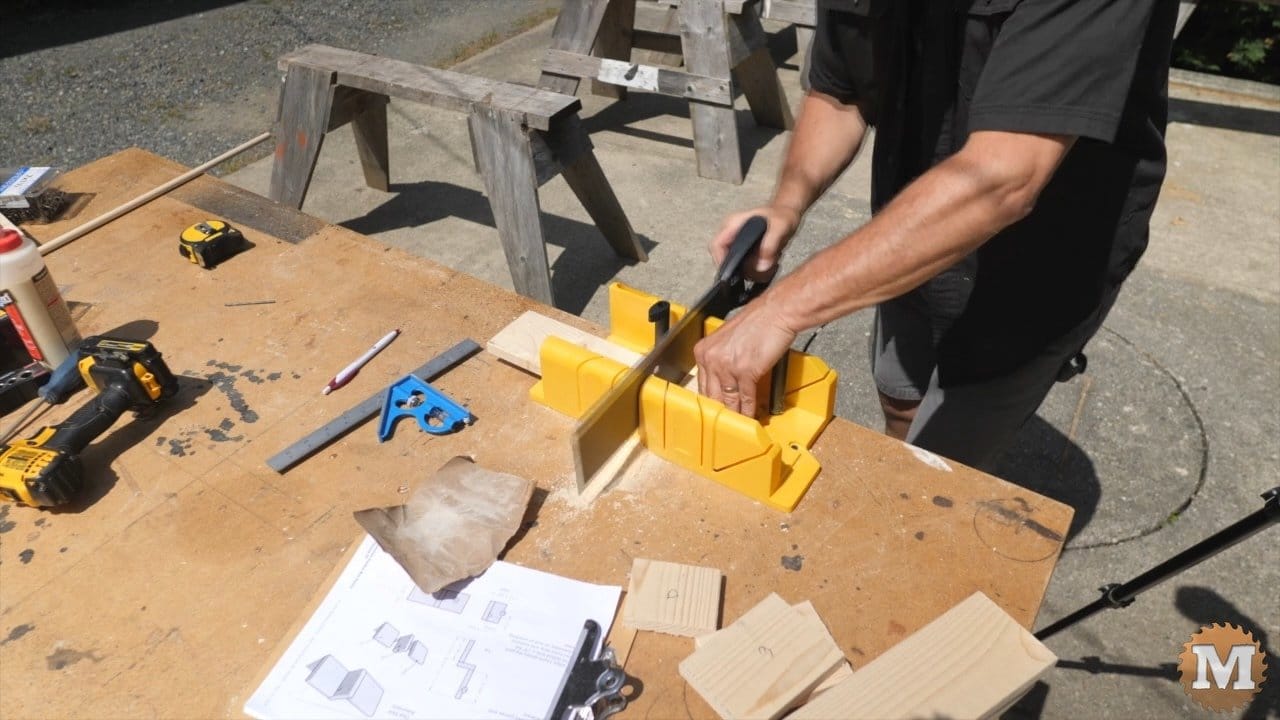
With the larger handsaw I finished the cut to remove this corner.
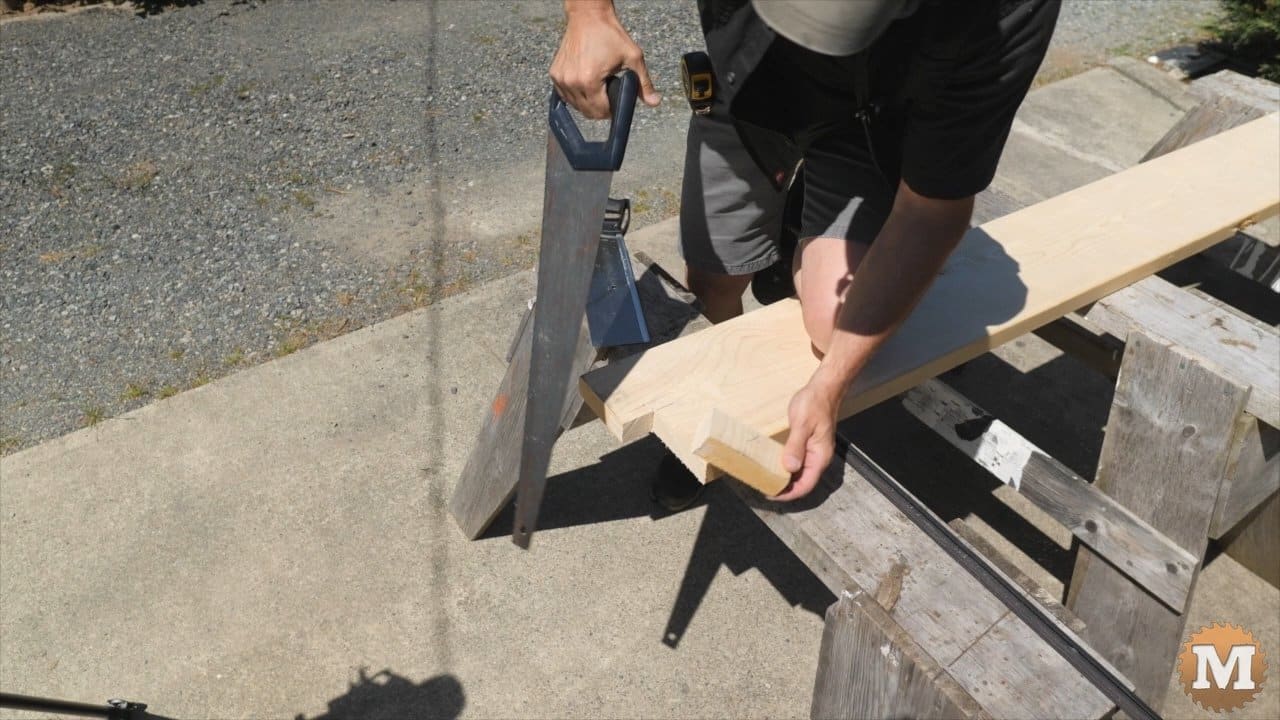
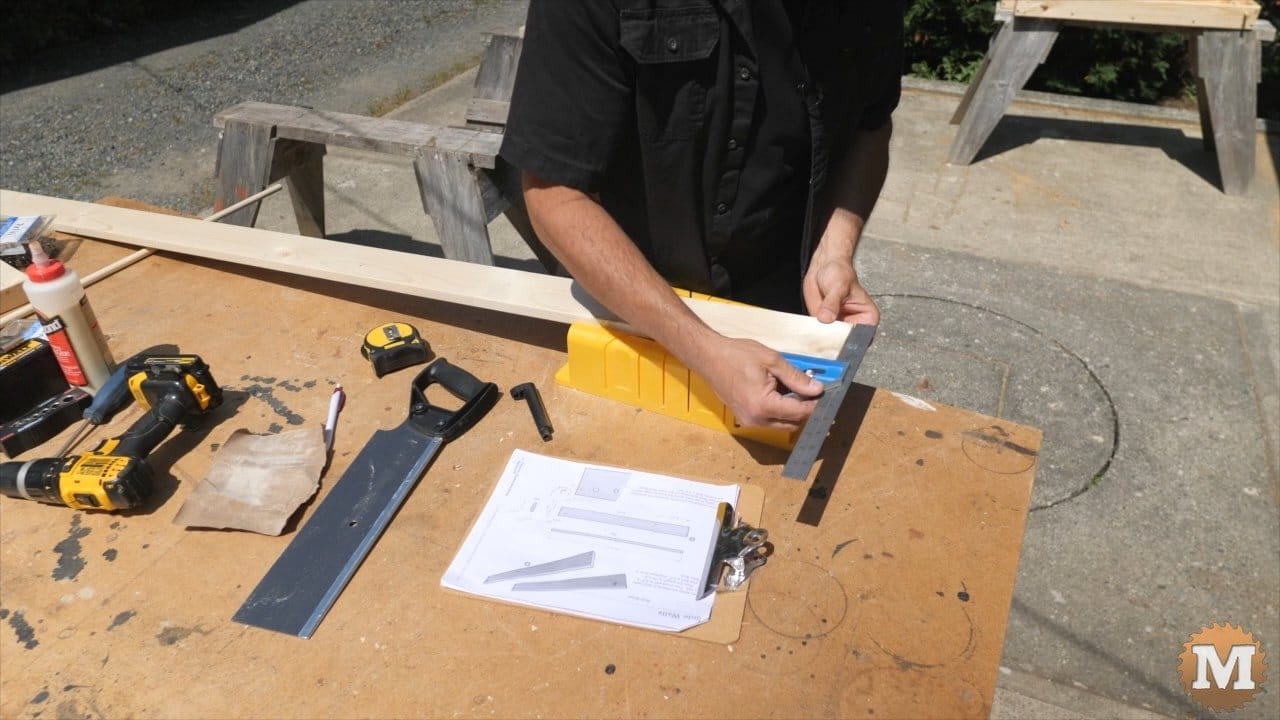
I checked these cuts with my square. And they looked okay.
Checking for Square

Next, I’ll measure 36 inches from the end and mark around the board with pen and square.

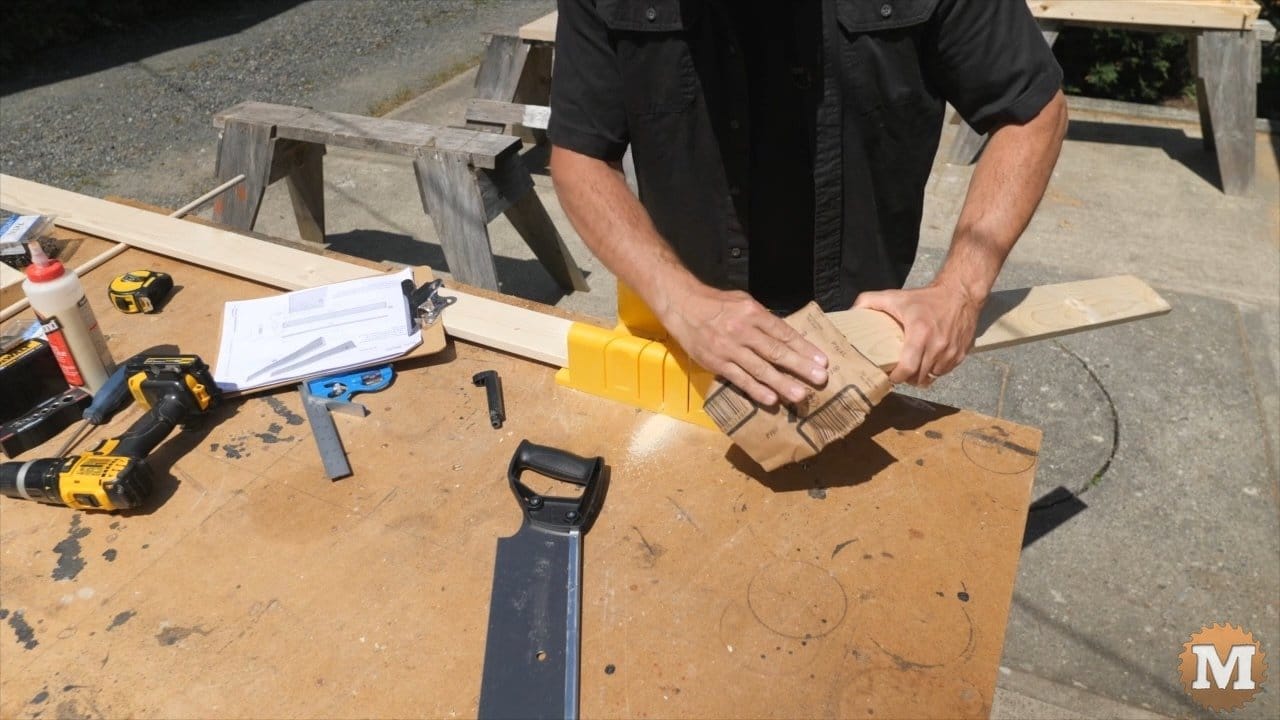
I marked this side of the board as the “bottom” then cut the board along this line. Then mark the cutout on the opposite corner.
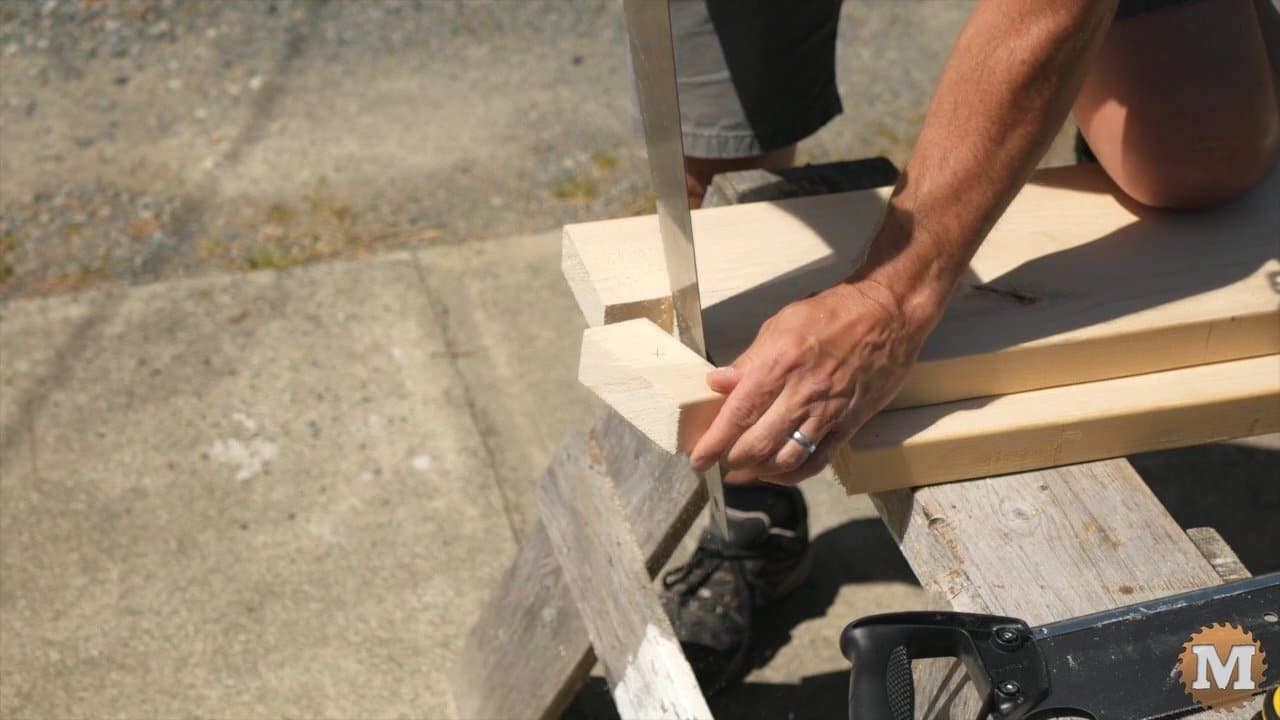
And as before, make these two cuts. I checked these cuts with the square and use some medium grit sandpaper, wrapped around a block of wood, to fix any cuts that were not so straight or square. Don’t over worry much, just try to follow your lines as best you can.
Make the SIDES – Form for concrete raised garden beds
Now that we have the base done we’re gonna cut the sidewalls from an 8-foot one by four, and here’s what we need to do that.
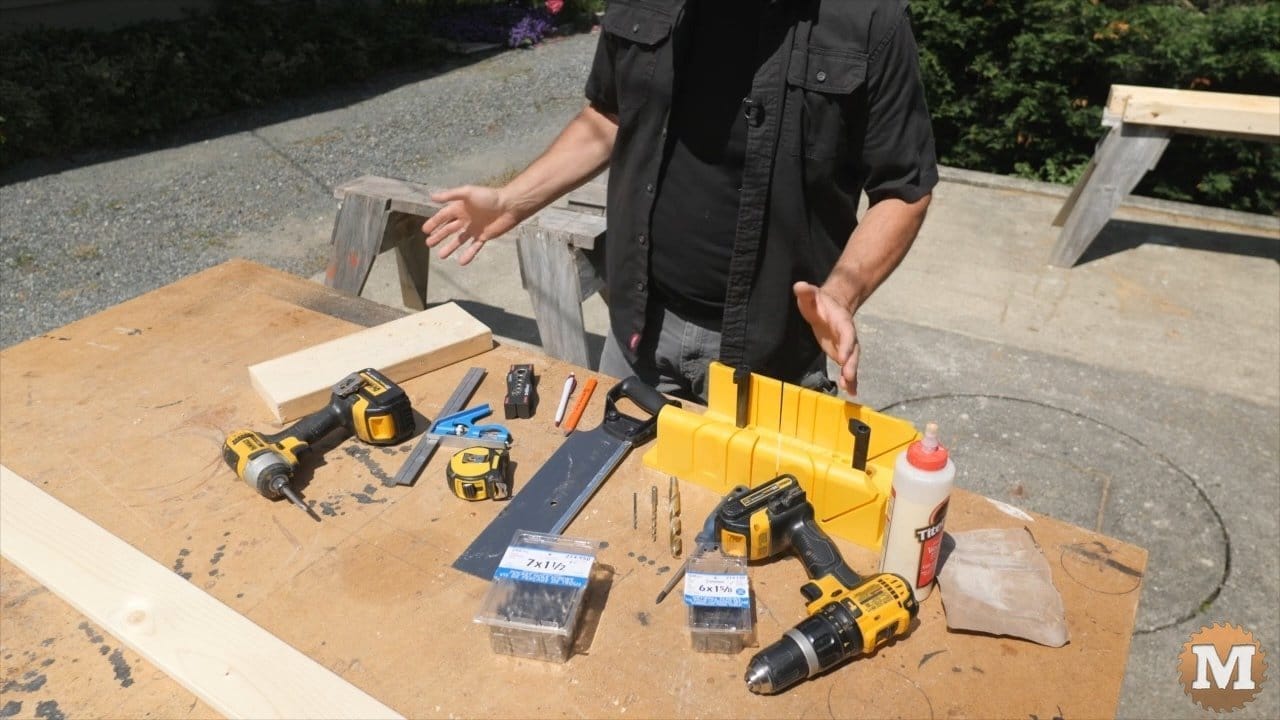
A miter box and a miter saw, a drill, and if you have one a driver (but a drill is probably all you need), Phillips screwdriver, three drill bits: 1/2″, 3/16″, 1/8″, some wood glue, and a bit of medium to coarse sandpaper. Two sizes of screws: drywall screws: #6 1-5/8″ and a #7 1-1/2″ pocket, or cabinet screws, flathead. And we’re going to use a tape measure, a square, a drill block, a pen or pencil, and a scrap piece of wood.
From the concrete raised garden beds plans we’re gonna make all the cuts for the side walls and for the end assembly pieces. We’ll need two of each. What I want to do is with my miter saw screwed to the workbench, I’ll check the end of this 1 x 4 to see if it is square.
If it’s square then I can use that end.
(Disclaimer: As an Amazon Associate I earn from qualifying purchases. Thank you for helping to support my content this way. )

I’ll mark the first cuts. Both the side walls are 35 1/2″ and I’m going to mark and cut one at a time.
This particular miter box has these little pegs here to help hold the workpiece while I’m cutting. Which is kind of handy. I know it’s a little bit of a flimsy box but for this type of project it’ll do just fine.
I marked my line 35-1/2″ and I want to cut on the right side of that line. And then what I’ve been doing just a little bit of a little sandpaper you have that on a sanding block that works for you.
That’s the first and then we’ll take another 35-1/2″ and then we’ll have our side walls for our first form.
Cut END ASSEMBLY pieces
Then it’s a matter of taking what’s left from the 1×4 and cutting the parts for making up the end assembly. So there would be six parts altogether.
Drill HOLES in SIDES and ENDS
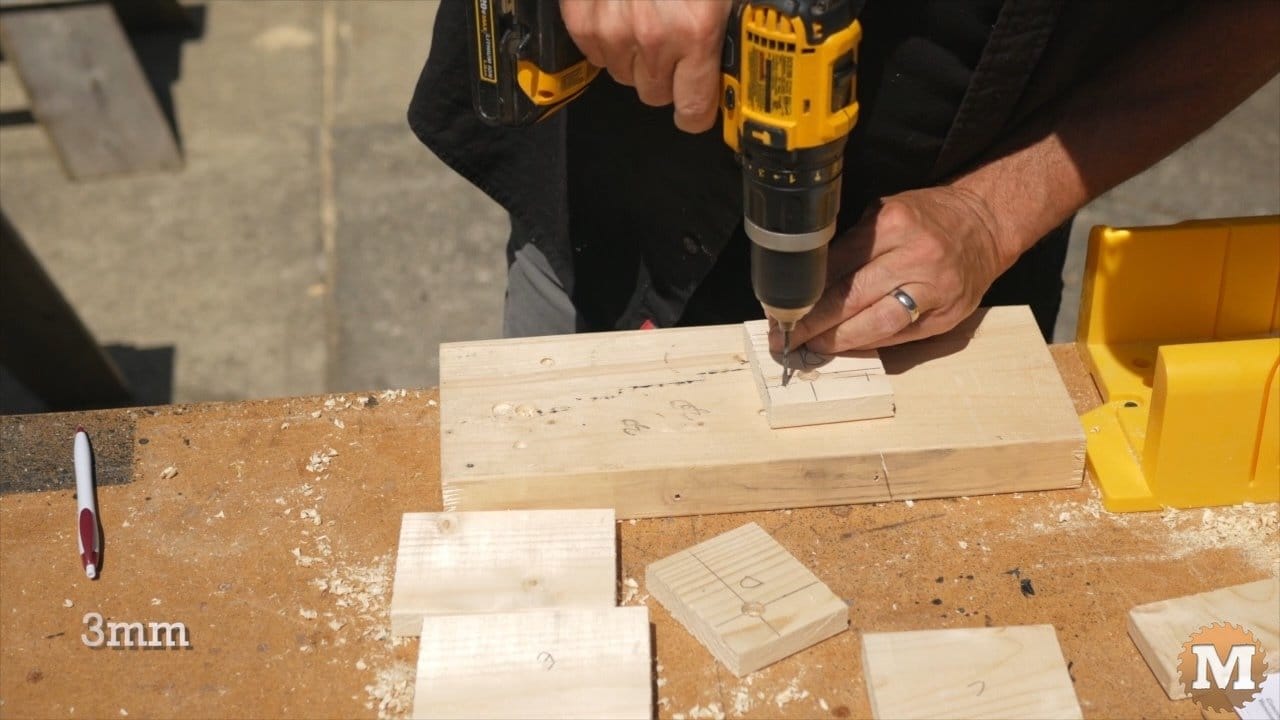
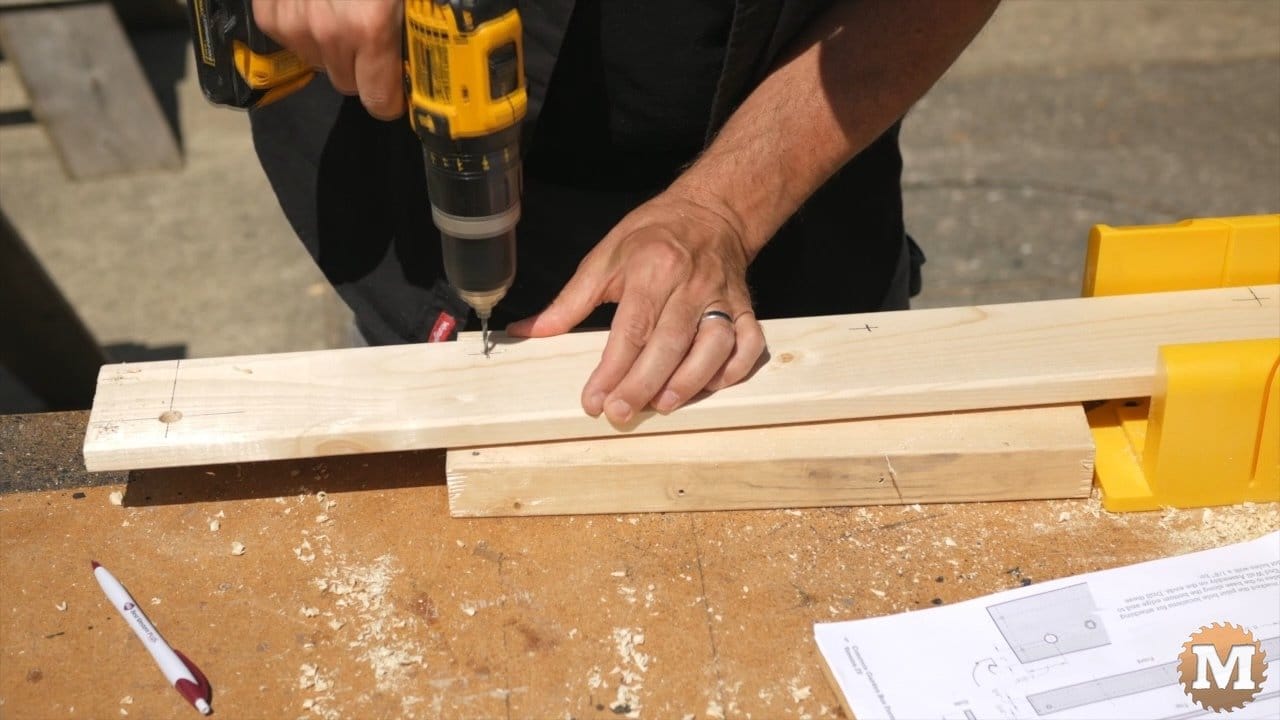
Now we’re going to drill the holes for the dowels(pipes) in parts D and in the end walls so the first thing to do is lay those out with the measurements.
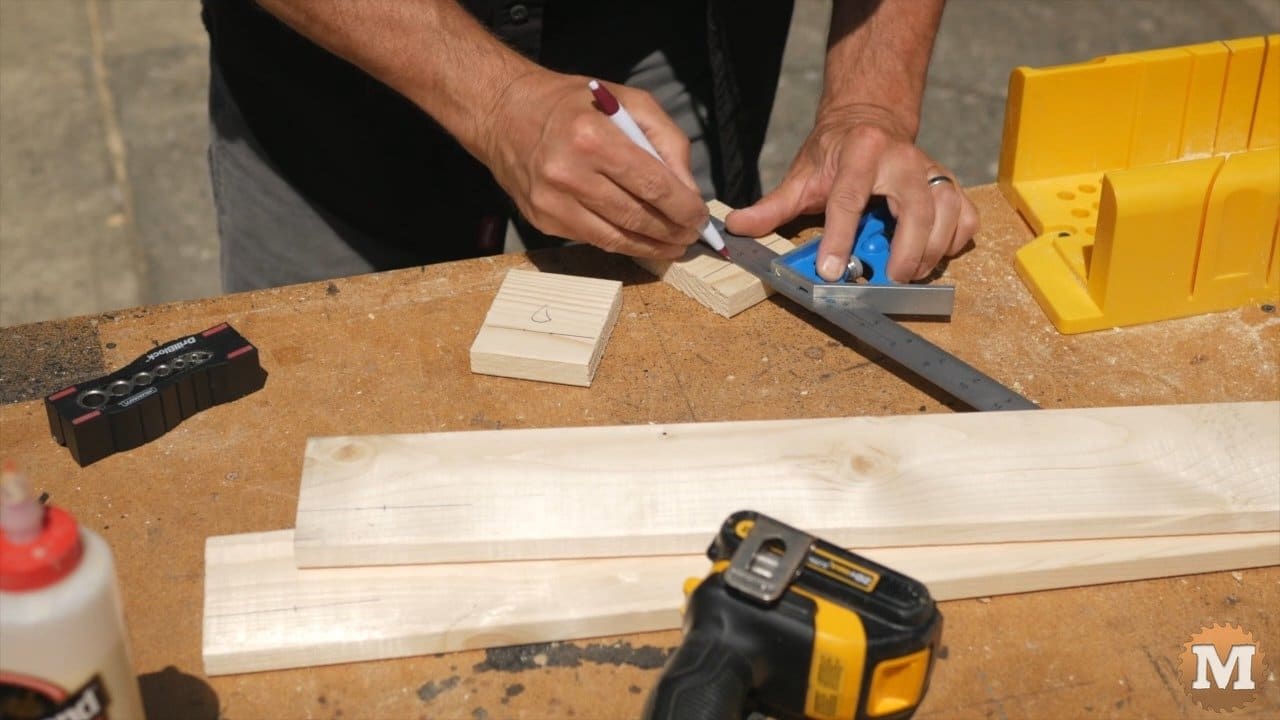
We know that we’re coming down one inch and then on the D parts one and three-quarters in on the sidewalls. Also one and three quarters from the other end.
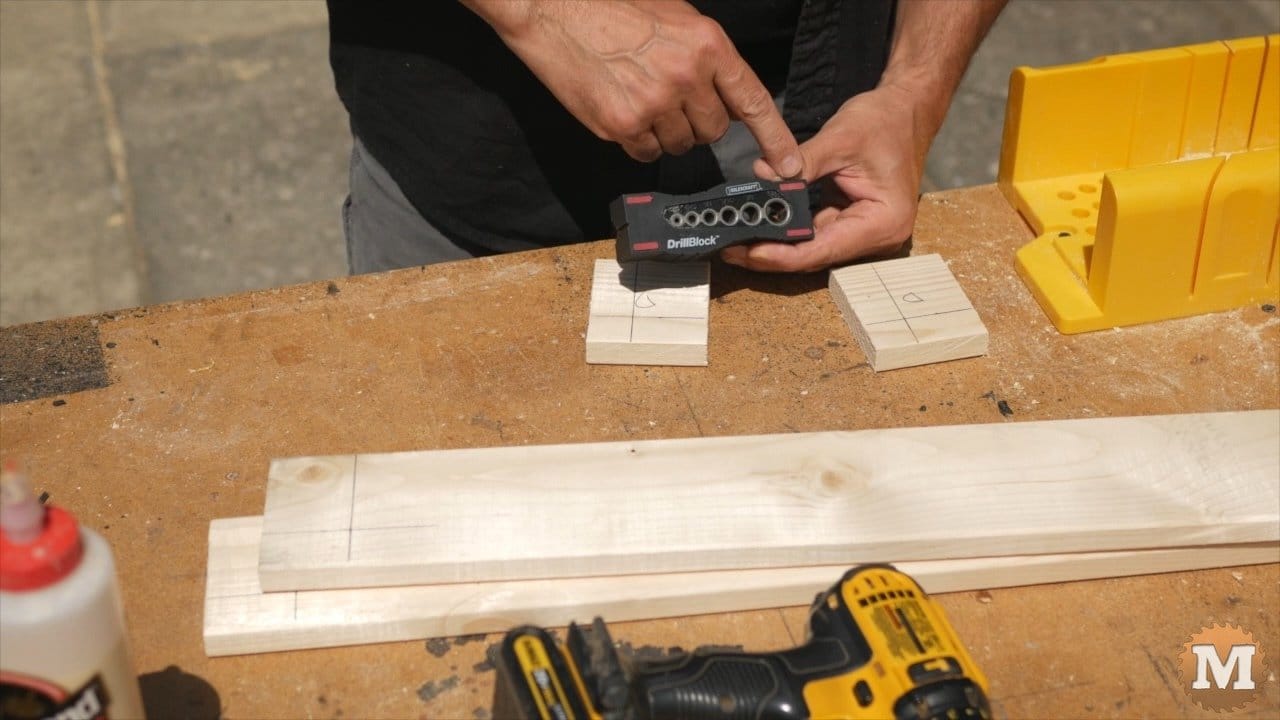
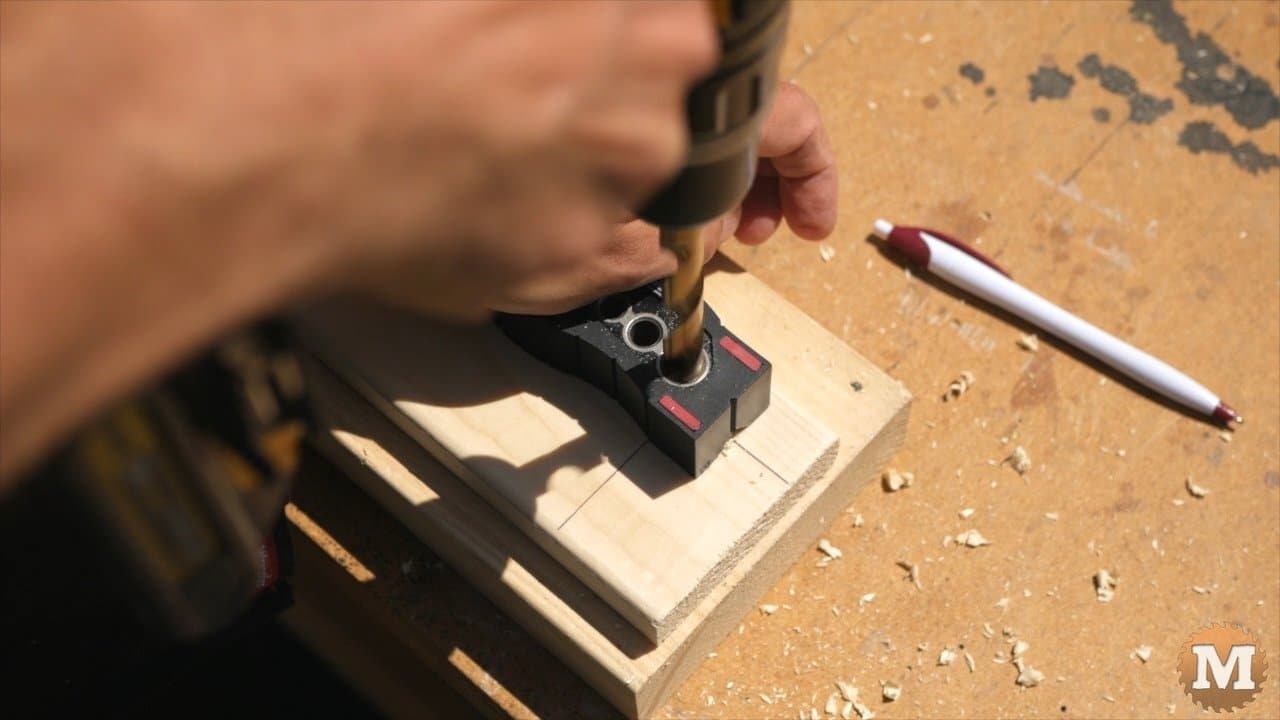
This is going to be a half inch hole I’ve got a half inch bit in my drill.
And the little drill block that I have by Milescraft this is really handy. This is basically replacing a drill press for us.
It has holes going from 1/2″ down to 1/8″ which is perfect for us. And also it has these small alignment grooves that’ll help us position our drill block exactly where we need it to drill exactly in the center of that hole.
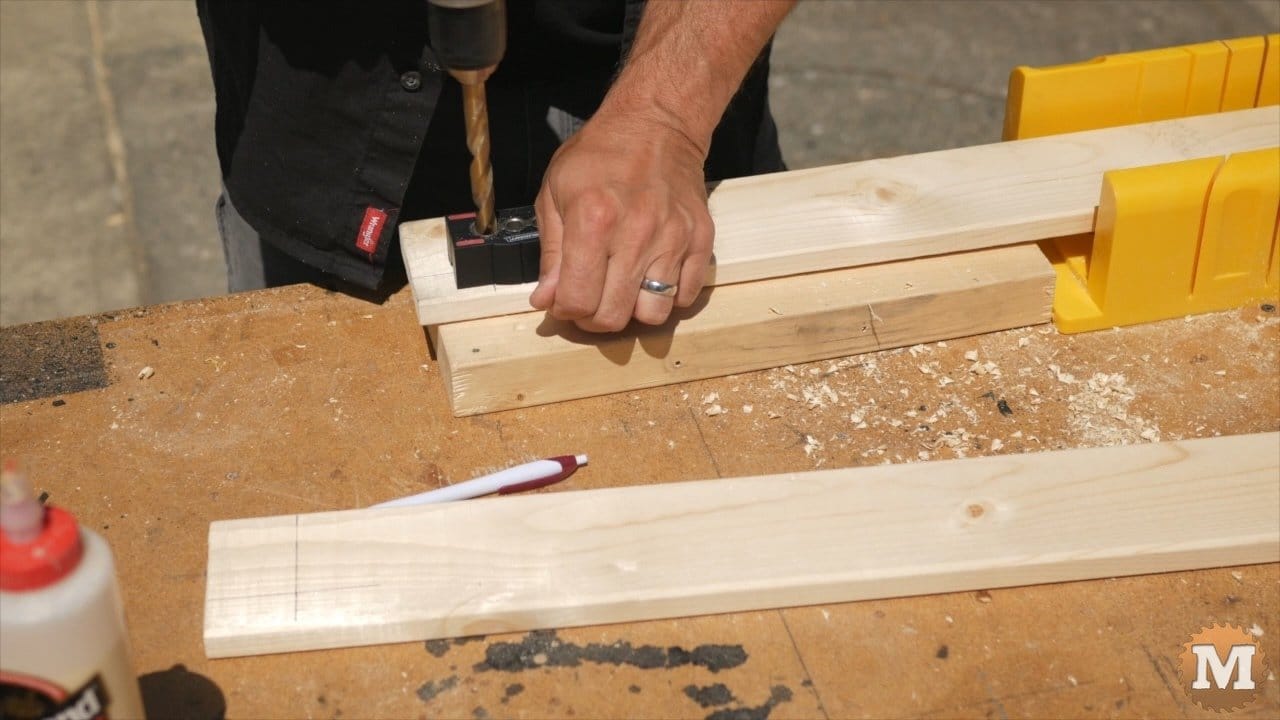
So I don’t drill into my workbench, I’ve got a scrap piece of lumber for this. I just kind of sight down that and basically just hold it in place and go nice and easy.
Drill assembly PILOT HOLES
Now I’m going to lay out the locations of the pilot holes to make up the end wall assembly as well as where they will attach to the base.
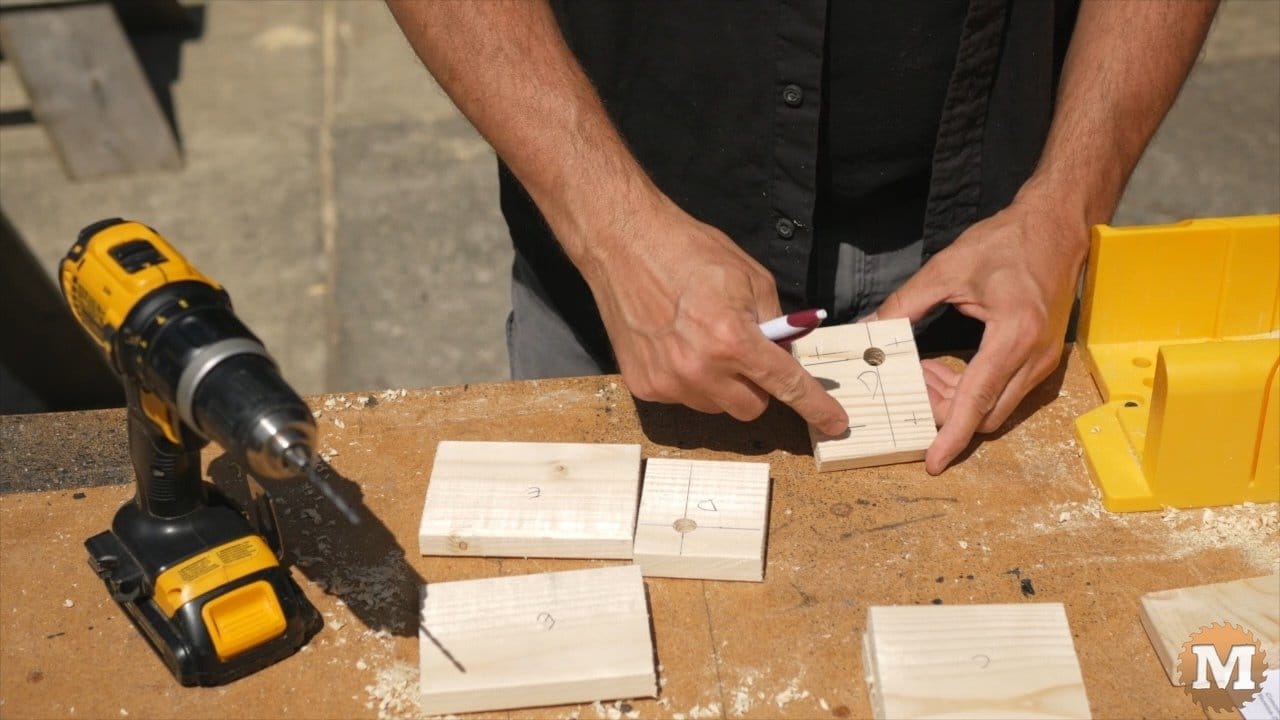
So let’s start with Part D and I know that D I’m going to come in a 3/8 of an inch down the side and 3/4 of an inch from the top and the bottom.
I can set this ahead of time to my 3/8 mark and then I can use this a scrap piece here as a 3/4 inch marker for parts D here so I know I’m going to be coming down on D 3/4 of an inch and 3/4 of an inch up from the bottom and then D’s going to attach on this side 3/8 in.
I have the spots marked for the pilot holes because D is going to go together with Part C and II like to make an end wall assembly like this so I’m going to need to drill pilot holes to go through this direction as well as pilot holes for screws that are coming in this direction here so it’s a matter of just laying out those holes.
And with 1/8 bit just drill in the pilot holes. Now the drill block also has a 1/8 inch guide here but I think for this size a hole and what it’s doing here just free-handing these would be fine.
So that’s going to put the screw right in the center of the other piece.
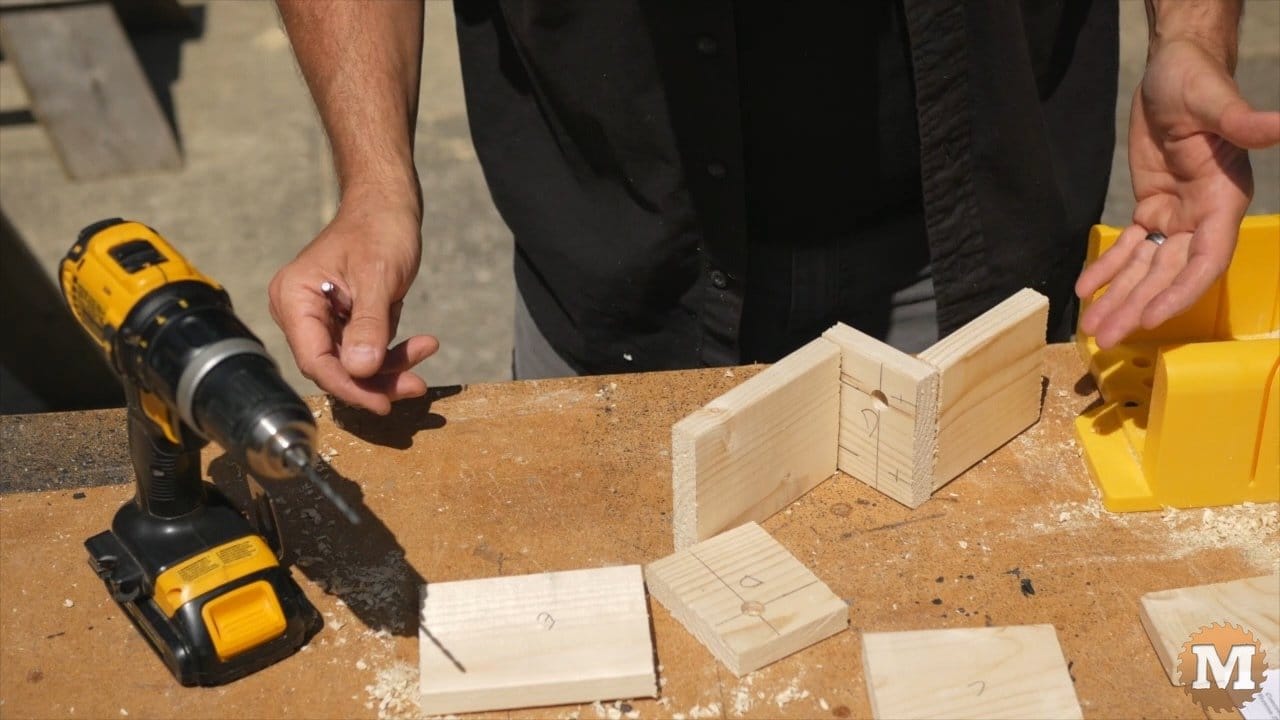
All right so that’s D and then with let’s say Part E when I look at that one I only have one that I need to worry about and it’s the screw that’s going to hold it through the bottom wall into a piece like this which would be the base and that one is 3/4 inch up from the bottom. And somewhere in the center the pilot hole for each.
Now I’ll do the pilot holes for the sidewalls and 3/8 in from the sides. Okay and we’ll do the same with the other side wall.

