Test the System
The pump is wired to the fuse block and to the switch so now it’s time for the first test. I turn on the ball valve on the tank and flip the toggle switch.
And the system works! It is really nice when it works the first time.
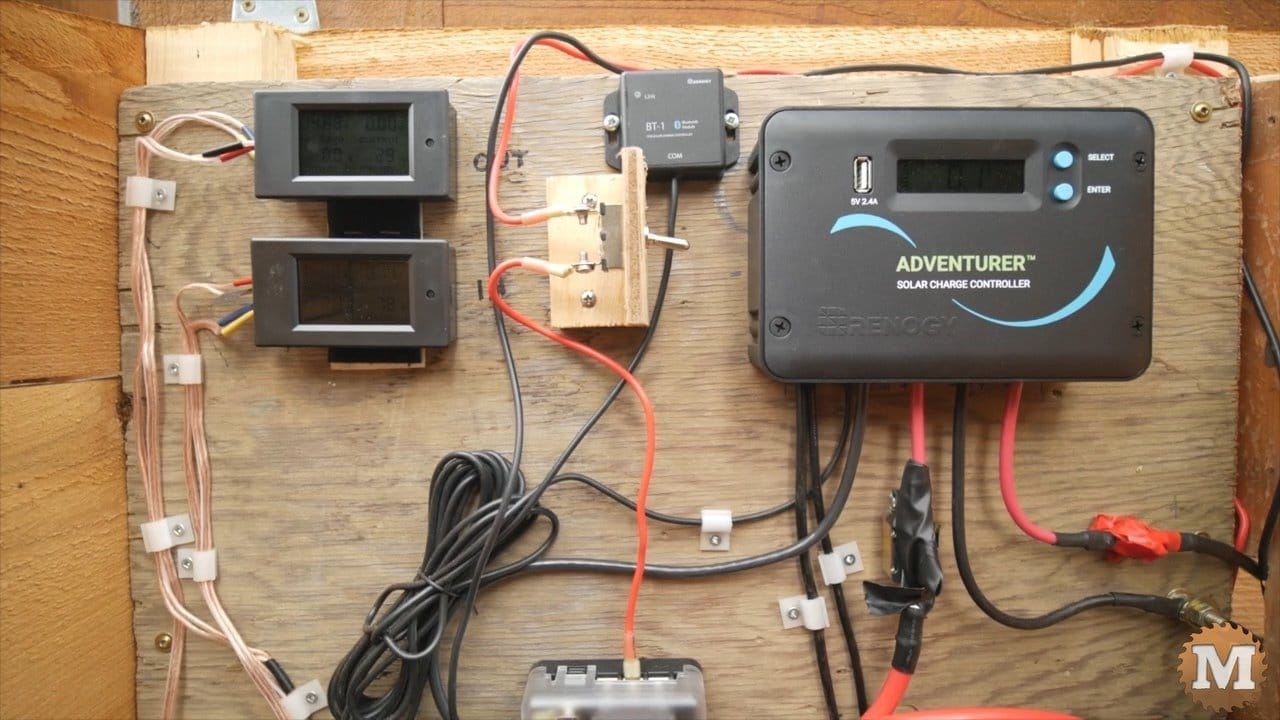
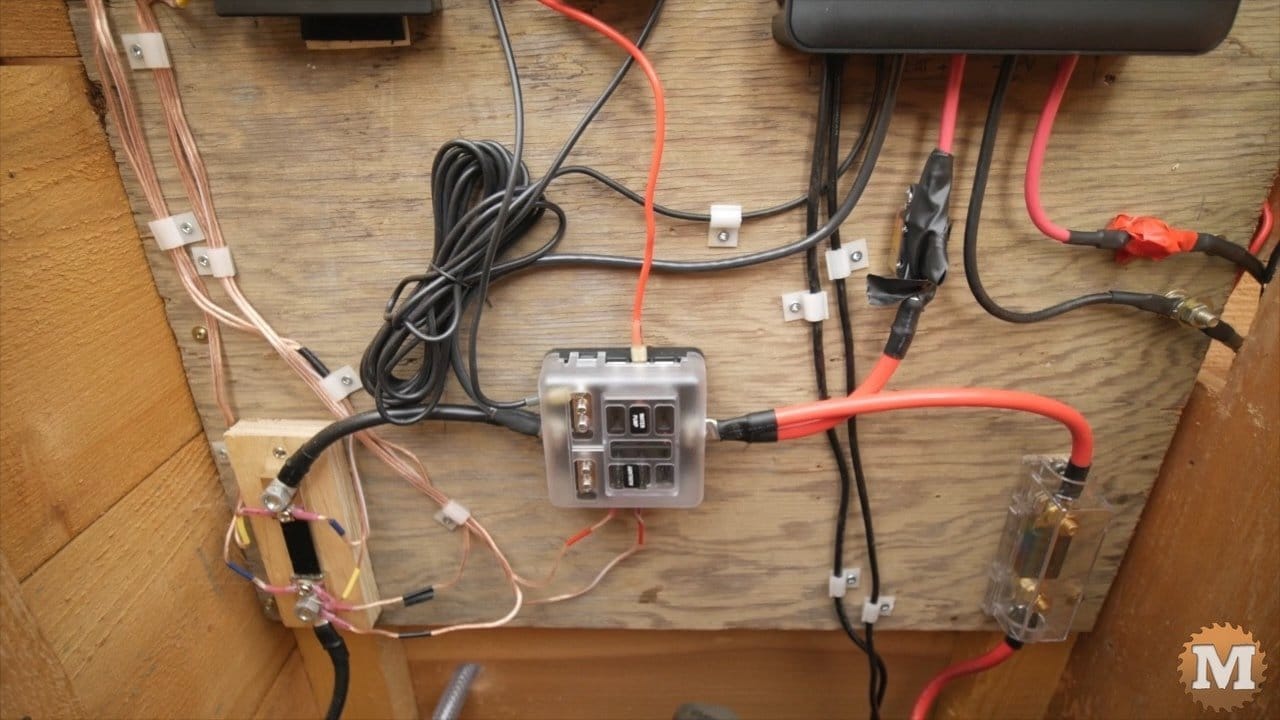
Complete Solar Board
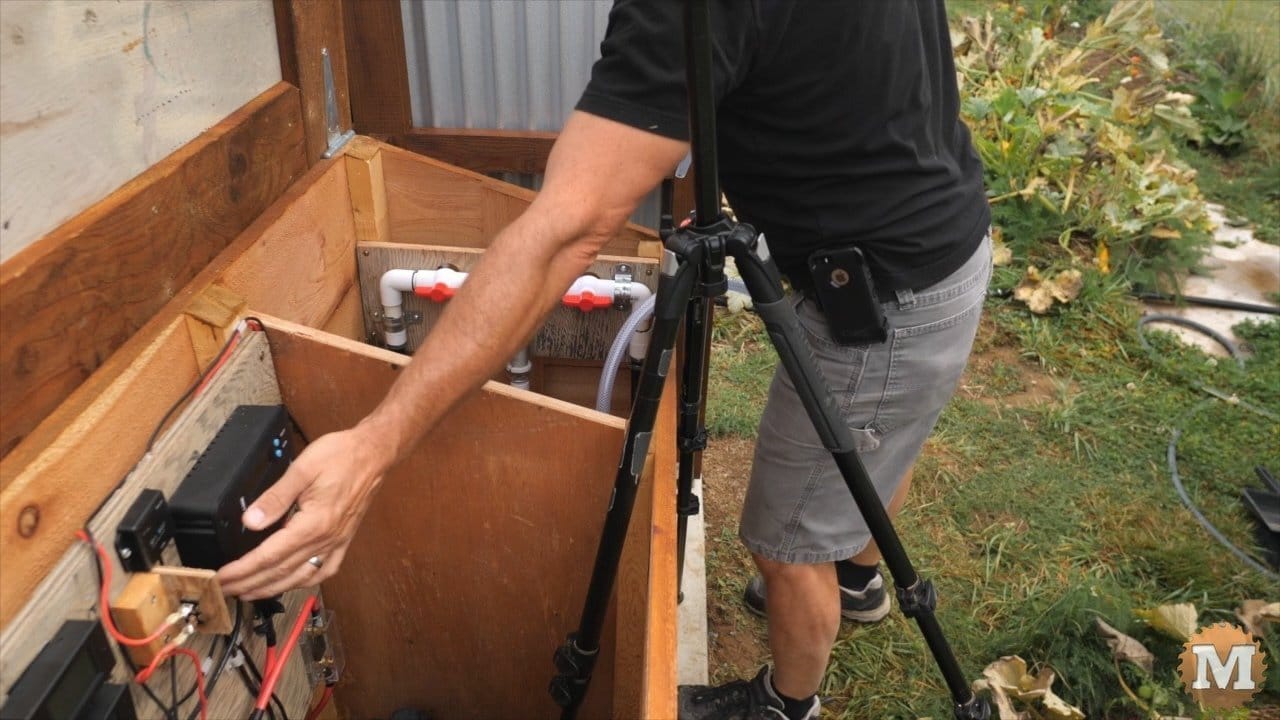
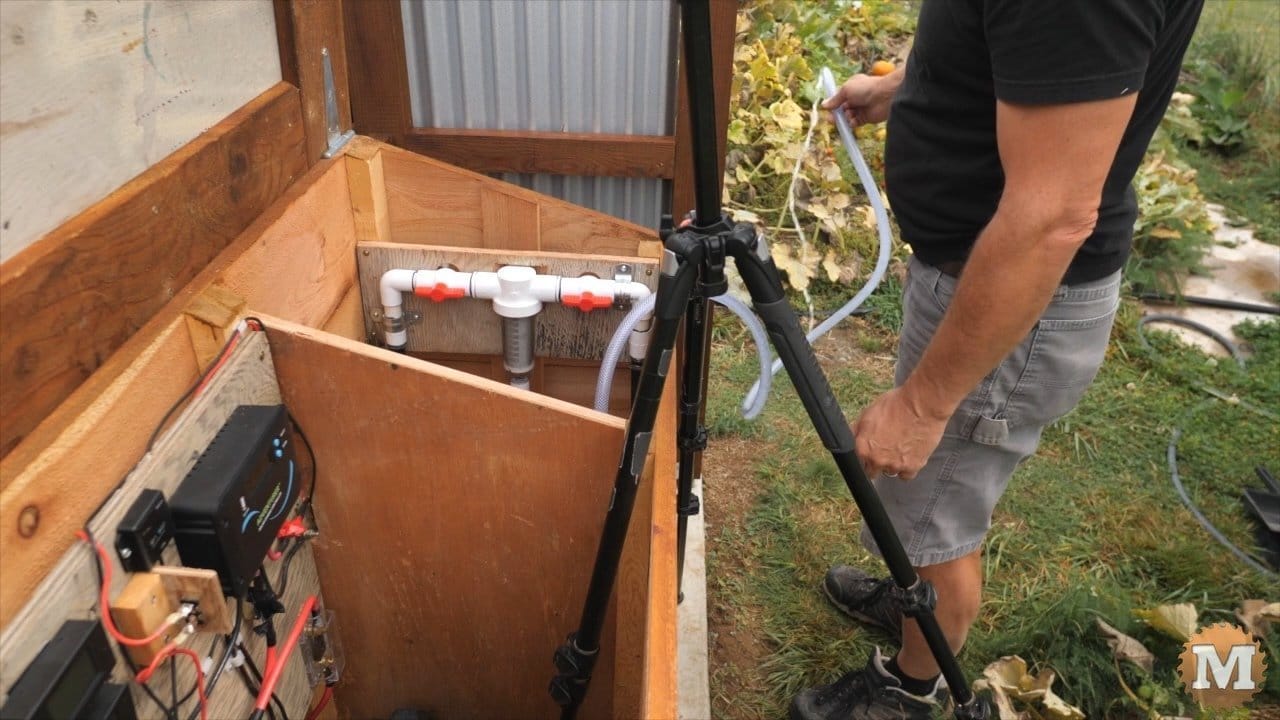
And here’s a few more shots of the inside of the pump house.
Battery and Water Sediment Filter
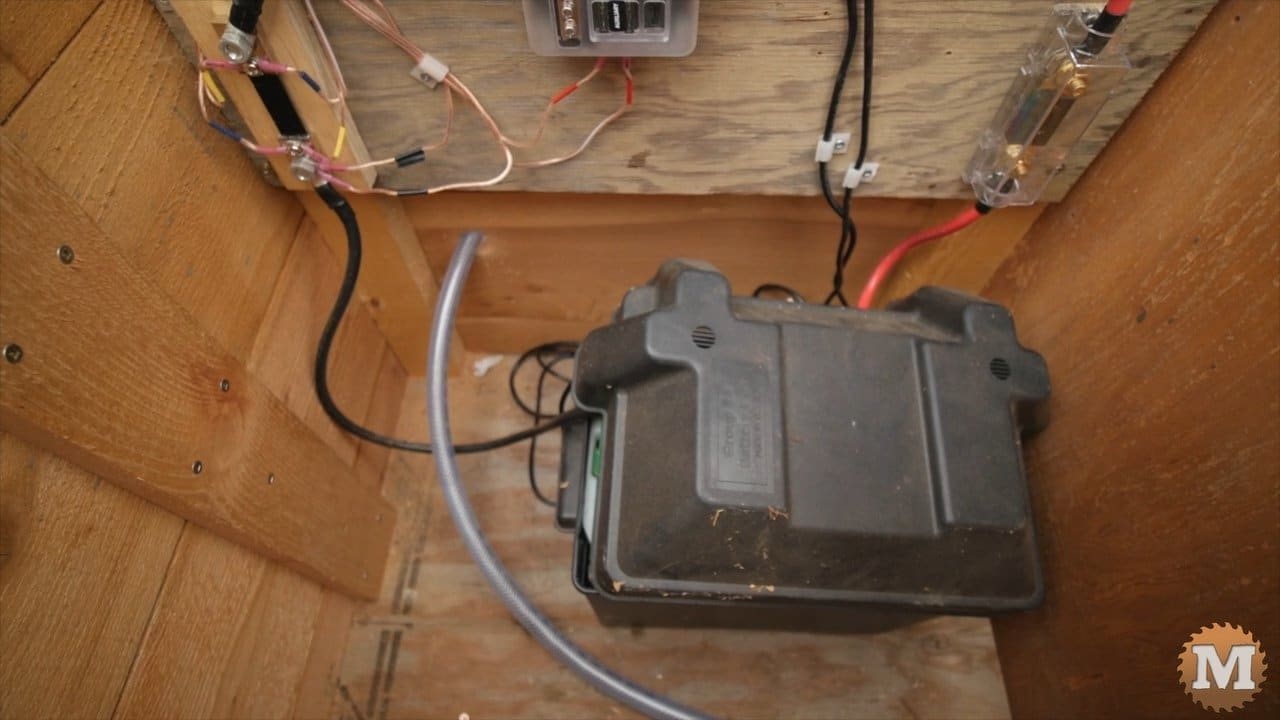

Let me know your thoughts here, I’m always interested in viewer feedback. As I’d mentioned, I built this rainwater harvesting system with room to expand in the future. And to power other lights and appliances around the pavilion next year. I left enough room in the pump house box to add another battery, and maybe a small inverter if needed. And the controller and system can handle more solar panels if the one I started with is not enough. I’d have to look at upping my cables and fuses to handle bigger loads of course.
So I hope you have enjoyed this post, and thank you so much for reading. If I make any further improvements or changes I’ll post them here.
And, while you are here, please hit the Support Link to help us make more projects and videos like this. We really appreciate anything you can do to help us out!
Jump to:
Off-Grid Rain Tank Part 1 – Pour the Tank Foundation
Off-Grid Rain Tank Part 2 – Build the Tank Surround
Off-Grid Rain Tank Part 3 – Tank Plumbing and Fittings
Off-Grid Rain Tank Part 4 – Install a Solar Powered Pump