Rainwater Tank Pump Modifications
I’ll swap that switch for a 30/50 with a low pressure cut-off. This will stop the pump if the tank runs dry or the pressure drops below 20 psi.
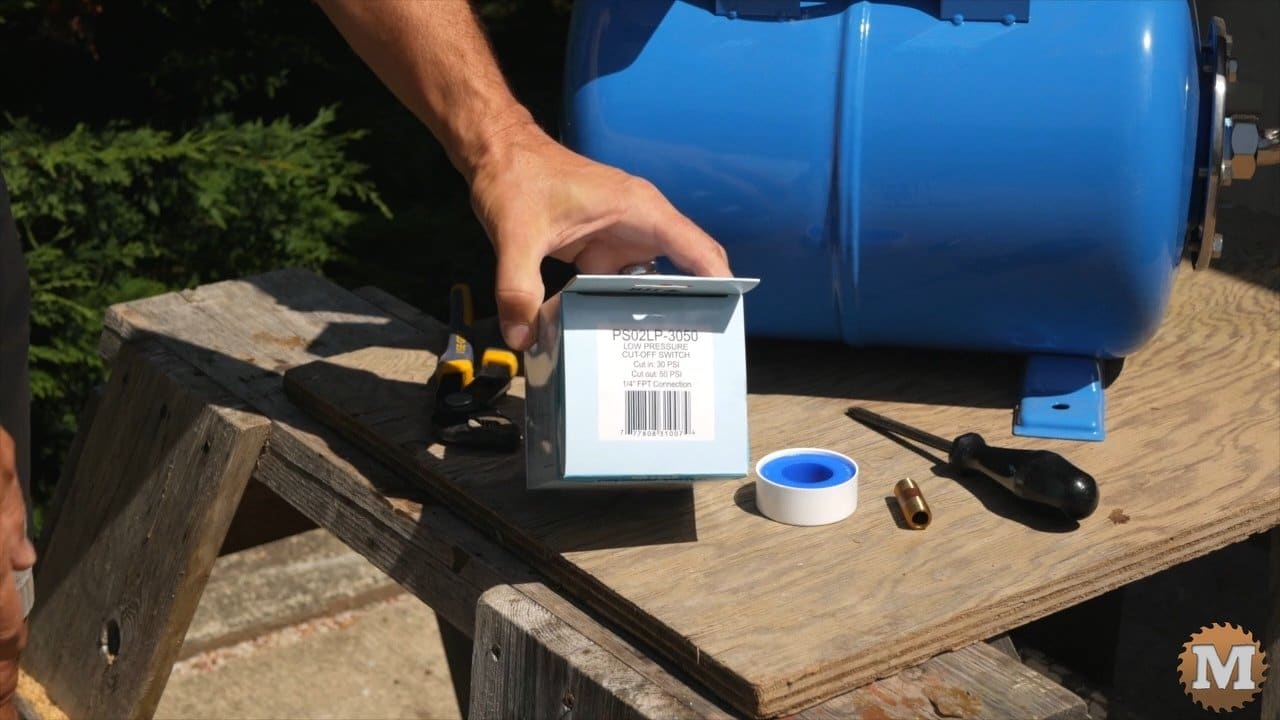
Swap Pressure Switch
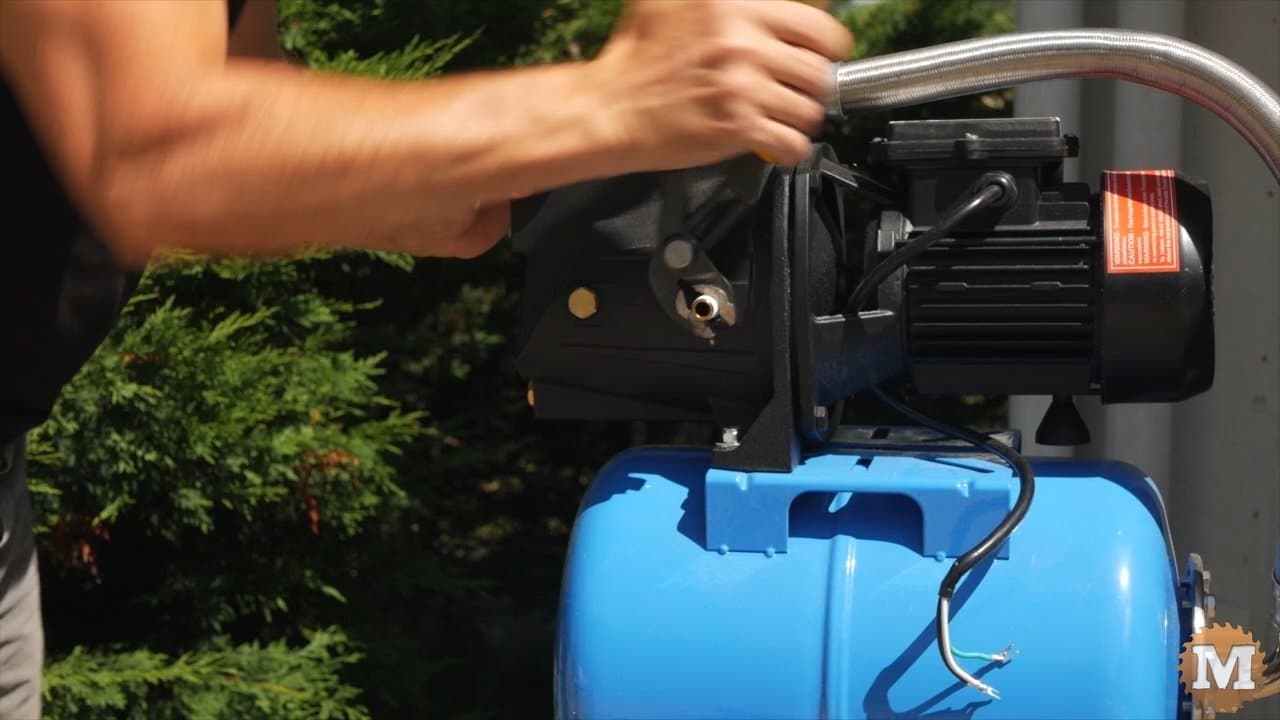
I’ll disconnect the wires then spin the switch off the pump housing. I’ll add a short nipple as the new switch does not come with one.
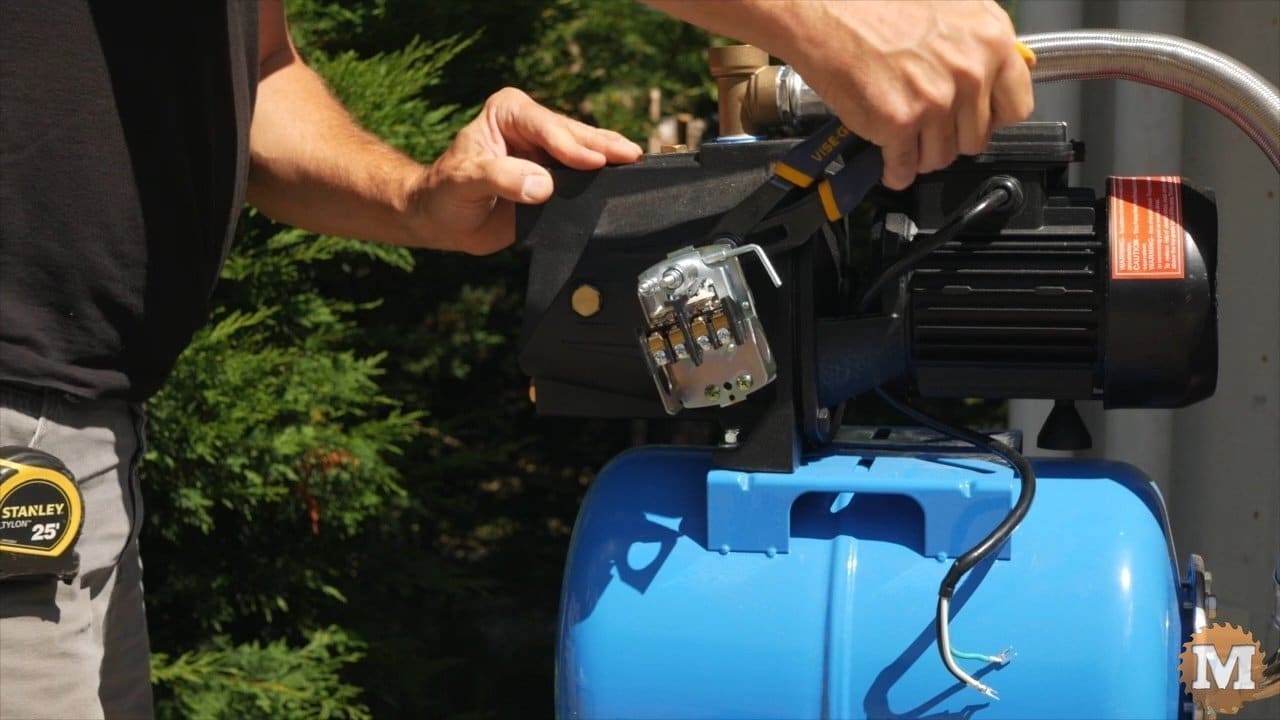
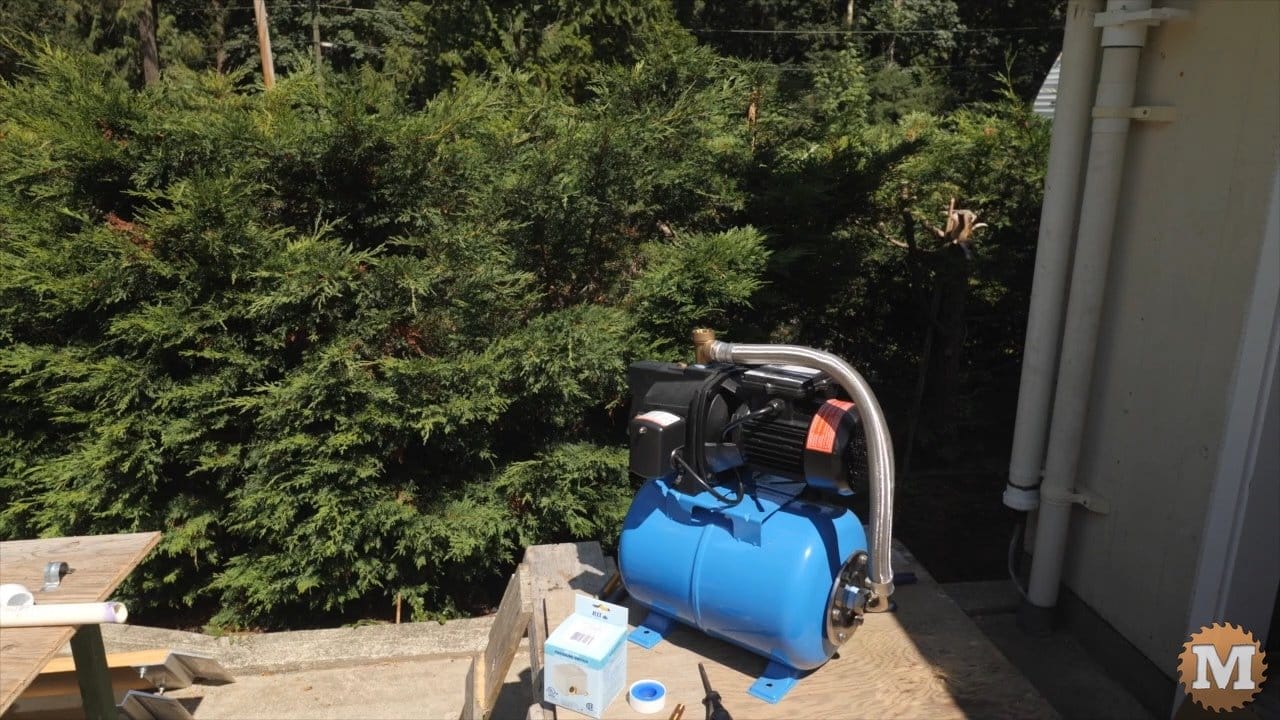
Since this is a season pump setup I opted to wire a 110 volt plug to the pump. So I can just plug it into a receptacle in the shed when I need it.
Plumbing Schematics

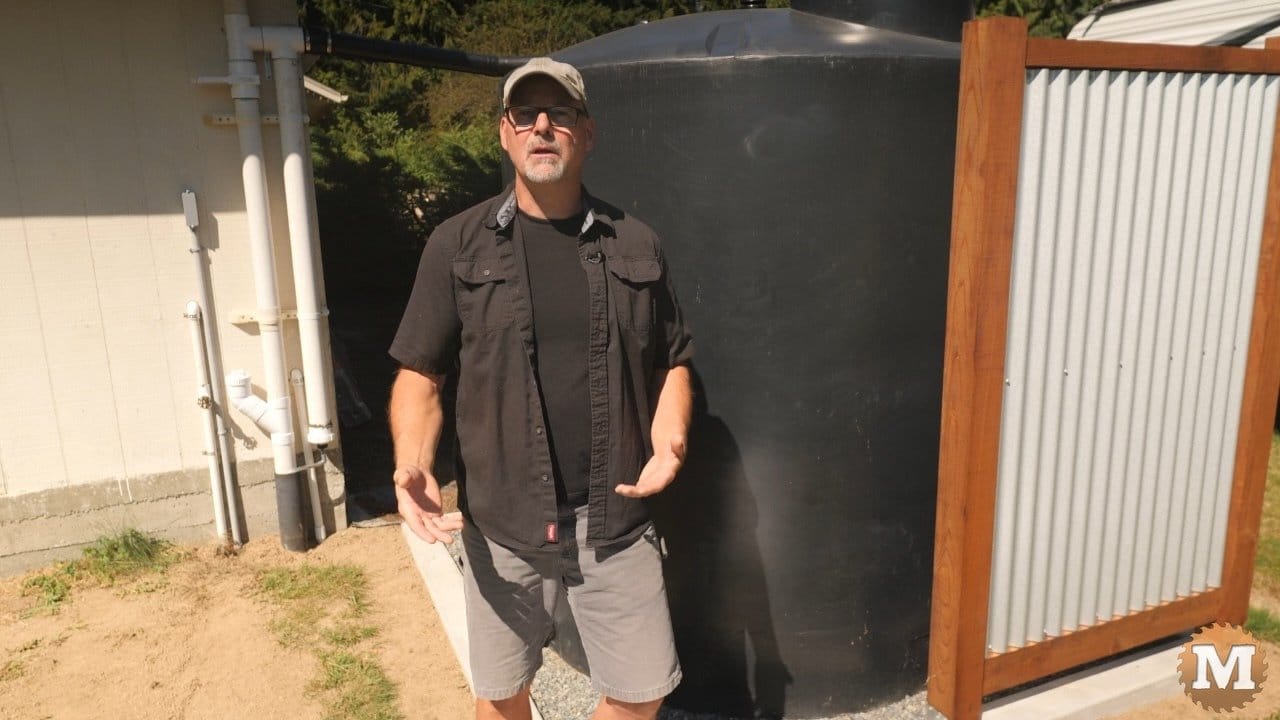
So here’s a schematic type layout of how I’ll plumb in this pump in the corner of the shed. The bottom line comes from the tank, and the top line goes to the garden.
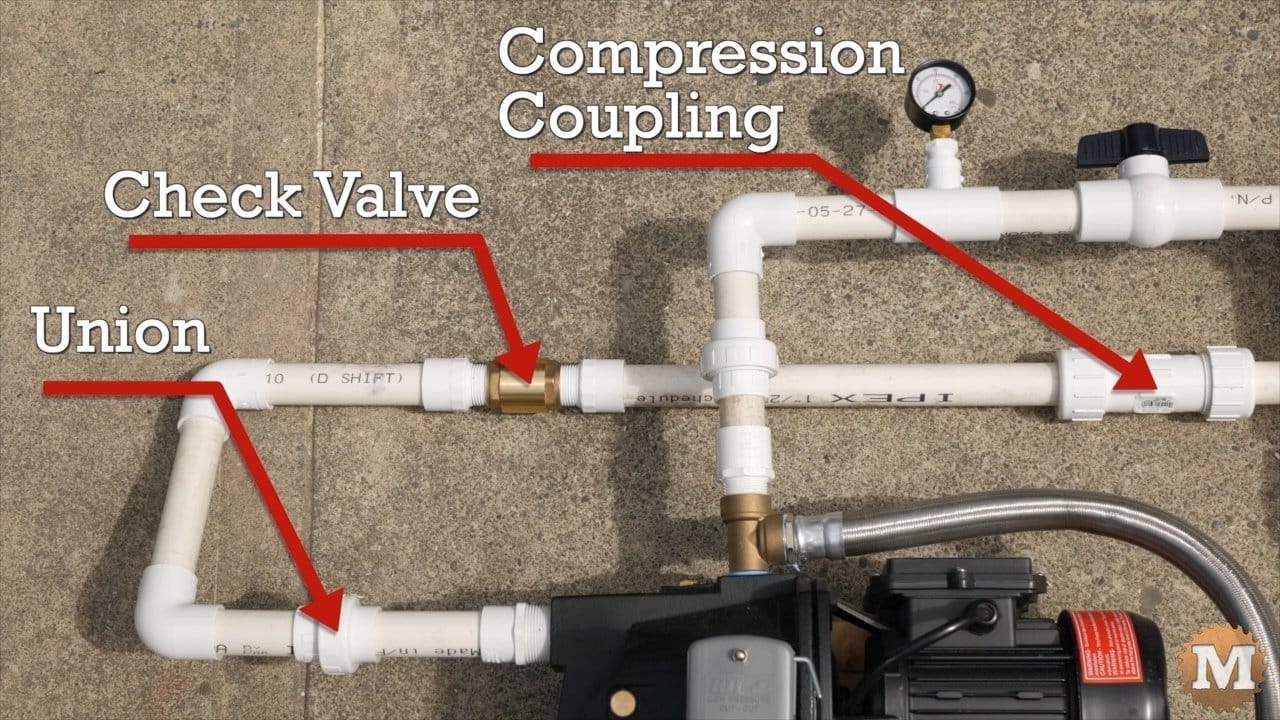
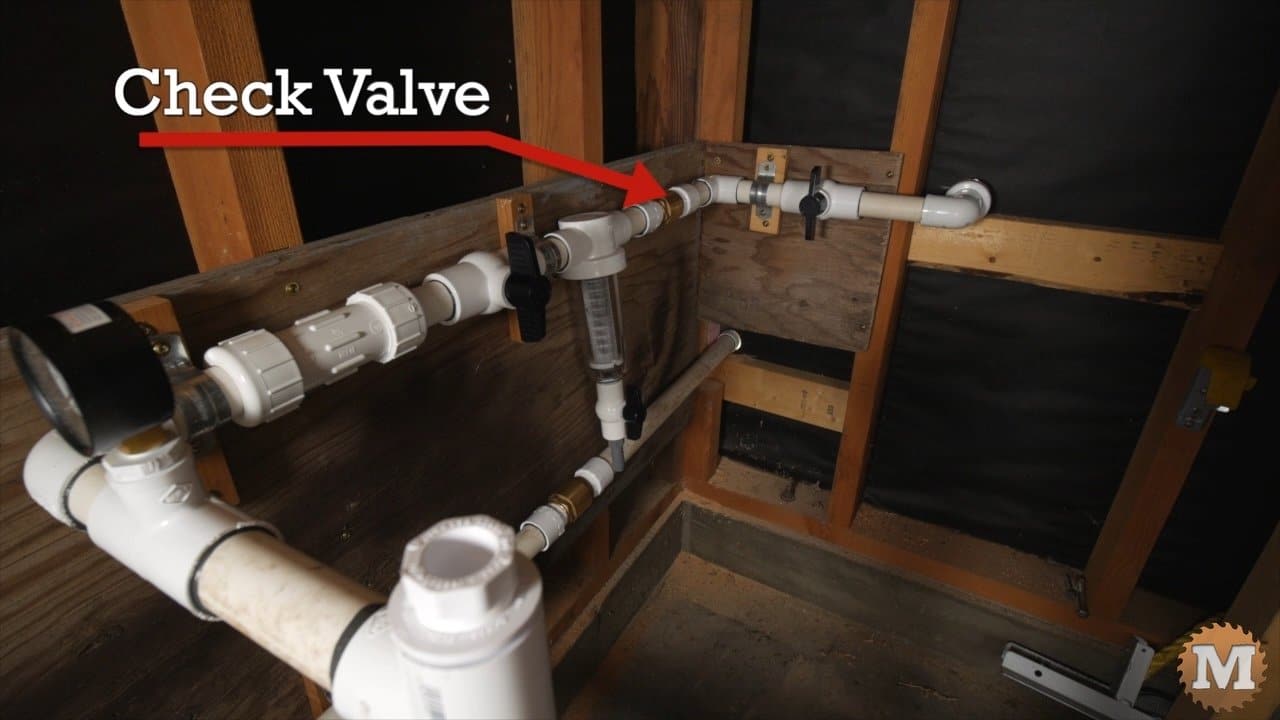
I’ll add compression couplings and unions to aid in the initial glue up of the pipe and fittings. And to allow disassembly and draining of the system later. I also have a check valve so water can only flow from the rain tank and never back to it.
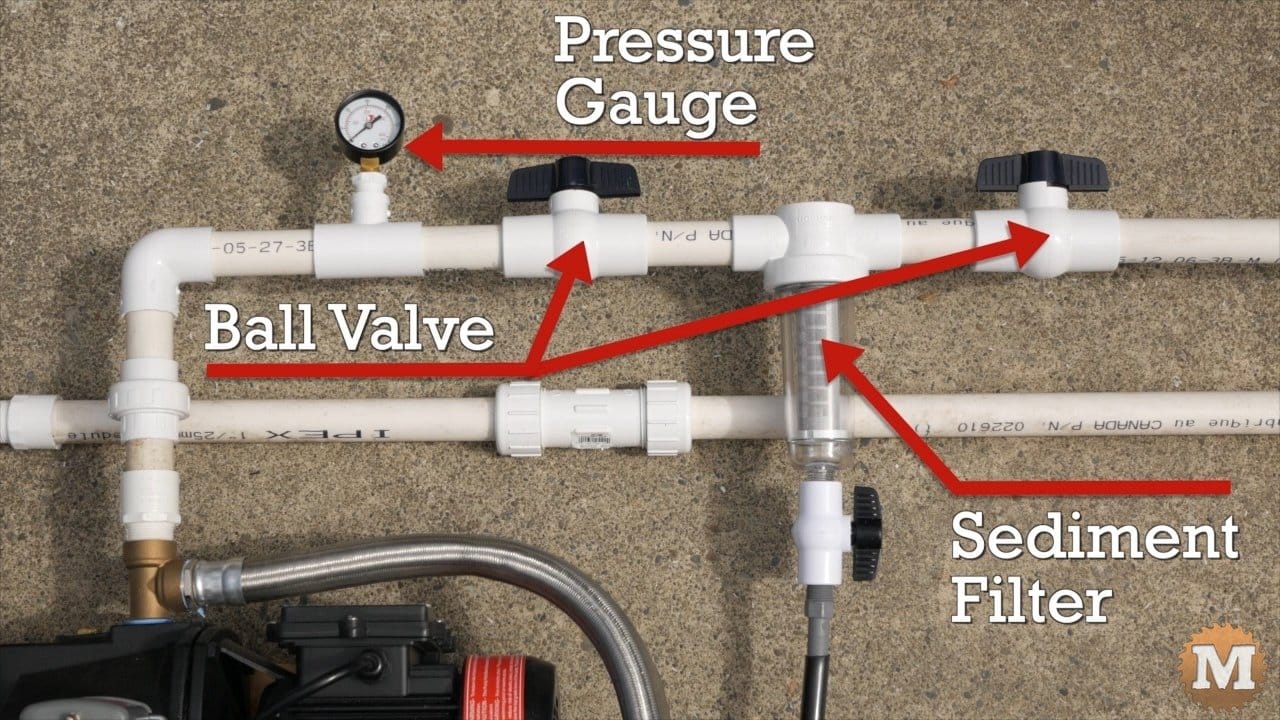
Coming out of the pump I’ll add a pressure gauge, a ball valve, a spin down sediment filter (to catch any debris from the tank), then another ball valve.
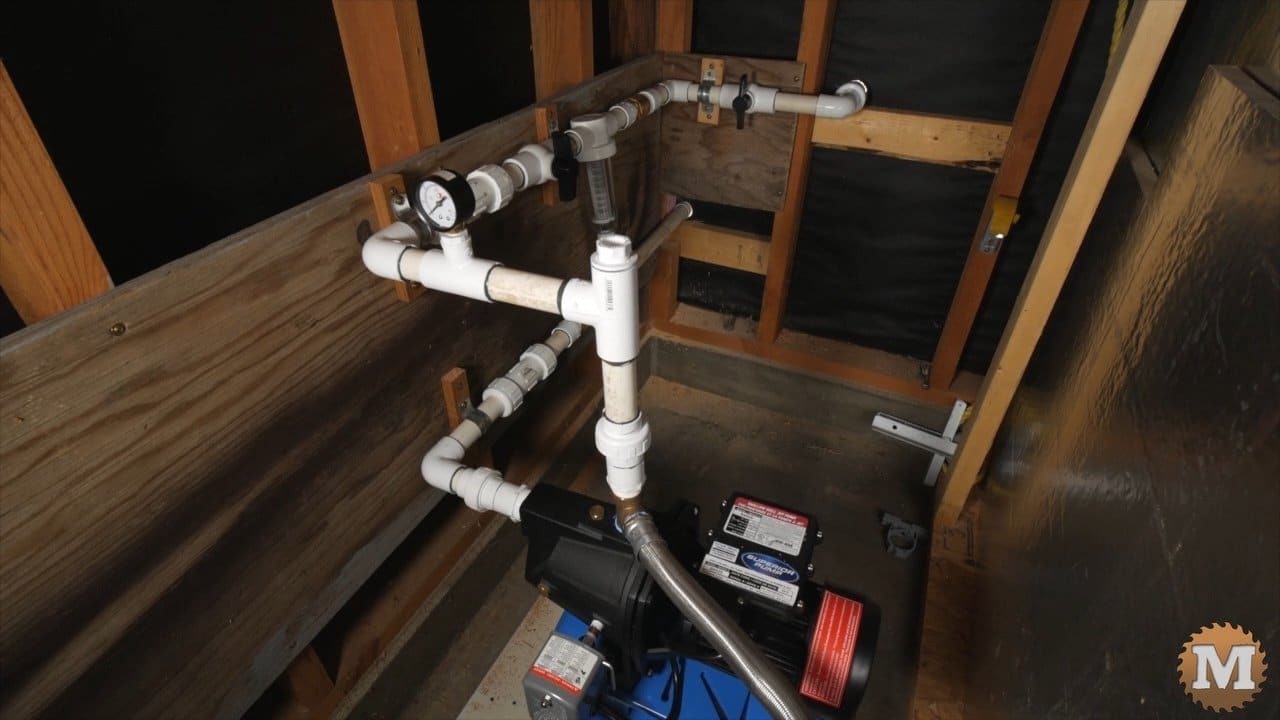
And here’s the system installed in the shed. I did add another check valve to ensure I kept water from ever backing up into the pump when I’m switching from irrigation well supply to rainwater harvesting tank supply.
I’m not a plumber but I think this will work okay.
So I hope you have enjoyed this post, and thank you so much for reading! If I make any further improvements or changes I’ll post them here.
And, while you are here, please hit the Support Link to help us make more projects and videos like this. We really appreciate anything you can do to help us out!
(Disclaimer: As an Amazon Associate I earn from qualifying purchases. Thank you for helping to support my content this way. )
Jump to:
Part 1 – Pour a Rainwater Tank Foundation
Part 2 – Rainwater Tank Plumbing and Fittings
Part 3 – Rainwater Tank Pump and Irrigation
Part 4 – First Run of Tank Drip Irrigation System