Standing the Posts
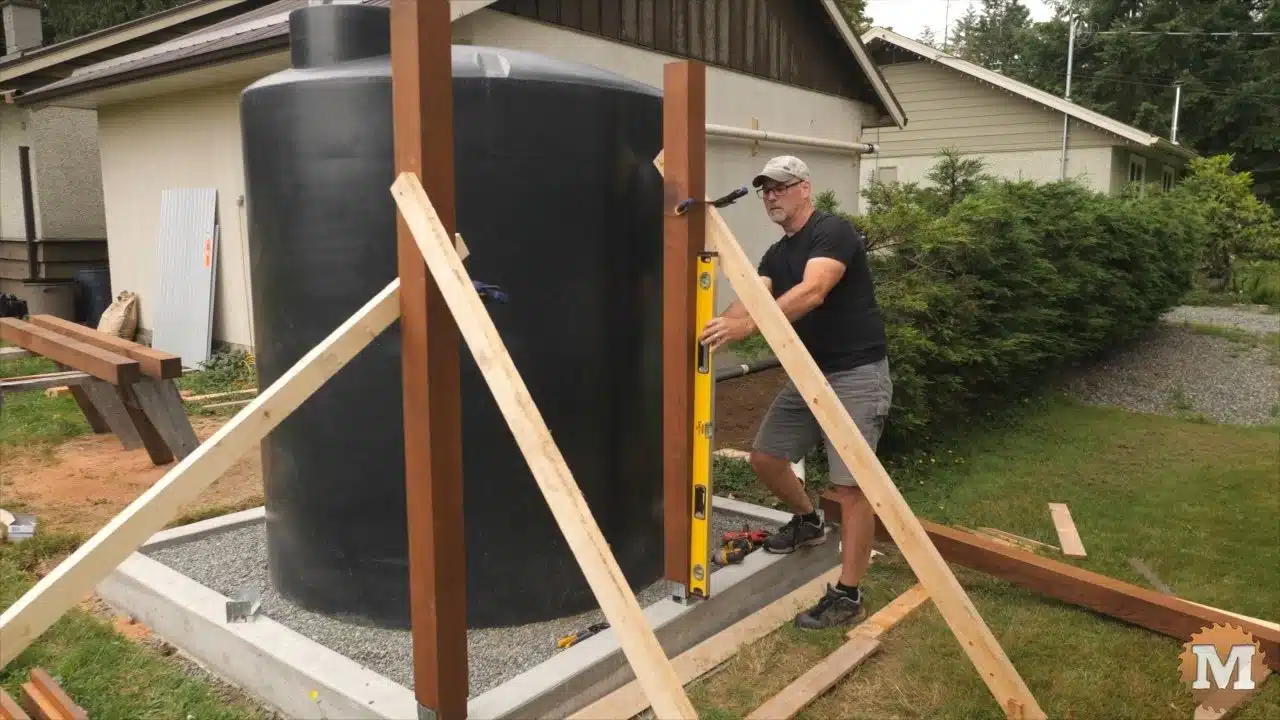
The next day I can start to put everything together. I’ll be toe screwing the rails into the posts. Good enough for what is essentially a fencing project.

A single screw through the post saddle holds the bottom of the post in place while I clamp temporary braces to two sides. Then plumb the post with a spirit level. And I can repeat that on the second post.
Blocks clamped to the posts support the rails. And a long pipe clamp pulls the posts together as I run in the screws.
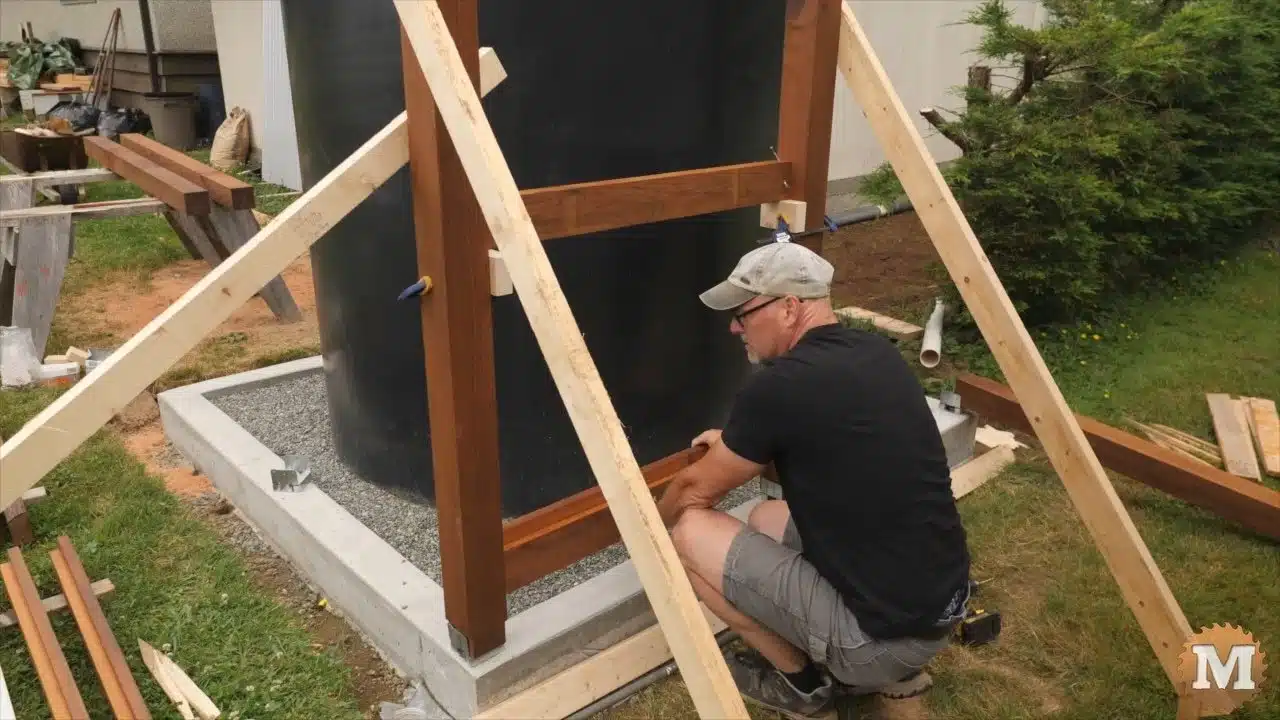
Working my way down the post I’ll next add the middle rail. Again, blocks support the rail while I bring the posts together with a pipe clamp. And run in more screws. And more screws.
Then the 2×6 bottom rail can be added.
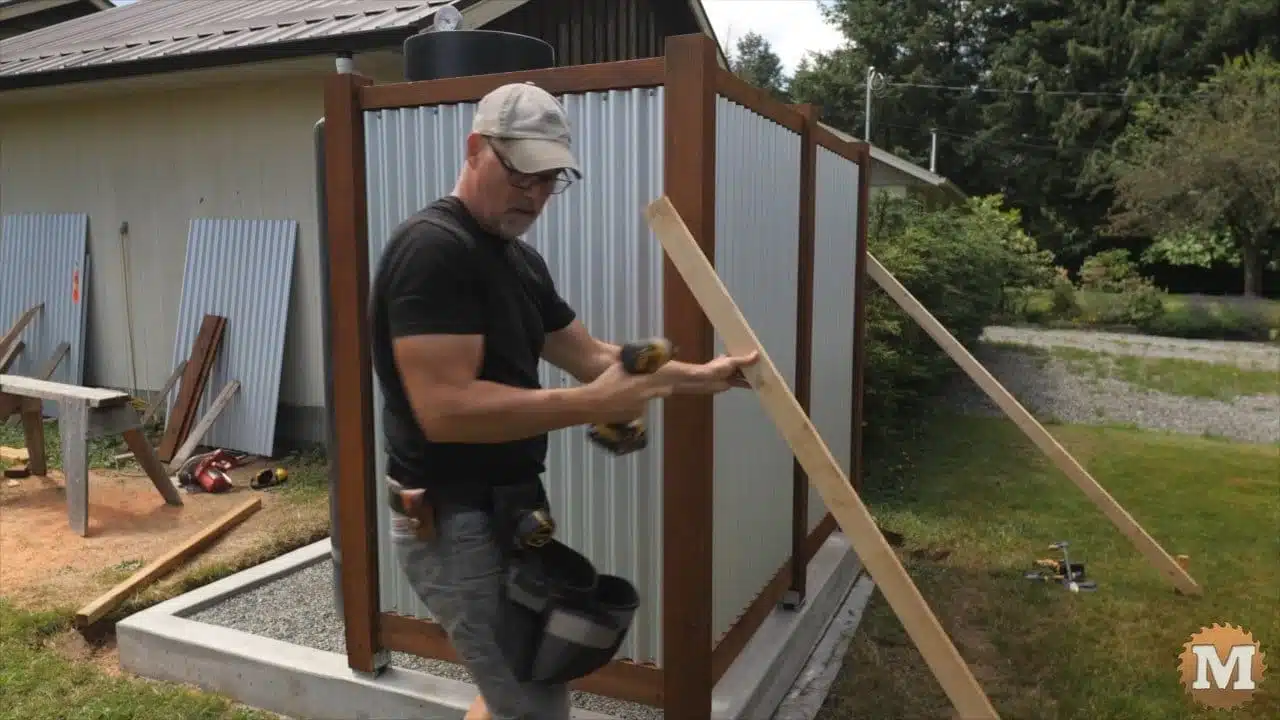
Testing the fit of the Corrugated Galvanized Fence Panels
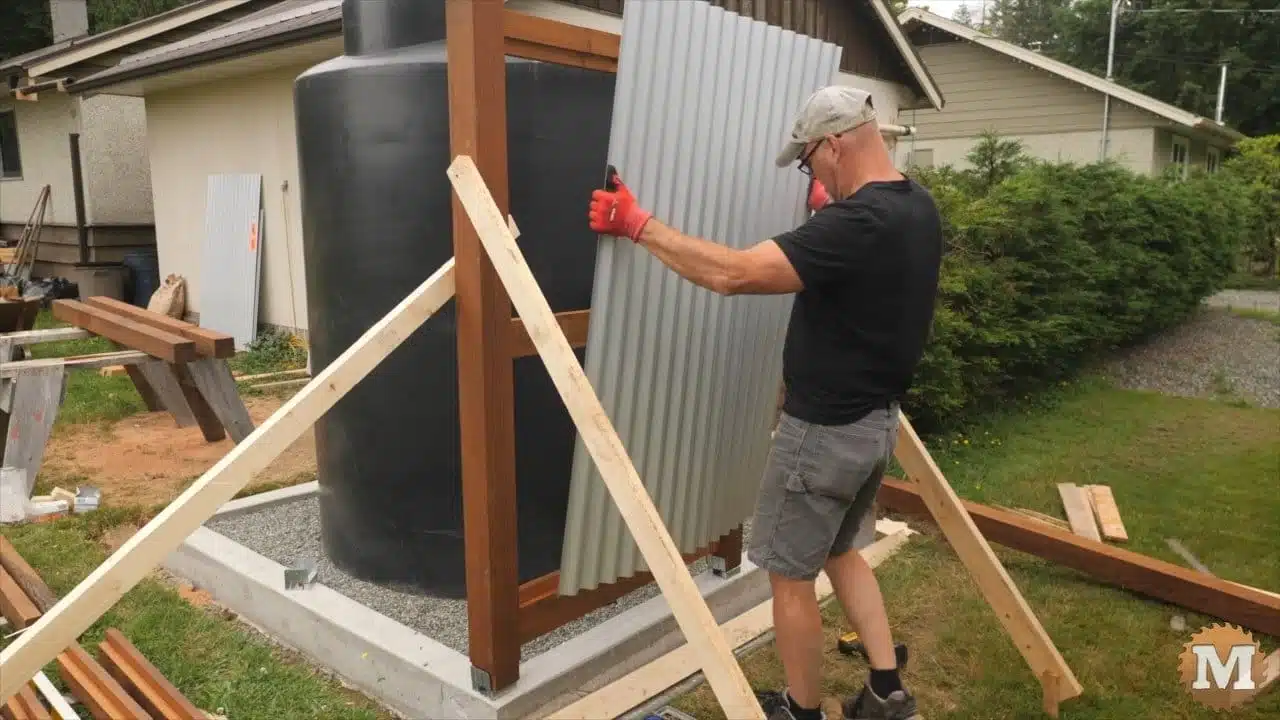
I had my roofing supplier cut these panels to 5 foot lengths. And I designed the surround fence so the posts were set apart about an inch greater than the panel widths. So I didn’t need to cut any metal for this. And I like that.
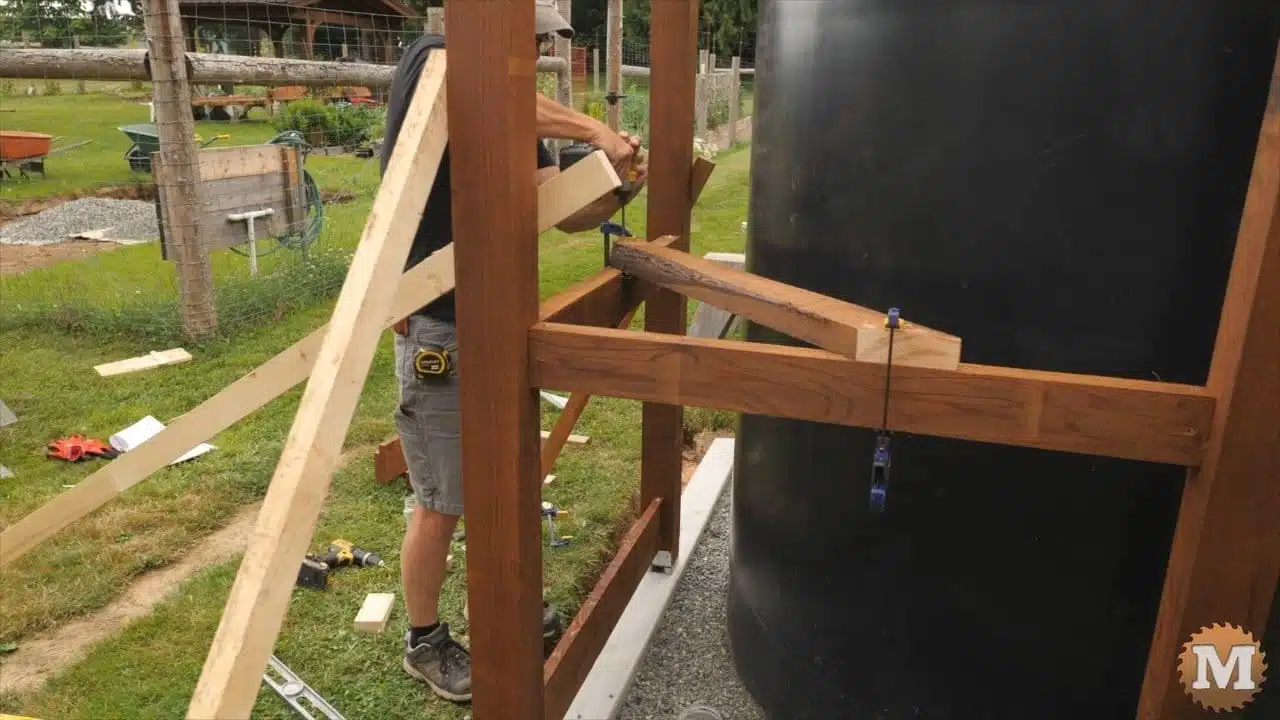
I added a corner brace between the mid rail to add some rigidity to the ends of the surround. If there’s too much movement I can add another brace to the top rails later. But I think it’s good enough like this.
The next day I added the panels. Eighth inch spacers lift the panel a bit to center it vertically. I used 1″ roofing screws that have a metal and rubber washer. This went quickly and I was done in less than an hour. I think taking the time to cut the rabbit in the top and bottom rails, so the panels are recessed flush, is worth the extra time. We though it looked pretty sharp.
I covered all the tank plumbing in part 2 of this series but I forgot to add a vent.
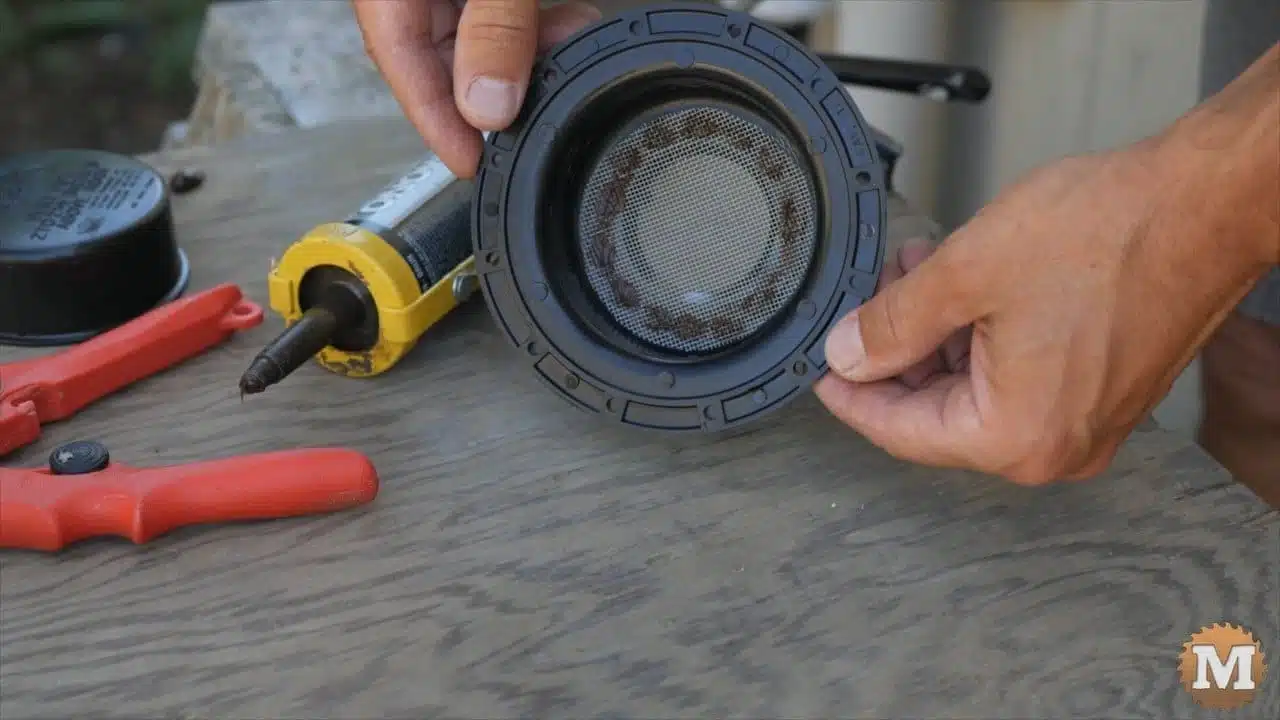
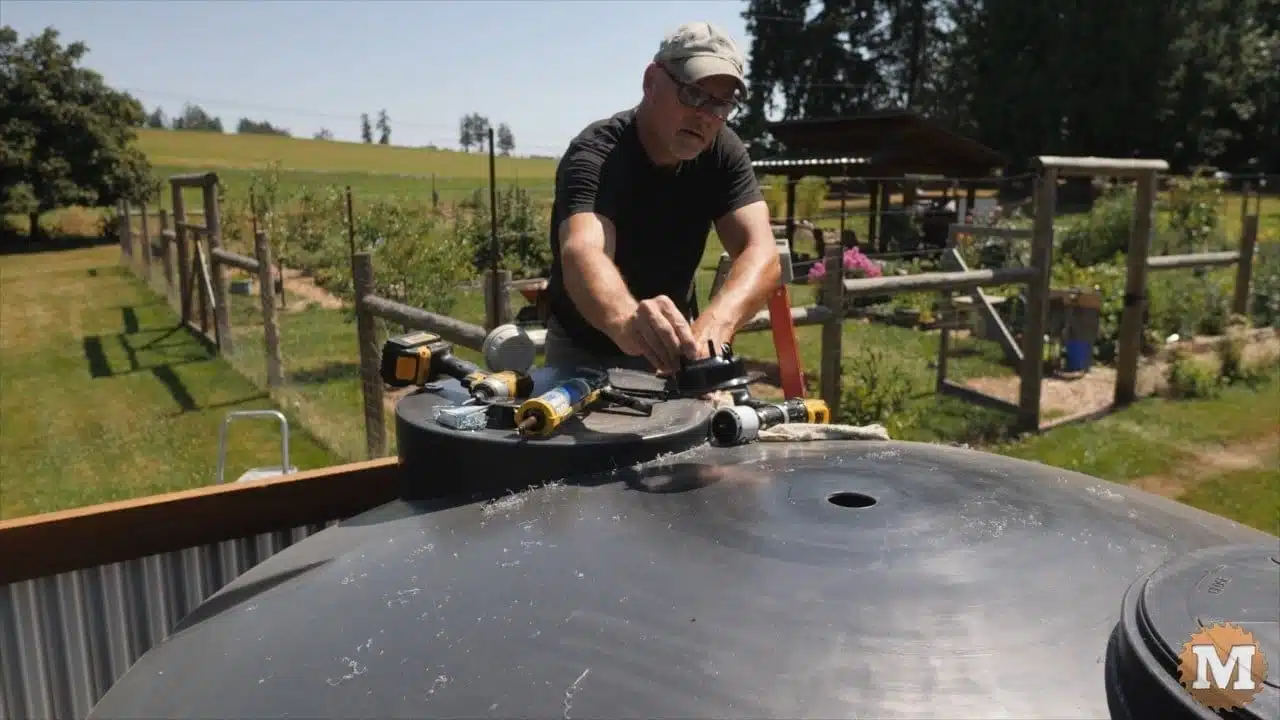
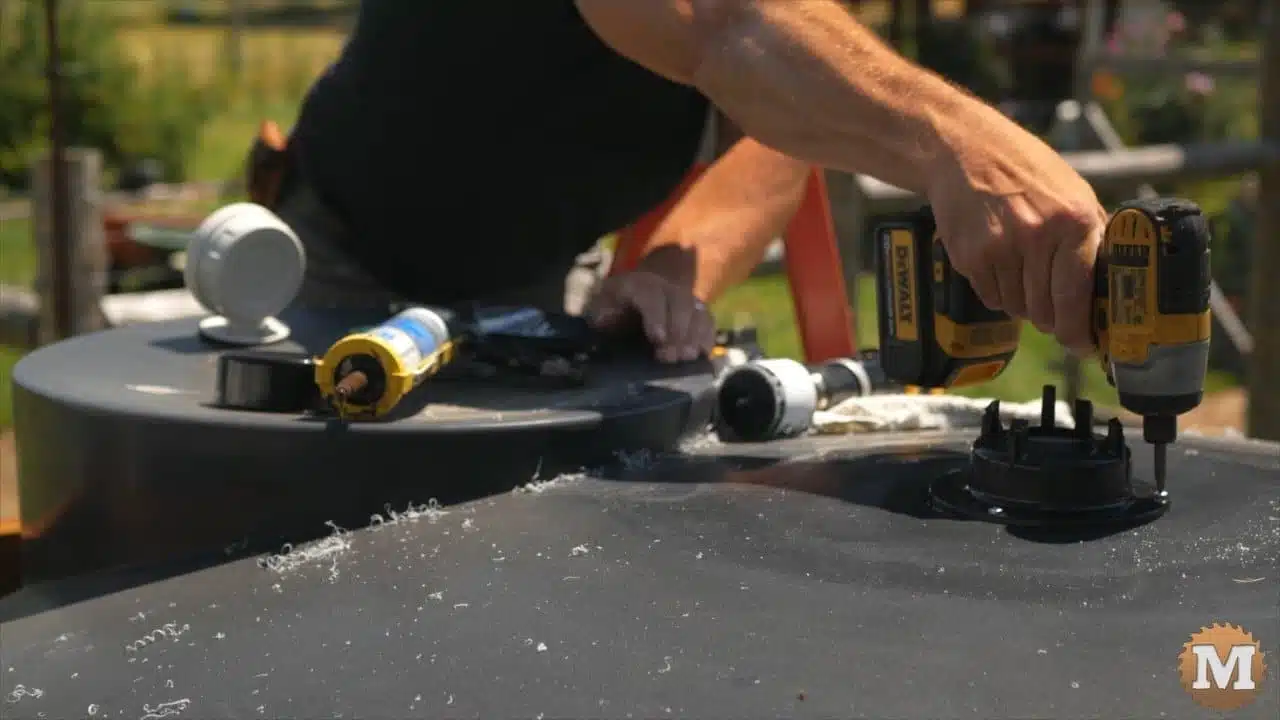
Rainwater Tank Vent
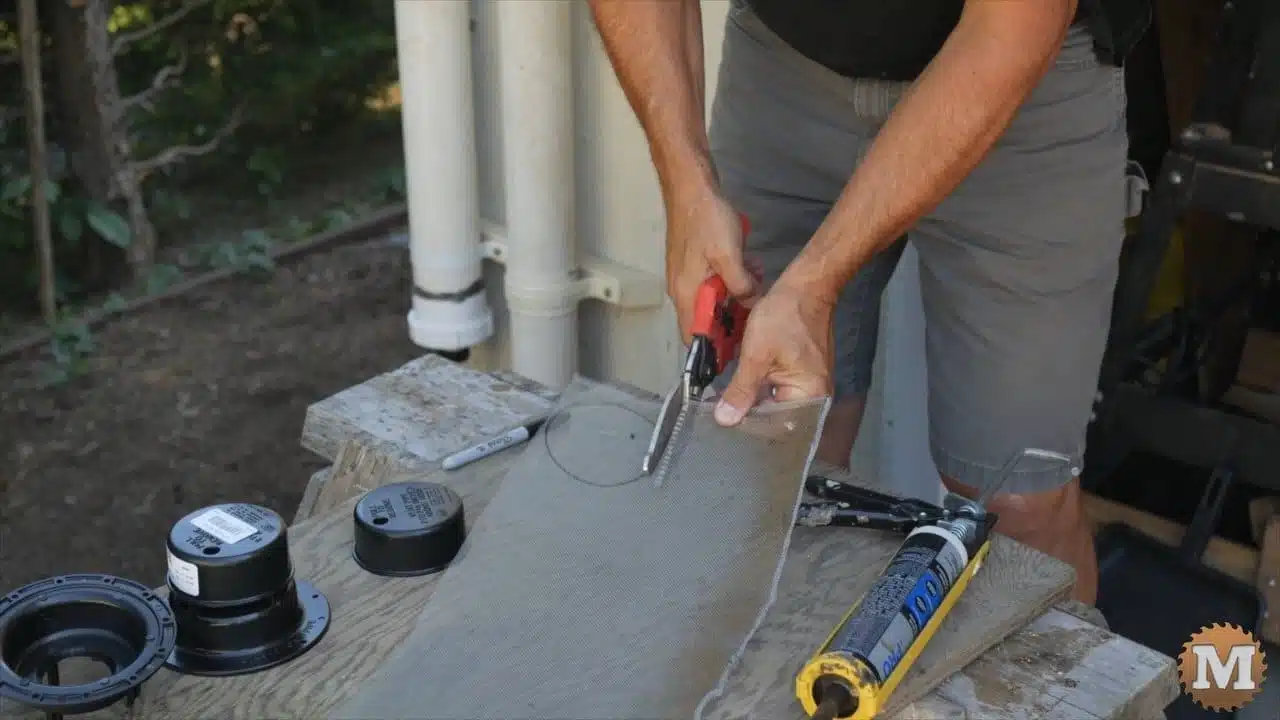
For this I bought an RV tank vent and fitted it with a bug screen. I cut a disc of aluminum window screen and siliconed it to the base of the vent.
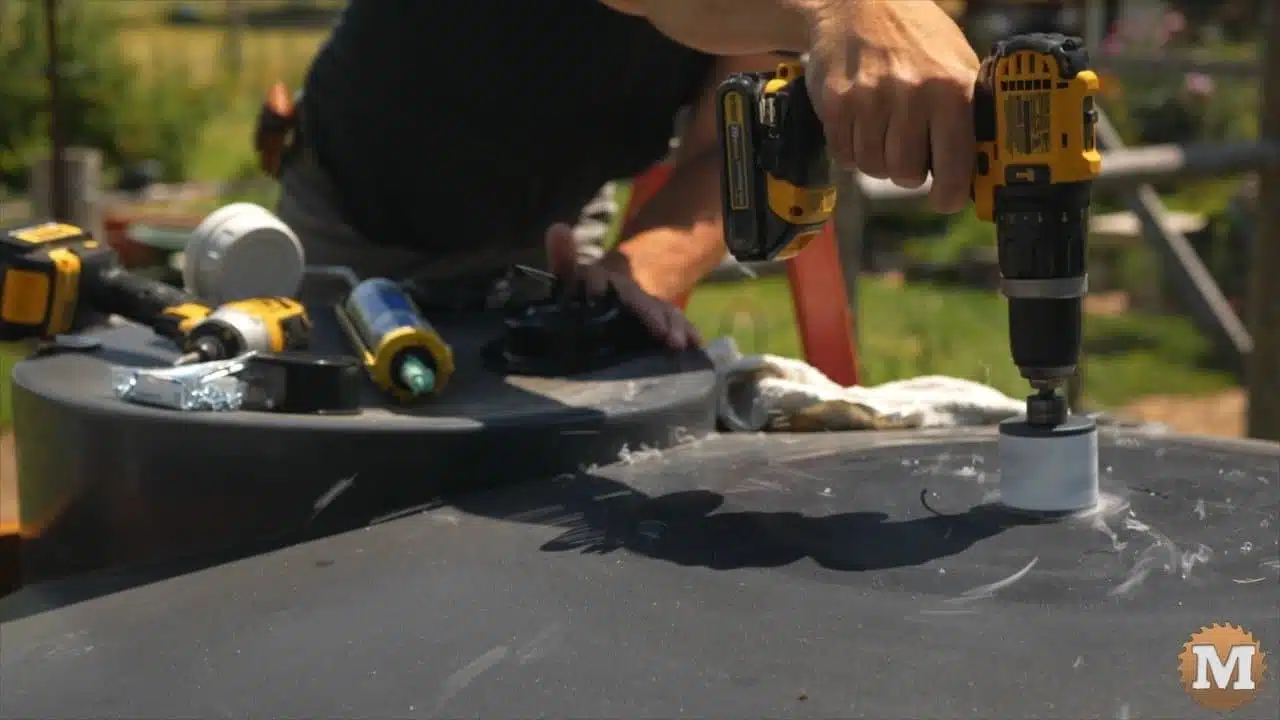
I cut a hole in the top of the tank with a hole saw. Added some silicone to the base of the vent and attached it with screws.
(Disclaimer: As an Amazon Associate I earn from qualifying purchases. Thank you for helping to support my content this way. )
DIY Tank Vent
Our shallow irrigation well is over in this corner of the property. It has a water line running under the field toward the house and past this shed. A few years ago when we put in the garden I tied into this line and installed several hose bibs.