Attach Fittings to Surround Wall
I didn’t want all the plumbing and fittings hanging off a post on the pavilion. For one there wasn’t enough room and I didn’t think it would look so good.
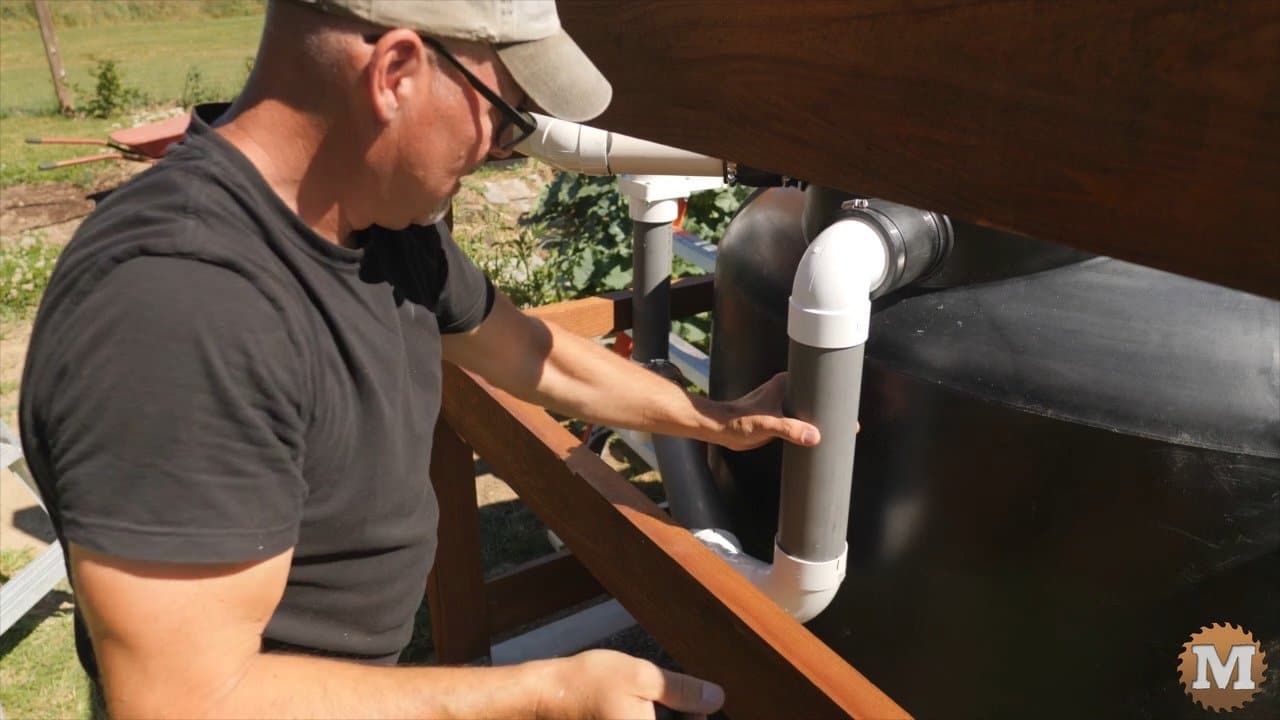
Better in this case to keep it all close to the tank on the taller East wall of the surround.
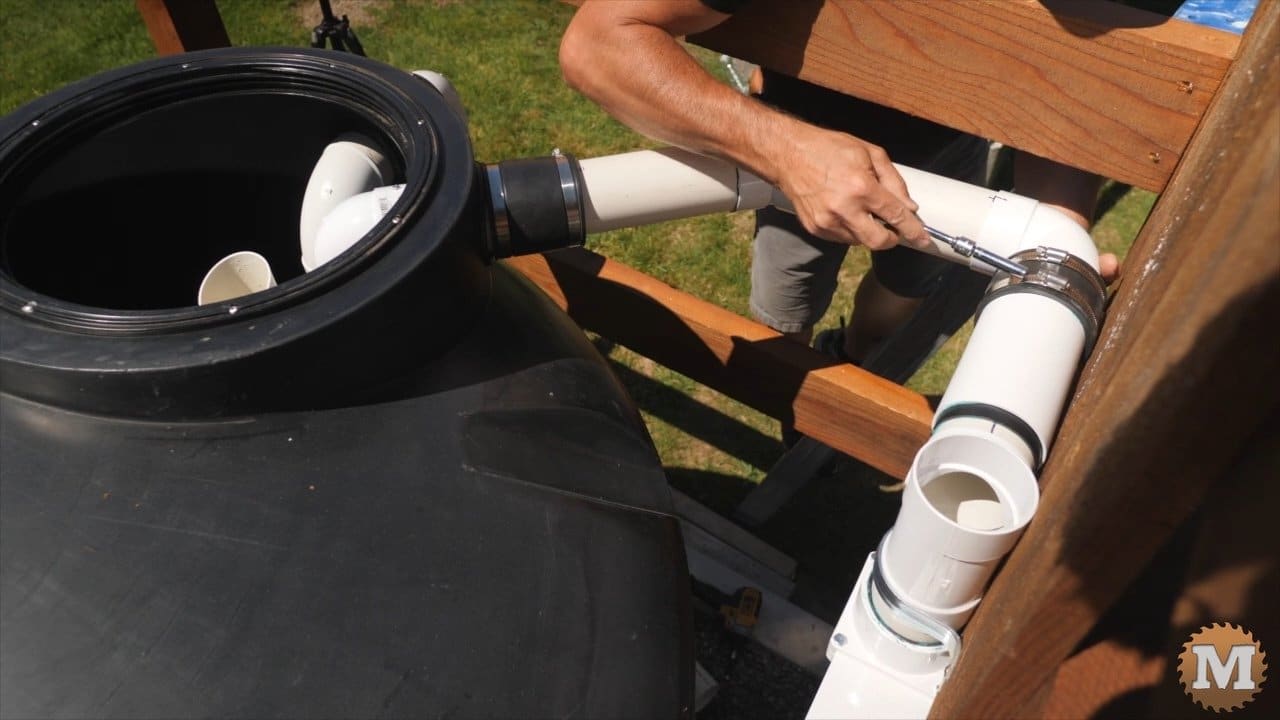
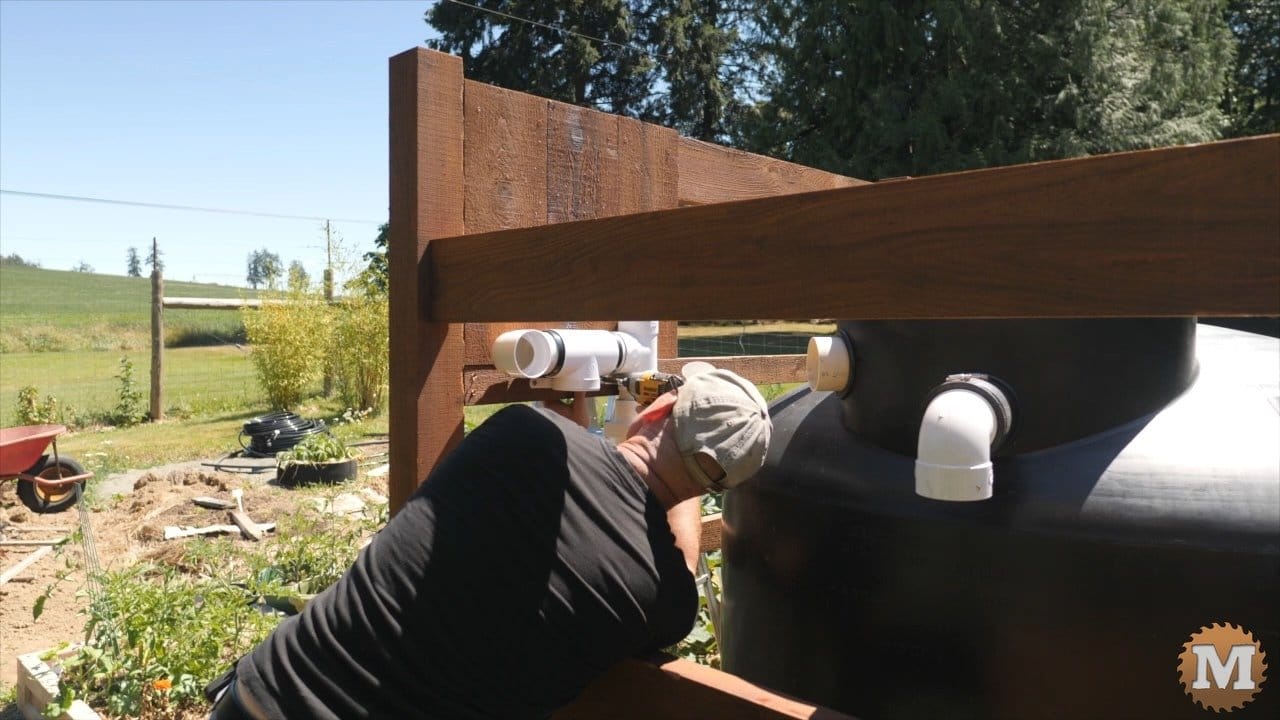
This assembly is attached to the inside of the east wall using some brackets. A 90 degree elbow is attached to the outlet of the first flush diverter T. Then a pipe and fitting assembly is secured to the tank inlet pipe with rubber couplings.
For some of the plumbing here I tried to think about having to disassemble things later. So I only glued what I really needed to.
I’m kinda cheating using Rubber Couplings
I like these 3″ flexible rubber couplings with the two screw clamps. They are great for quickly taking sections apart. And to manage tough connection points or those that require some flexibility. I’m not sure how they will hold up to sunlight over time so I may have to add some protection for them later.
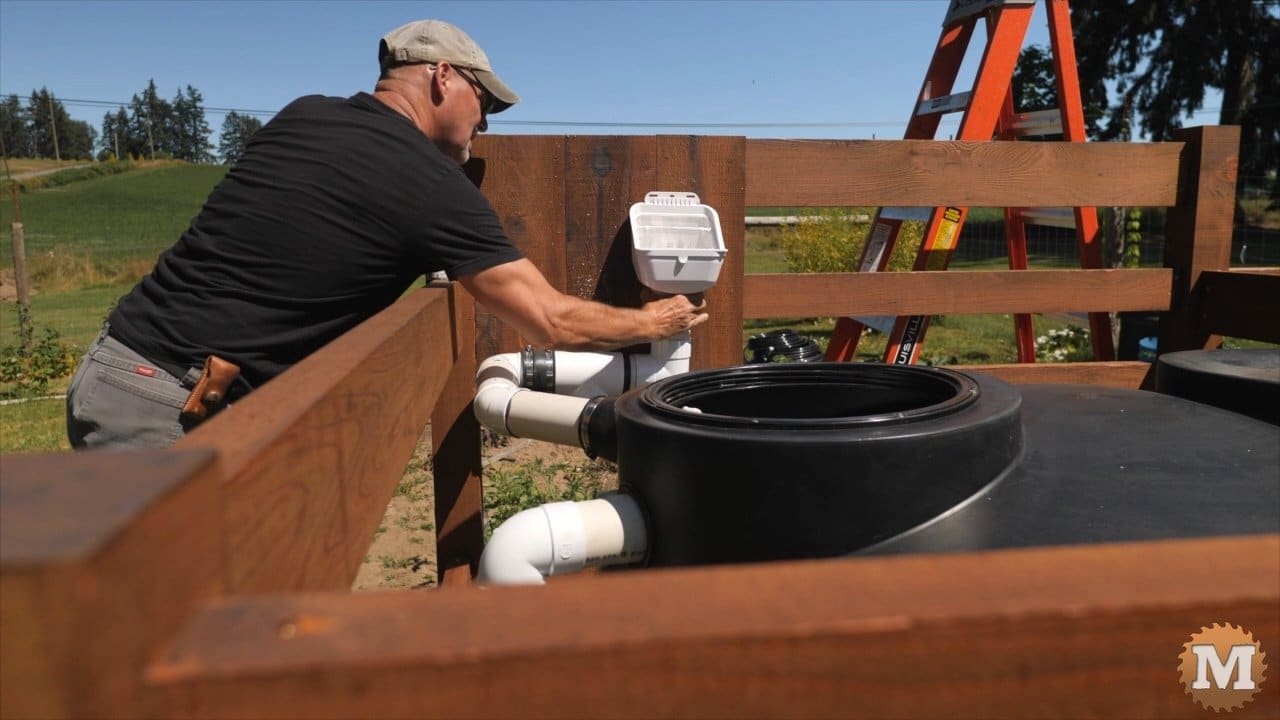
Now I’ll add the downspout screen.
Here I’m adding another pipe and elbow section for the tank overflow. It will run into a Y fitting below the gate valve.
First Flush Diverter
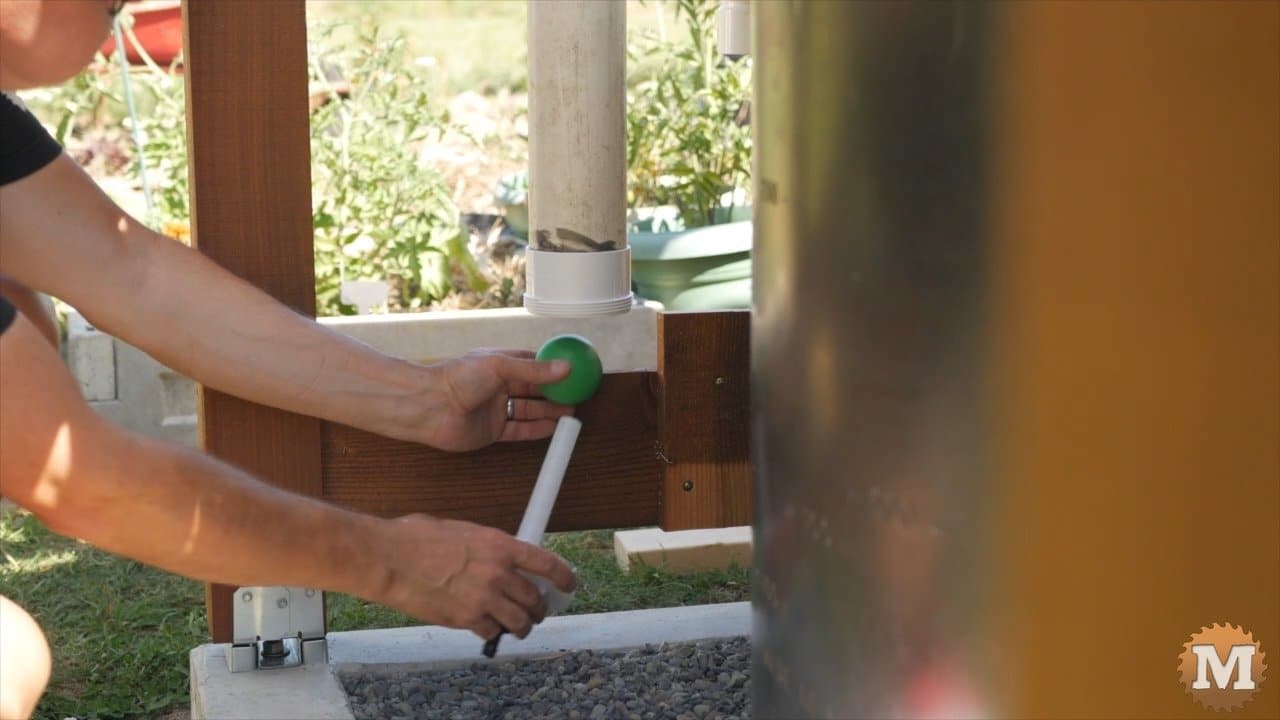
A length of schedule 40 pipe is glued into the first flush diverter T then a threaded section glued to the bottom of that. The diverter holds a ball, screen, and pinhole washer and this system is designed to catch the dirty water that is first coming off the roof when it starts to rain. I’ll add a link to a previous video of mine that explains this better.

Now I’ll glue up the pipe that runs around the back of the tank to the drain. It has a screened flapper end.
Connect Gutter to Leaf Guard
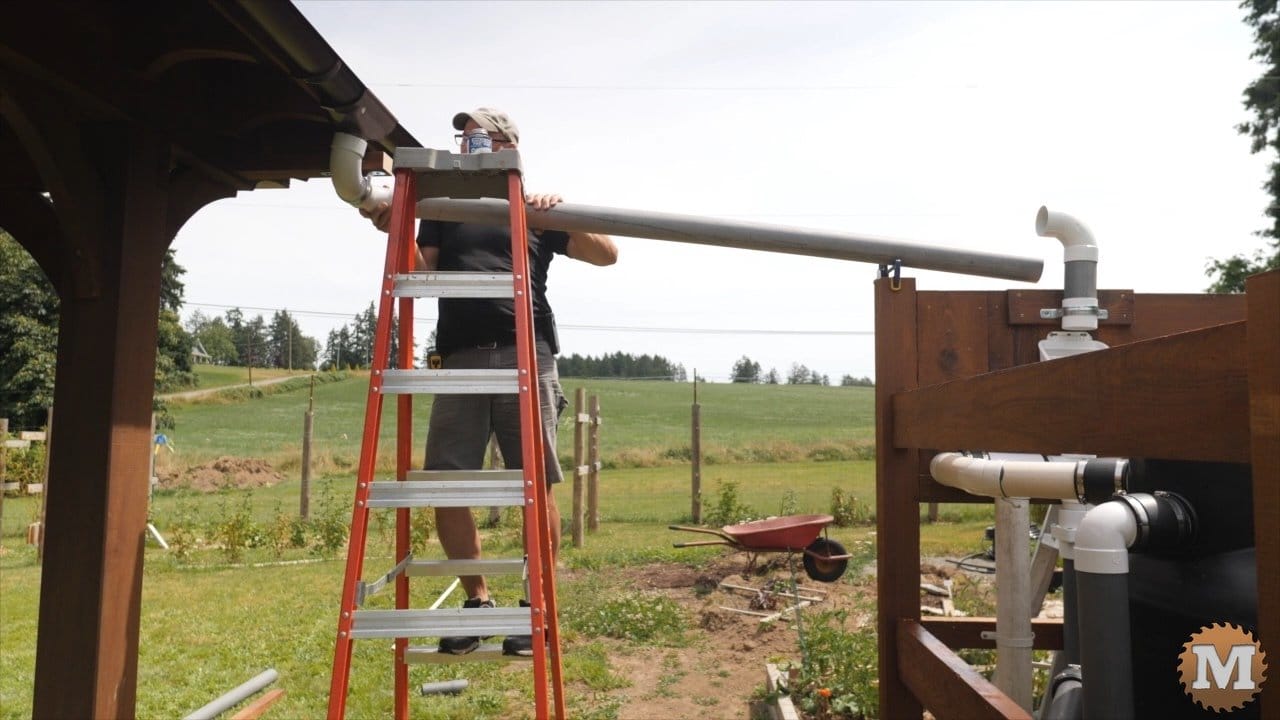
Finally I’ll run a pipe from the gutter of the pavilion to the tank surround. This will dump water onto the downspout screen.
(Disclaimer: As an Amazon Associate I earn from qualifying purchases. Thank you for helping to support my content this way. )
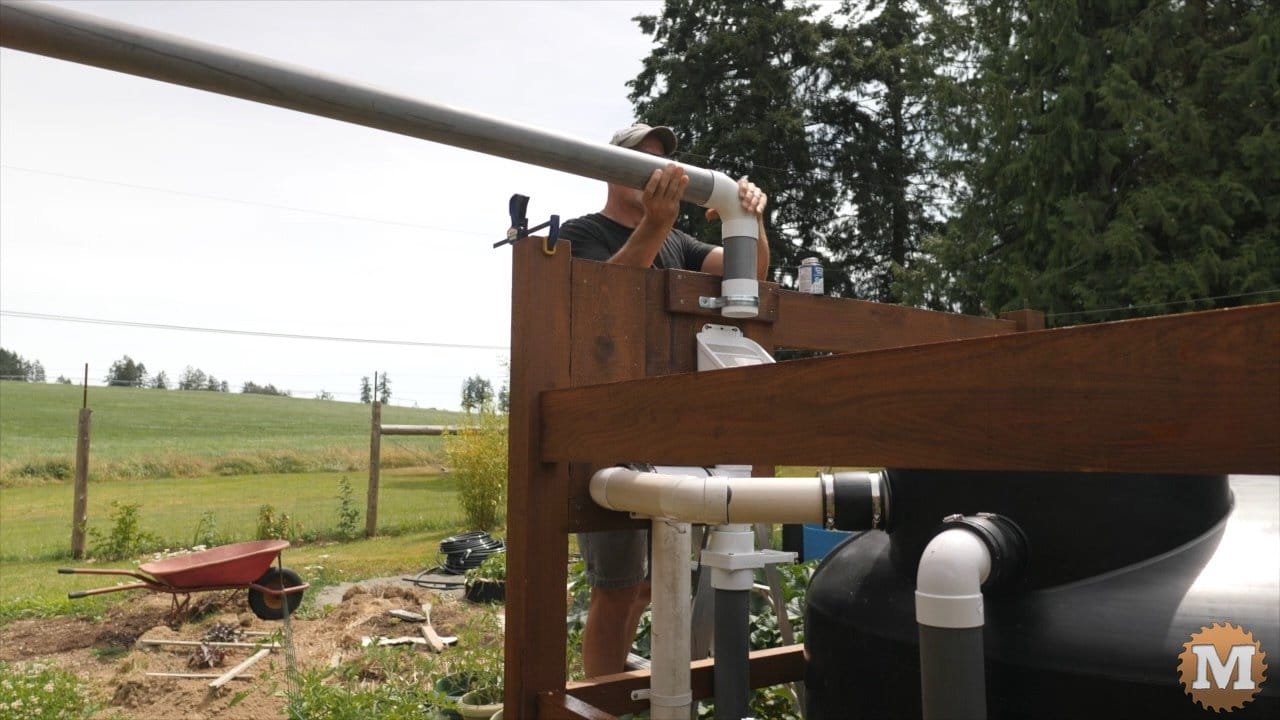
This was a bit tricky to pull off. But it ended up working very well. Later I spray painted this pipe and fittings to match the brown gutter.
DIY Tank Vent
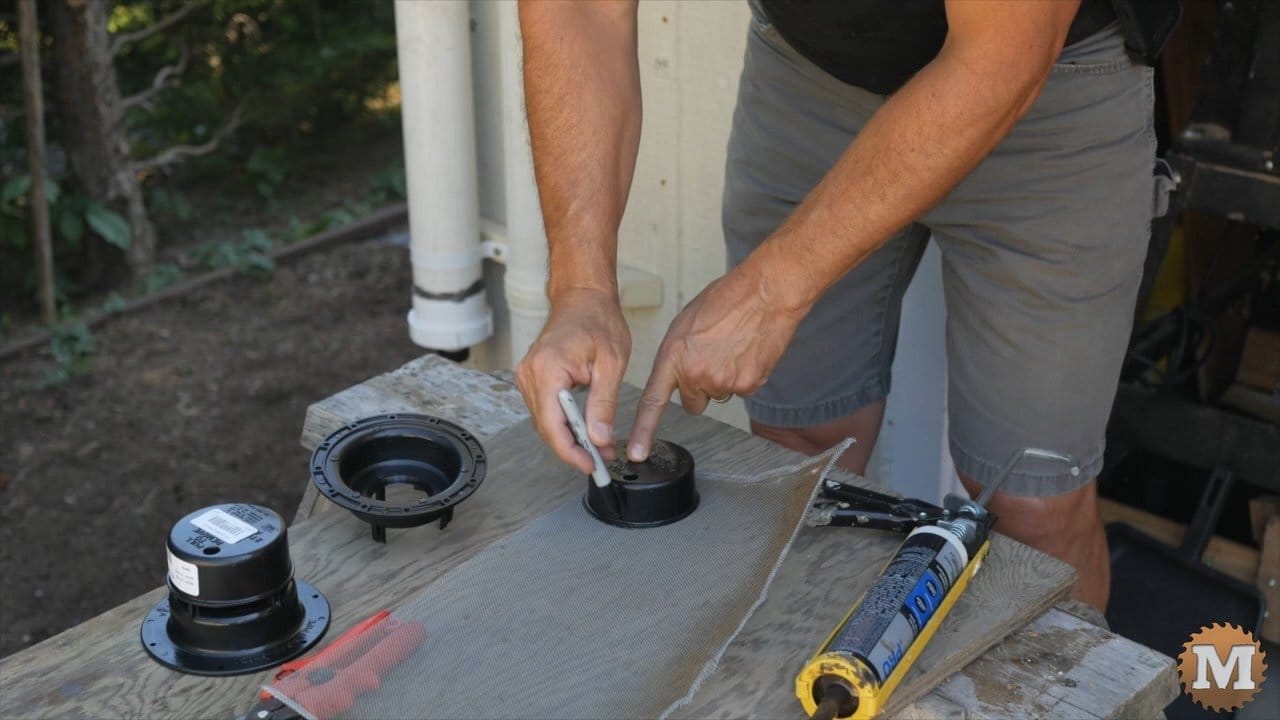
Window Screen Bug Guard
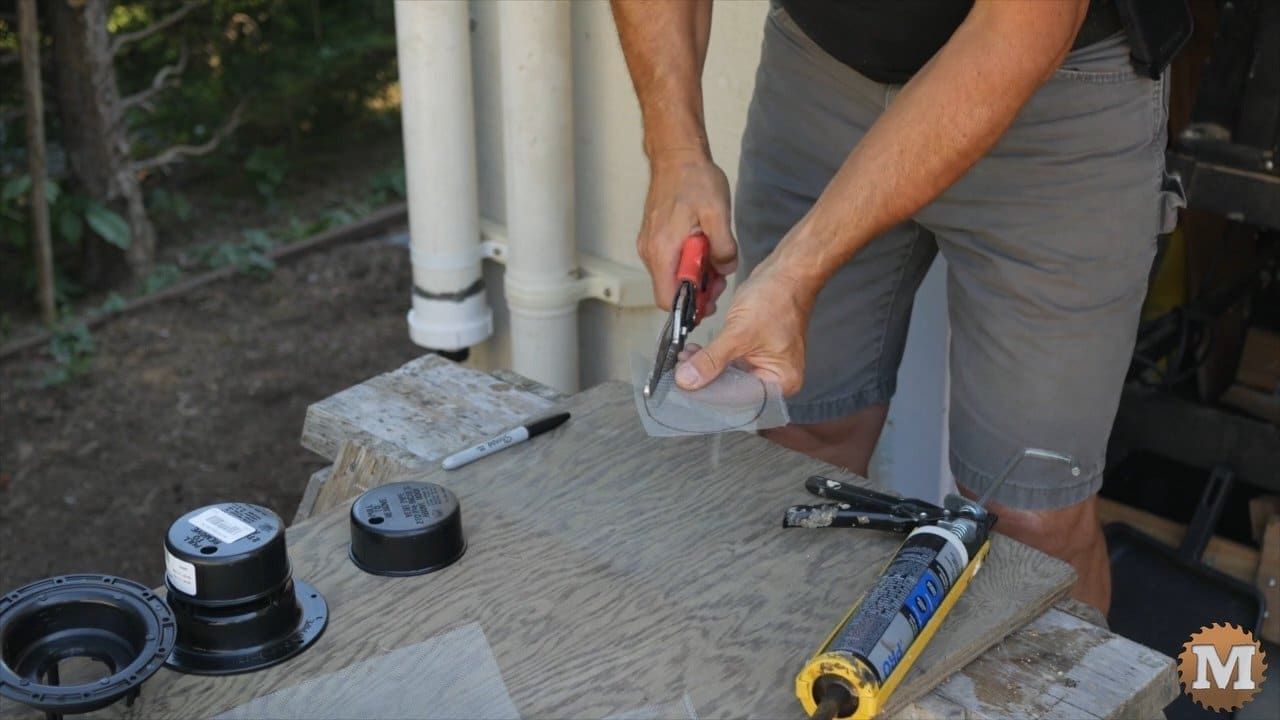
The last bit of plumbing to do here is to add a vent to the tank. For this I bought an RV tank vent and fitted it with a bug screen.

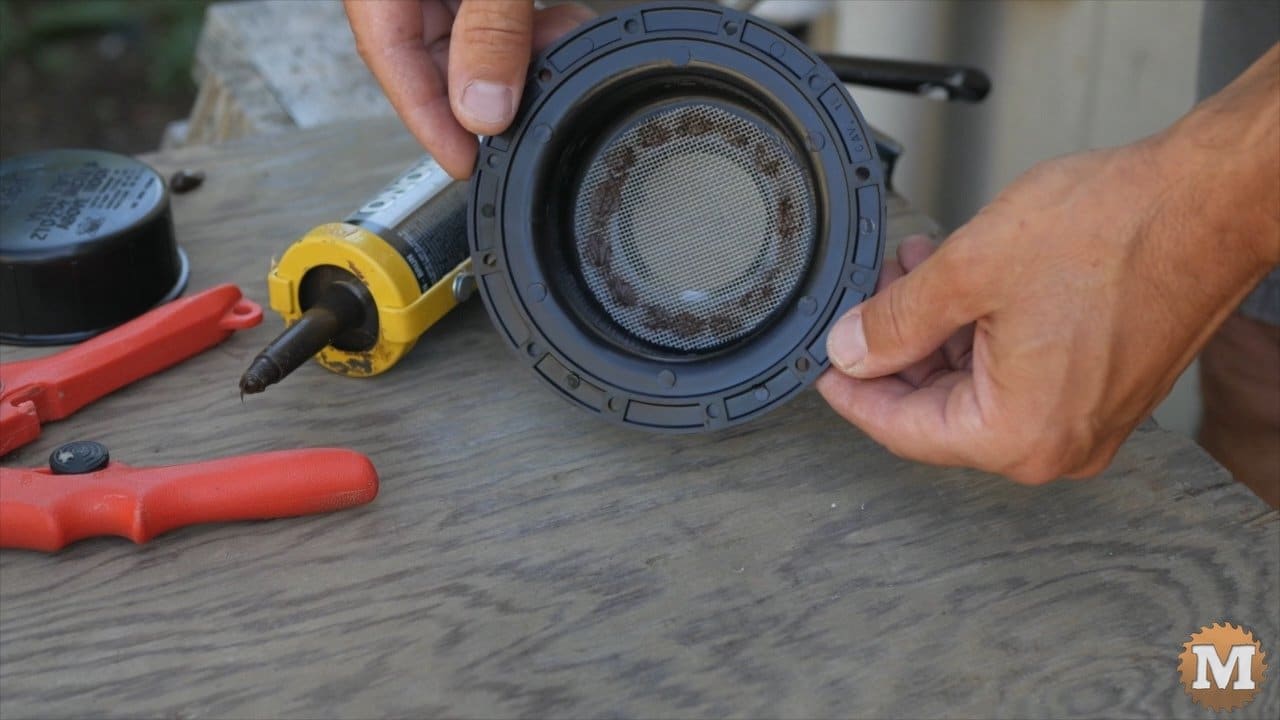
I cut a disc of aluminum window screen and siliconed it to the base of the vent.
Drilling Vent Hole
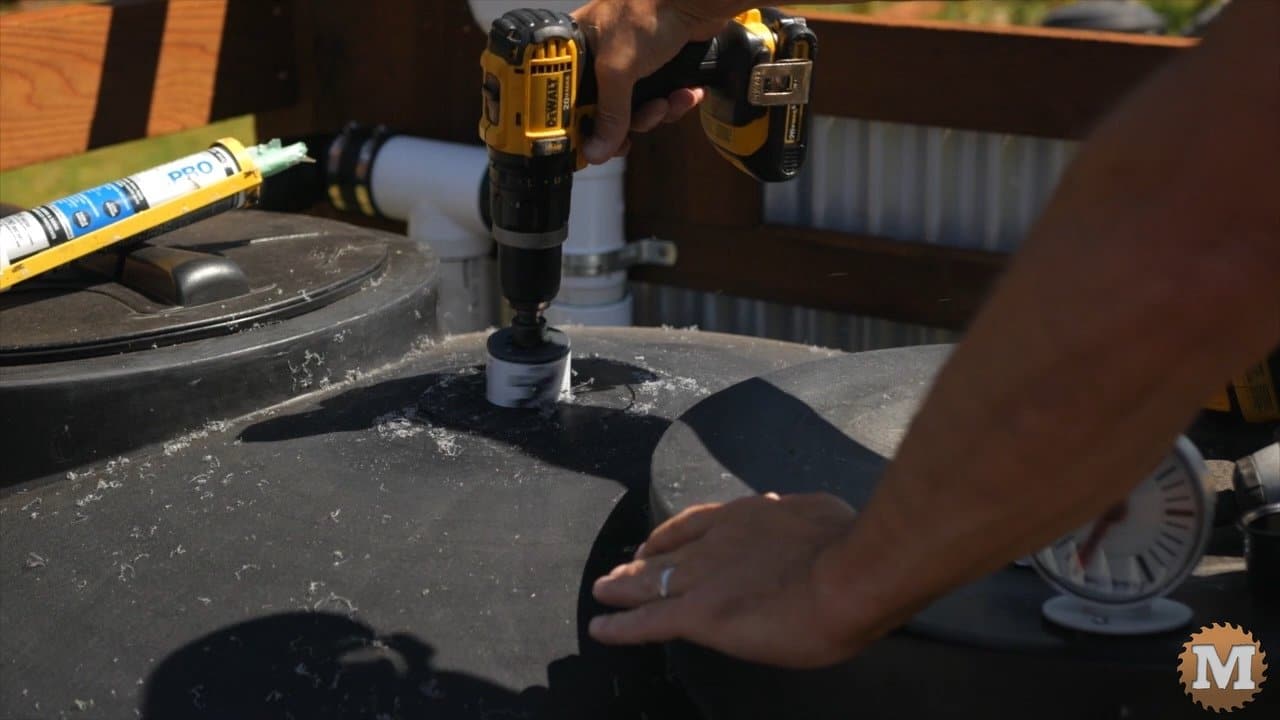
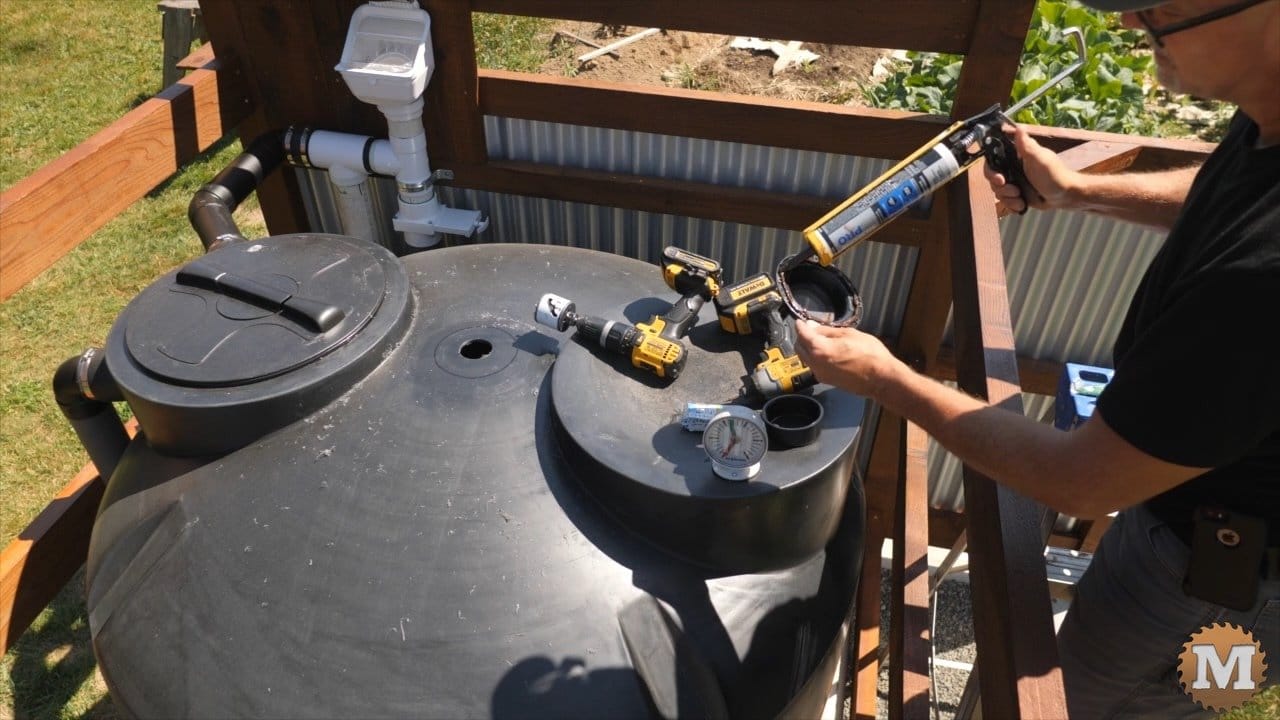
I cut a hole in the top of the tank with a hole saw.
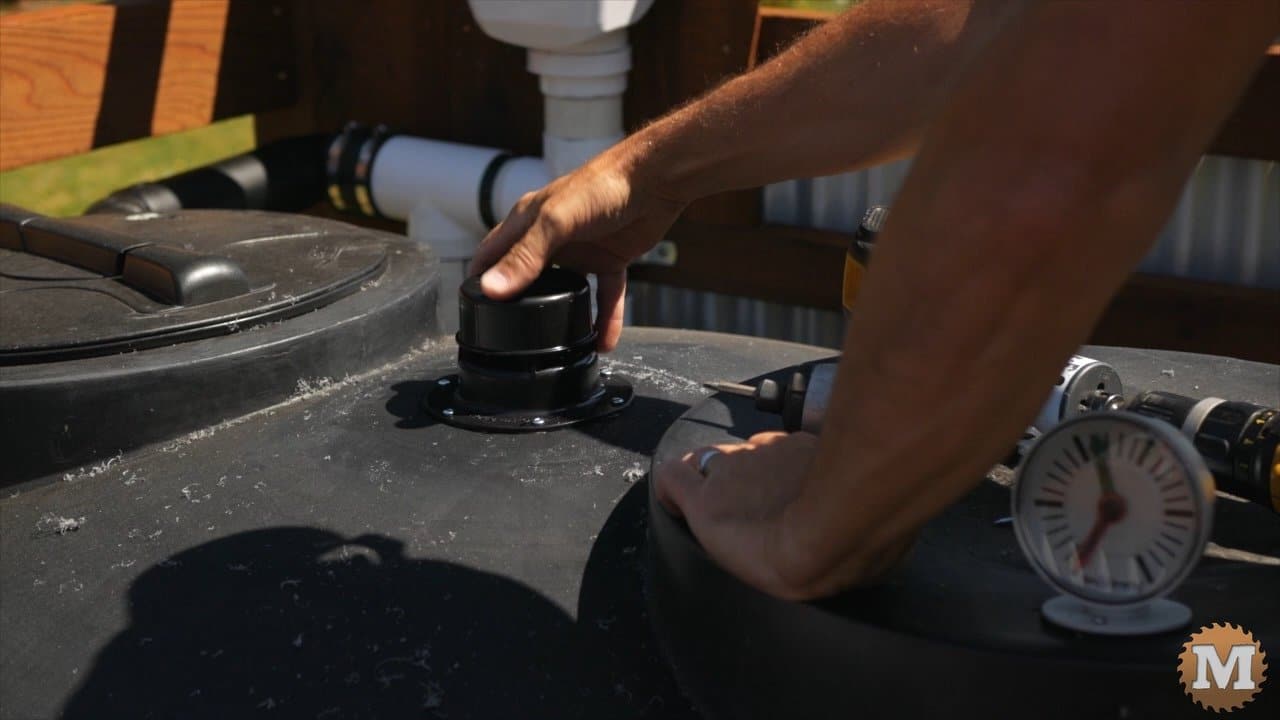
Added some silicone to the base of the vent and attached it with screws.
So I hope you have enjoyed this post, and thank you so much for reading. If I make any further improvements or changes I’ll post them here.
And, while you are here, please hit the Support Link to help us make more projects and videos like this. We really appreciate anything you can do to help us out!
Jump to:
Off-Grid Rain Tank Part 1 – Pour the Tank Foundation
Off-Grid Rain Tank Part 2 – Build the Tank Surround
Off-Grid Rain Tank Part 3 – Tank Plumbing and Fittings
Off-Grid Rain Tank Part 4 – Install a Solar Powered Pump