DIY Overflow Siphon
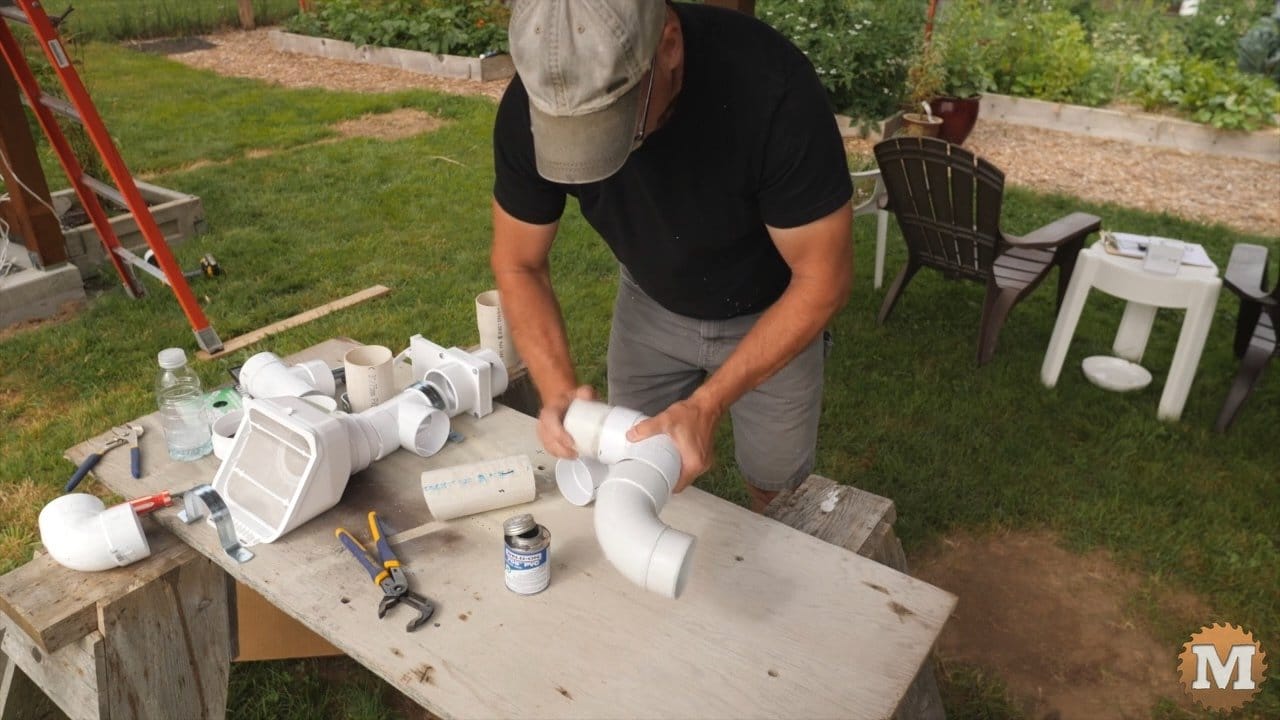

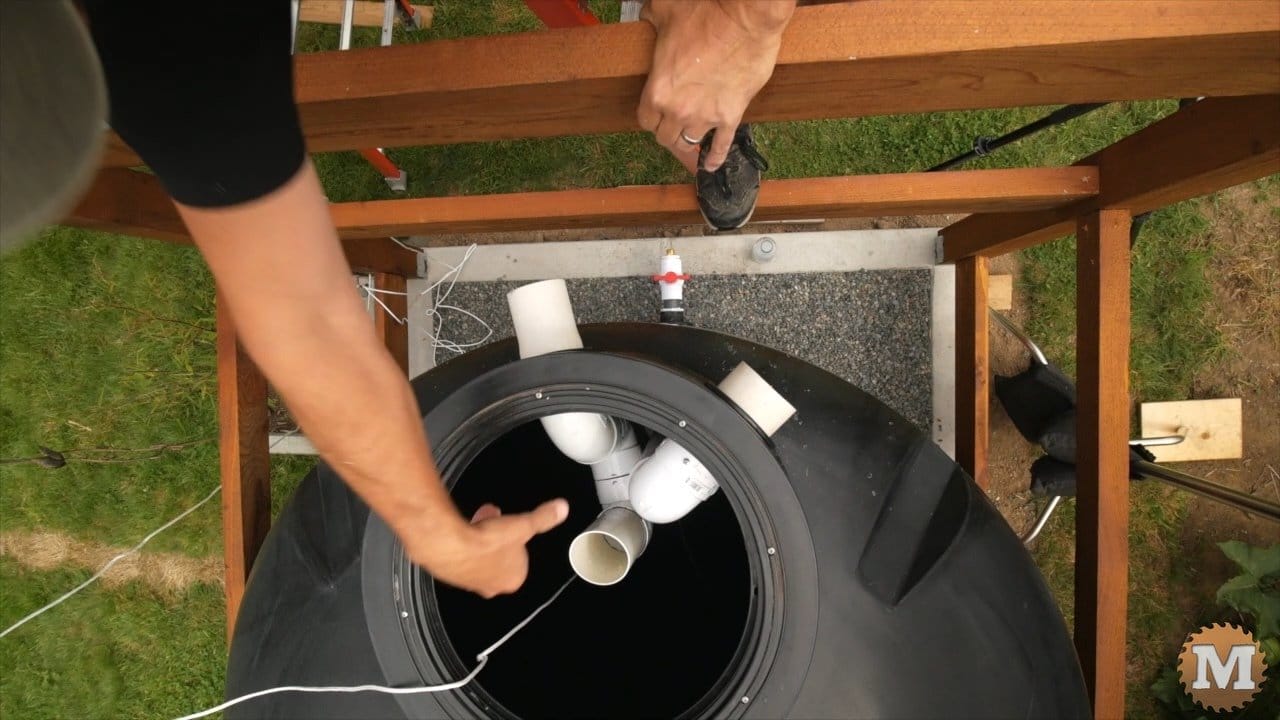
For this tank overflow I’ll use standard fittings to create a siphon. It’s made from three 90 degree elbows and an angled pipe.
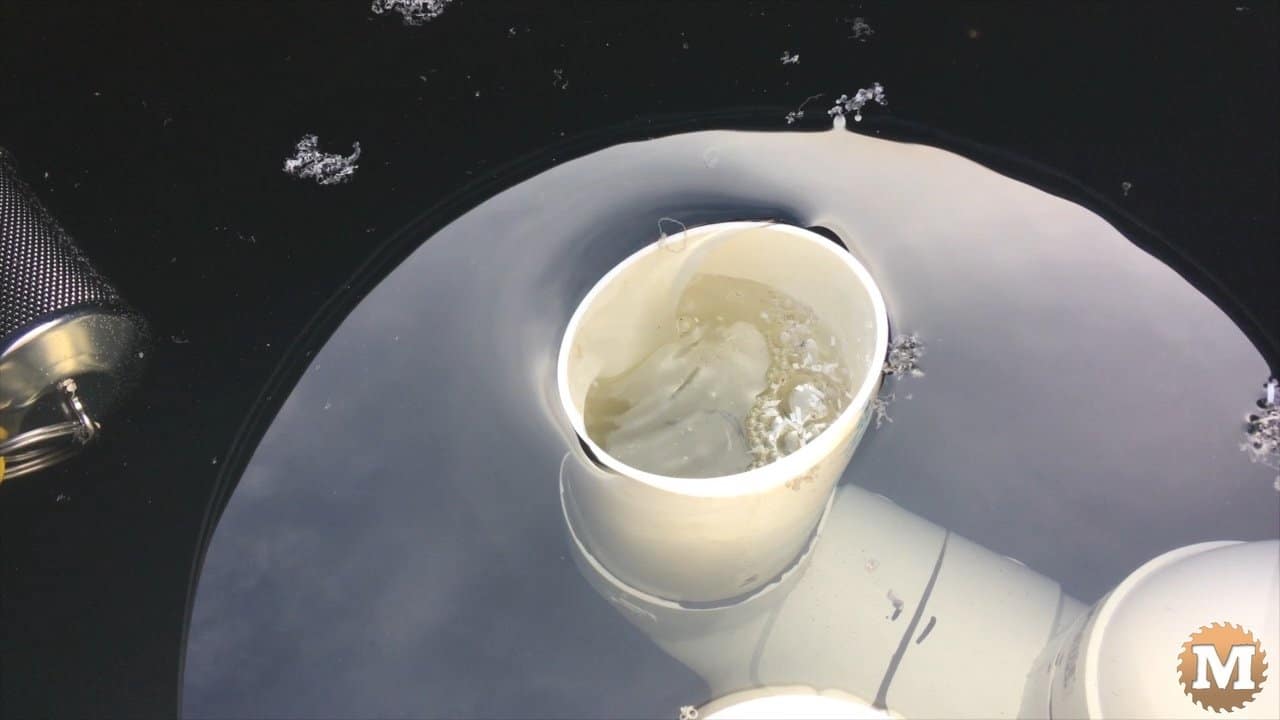
When the tank is full this siphon will skim water off the surface and send it down a pipe to the dry well that I dug in Part 1 of this series.
Tank Overflow Screened Outlet

Now I’ll glue that in place.
You can buy a siphon formed from one piece but my suppler was out of stock. I think it works out to be cheaper than making your own when you add up the cost of the fittings. And there’s options without a siphon that use a simple 90 degree fitting with screen to keep mosquitoes out.
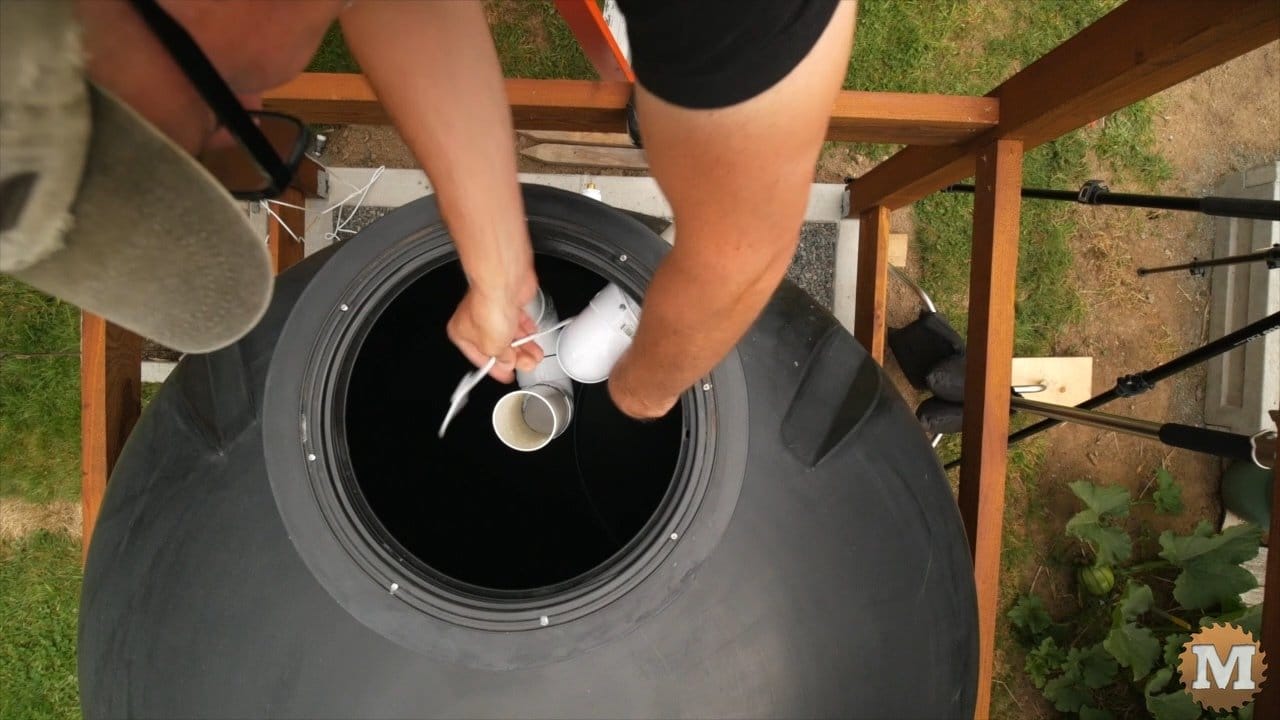
In case the siphon dries out I’ll add a screen on the pipe end that runs into the drain just in case. And that’s done later.
Next I’ll tie the tether for the float to one of the pipes to keep it off the bottom.
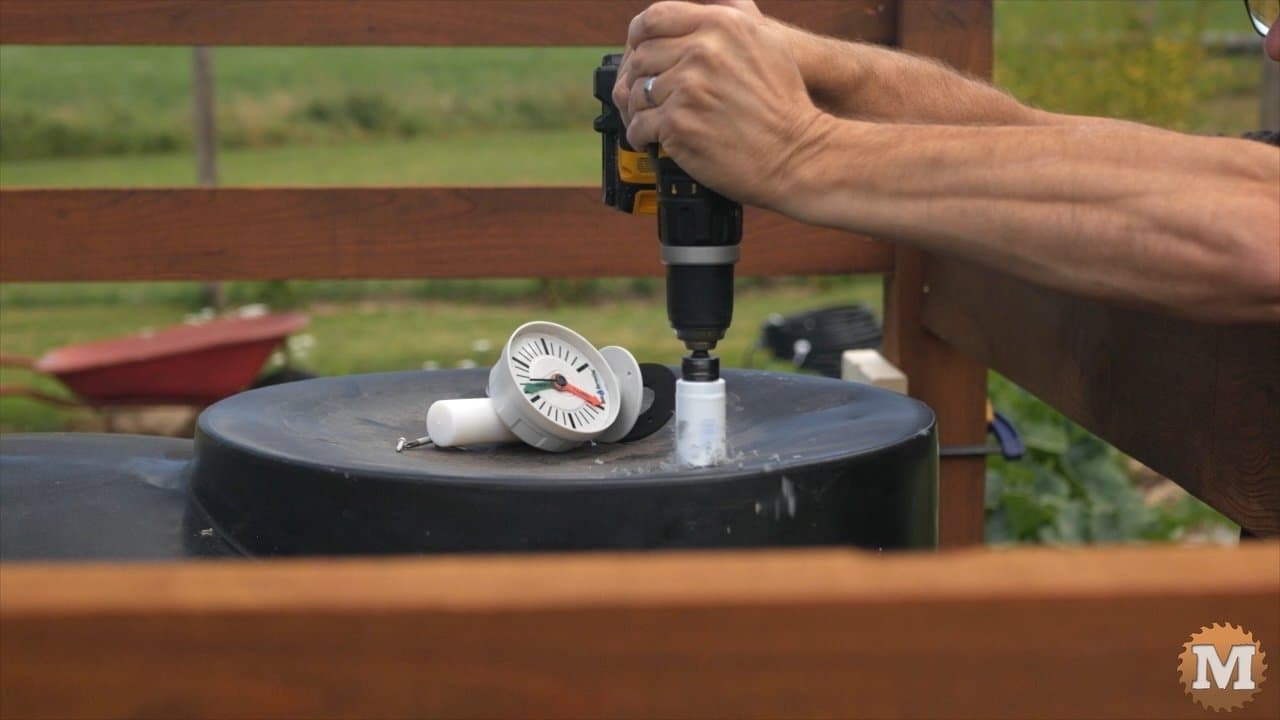
On the other side of the tank I’ll add a gauge. It’s a float on a spring coiled spool that you set to your low and high water points.
Instal a Rainwater Tank Gauge


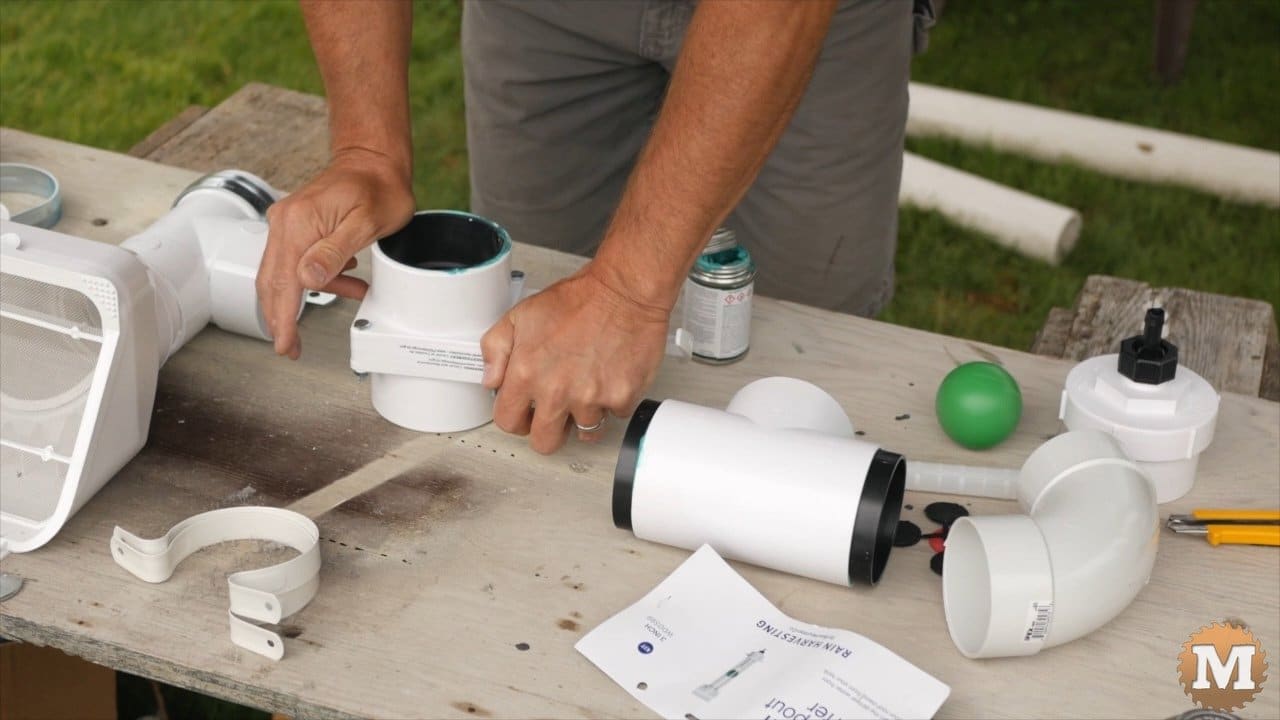
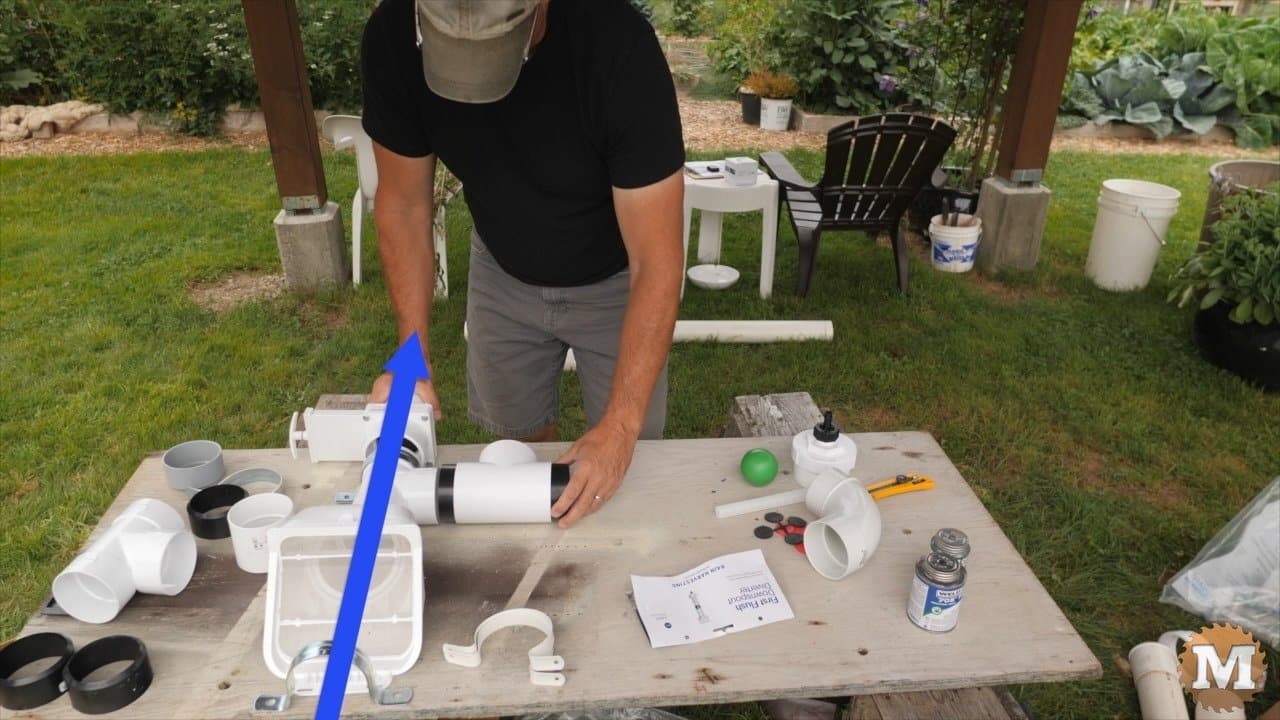
Inlet Fittings
Now I’ll start to put together my assembly of fittings that will attach to the tank inlet. I bought a first flush diverter kit and need to adapt it to 3″ drain pipe.
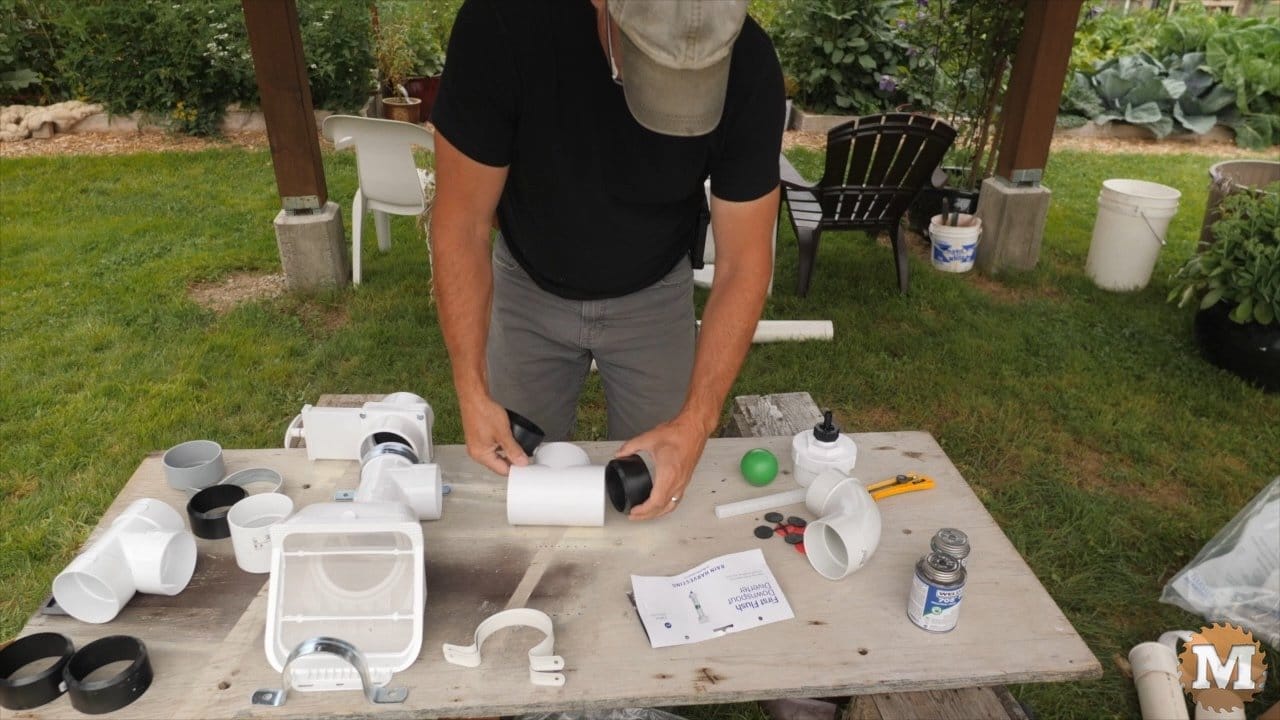
The fittings it comes with are designed for the thicker Schedule 40 PVC pipe. The gate valve I’ll be also adding is designed for this thicker pipe.
So I need to first glue in these sleeves to allow me to connect everything together.
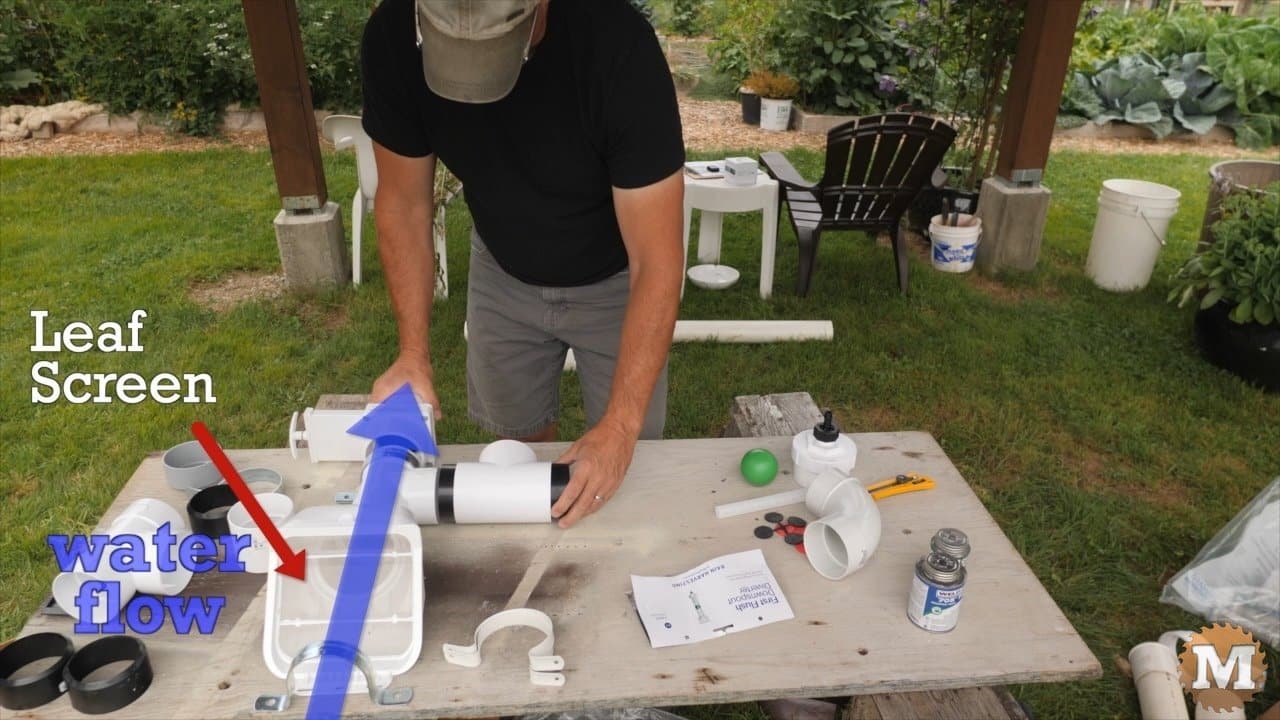
Let me stop for a minute to explain what I’m gluing up here. Water will first run into this angled downspout screen. This will help keep leaves and debris from the gutter from entering the tank.
Tees, Screens, Gate Valves oh my!
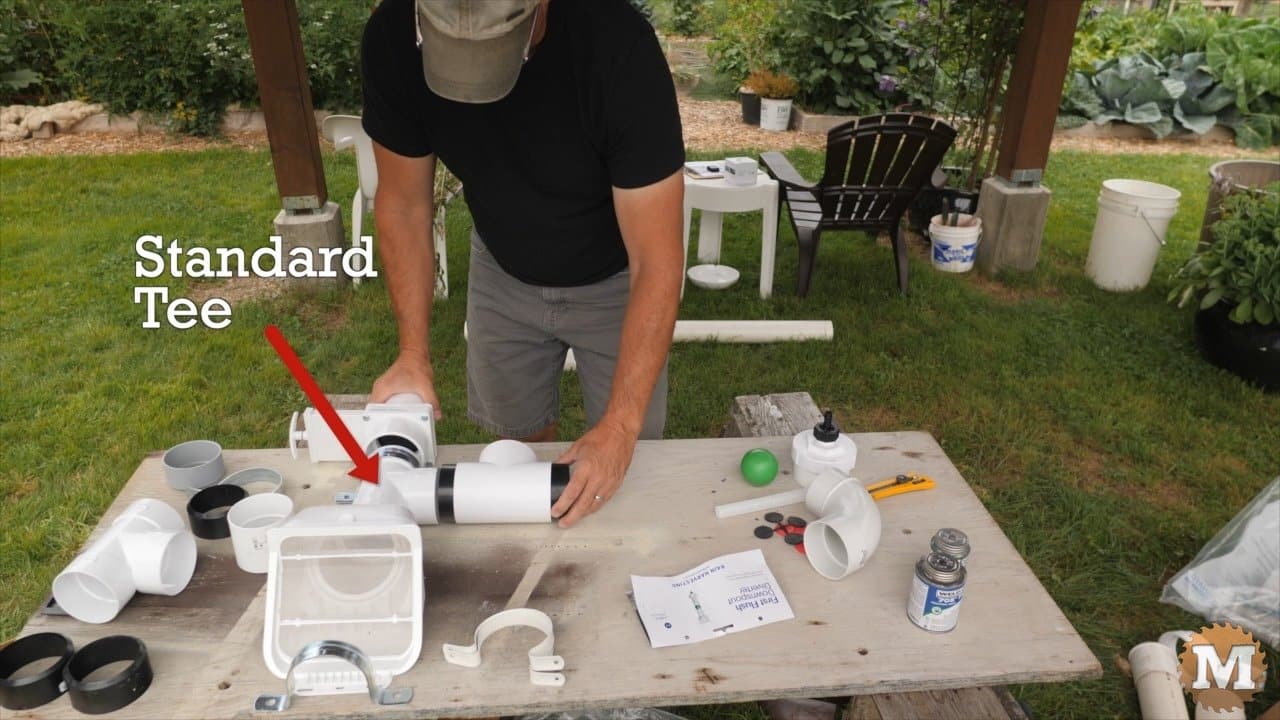
Below that screen is a T fitting. With one of the outlets running into the first flush T.
(Disclaimer: As an Amazon Associate I earn from qualifying purchases. Thank you for helping to support my content this way. )

Below is a gate valve that will connect to the drain pipe that goes to the dry well. When this gate valve is closed water will back up against the gate and then fill the first flush diverter before it finally ends up in the tank.
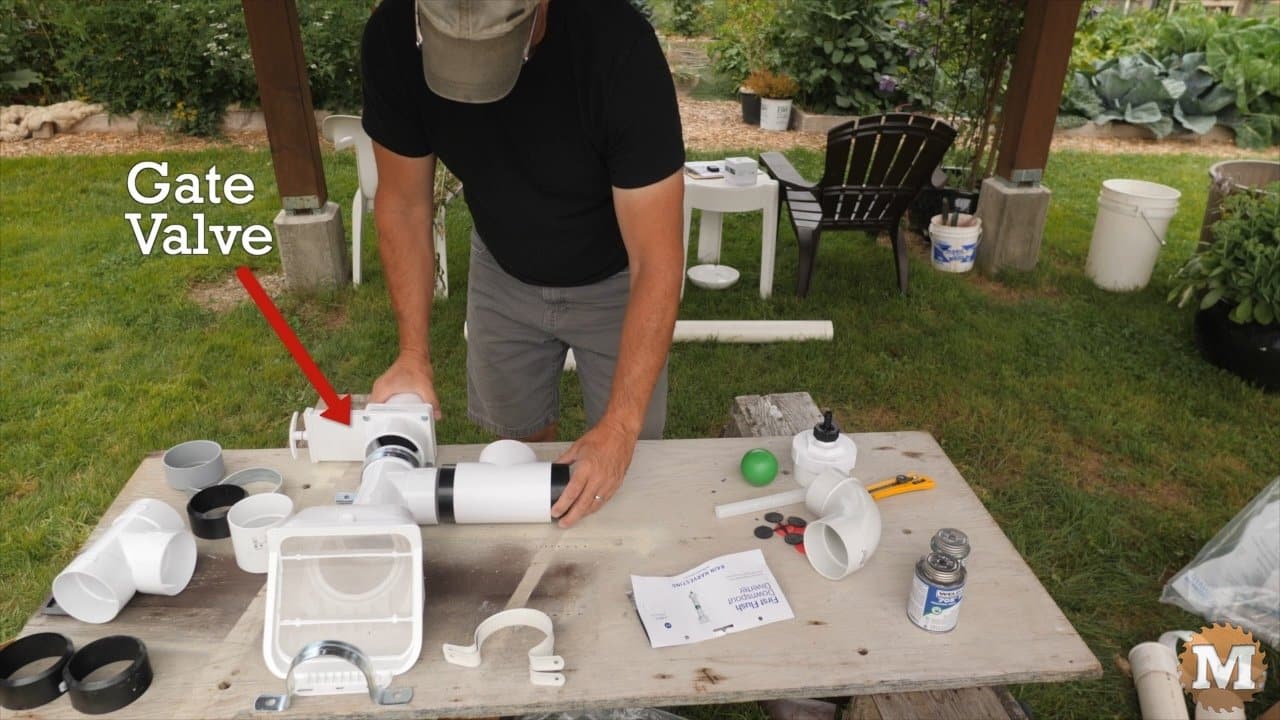
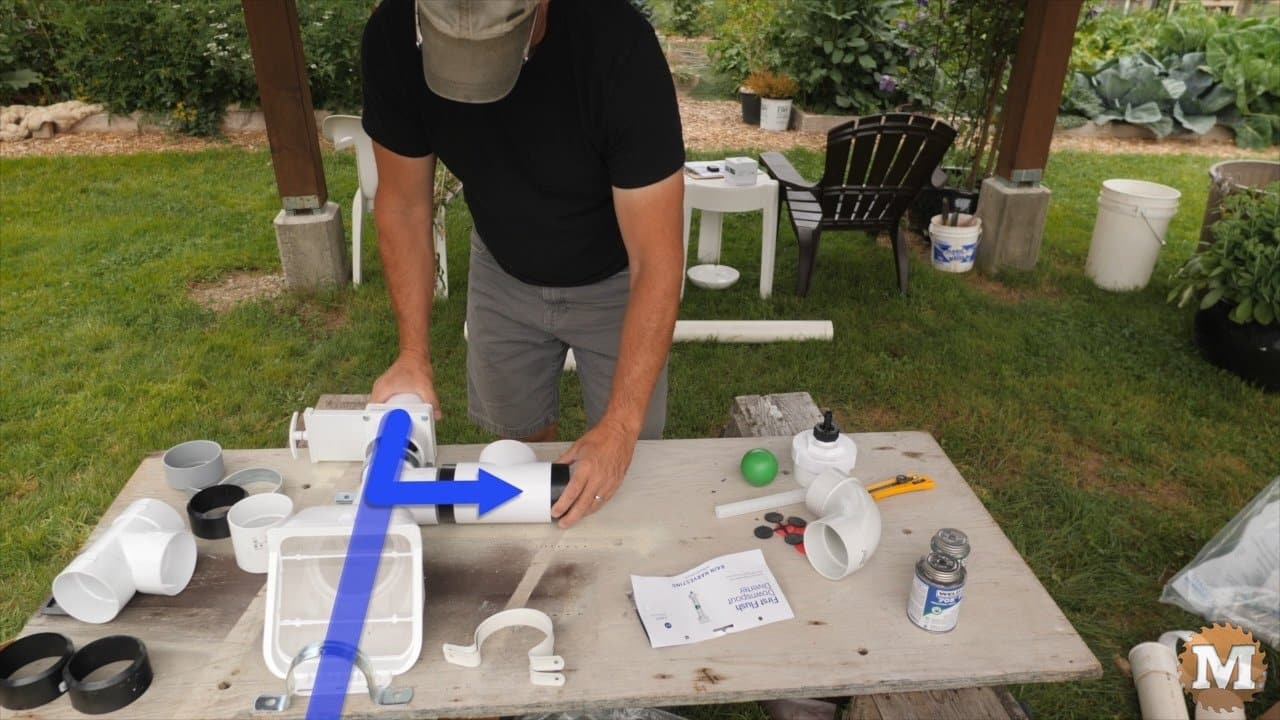
So the gate valve will be closed when I want to fill the tank. And it will be left open when I want water to bypass the first flush and tank inlet and instead go directly to the drain.
Stay with me here, it will become more clear as I attach this assembly to the fence surround.
Okay, moving on.
Careful Planning before Gluing
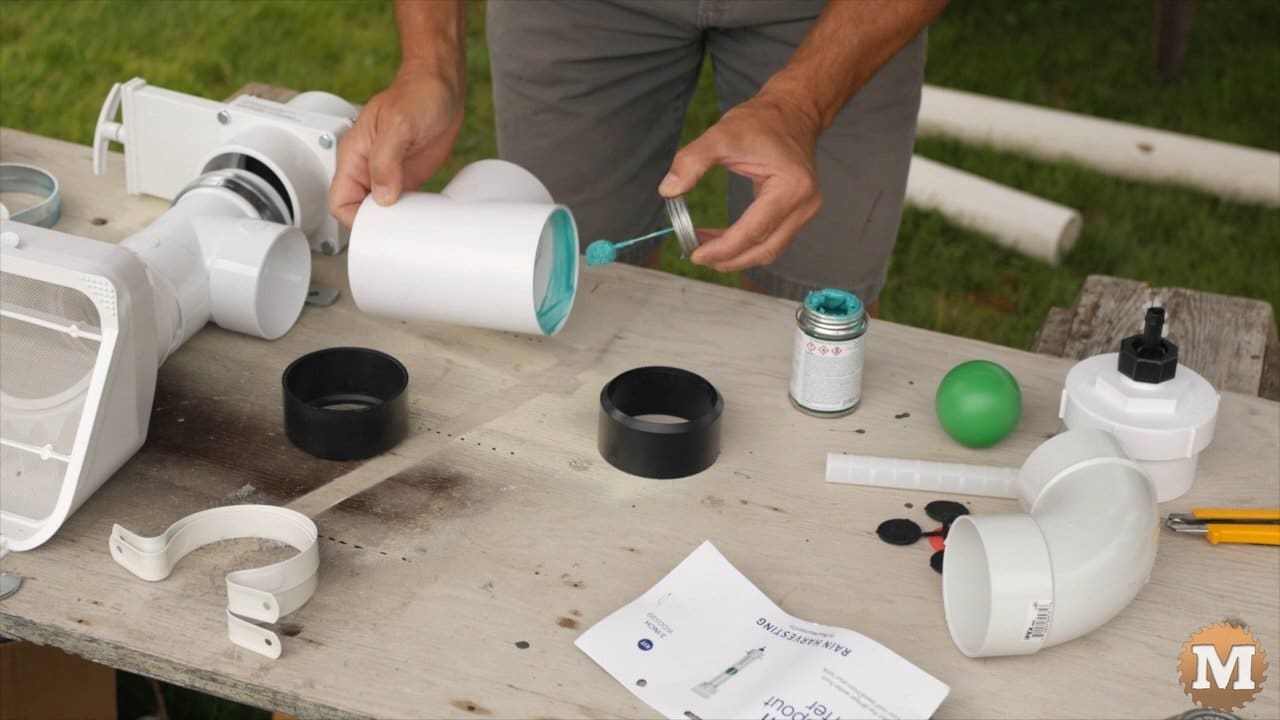
I could only find the black ABS adapter sleeves but they will work fine for this. I just need the right glue that works on PVC and ABS together. And you have very little time, a few seconds really, to get the parts in the right position once you glue them and slide them together. And there’s no going back for a second try. You can only guess how I learned this.
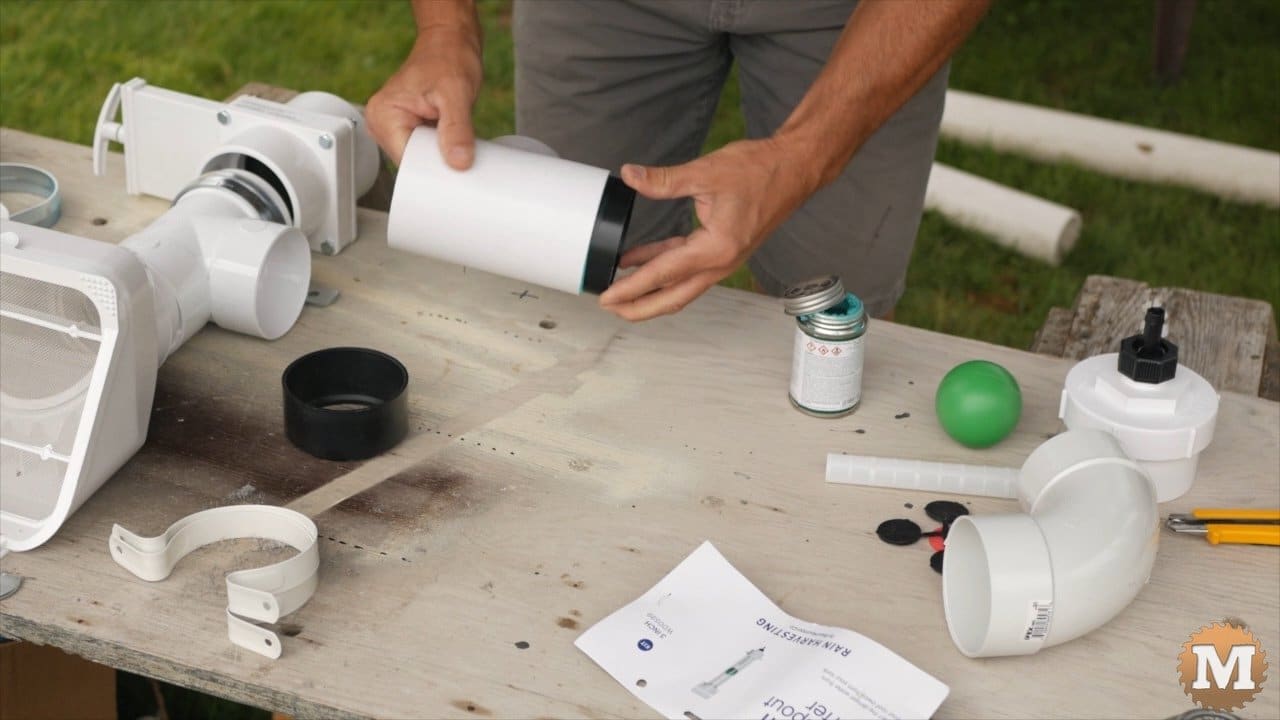
So I’ll glue these sleeves to the first flush T. Then to the gate valve. Then with short pipes I can attach the gate valve and T’s together.

Adapter Sleeves aid in assembly