Strip Aircrete Forms
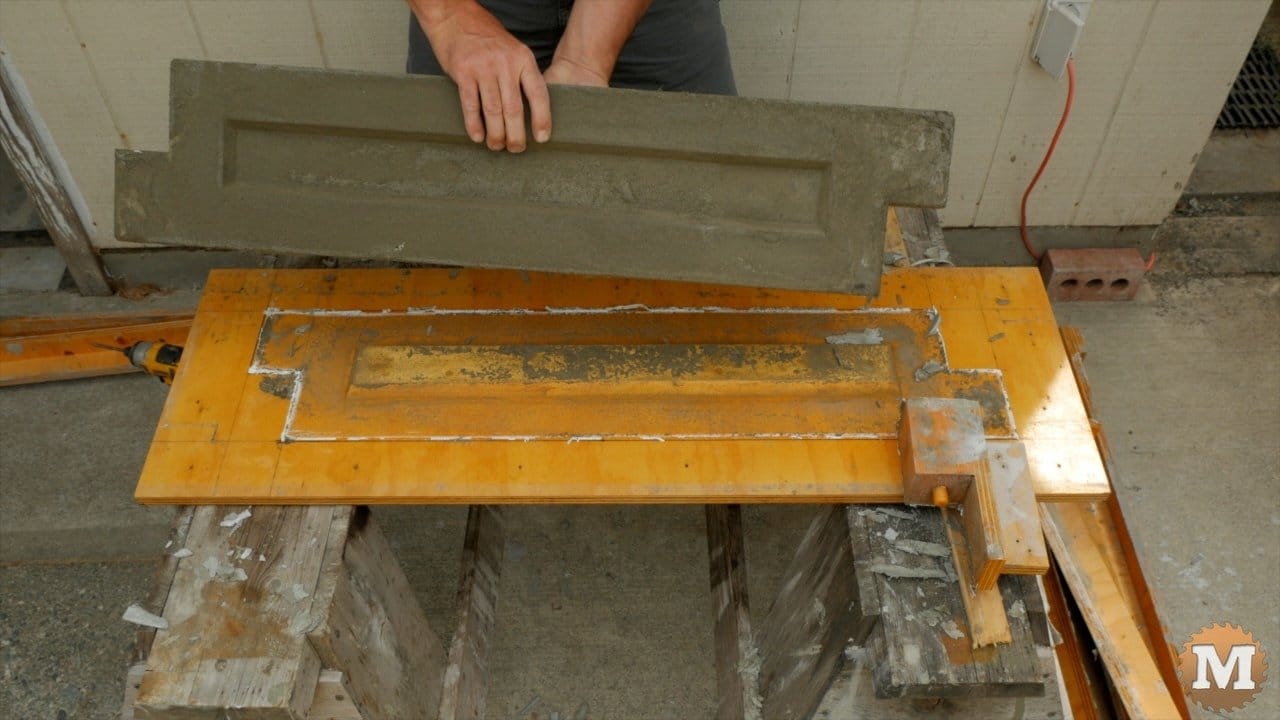
I remove all the screws from the form, gently pry off the sides, remove it from the base — and then remove the ends. And I was really happy with how they looked. It felt quite solid.
Now this panel was the most fun to make, and certainly the most unique of the options I tried.
I’d like to thank The Honey Do Carpenter and Aircrete Harry for their many great videos on everything to do with aircrete. I’ll put a link to their channels in the description as well.
Aircrete Results
I was able to get a very dense foam without a foam generator. For my testing this worked well but, if I was going to get into making a lot of aircrete, I’d build or buy a foam generator like the ones that Harry or Darwin use.
I followed Aircrete Harry’s formulation for what he referred to as a “standard” mix. My aircrete held its shape and there was little if any bubble collapse as it was setting up.
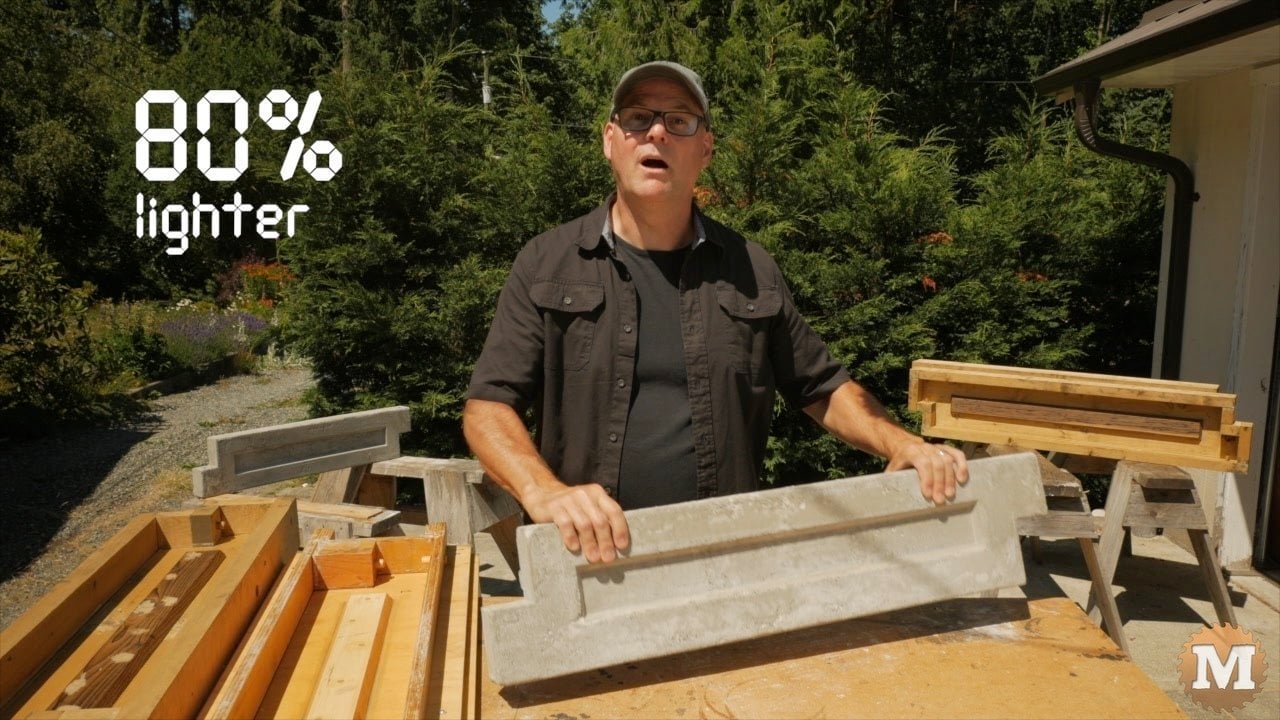
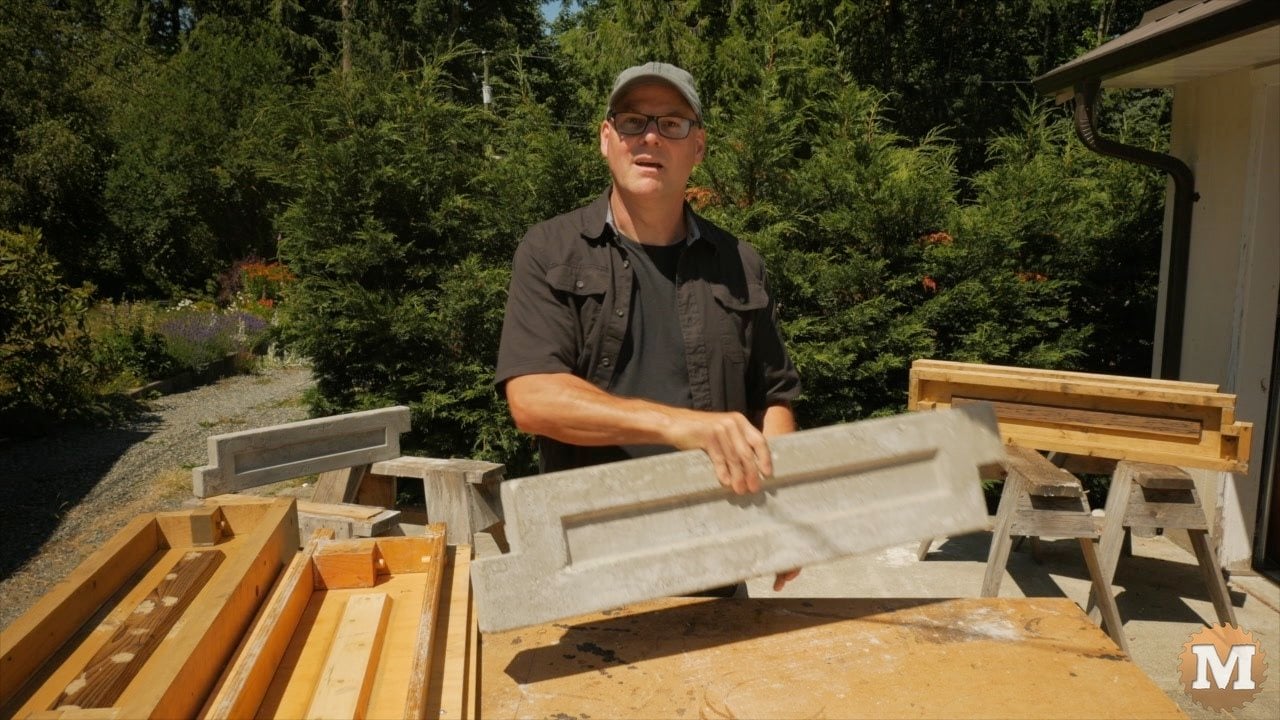
The aircrete panels came out of the forms well. The surface finish looked good and the bubbles looked uniform. The panels were very light, on average 80% lighter than regular concrete. Wow! That’s pretty impressive!
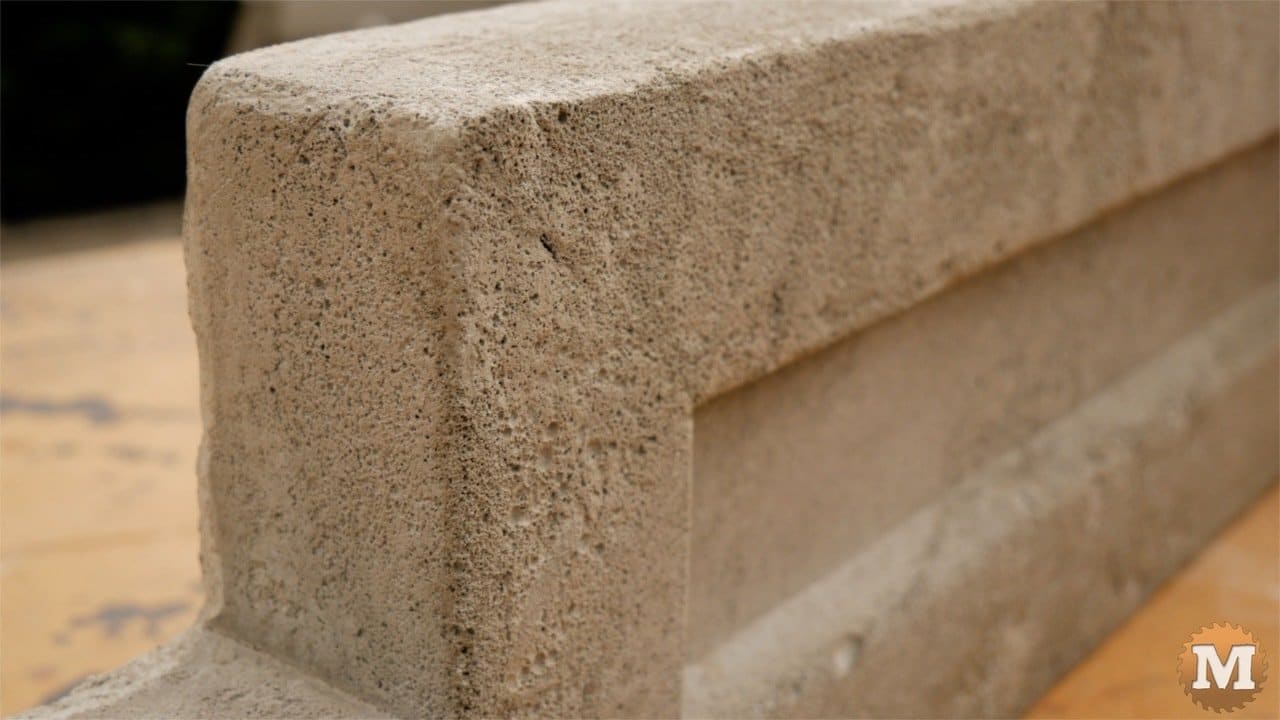
But, even after curing though, I found the panels were not very durable. There’s no sand or gravel to add that impact or abrasion resistance. I did a little test of the durability of all the panels by running a weed eater or line trimmer against them.
Air Crete Durability Testing

Not a scientific test, by any means, but something the panels may have to endure.

There was noticeable damage to the aircrete panel but the others fared okay.
(Disclaimer: As an Amazon Associate I earn from qualifying purchases. Thank you for helping to support my content this way. )
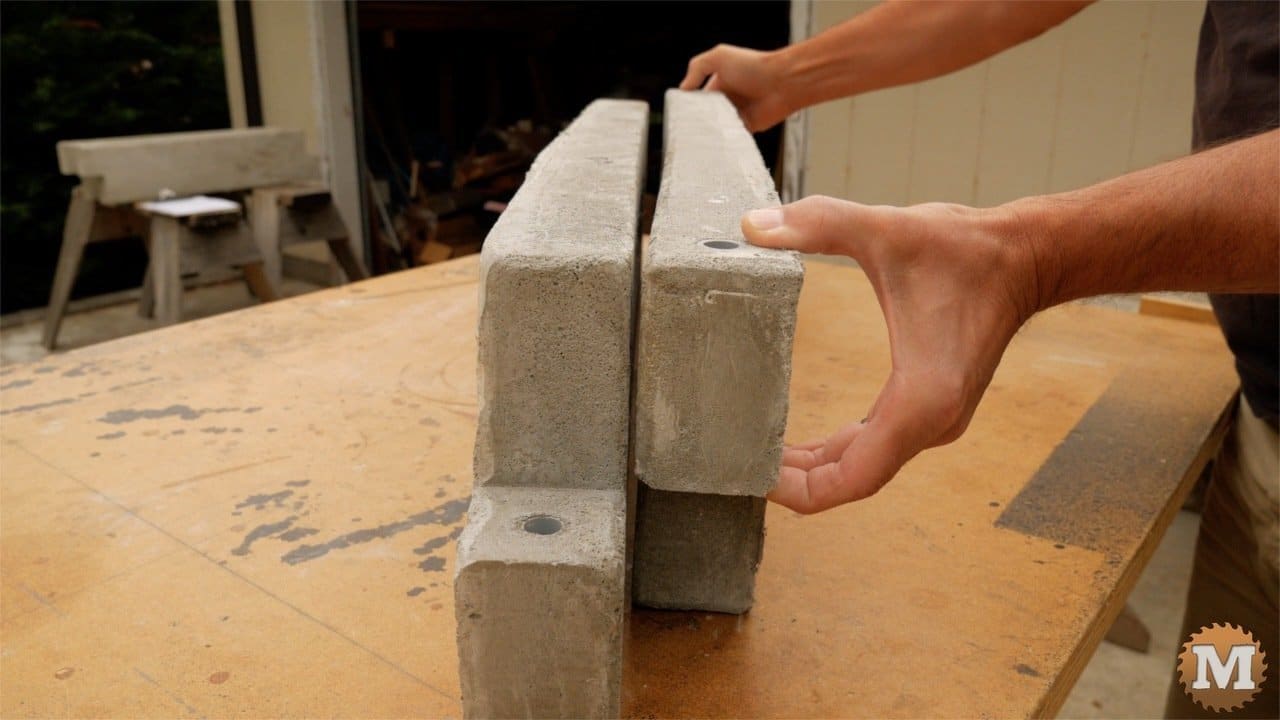
Another bigger issue is what was happening to the aircrete panels as they cured. They were bending and cracking.
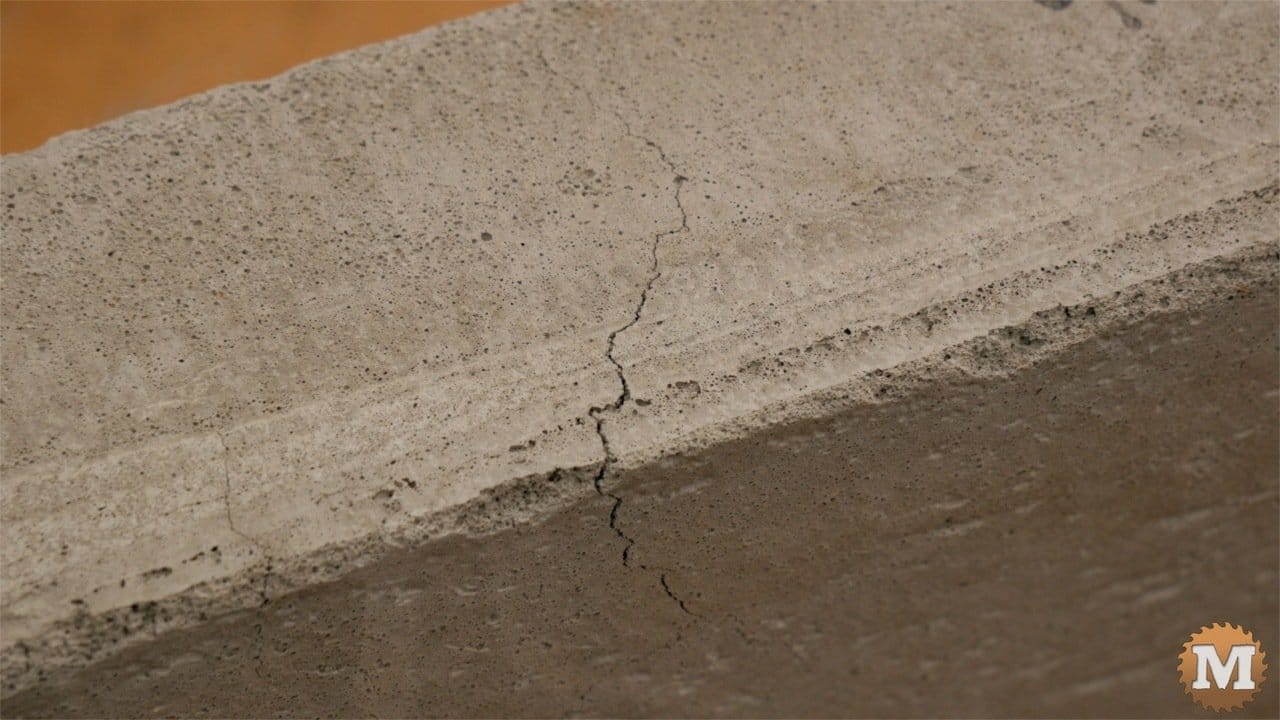
I suspect that with a lower strength in general, the internal stresses caused by shrinking and drying led to this bowing along the length, and this lead to these cracks forming. This is what I think is happening anyway.
Perhaps a mix with a greater ratio of cement to foam would prevent this. It would bring the weight up a bit. And there’s still the durability issue. If you have made these panels with aircrete, or you know how to prevent this warping and cracking then leave me a comment below.
FINAL THOUGHTS
So, I think for me, of these three, the best formulation for ease of mixing, weight reduction, AND durability is the vermiculite blend. If weight was an issue for my concrete panels I’d opt for the vermiculite mix.
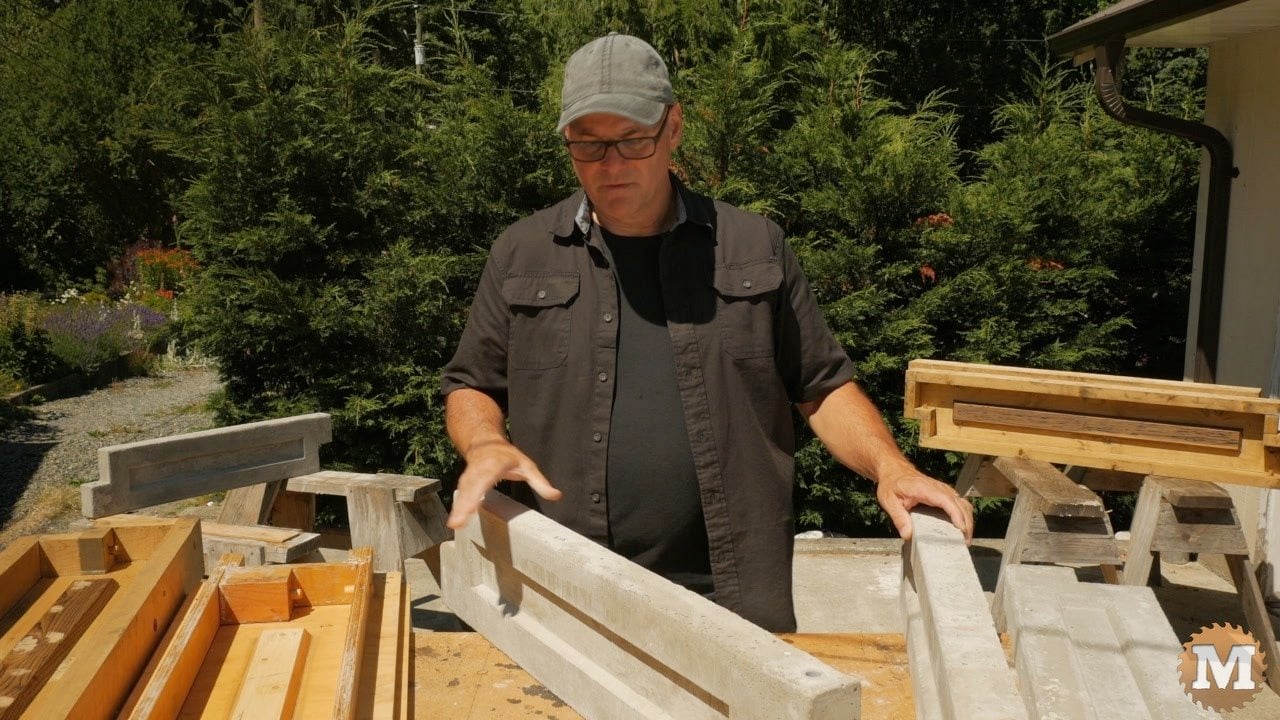
I’m not saying that the lava rock mix or aircrete are not worth trying, because you might get better results than I did.
There’s also lightweight concrete ready-mix bags made by Sakrete but they’re not available in my area so I was unable to test it. So that might be a good option too.
One last thing – as I was doing these tests I came up with another way of making the panels that’s faster and lighter without sacrificing ANY strength OR durability. And that is coming right up in part 4.
So I hope you have enjoyed this post, and thank you so much for reading. If I make any further improvements or changes I’ll post them here.
And, while you are here, please hit the Support Link to help us make more projects and videos like this. We really appreciate anything you can do to help us out!

