Vermiculite Lightweight Concrete
So for this blend, I picked up a bag of number three vermiculite. It’s a mineral that’s expanded by heating in a furnace. It looks a bit like mica.
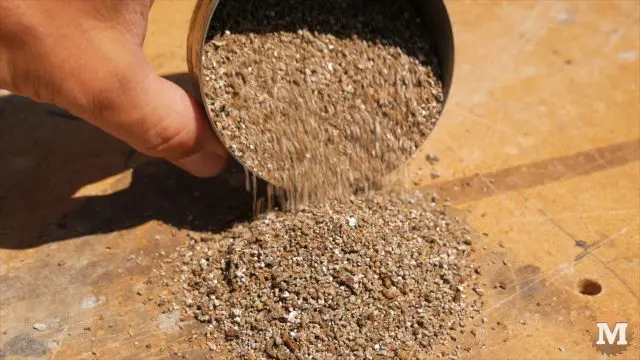
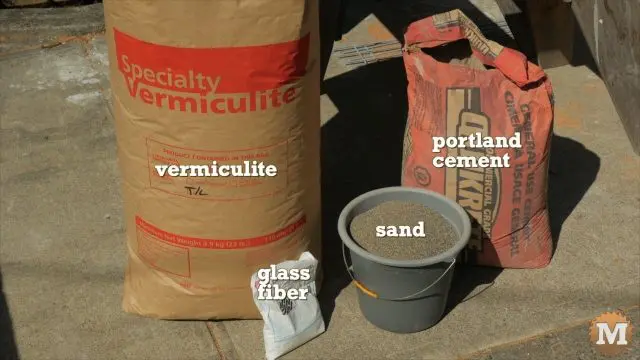
The ingredients are: portland cement, sand, vermiculite and glass fiber. I wetted the vermiculite slightly first before adding it to the sand in the wheelbarrow to make it easier to blend.
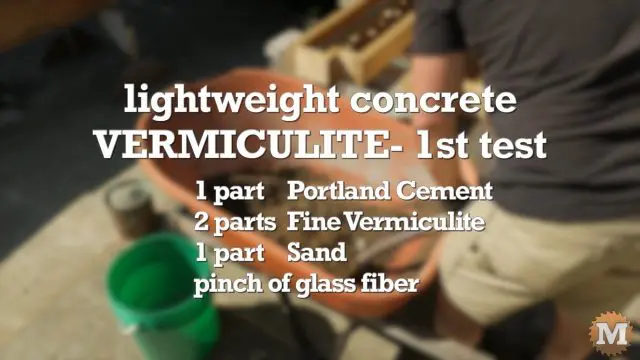
For this first test it’s one part portland cement, two parts vermiculite, and one part sand, and as always, a pinch of glass fiber. This mixed easily in the wheelbarrow.
Vermiculite – 1st test
Once it’s well blended, I add the Portland cement. It felt quite dry and it took a bit more water than I expected.
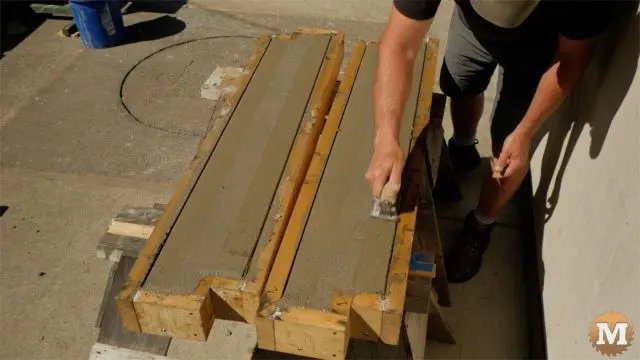
And like before I filled the forms half away, settled it a bit with the reciprocating saw, add the mesh, and then top it up and repeated on the other form. And smooth the bubbles that formed with a trowel, and repeated that for the other form.
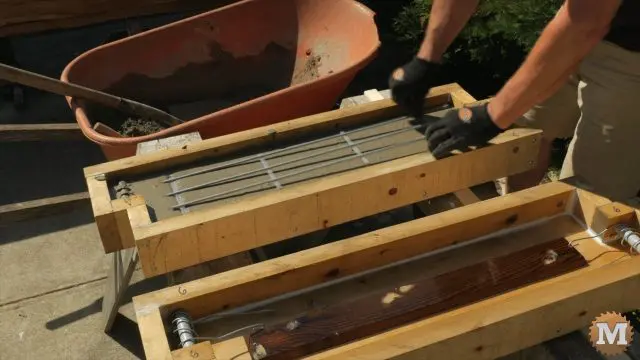
And these are the vermiculite 36 inch panels coming out of the forms. Removing the sides and ends and then just gently prying the panel free with a paint scraper.
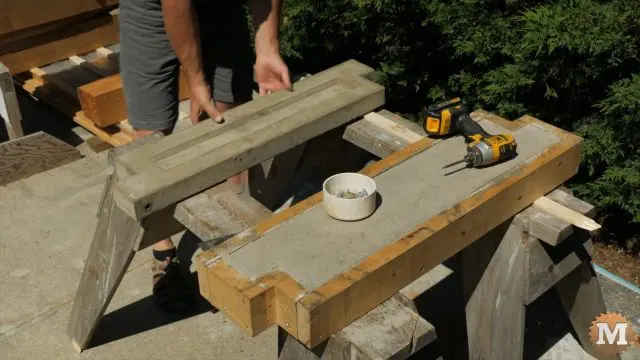
This blend mixed very well and was noticeably lighter, even in the wheelbarrow. And this made it easy to fill the forms.
It settled well with vibration and had a nice texture while troweling and edging. It came out of the forms easily and has a nice smooth finish. It felt noticeably lighter than regular concrete and I think it would be quite durable.
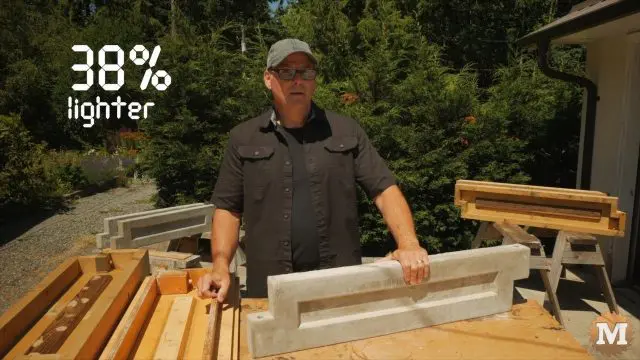
It weighed, on average, 38% lighter than regular concrete!
(Disclaimer: As an Amazon Associate I earn from qualifying purchases. Thank you for helping to support my content this way. )
Now let’s look at the aircrete.
Aircrete
The aircrete uses fewer ingredients: Portland cement, shampoo to create a foam, and some glass fiber for extra strength.
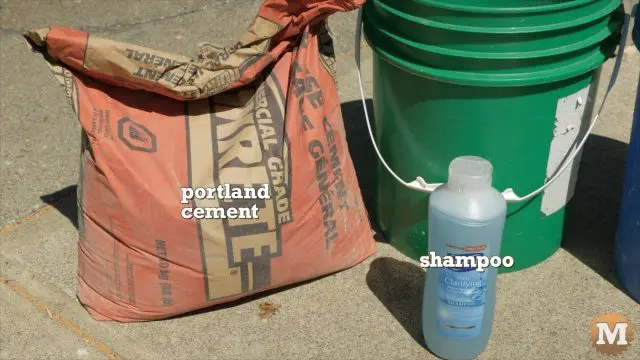
So I begin by diluting the shampoo in water. 15 fluid ounces of shampoo to 2.5 gallons of water.
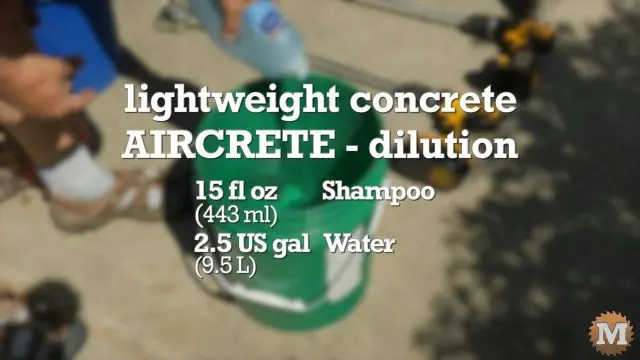
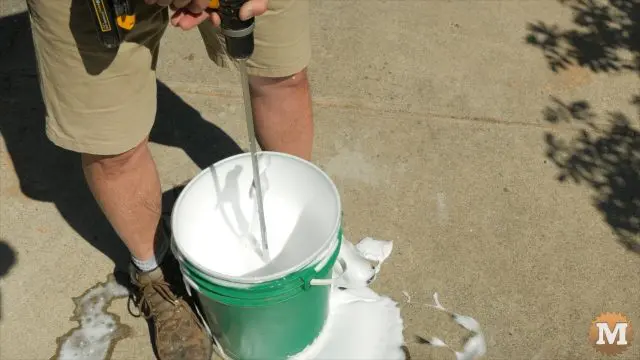
This will be the dilution that I’ll use to create the foam. I stir this with a paint mixer attachment for my drill on a low setting — just to dissolve the shampoo in the water.
I use Suave Daily Clarifying Shampoo as my foaming agent.
Aircrete – 2nd test
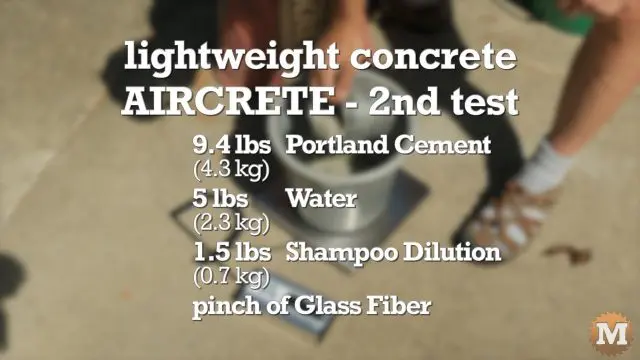
I’ll use a digital scale to weigh my gradients. I use 9.4 pounds of portland cement, 5 pounds of water, 1.5 pounds of the shampoo dilution and a pinch of fiber.
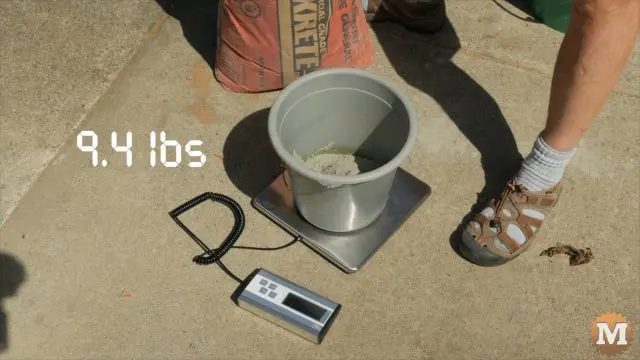
I’m weighing the cement and to that I’ll add a little handful of the fiber. I then weigh the water.
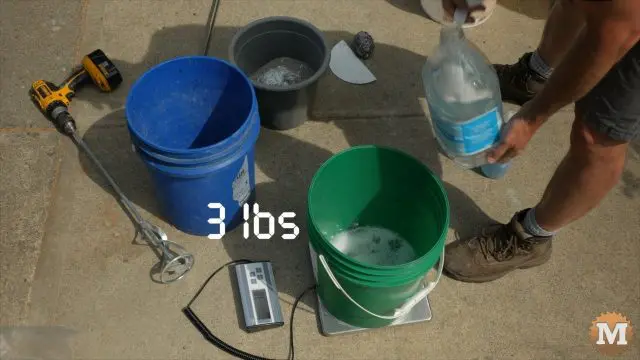
And then I also weigh the shampoo dilution and it’s 3 pounds to make my foam. It’s easier to make twice the foam needed. I find it just mixes better.
I experimented with a some different shape mixers to make my foam.
Manual Foam Generator
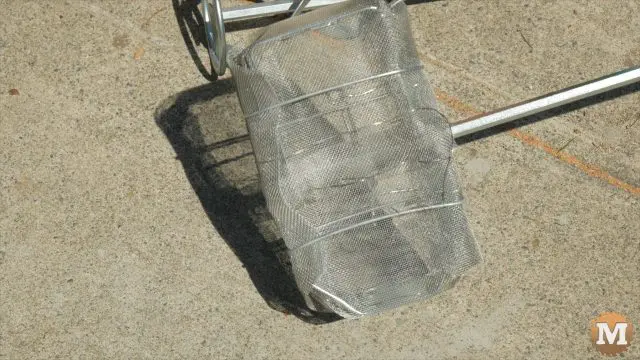
With wire, I sewed some window screen onto this paddle thin-set or grout mixer. When I tried to make foam, it spun the entire mixture a little too much. So this one was a little too aggressive.
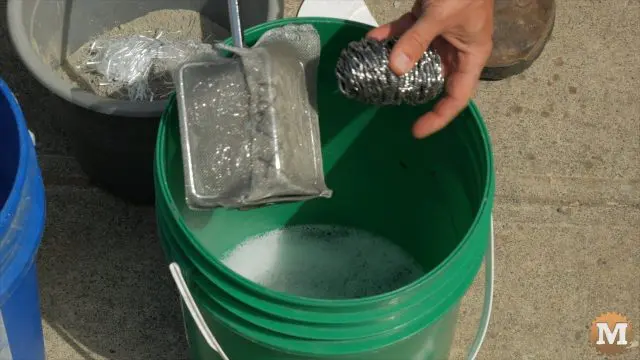
The next time I sewed the screen to a smaller, egg beater type mixer. I tried adding a little bit of stainless steel scrubbing pad to the center of it. I don’t think that really made a difference either way.
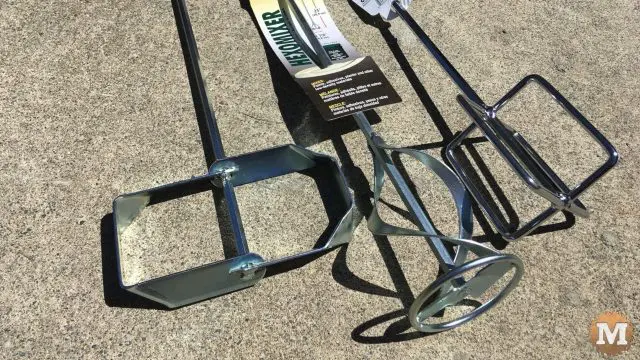
So this one worked better because it didn’t spin the entire mixture and didn’t cause it to overflow from the pail so I got a lot better result this way. I’m using a 5 gallon pail with 3 lbs of shampoo dilution. So when the pail is full I get a foam density of 3 lbs per 5 gallon volume.
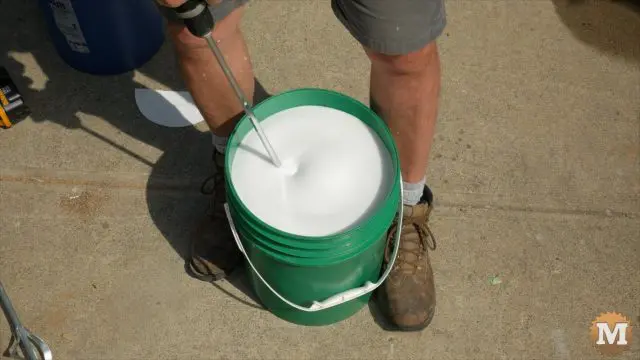
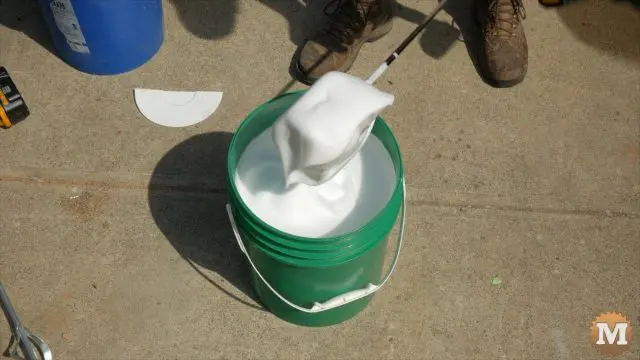
Portland Cement Slurry
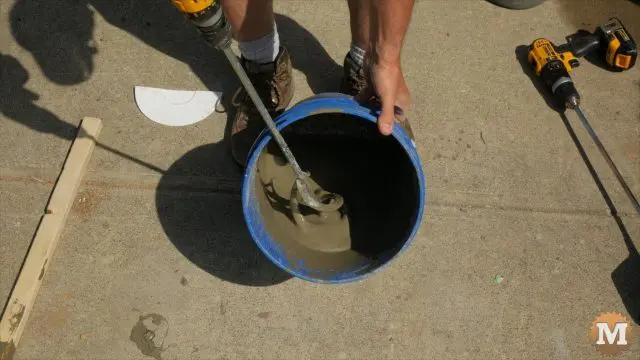
Now with a paint mixer, I’ll add my Portland cement and fiber to the water, a bit at a time. I want to create a smooth portland cement slurry. So I add a bit, spin it, add a bit, spun it until its smooth.
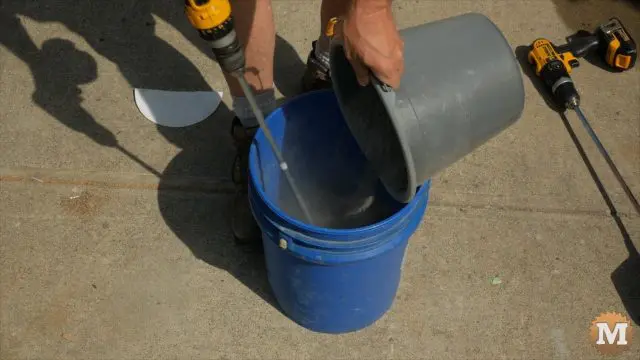
I also stirred the mix by hand to make sure that there was no dry cement stuck to the edge, or clumps in the bottom of the pail. And this worked pretty well. Now the slurry is ready for the foam.
I add half the pail of foam to the cement slurry.
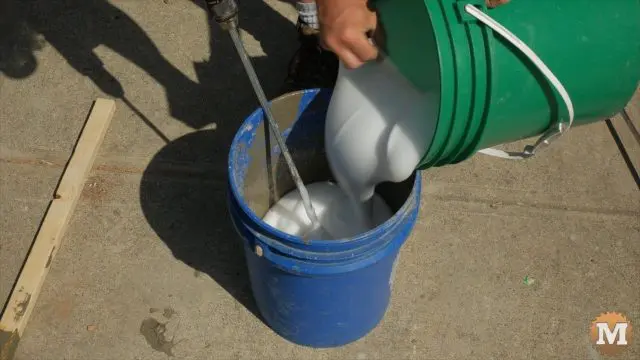
I’ll use my mixer to blend it all evenly. I hand stirred with an improvised stir stick to make sure that everything was blending right to the bottom of the pail, and I got a nice even aircrete mixture. And this looked really good.
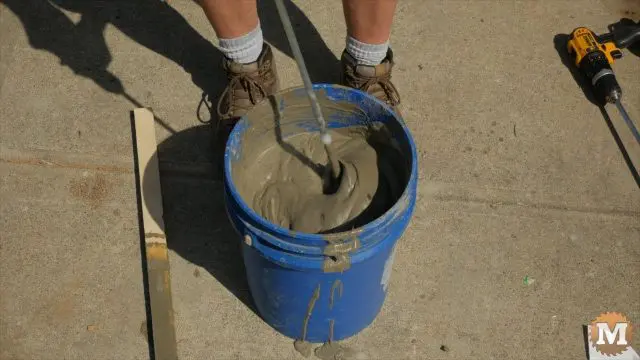
I was really happy with how this turned out.
Then I added the aircrete to the form — giving it a bit of a jiggle to help settle it into the corners.
Pour Aircrete into Forms
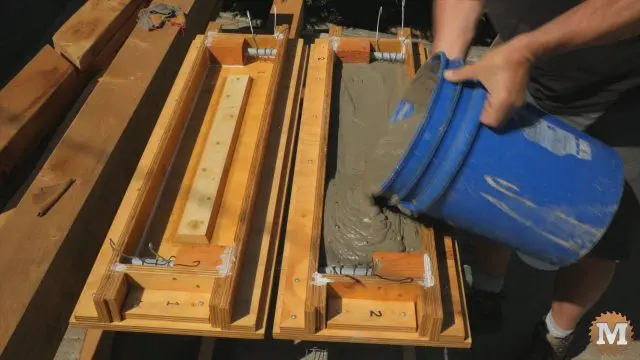
And then I added a bit more to top it up.
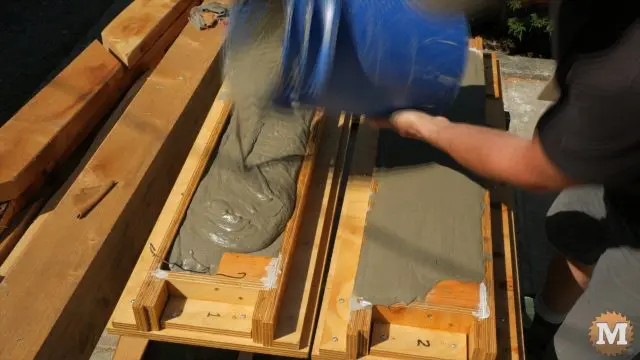
Try to get as close as I could to being full, without over filling too much. A little bit over is okay cause the mix is going to settle and some of the bubbles are going to collapse.
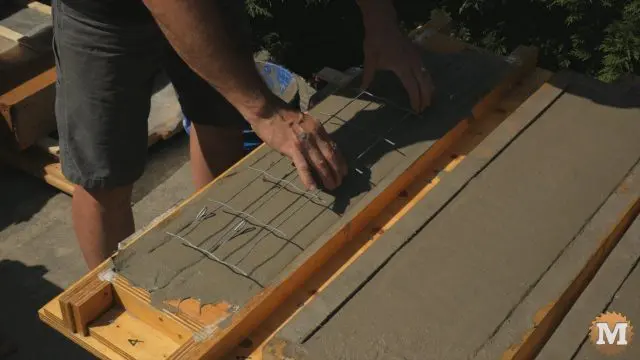
Then I can smooth it with a trowel. And then lay in the pipe wrap wires, and once it sets up a bit I gently lay in a galvanized wire reinforcing grid, so it settles in right in the center. And I made a couple more batches and filled a few more forms. I was happy with how this was blending and how the grid was sitting in well.
The aircrew had enough density that I felt comfortable that the wire mesh was not going to sink all the way to the bottom of the form. I need to push it into place so I was happy with the aircrete density.
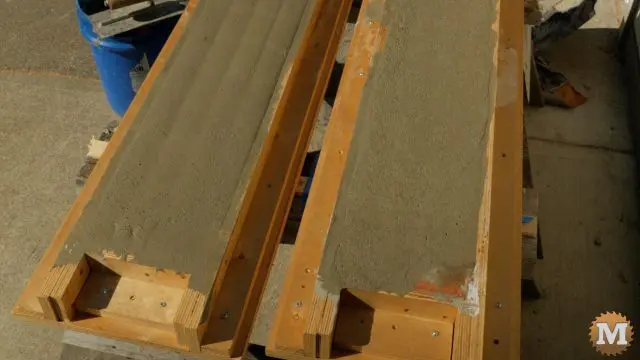
It was a hot day so I think that also helped the aircrete to set up faster — and I think that’s quite desirable because then there’s not as much time for the foam bubbles to pop. When the aircrete set up I covered the forms with plastic and left them for a couple of days.
