Pour Concrete for the Concrete Garden Boxes
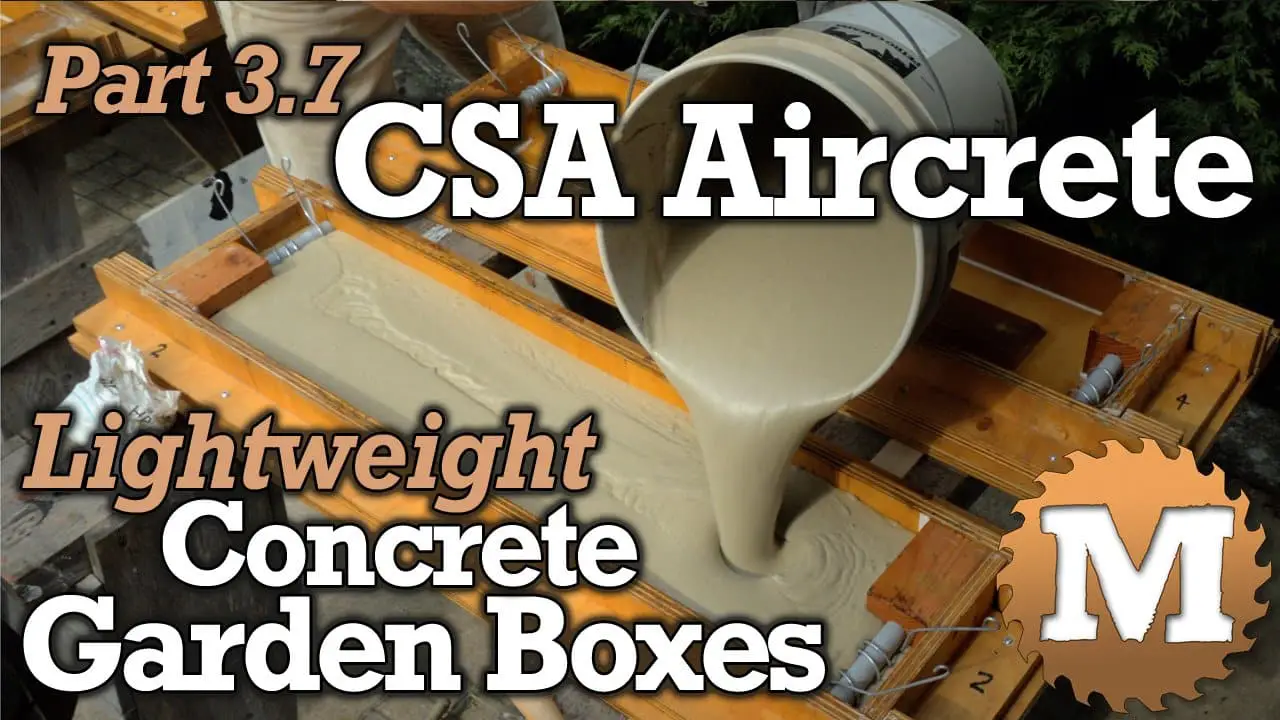
The 48 inch mould I made takes one bag of cement to fill (66lb). These new shorter molds will take approximately 3/4 of a bag.
Have everything ready as you need to work quickly before the concrete sets up. I like to add a small additional amount of Portland Cement to my mix to give it a bit more strength (optional).
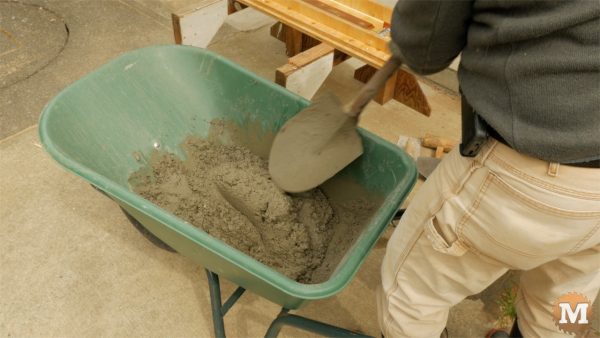
I mix the concrete in a wheelbarrow and use cold water.
Try to not make your mix overly wet. Too much water reduces the strength of the concrete and this extra water may soak into the wood forma and shorten their life.
It can take a while to get a feel for just the right mix.
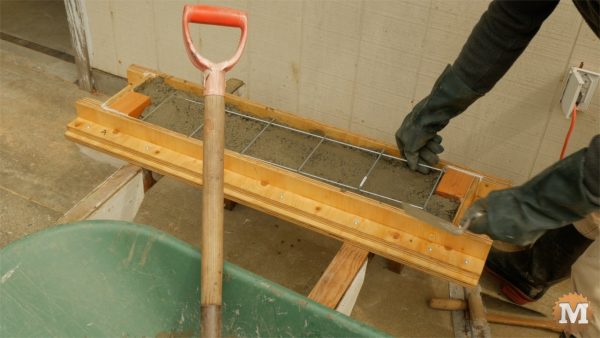
Shovel the mix into a mould and fill it half way, lay in the Wire Mesh, and fill the rest of the way.
UPDATE: When I made this panel I placed the wire mesh too close to the edges. It should be buried deeper in the panel. Cut the mesh grid so there’s only one wire running the length of the form with approximately 2″ pieces of the cross members on each side.
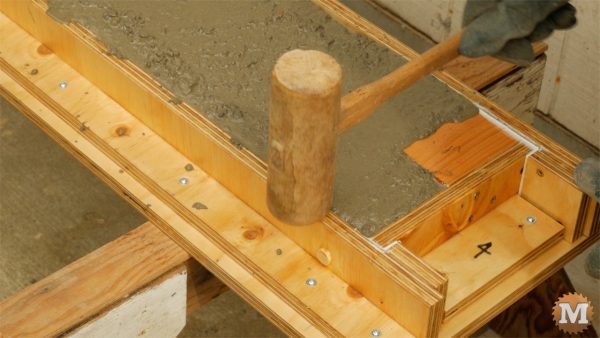
Gently tap the mould with a hammer to help settle the wet concrete and allow bubbles to come to the surface. Also, any tool that vibrates can work well to settle the concrete. I have a drill with an impact setting that I have used for this.
Cover with Plastic to Harden
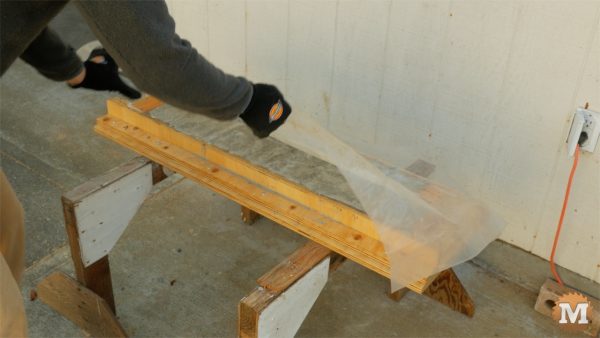
Now cover the wet concrete with a plastic sheet and leave for at least 2 days.
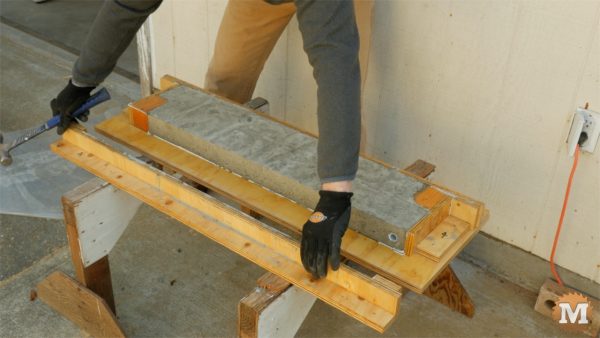
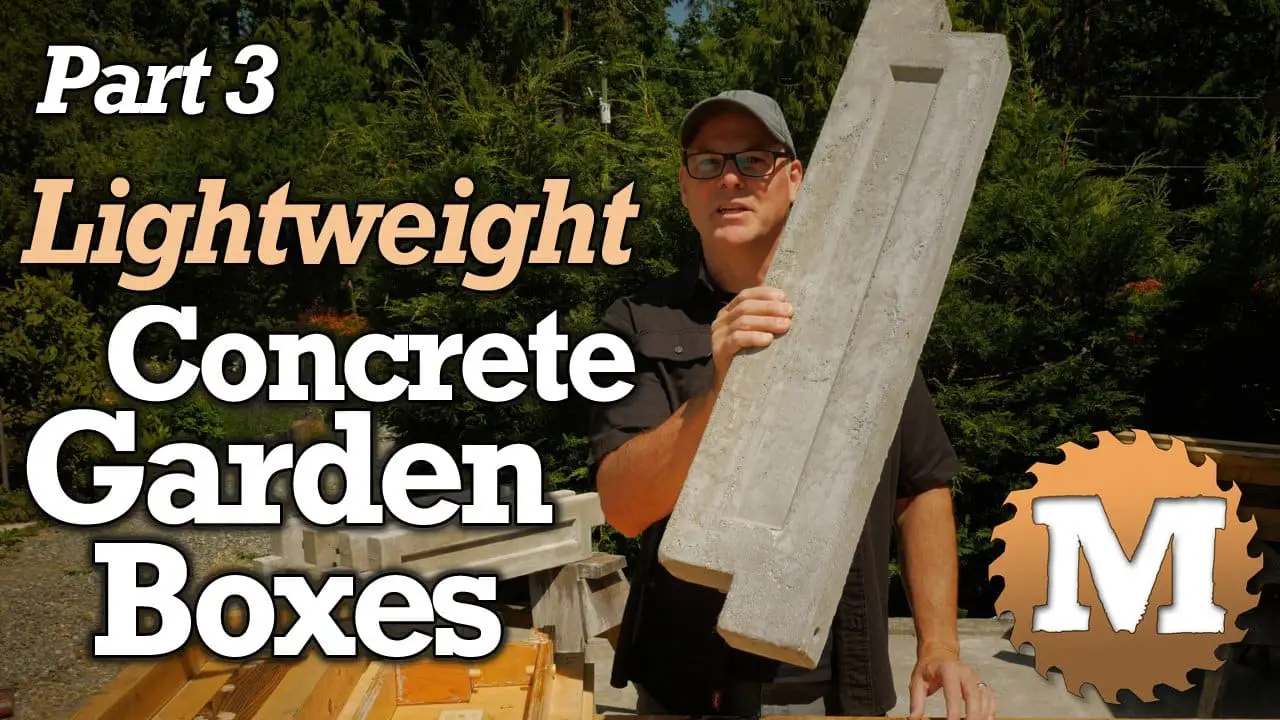
Remove the Hold-Down screws and gently pry off the Sides and Ends. Gently lift the panel off the base. The concrete is still “soft” and will not cure to full strength for a few weeks so be careful handling them. Keep the panel wet while it cures to full strength in a few weeks.
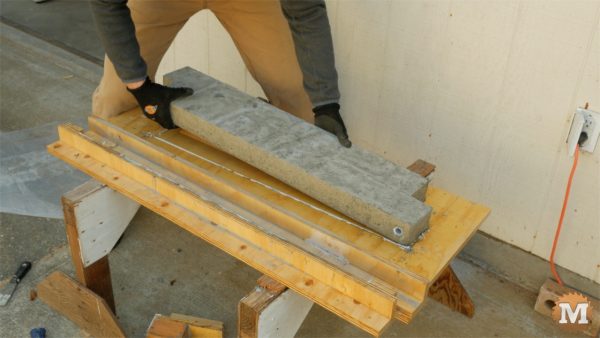
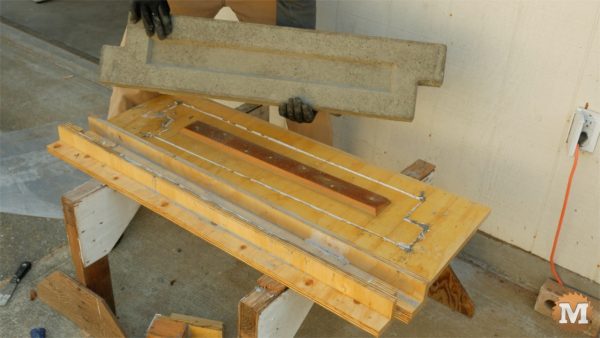
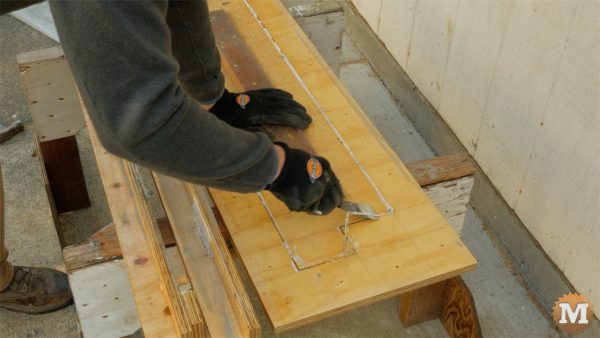
I use a paint scraper to remove the old latex caulking and a cloth rag to wipe down and clean the mould parts.
Make the Concrete Garden Boxes
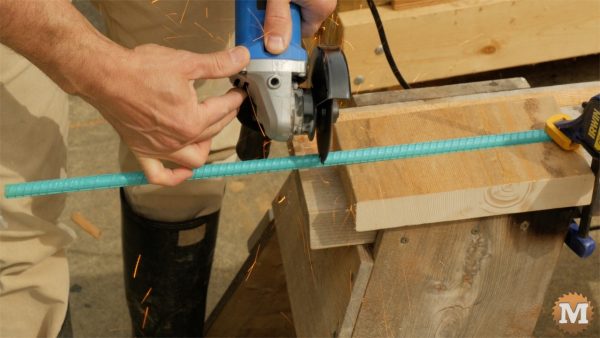
I cut rebar into one foot lengths with a cutoff blade in my angle grinder. I clamp the long length of rebar across sawhorses. A hacksaw will work but it takes longer.
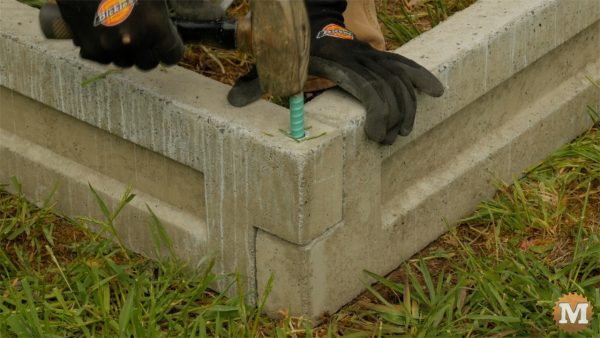
I level a spot in my garden and overlap two panels, and check the corners for square then drive in the rebar thru the corner into the ground to secure them. It’s great to reach the point of finally assembling the concrete garden boxes.
(Disclaimer: As an Amazon Associate I earn from qualifying purchases. Thank you for helping to support my content this way. )
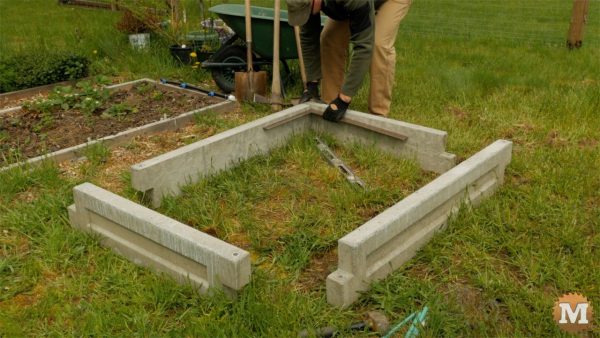
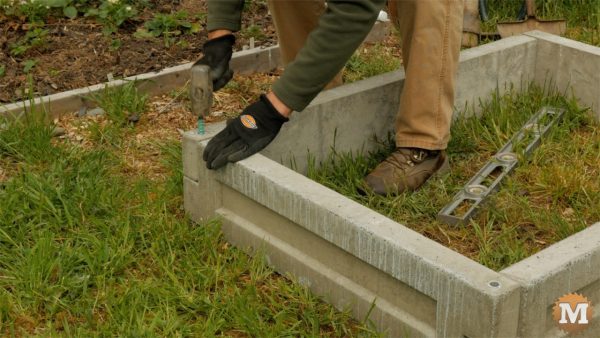
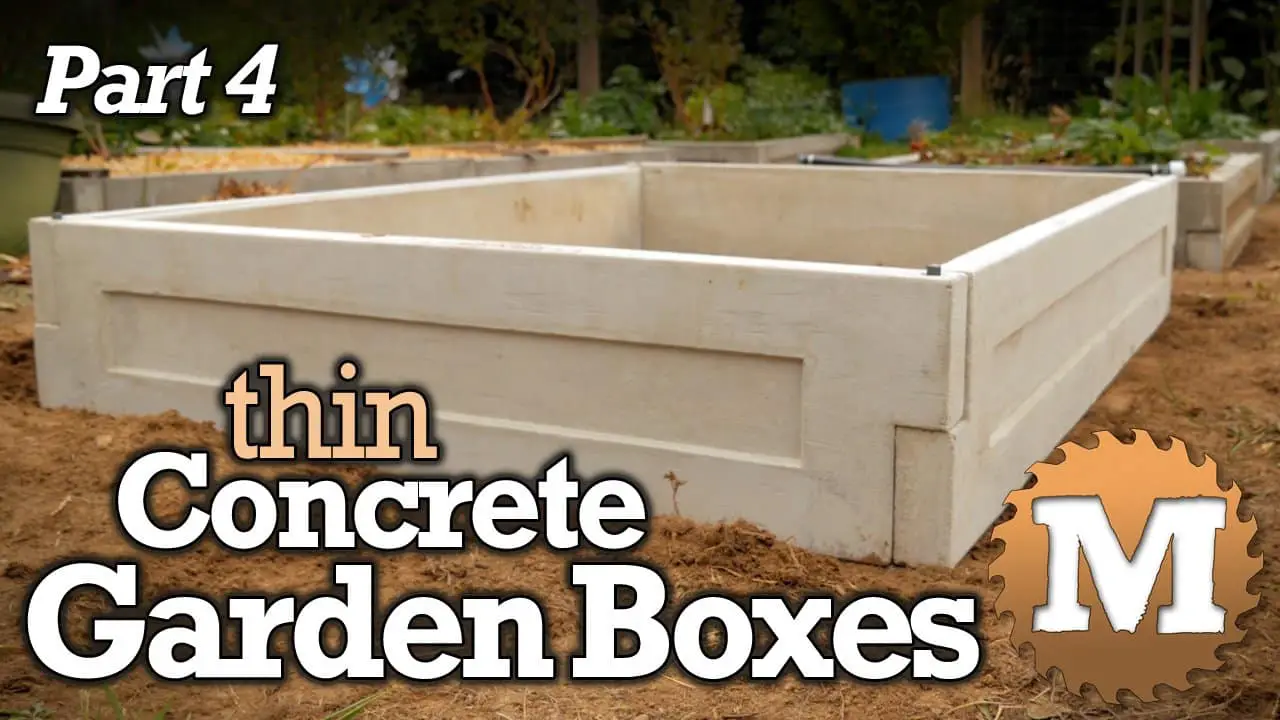
I repeat this on each corner to complete the Garden Box. For this box I used 2 – 48″ panels and 2 – 36″ panels.
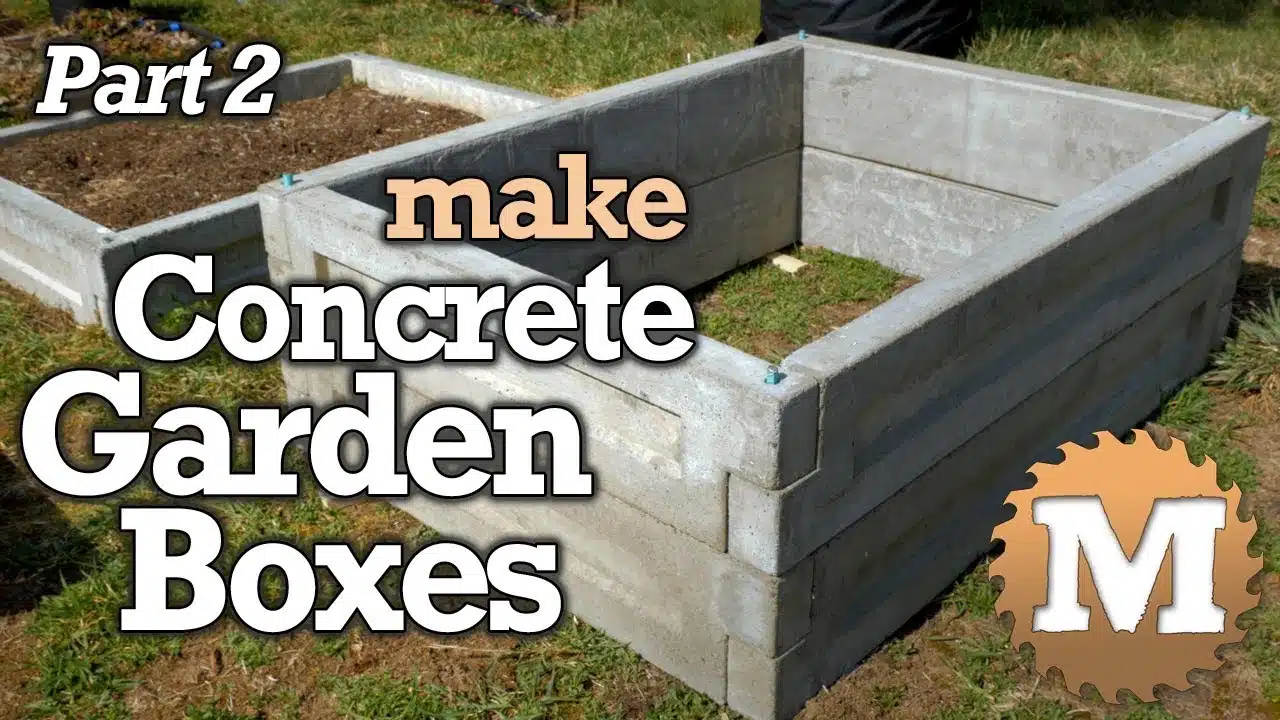
For deeper concrete garden boxes you can stack and alternate the panels if you like. You will need longer rebar pins.
We put a layer of cardboard down over the grass then fill the box with compost and soil before planting.
It’s pretty rewarding to remove the panels from the forms. I get a kick out of that every time. I hope this tutorial has informed and inspired you to give concrete forming a try!
And, while you are here, please hit the Support Link to help us make more projects and videos like this. We really appreciate anything you can do to help us out!
Can you use concrete for garden beds?
Yes, concrete can be used for garden beds. They are easy to make and very long-lasting. They do not rot and can hold the heat of the sun for a warmer bed.
Are concrete garden beds safe?
Concrete garden beds are generally safe to use. Concrete is a well used worldwide material that is used around many plants with no visible negative effect.
Are concrete beds good?
Concrete beds are a durable and low-maintenance option for gardening.
Is it safe to use railroad ties in vegetable garden?
It is not safe to use railroad ties in a vegetable garden.

