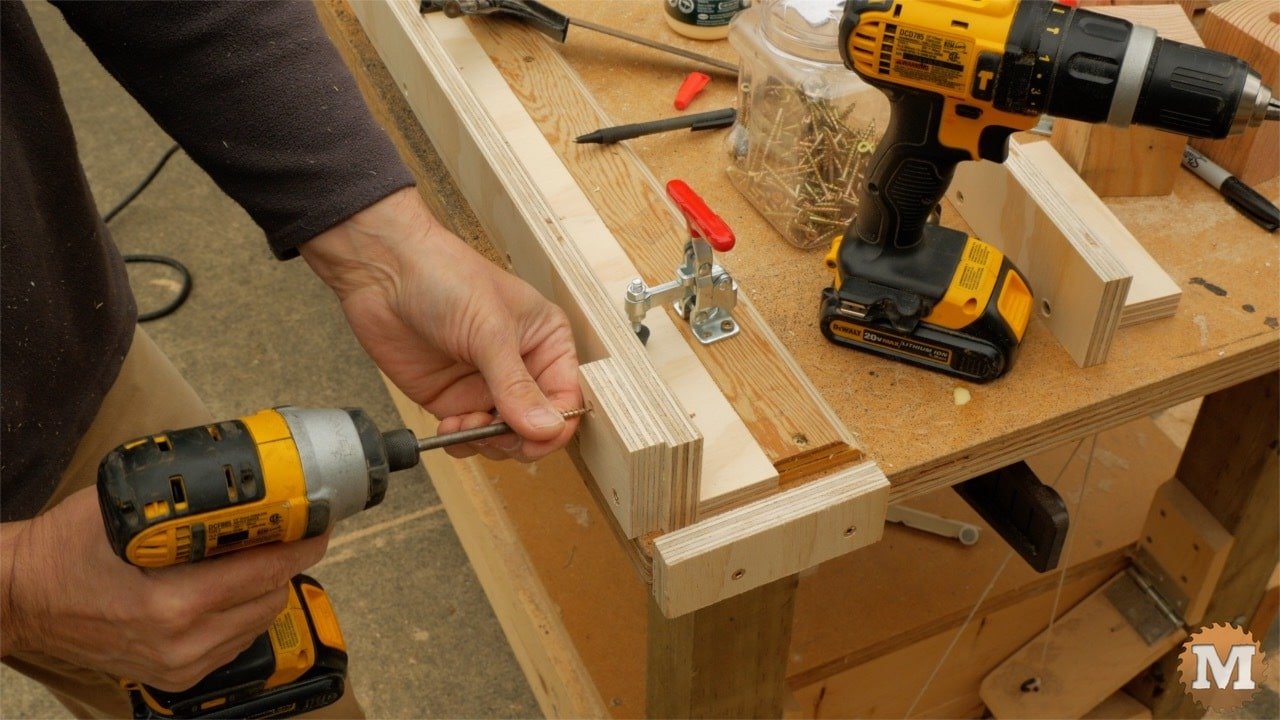
Assemble the SIDES
Now assemble the Sides with glue and screws.
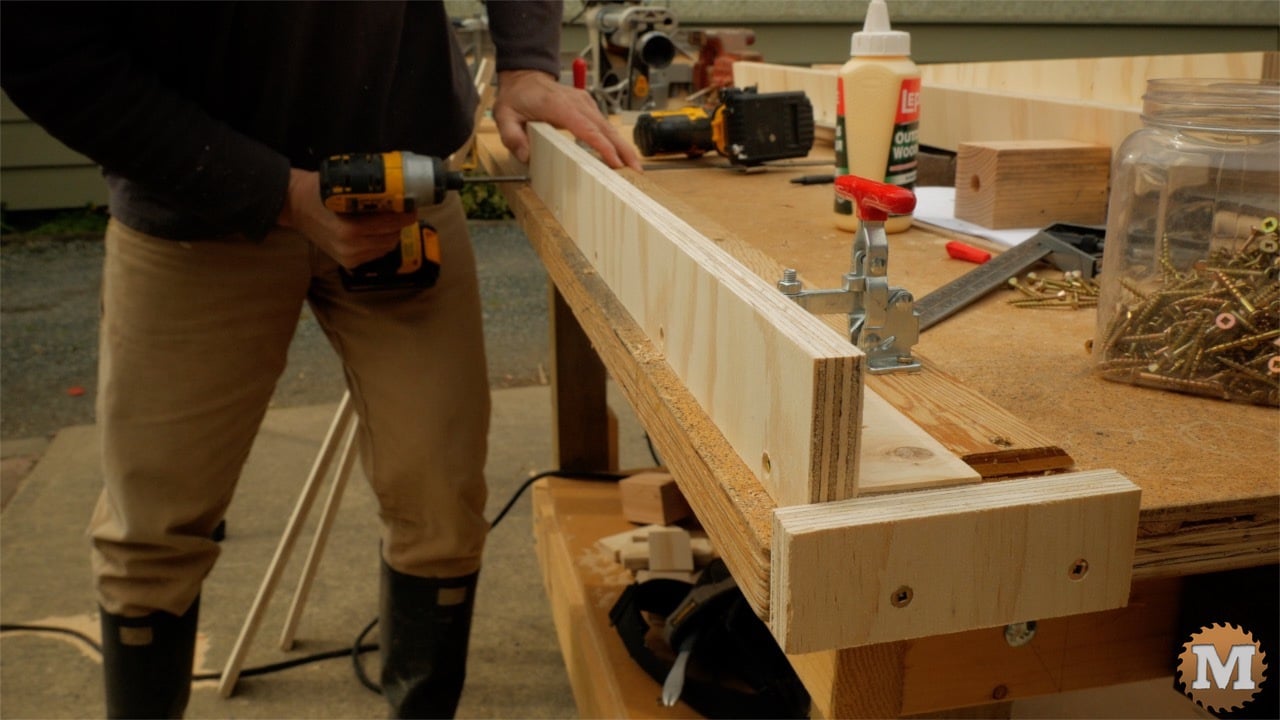
I attached a stop strip to my workbench and onto it I attached two hold down clamps. The clamps quickly and securely hold part C to the table. I also attached an end stop to align the ends of B and C.
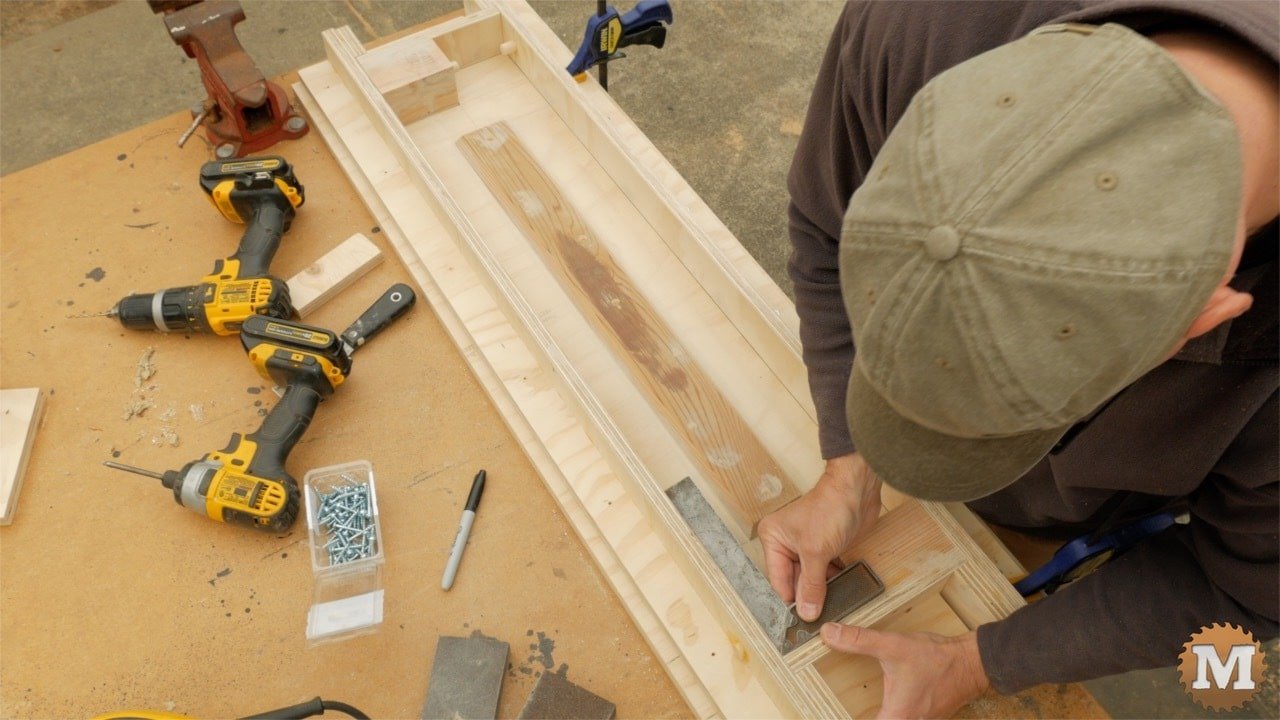
Then apply a small bead of exterior wood glue to the side and press it into place. I drill a pilot hole into the hold-down strip then run in a screw.Then drill pilots thru the side all the way down and secure it with screws. Check each assembly that the L shape is 90 degrees.
Set these aside for the glue to set up.
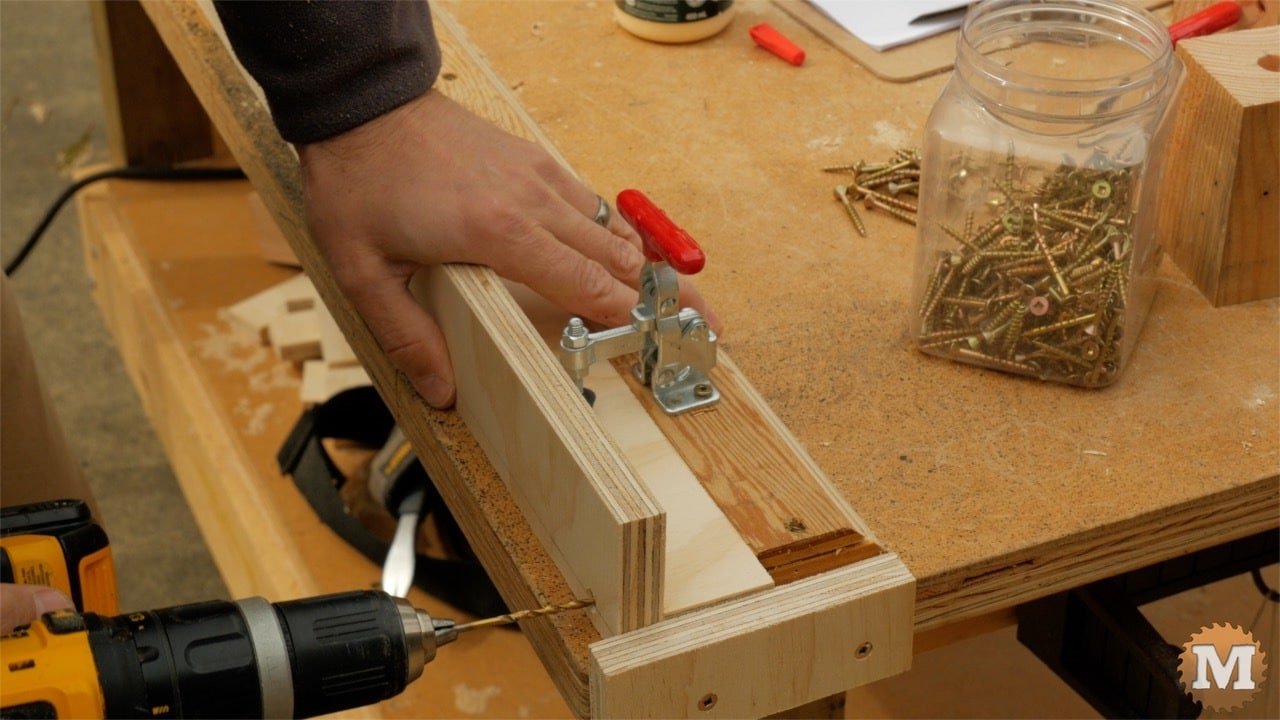
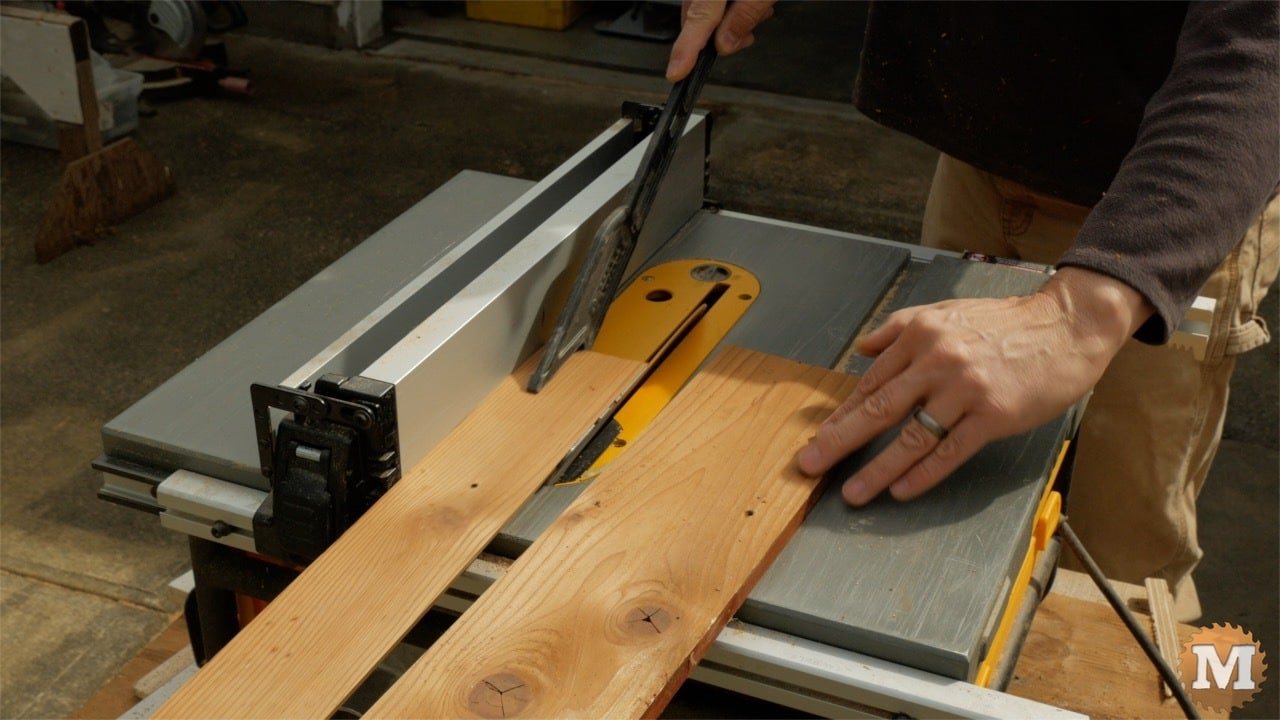
The Sides have a small square Stop Block to hold the ends in place. Rip and cut these to length.
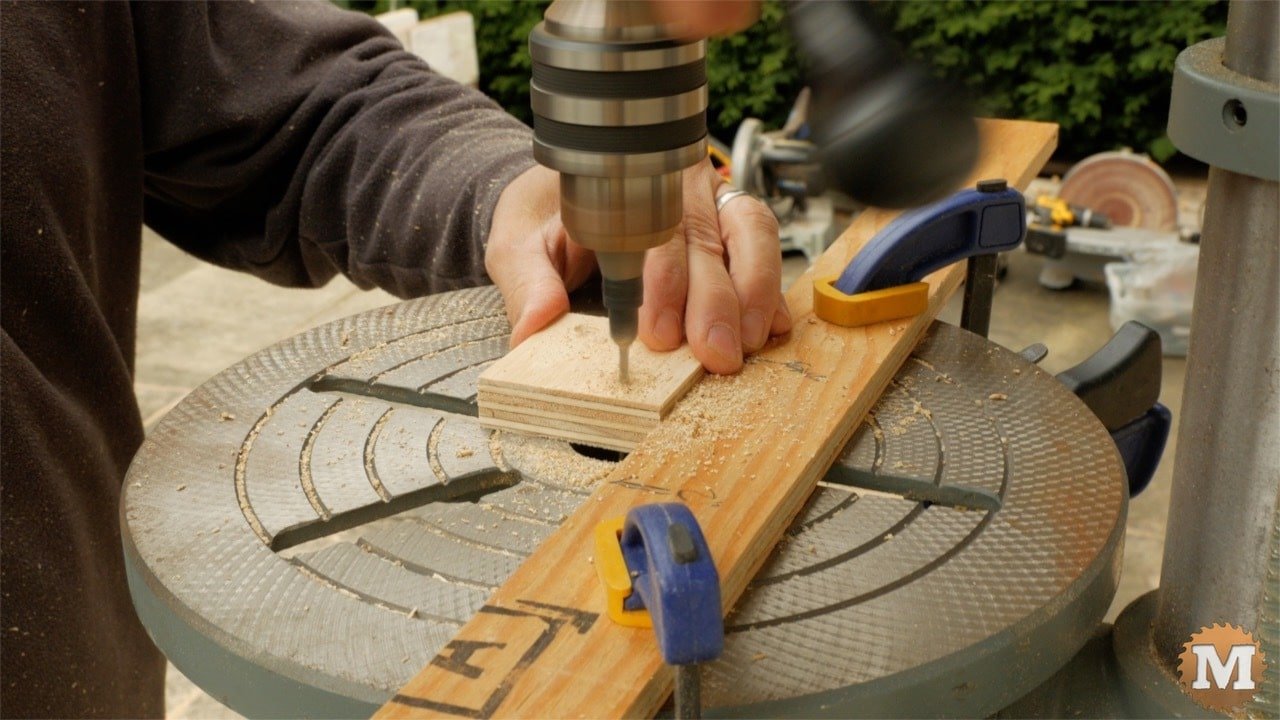
Assemble the ENDS
Now assemble the ends parts E and F.
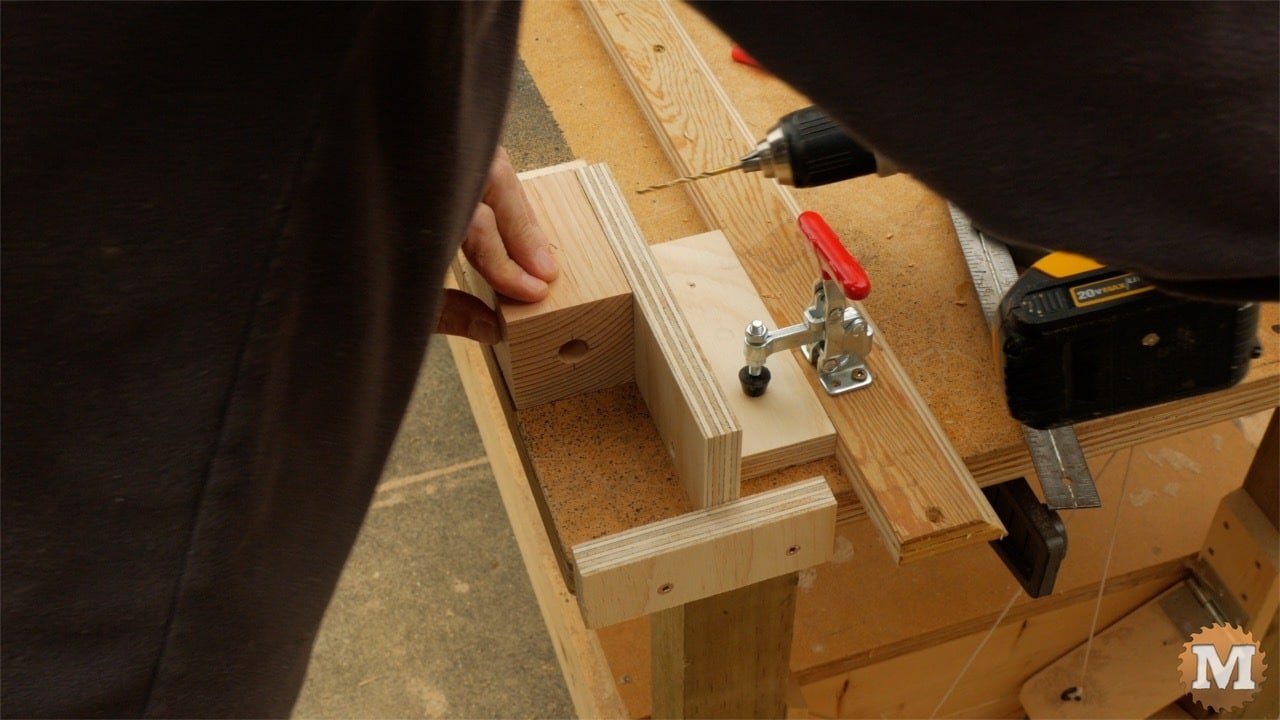
I marked the center of each to help with alignment and also used the hold down clamps to secure the pieces during assembly. Like before, apply glue, drill, and attach with screws.
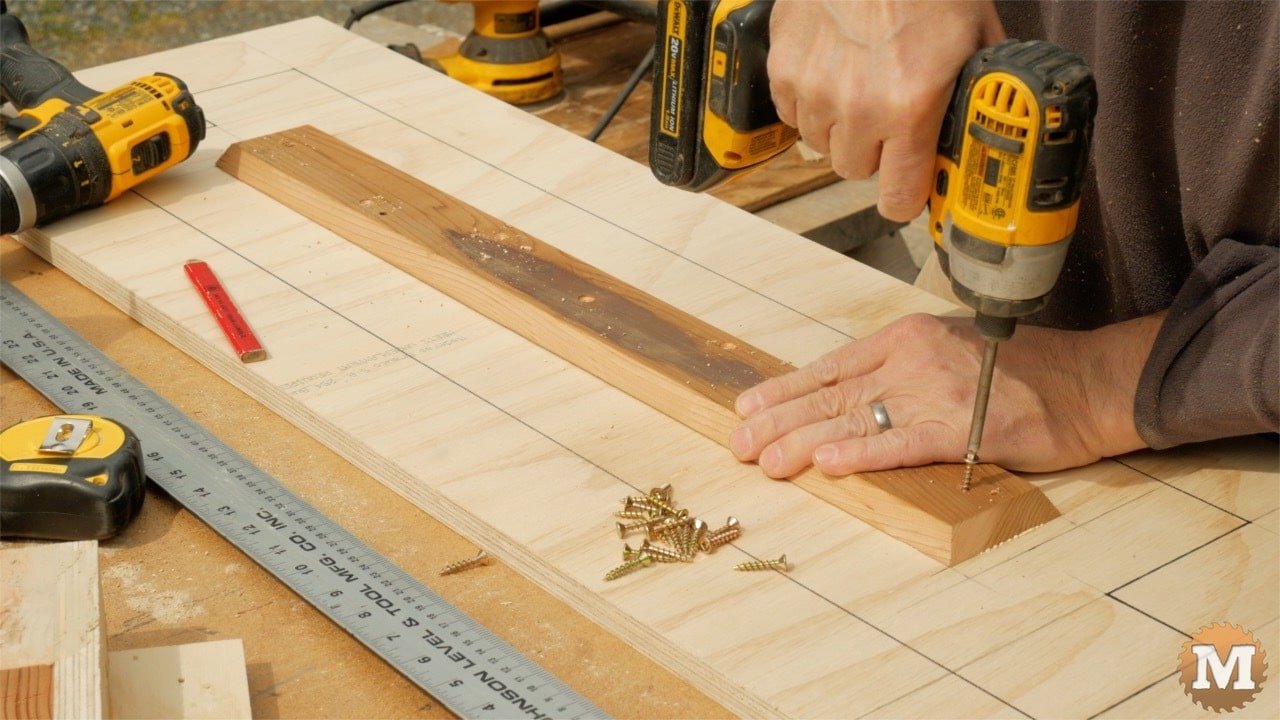
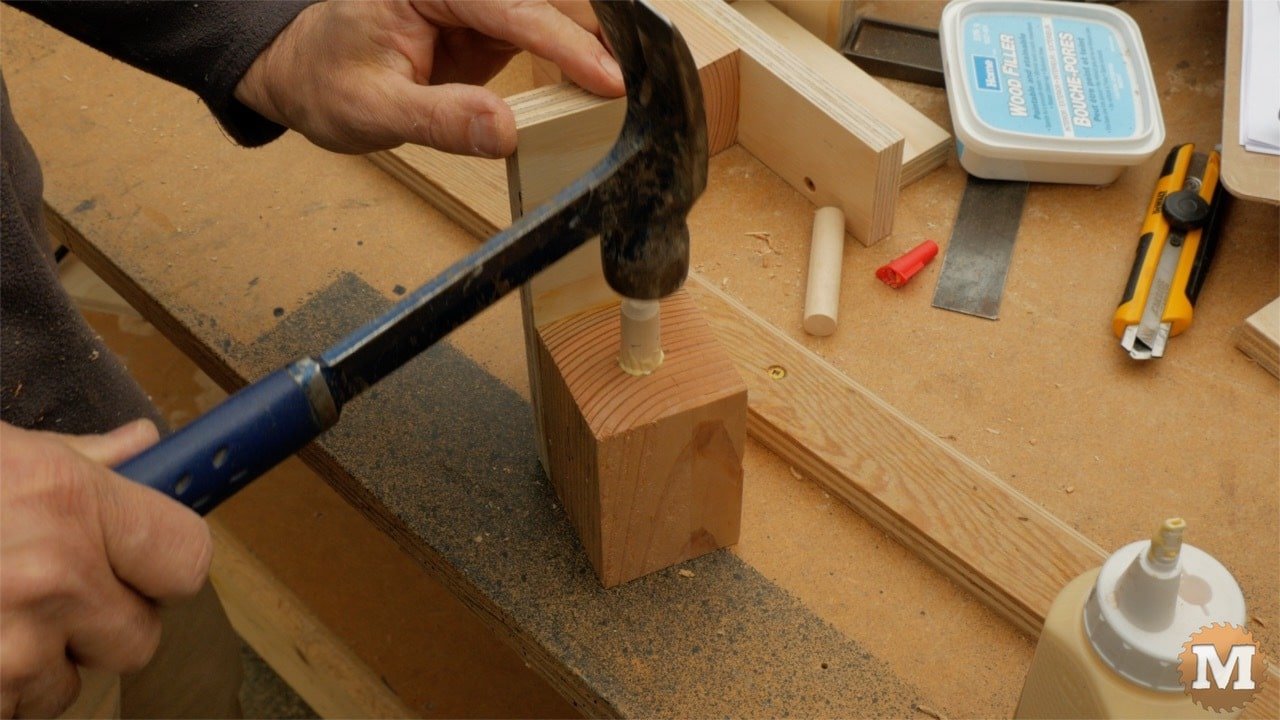
Drill pilot holes into E and attach the Blocks with glue and screws.
Mark the side assemblies and attach the small square Stop Blocks with glue and 1″ screws.
Make the INSET
Next we will make the angled Inset.
I used 5/8″ material, and beveled the sides 30 degrees on the table saw. And cut to length on my miter saw also at 30 degrees.
(Disclaimer: As an Amazon Associate I earn from qualifying purchases. Thank you for helping to support my content this way. )
I attach the Inset part to the base by pre-drilling with a countersink, then attaching it with glue and short screws.
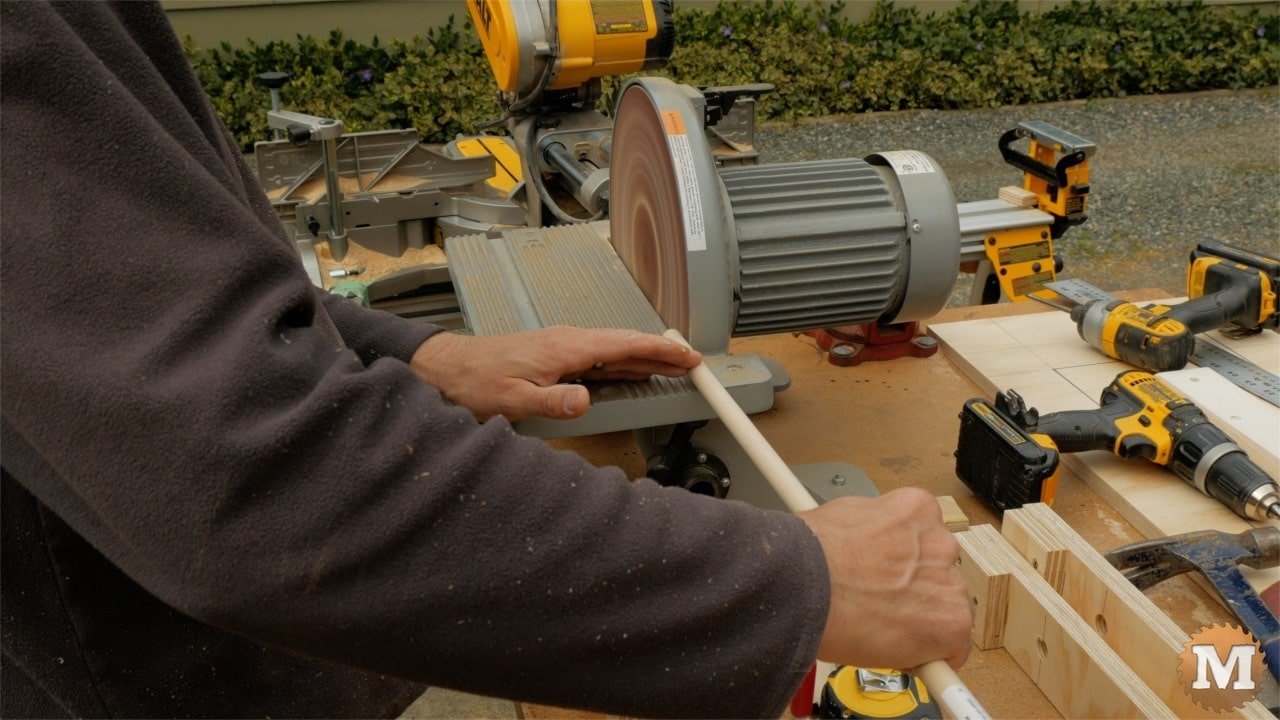
Lastly, I’ll cut the 5/8″ Dowels to length and chamfer the end on the disc sander, or you can round off one end with coarse sandpaper.
Glue these into place and let the glue fully setup.
Cut a short test piece of half inch PVC electrical conduit.
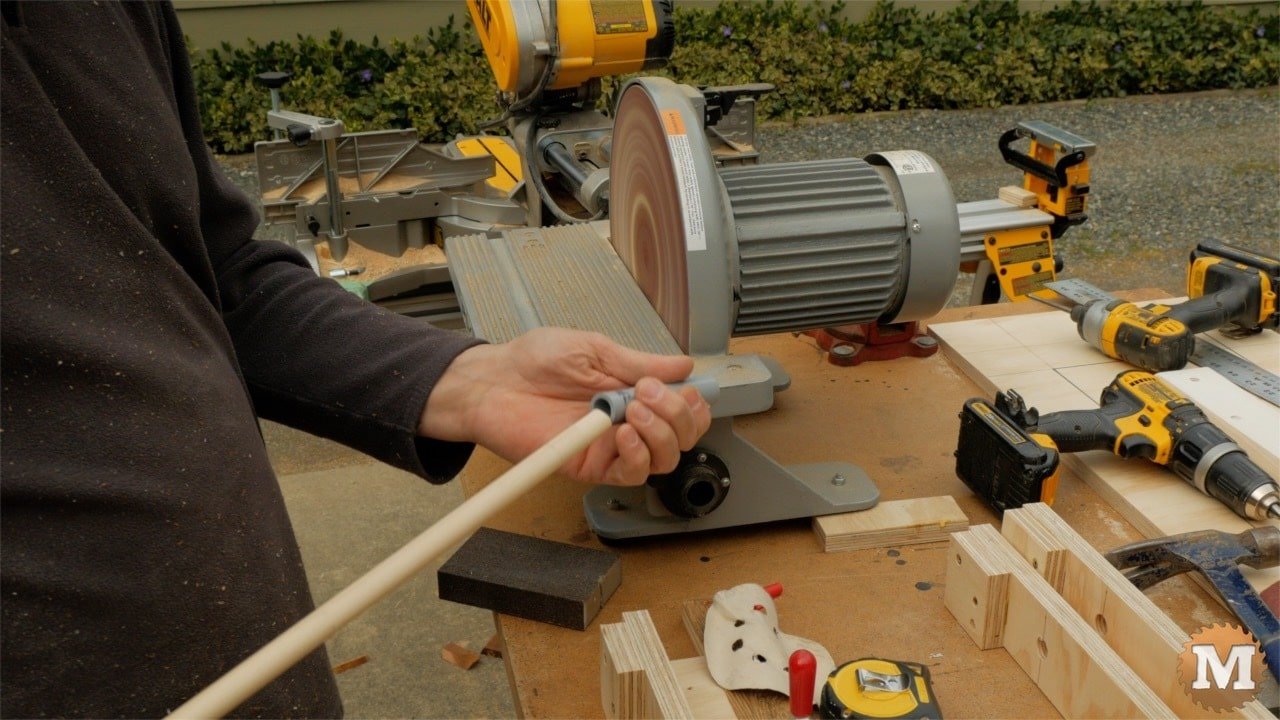
Use this to test fit the Dowel Pins. Use some sandpaper to slightly reduce the diameter of these dowels so the pipe slips on easily. The inside diameter of the pipe is bit less than 5/8″.
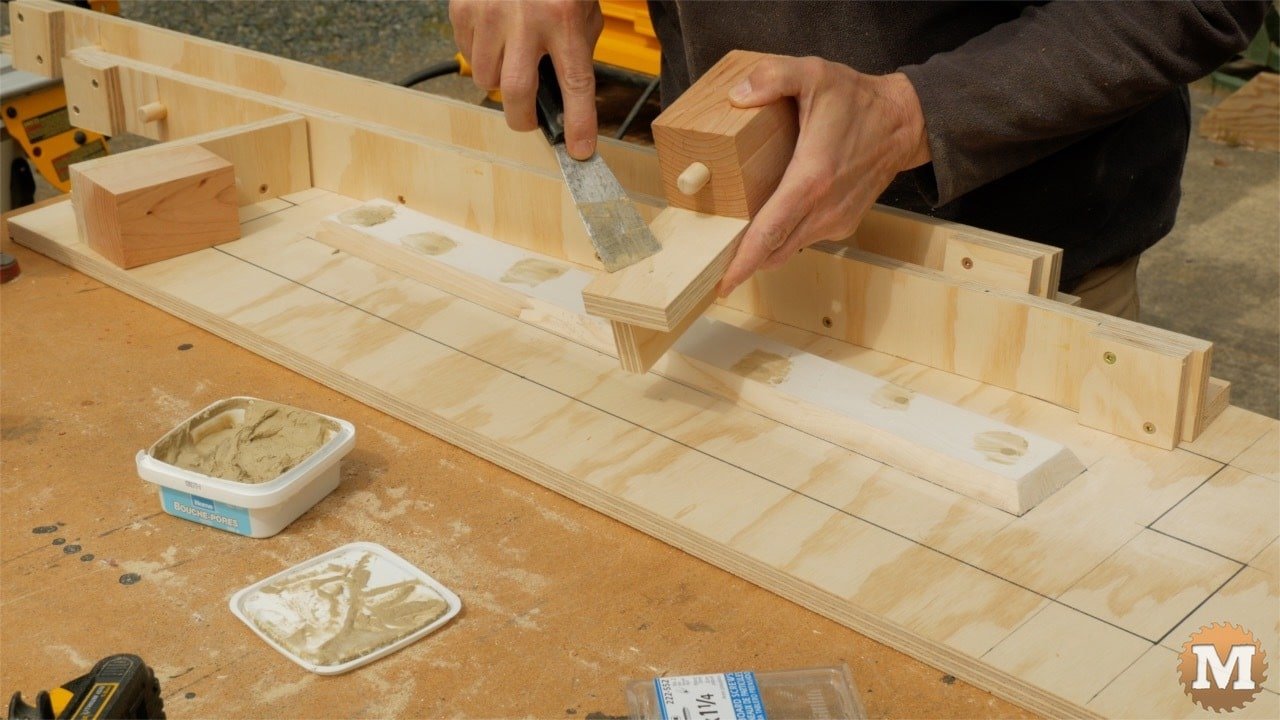
Fill the screw holes with wood-filler, let it dry completely, then sand smooth. Also fill any gaps in the plywood and add some filler to the inset where it meets the base. Give everything a light sanding to break any sharp edges.
Test Fit and Assembly
With pan head screws, assemble the form using the layout lines as a guide. Check that everything is square, fits tight, and there are no gaps.
If there are any variations with each assembly, you may need to try different part combinations to see what fits together best.

Label each mould assembly one through four. And also label each part assemblies with the corresponding base so you reassemble them the exact same way each time you use them.
Apply Finish
I apply several coats of Polyurethane Finish, lightly sanding between coats.
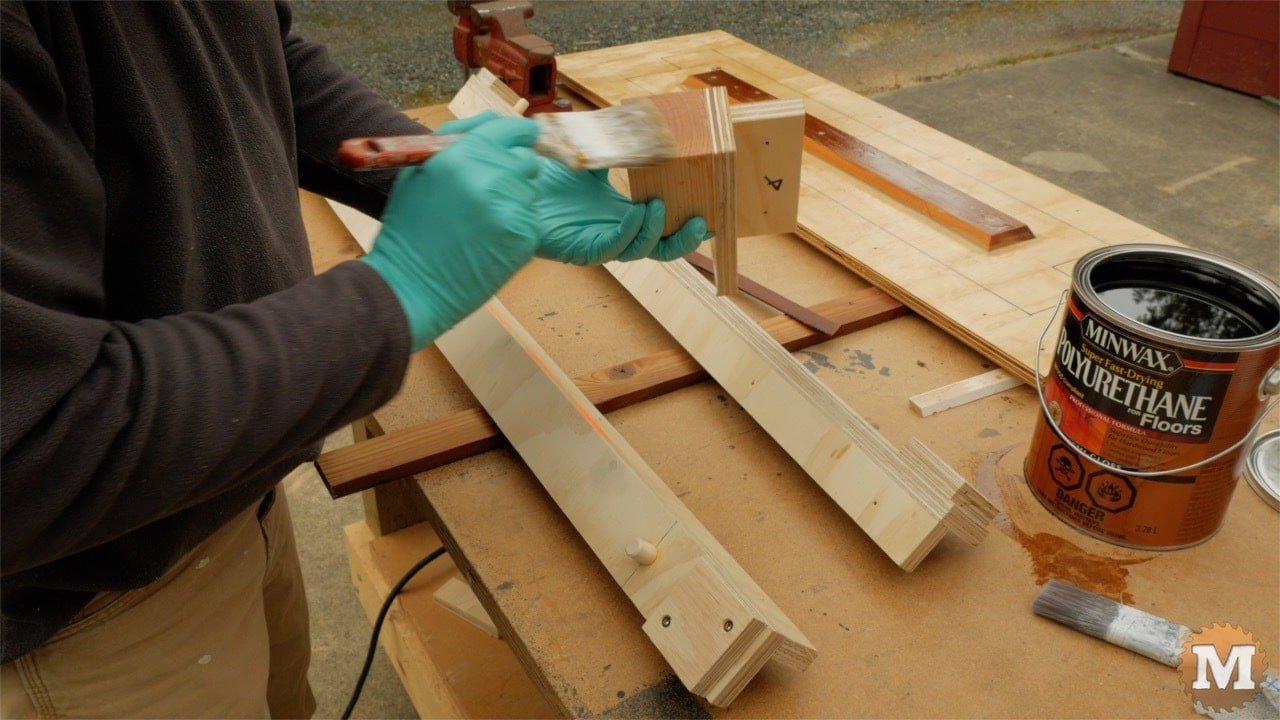
I used four coats of this durable flooring finish. Wet cement is very corrosive so you want to protect the wood to get the most life from your concrete forms.
Pipes and Wire
Cut the PVC conduit down to length.
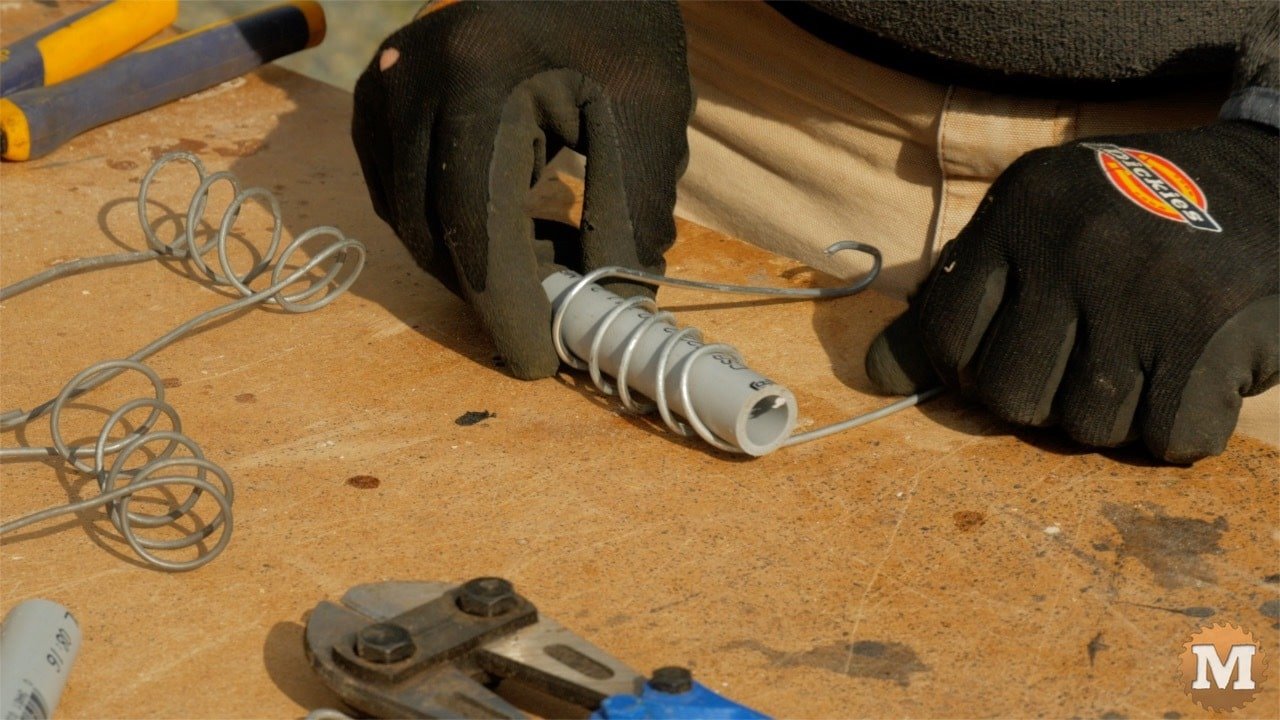
Also cut a 30″ length of stiff wire and wrap it loosely around the pipe. This will reinforce the concrete and give it strength where it is the thinnest.
Final Assembly
Cut a section of Concrete Reinforcing Mesh to size with small bolt cutters and have it ready to lay in the wet cement.
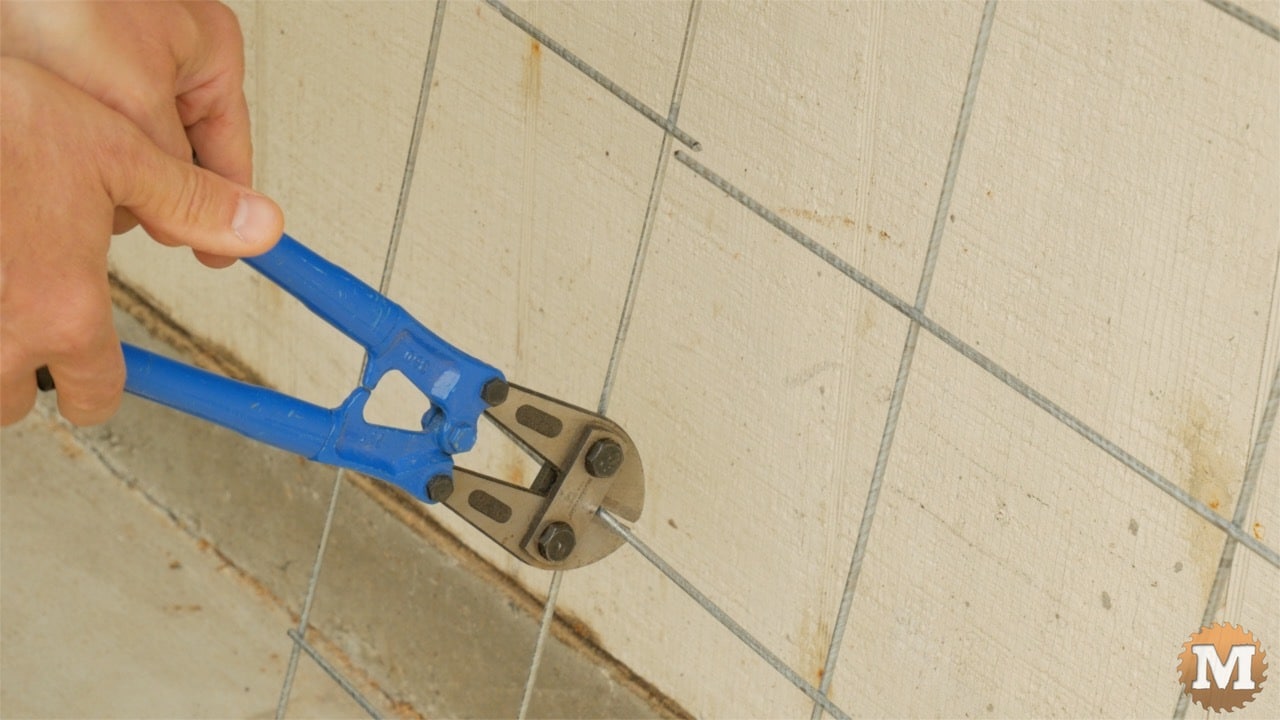
This will make the concrete panels very strong.
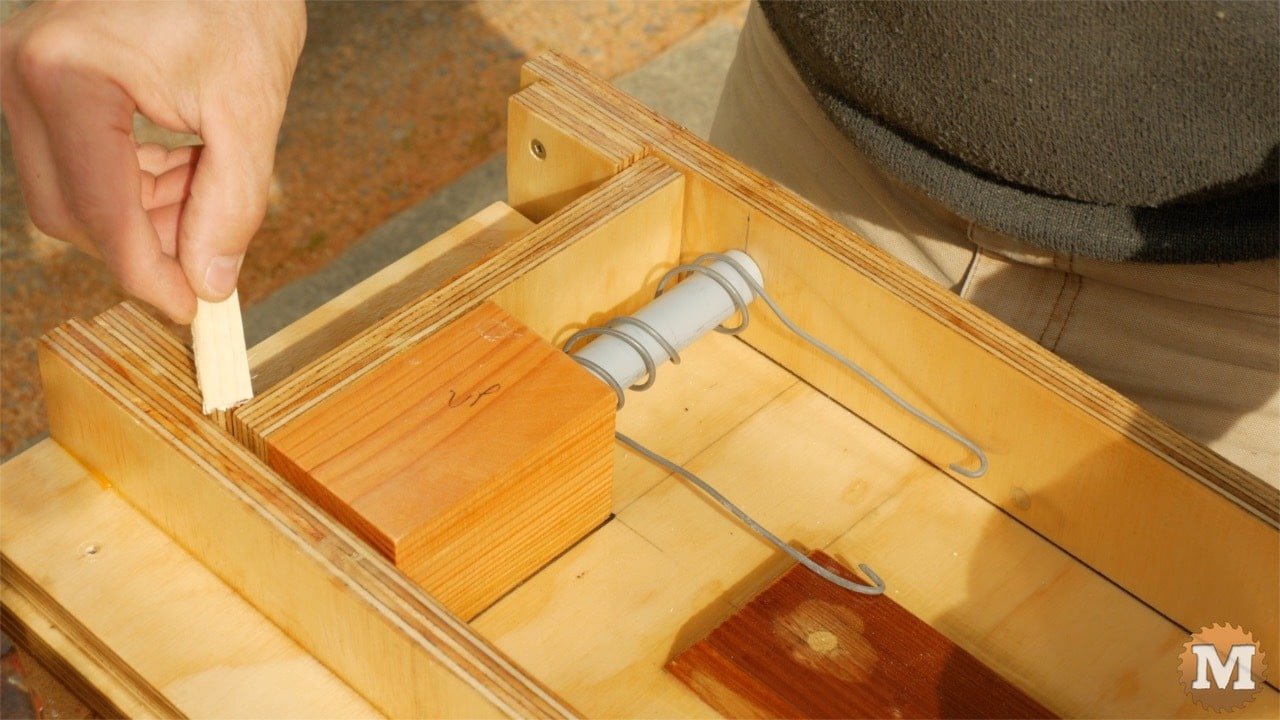
This is where I remembered that not all 3/4″ plywood is fully 3/4″ thick. Most is now slightly undersized and I laid out the parts for actual 3/4″ plywood. It’s an easy fix by adding a few slim shims.

Once assembled, the molds need to be made water tight. I use a small bead of Latex Caulking to do this.
Apply Caulking
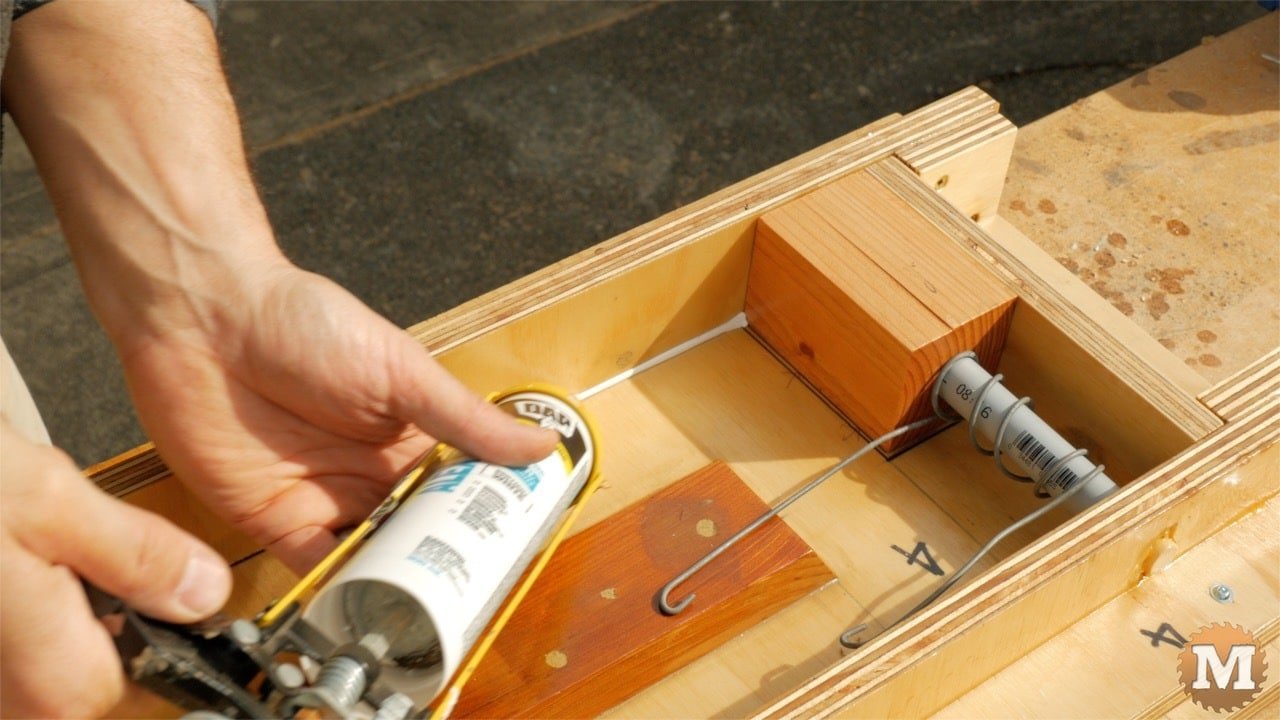
Latex works well as it’s not overly strong and will allow you to disassemble the mold easily once the concrete sets up. Don’t use regular silicone for this. It’s too strong and will be difficult to remove later. Latex caulk is all that’s needed.
Level Forms

Place the moulds on a strong and secure surface and level them in both directions.

Once the caulking is dry, spray the mould with a releasing agent to keep the concrete from sticking. I used Vegetable Oil Cooking Spray for this.
UPDATE: Cover the pipe and pipe wrap wire with a cloth to keep the oil spray away from it during this step.
Continued on the Next Page

