Oil the Forms
I take the forms apart before I coat them with oil. I also disassemble the bolt block to get oil on all surfaces and seams.
I had some mineral oil left over from making the garden box forms.
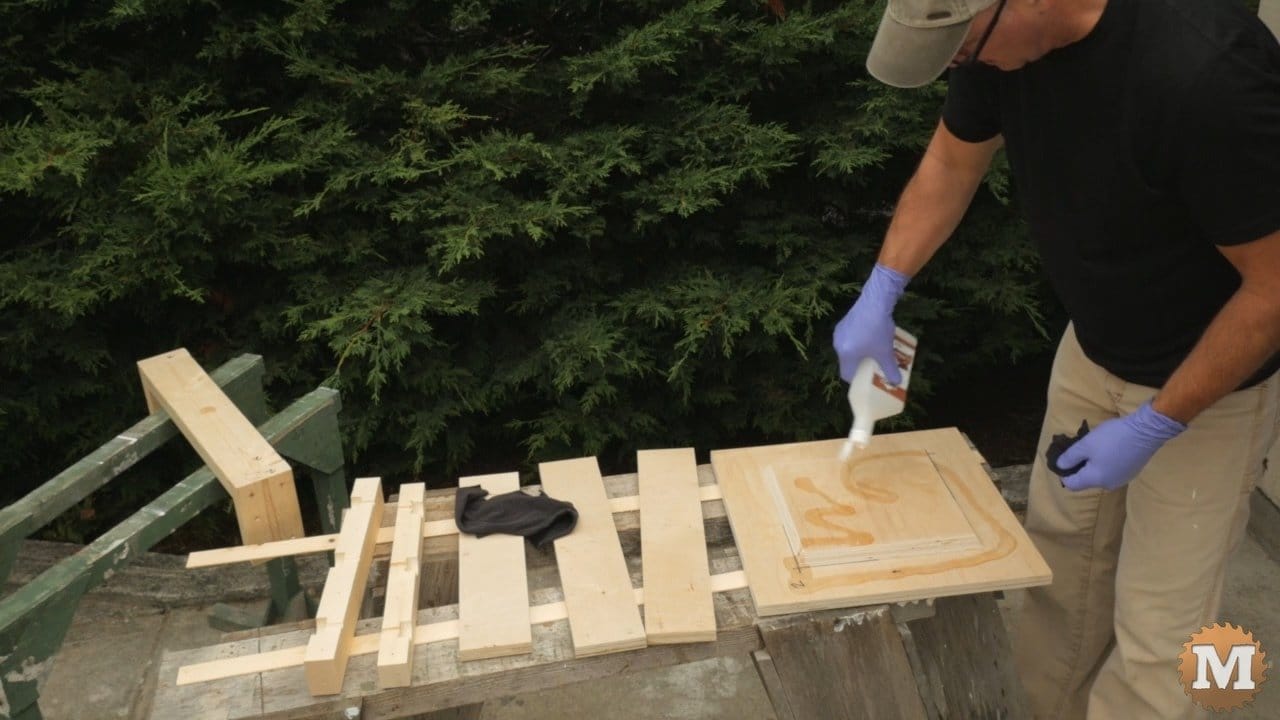
This oil is sold as Butcher’s Block or Cutting Board Oil. It’s fast and easy to apply and seems to work well. Mineral oil can be bough from Animal Feed suppliers or in drug stores or pharmacies.
I apply it to all faces then leave overnight to soak in and dry to the touch.
I reassemble the main box of the form and run a bead of latex caulk on the inside edges.
Make it Watertight
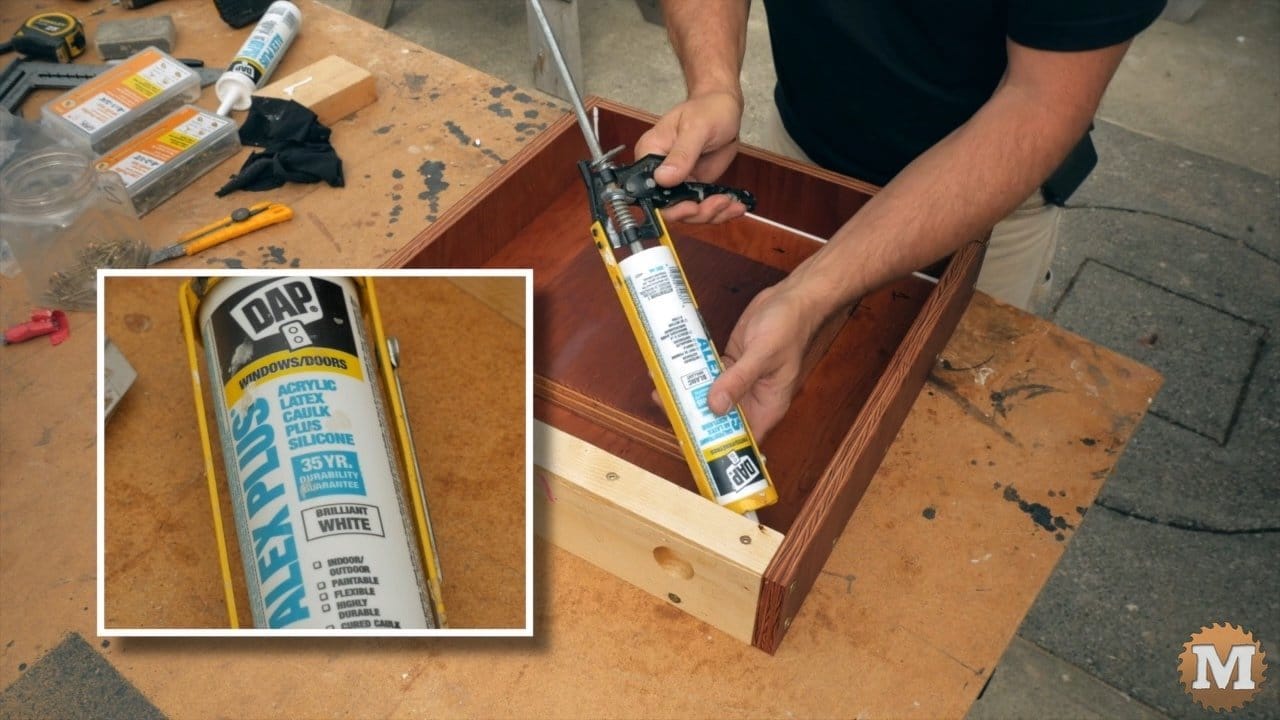
This makes the form watertight, gives a small radius on the outside corners, and it’s easy to remove after casting. Latex works well as it’s not overly strong and will allow you to disassemble the mold once the concrete sets up.
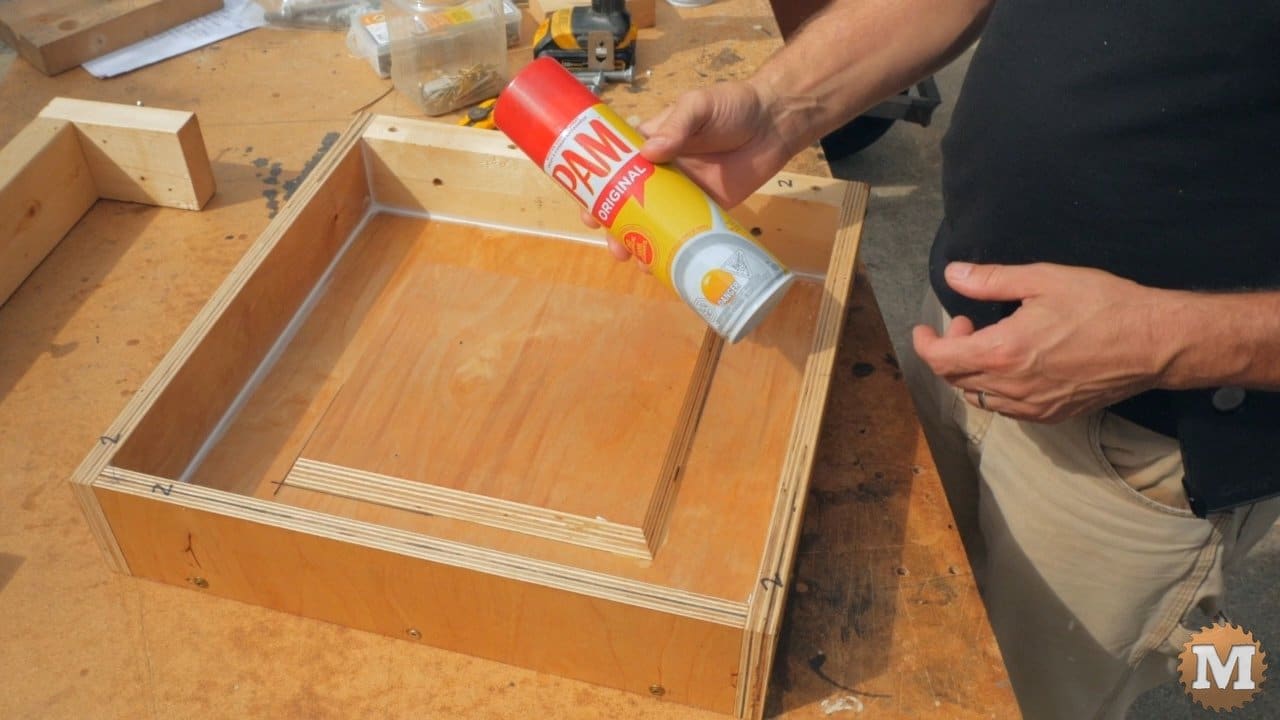
When the caulking is dry I spray the inside of the form with vegetable cooking oil to keep the concrete from sticking.
Now I’ll insert the three bolts. I line them up with the outside face of the bolt block. I don’t want the ends to stick out past the outside edge as this will make the bolts stick up on the bench seat. I add a nut to the ends of these bolts and snug it finger tight. The counterbore allows room for my fingers or a socket.
As this is a prototype, I wasn’t sure how well the bolt block would hold the bolts in place during assembly, pouring, and vibrating the form. The nut is just a bit of added insurance.
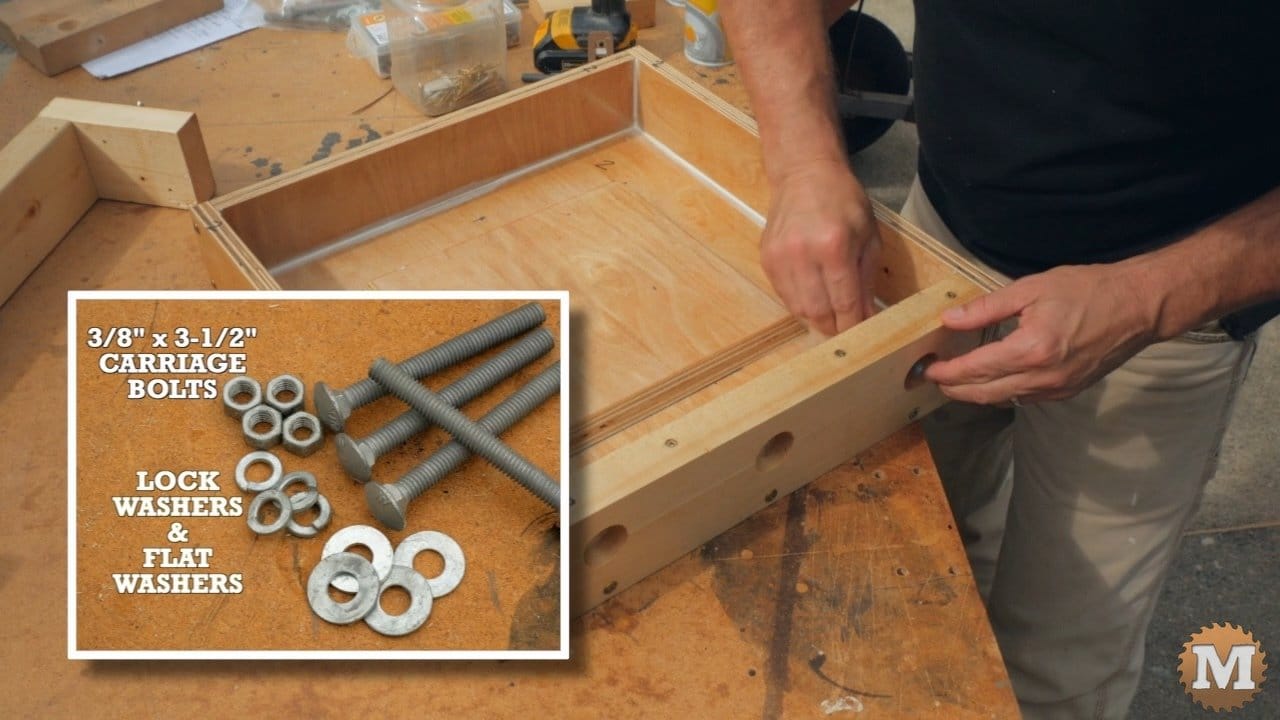
Now I secure the bolt to the bridge with a washer and nut then set the bridge in place and screw the supports to the form walls.
Final Form Assembly
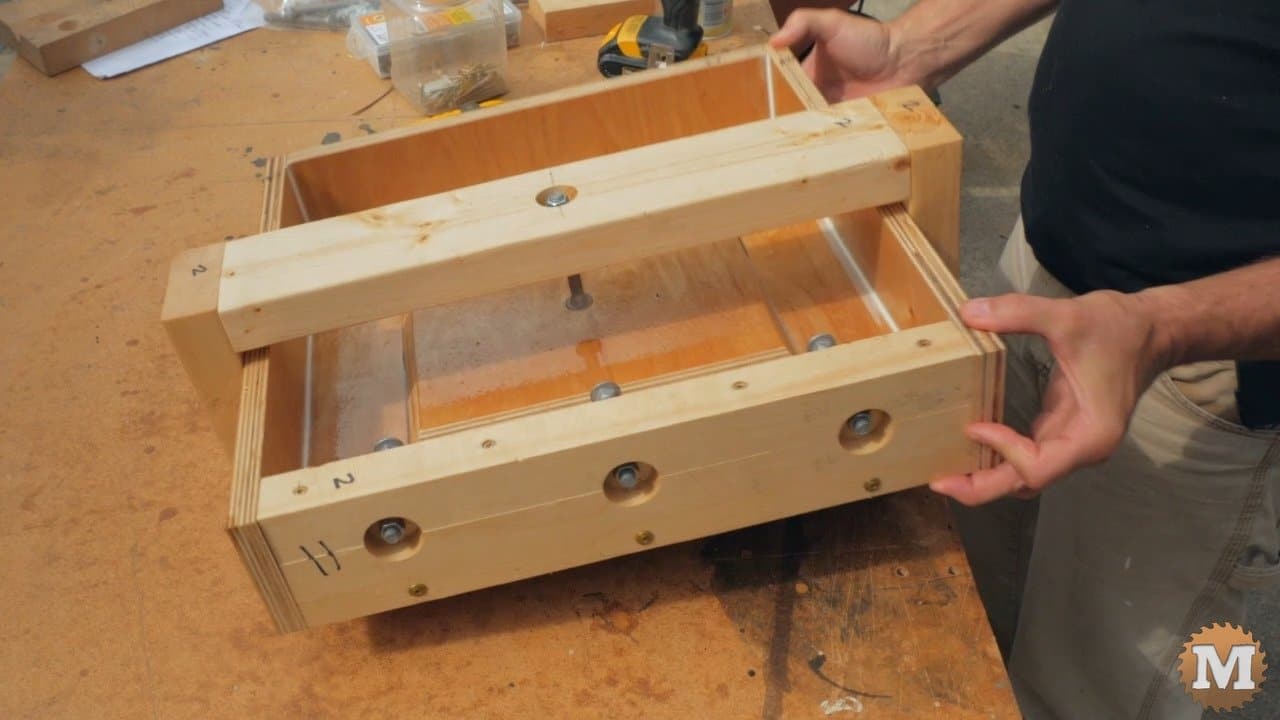
The form is now ready for concrete.
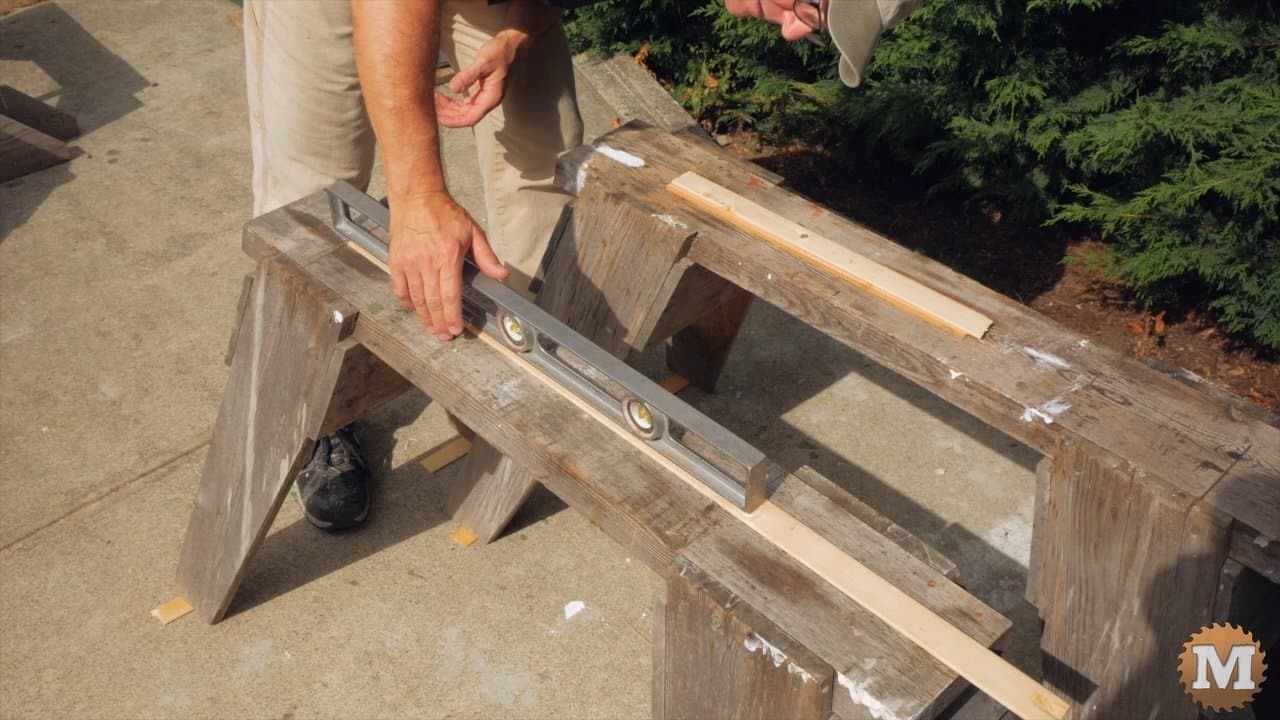
I set out saw horses and use some shim strips to level them front to back and side to side. This is an important step as the form has to be level.
Concrete Mix to pour the legs
So here’s the ingredients for the concrete. CSA Mortar Mix, glass fibre, plasticizer, colour, and Citric Acid powder.
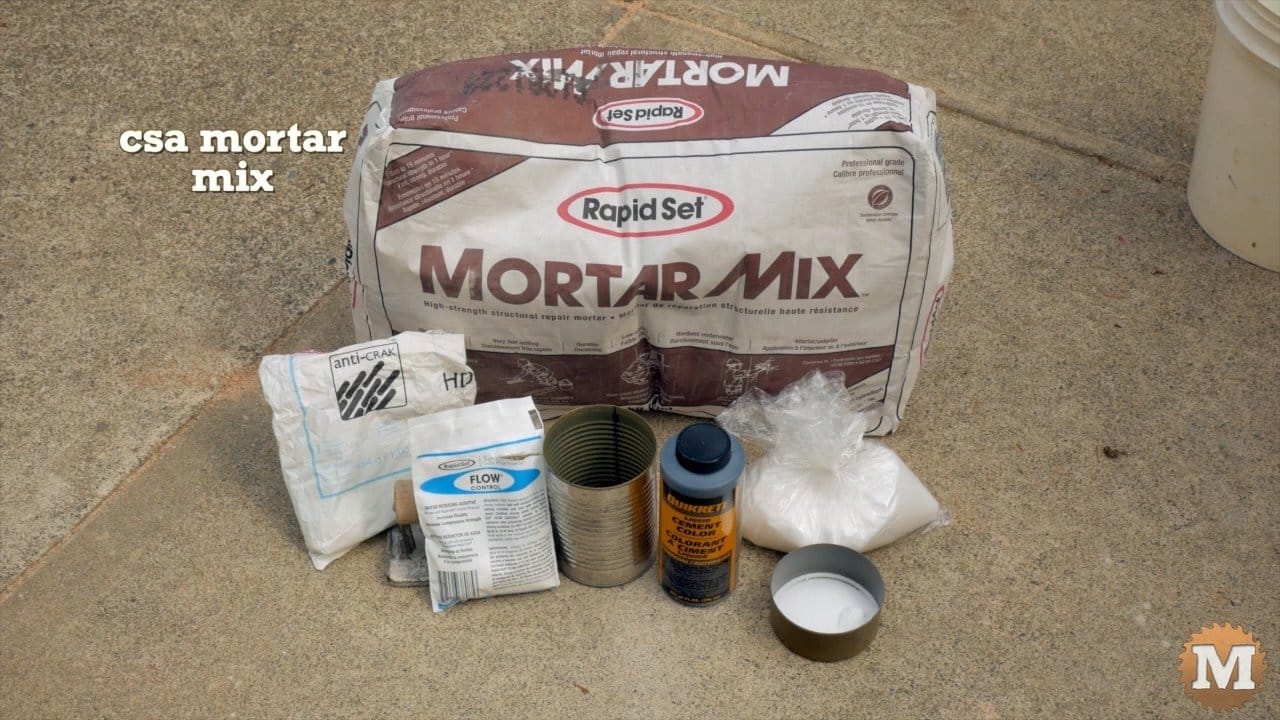
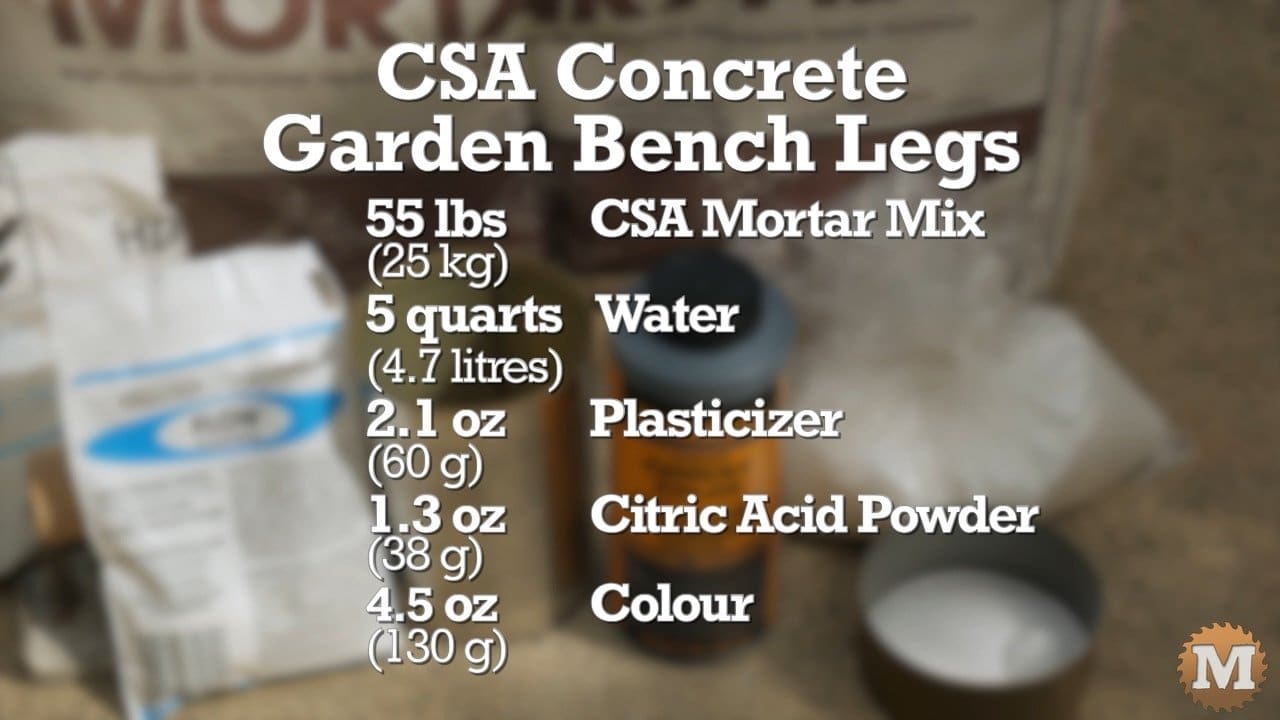
I use 55 lbs of CSA Mortar Mix to 5 quarts of cold water, a packet of plasticizer, 1.3 ounces of citric acid, and 4 and a half ounces of colour. I also will add a bit of glass fibre for extra strength. One 55lb bag of this Mortar Mix is required per leg.
Concrete Recipe
I measure the water then add it to a pail. I then add the other ingredients and dissolve them in the water.
(Disclaimer: As an Amazon Associate I earn from qualifying purchases. Thank you for helping to support my content this way. )
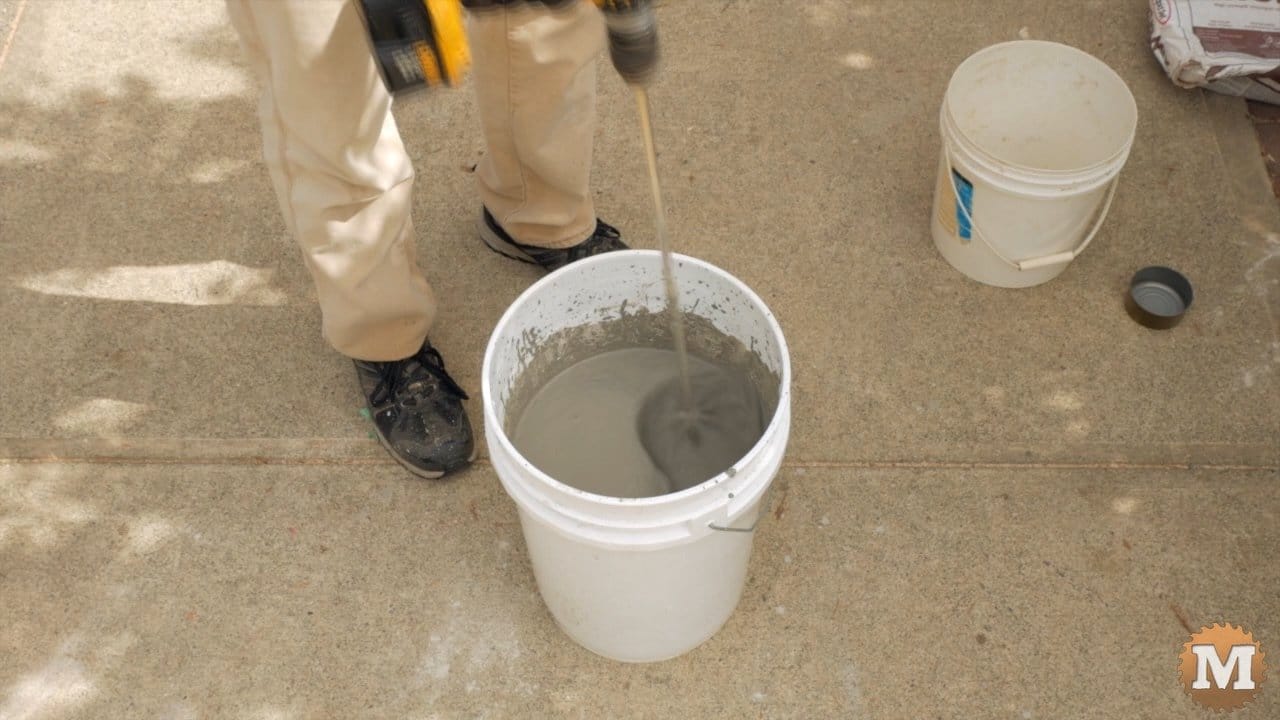
I have an egg beater style mixer on my drill that works well for mixing this concrete.
I use a plasticizer to make the concrete flow and pour like water.
And I add the citric acid to give more working time.
I then slowly add the mortar mix, about a quarter of a bag at a time. In North America, the Rapid Set brand can be found at Home Depot. I add a third of an ounce of glass fibre for more strength. This is the manufacturers recommended amount.
The CSA mortar mix has a light beige colour. And that’s fine but I wanted to make the legs grey so I added black concrete dye to the mix. I was thinking that it would blend better if I added it to the water first. I’ve been asked a lot about colour additives for concrete so I added some for these castings and will try other colours in the future.
I used a length of wooden dowel to stir the mix to check for any clumps on the sides or the bottom of the pail.
Pouring Concrete into the Mold

When it’s blended smooth I pour it into the form, filling it right to the top.
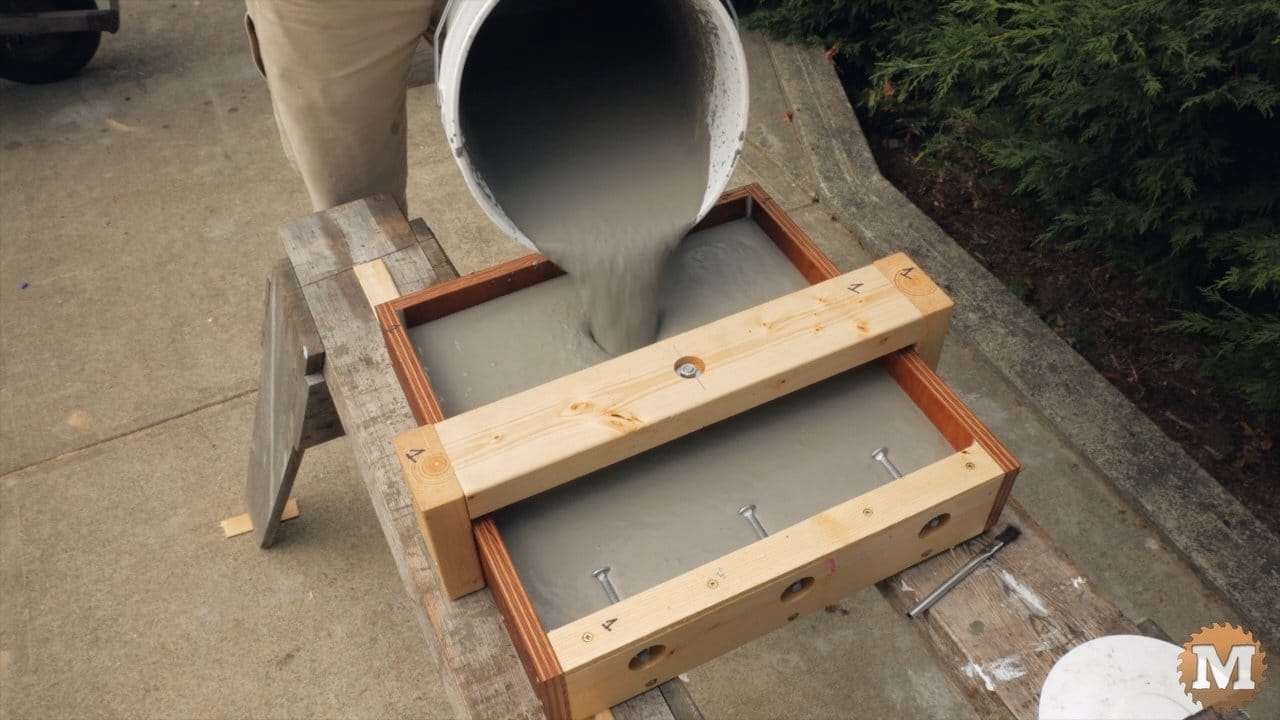
I really like this CSA mortar mix and I used it in Part 4 of the garden box series so I decided to use it again for these forms. It’s really easy to mix, pours like water, sets up fast, and requires little or no troweling. After about 10 minutes I vibrated the form to bring any bubbles to the surface. For this I use a reciprocating saw without the blade.

While the first pour was setting up I mixed another bucket of concrete. And filled the second form. Then vibrated it after about 10 minutes.
In about 45 minutes the concrete began to solidify. Then shortly after that it began to dry and show a white haze.
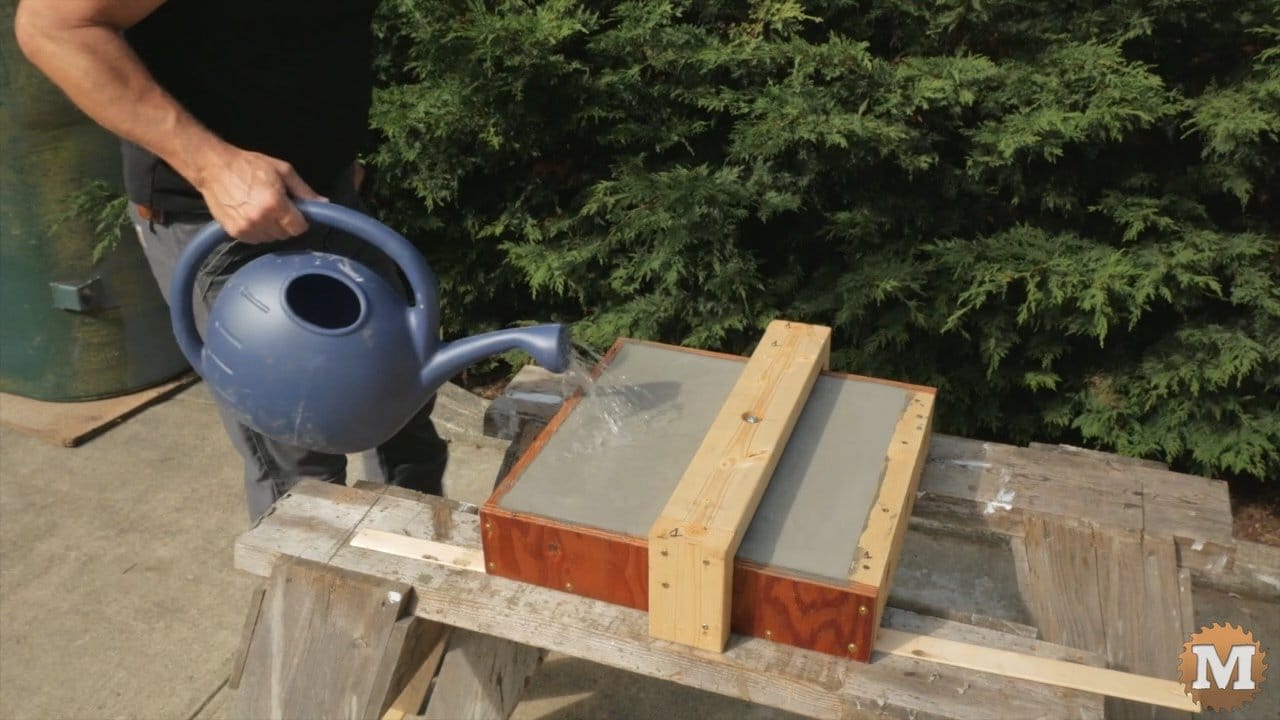
Curing Concrete Heats Up

I sprinkled water on the surface every 10 minutes or so for about an hour to keep it wet and allow it to cure.
Strip the concrete legs from the forms
After an hour of this, the concrete can be removed from the forms. It was the end of the day so I covered the forms with plastic and left them overnight.
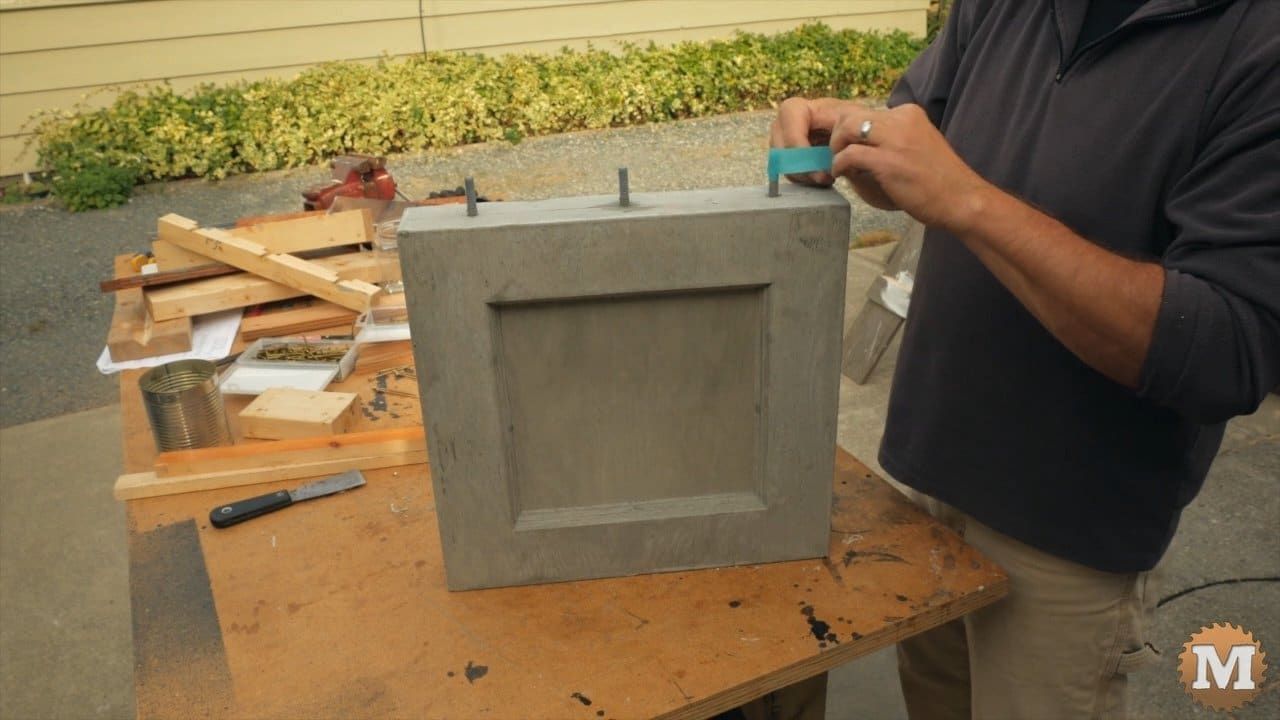
Now for what I think is the best part of all of this: stripping the forms to reveal the casting.
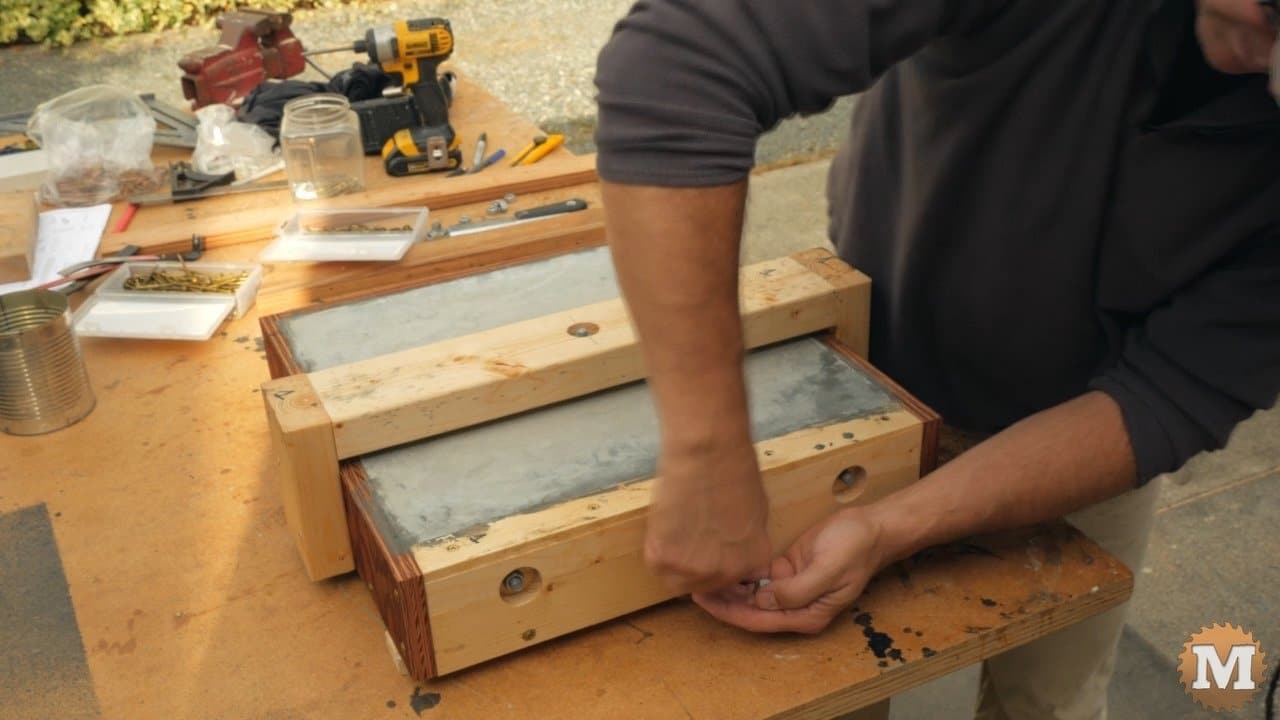
I wasn’t sure how well the split bolt block would work or if it would be difficult to remove but it went just fine.
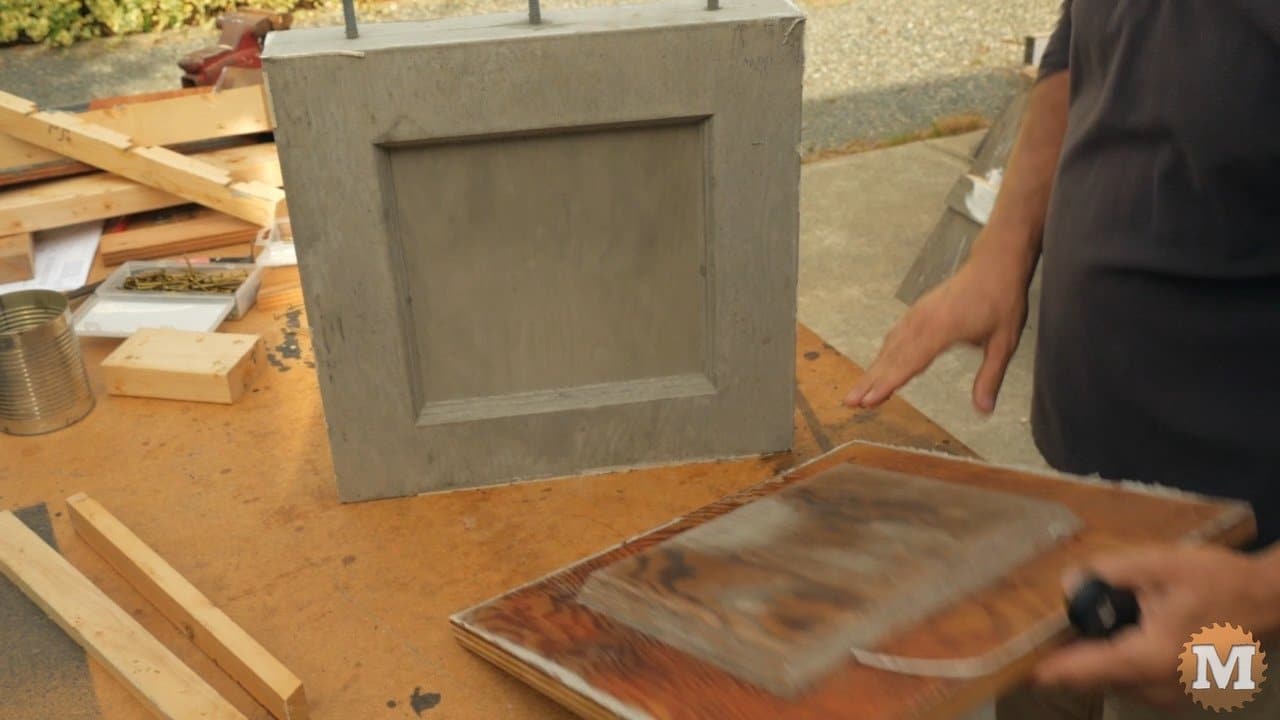
The newly cast legs should now be at around half their full strength. They will reach their full strength if you keep wet to cure for four weeks. For this project I’m not going to worry about that here and I’m going to build the bench right away.
Make the bench seat
For safety, I put a few wraps of tape around the exposed bolts while I was handling the leg castings.

I used a small block of concrete from a previous pour to round off any sharp corners on the casting while it was still relatively soft.
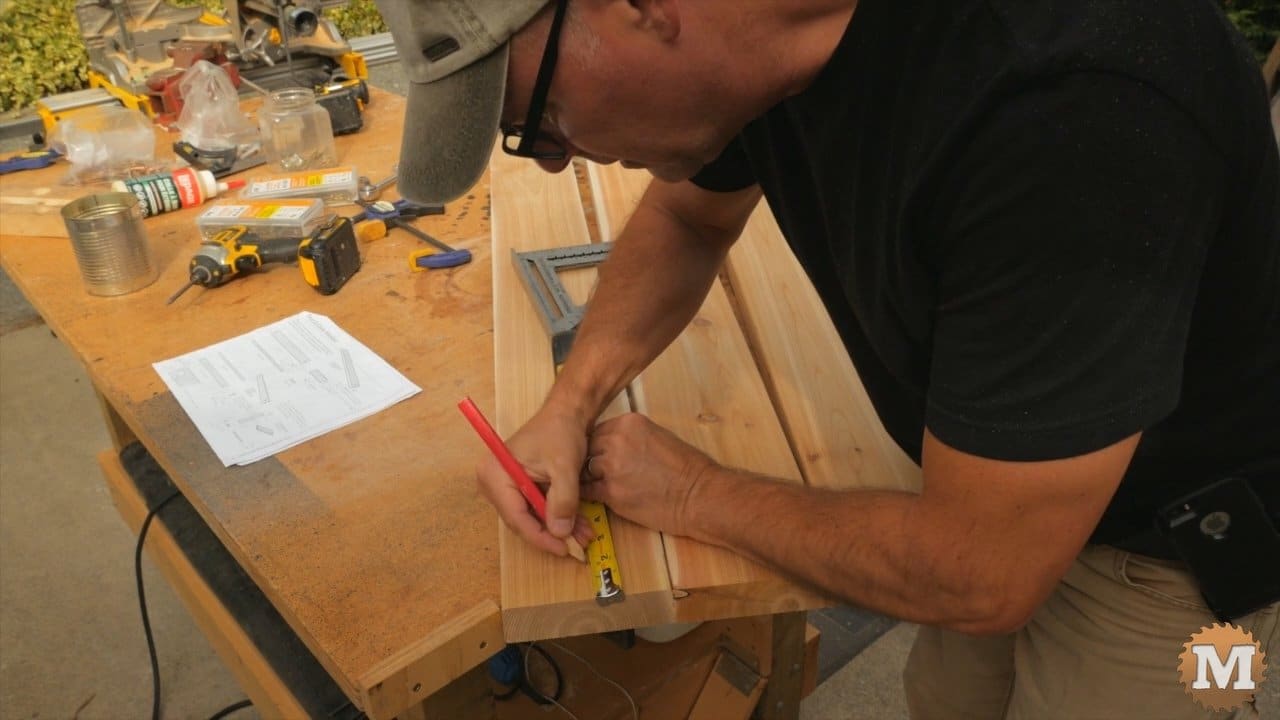
I’ll make the seat for the bench from red cedar 2×6’s. I’ll cut them to length on the mitre saw then lay out the hole locations on each end.
Laying out the Parts
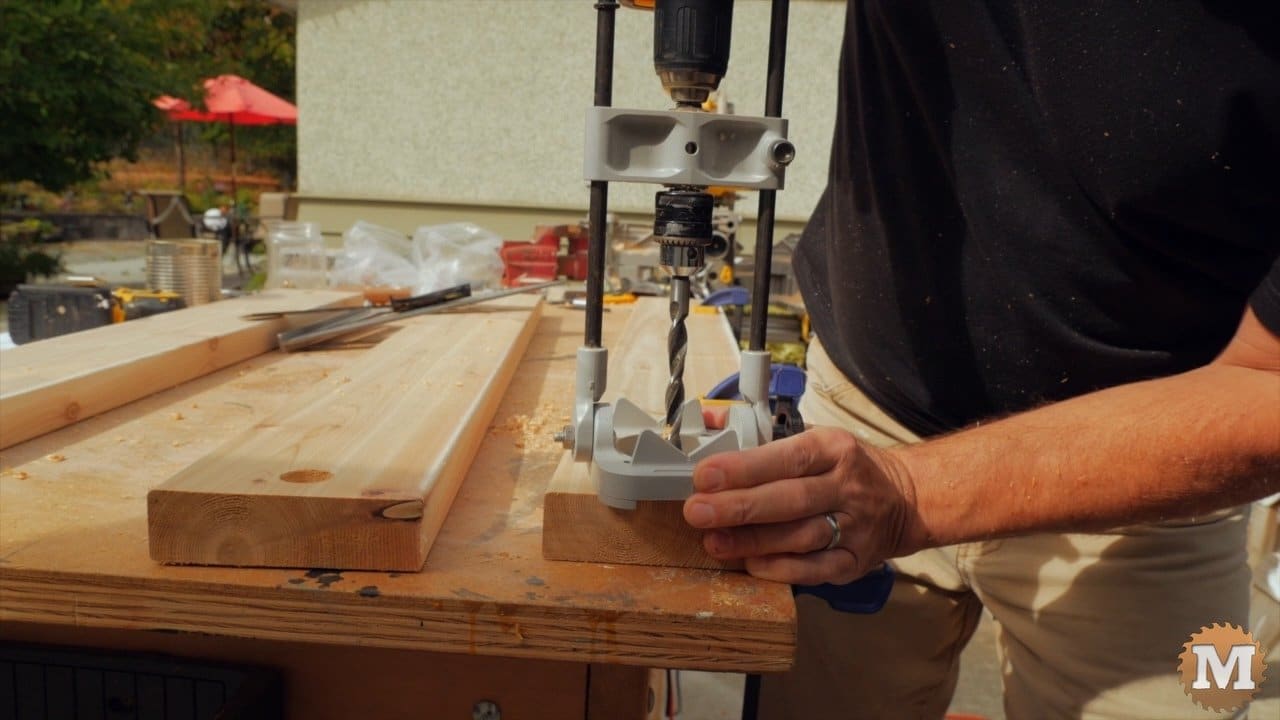
I’ll use the drill guide to first counterbore for the nut and washers, then drill through for the bolt.

I use a square as a gauge to get a consistent bore depth.
The stretcher is made from a 2×4. I had some cedar 2×6 left from the seat planks so I ripped it down on the table saw.
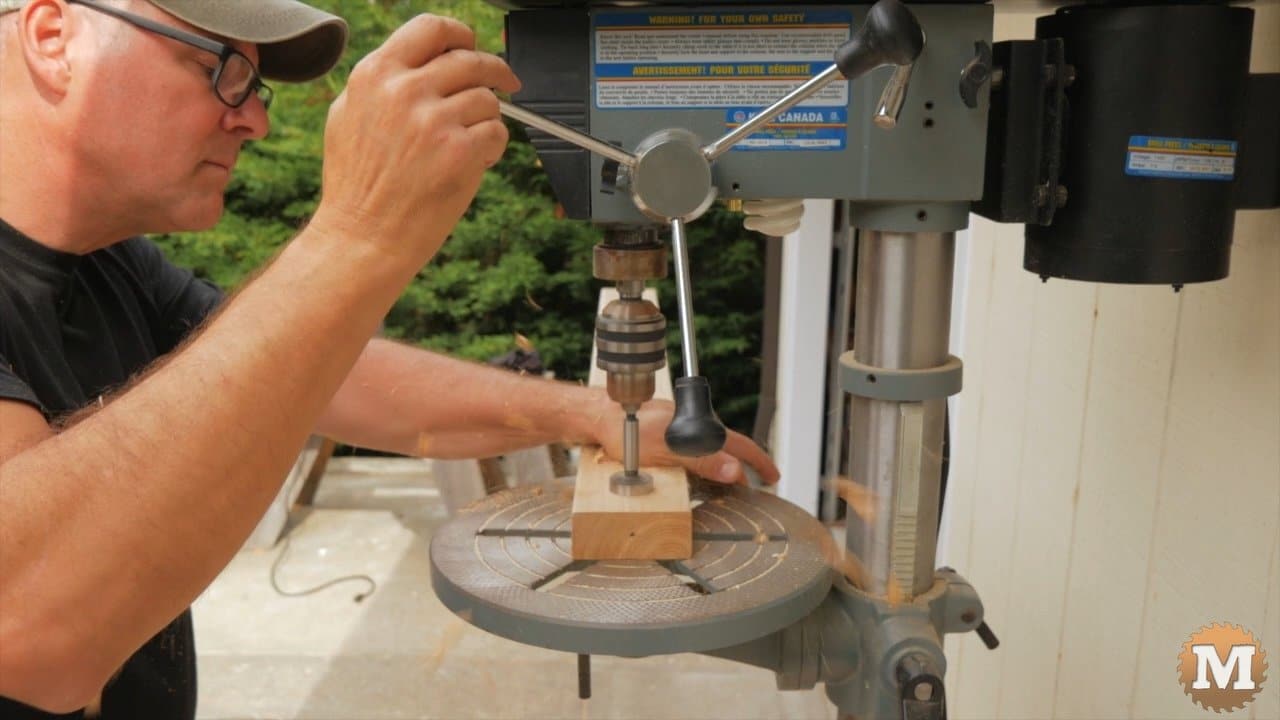
I lay out and mark the location for the holes on each end and drill them from both sides with a forstner bit. I drilled a pilot hole first to help guide the larger bit. And this worked pretty well.
To make drilling into end grain for the stretcher bolt easier I first make a drill guide from a scrap piece of 2×2.
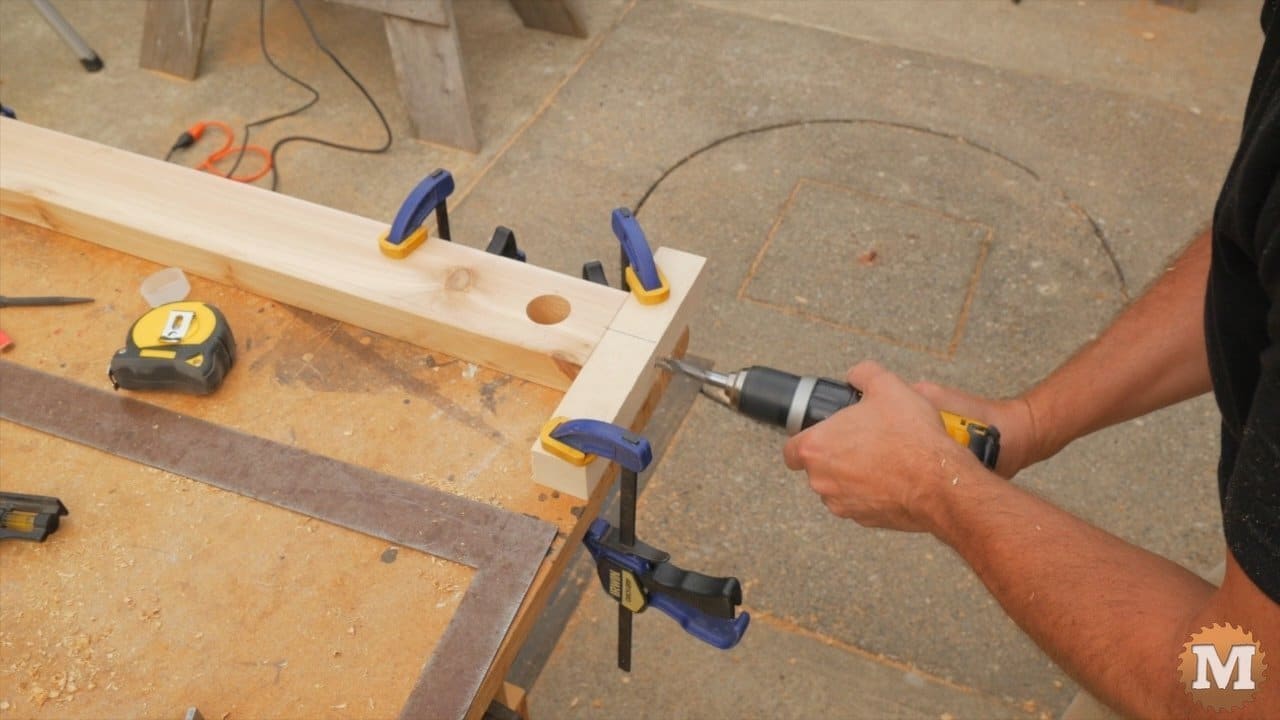
Then I clamp the stretcher and guide to my bench.
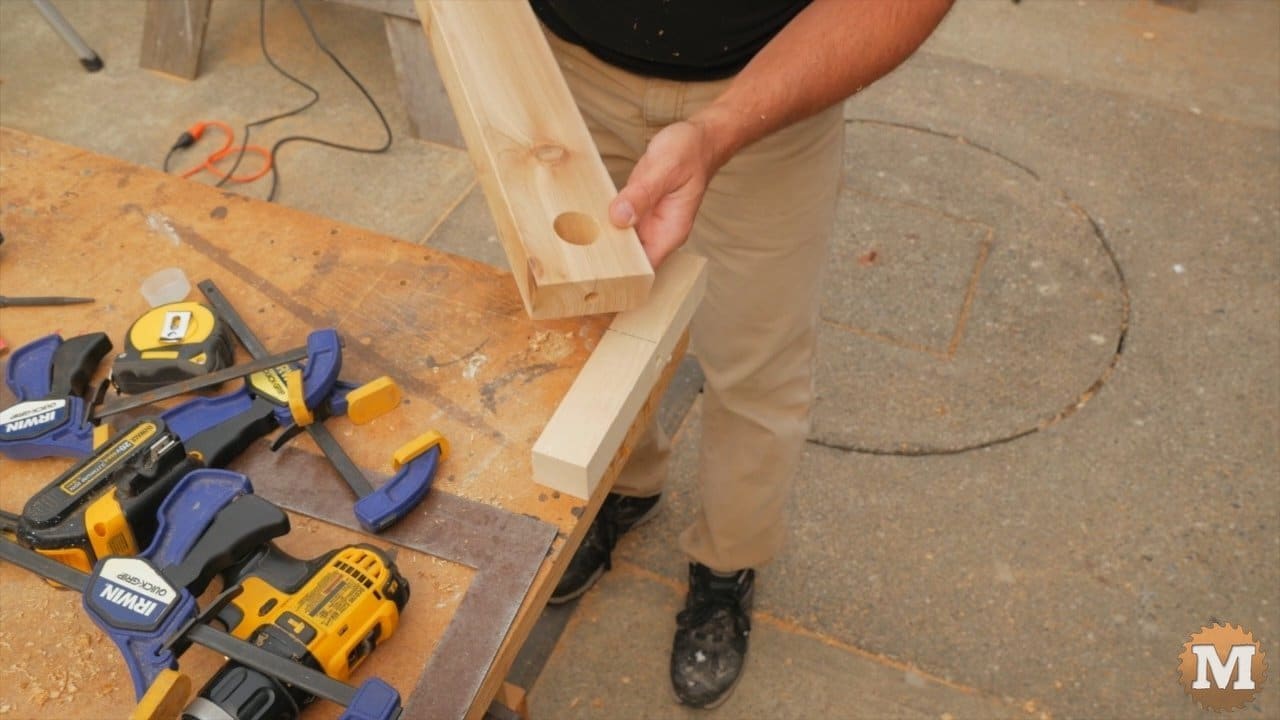
The drill will follow the guide and give a centered and true hole.
I’ll attach ties under the seat to connect the planks and prevent any side to side racking .
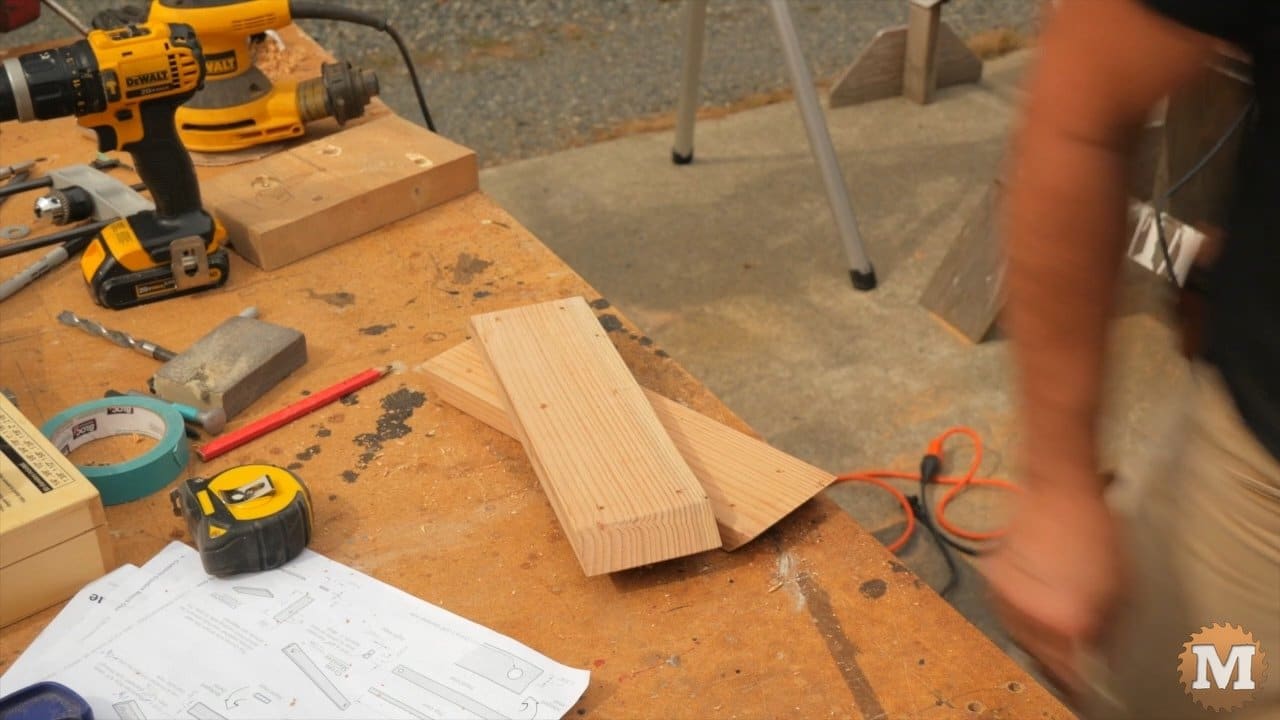
These are made from a 1×4. And they have a 45 degree bevel on each end. I’ll drill pilot holes now to make assembly of the bench easier.
I sand the ends of the planks to round over the corners. And sand off any rough spots on the other parts.

