Make your own Concrete Garden Bench. Build a form to cast the concrete bench legs. This modern concrete and red cedar bench has simple, clean lines. This is the first bench of the series. This is Part 1 of the series.
See the Youtube Video and download the Plans.
Background for the Concrete Garden Bench ONE

Hi everybody this is Kent from man about tools and today we’re making this wood and concrete garden bench.
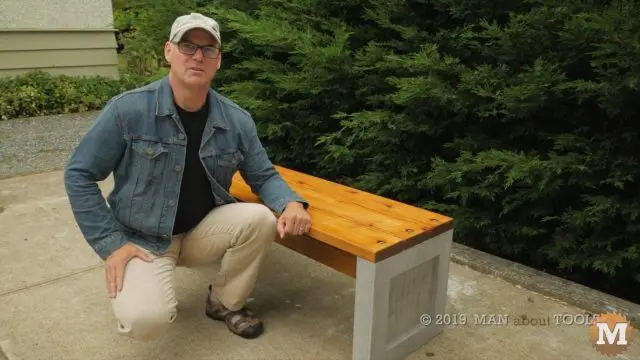
I’ve been wanting to make some benches to go along with the concrete garden boxes I’ve been casting. I like the blend of concrete and wood with simple, clean lines. This design has square concrete legs and a flat planked wooden seat. Here’s how the bench goes together.
Concrete Garden Bench Design
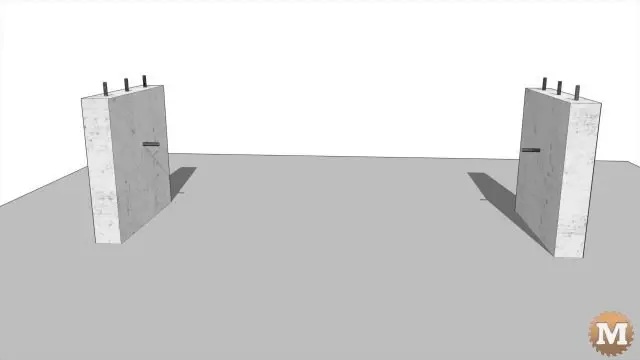
The concrete legs have three protruding seat bolts at the top and one bolt on the inside to attach a stretcher.
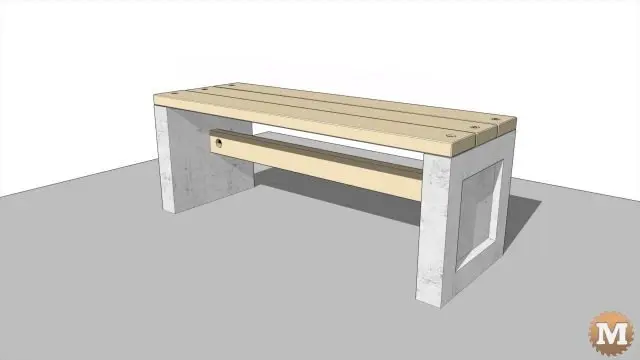
Three planks make up the seat.
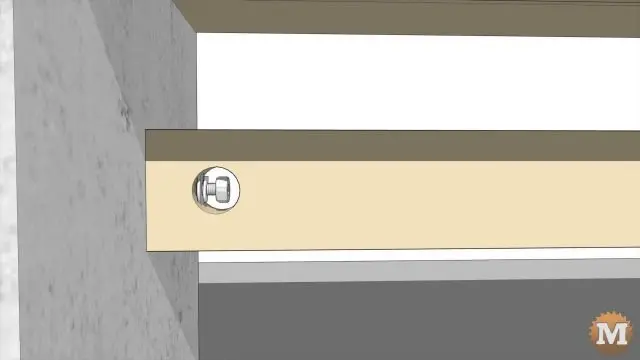
Nuts with washers are threaded on the stretcher bolts through a hole in the side.
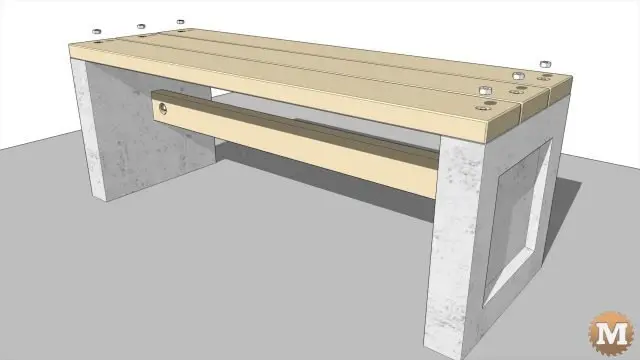
The seat planks are also secured with washers and a nut. And two ties are screwed to the bottom of the planks.
Finished Bench
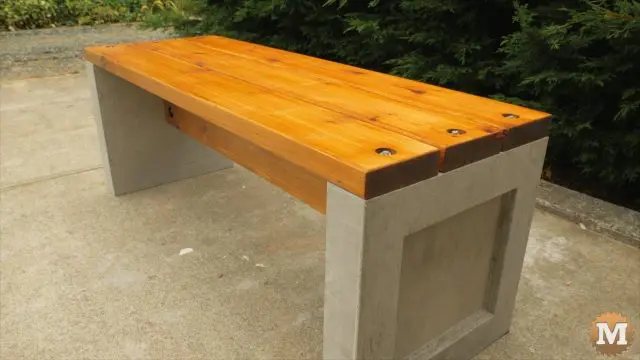
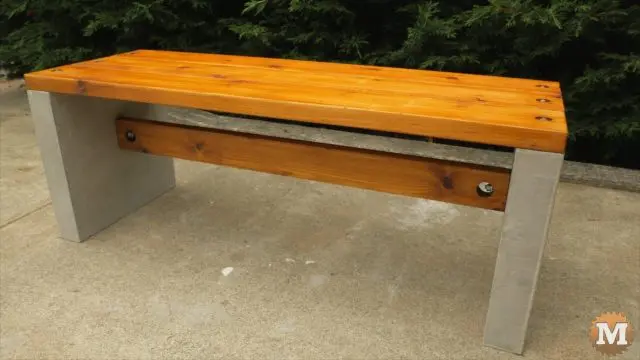
I wanted to make strong connections between the concrete and the wood. I know there’s a number of ways of doing this with drilled anchors and brackets. But, for this first bench in this series I wanted to try casting anchor bolts in the form during the pour. In the similar fashion as a house foundation with anchor bolts for the sill plate.
(Disclaimer: As an Amazon Associate I earn from qualifying purchases. Thank you for helping to support my content this way. )
Form for casting the concrete legs
And so nothing else would be needed once you stripped the form from the casting. Now I know this would mean a bit more work in the construction of the form, but building the bench in the end should be faster and should make it very sturdy.
So here’s the form for casting the legs.
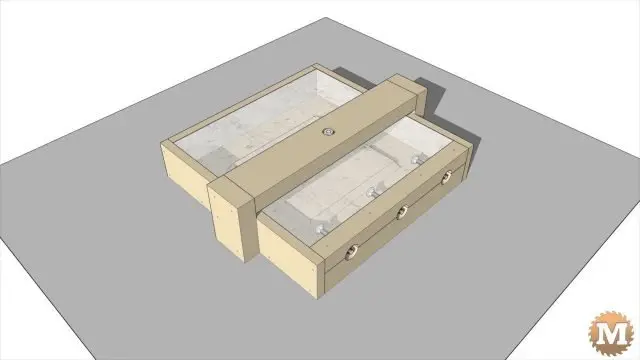
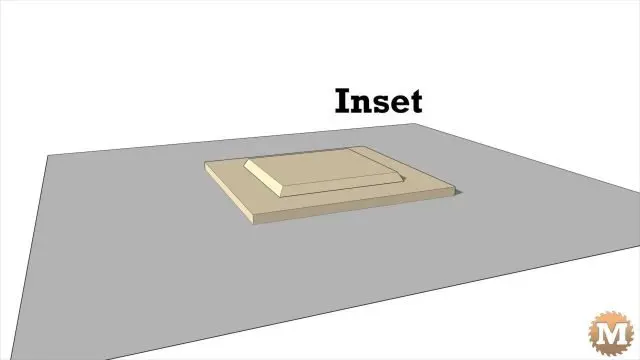
The form has a 3/4″ plywood base with an angled inset attached, just like the the garden boxes.
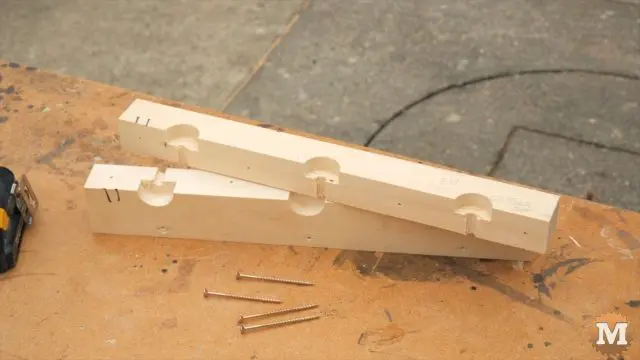
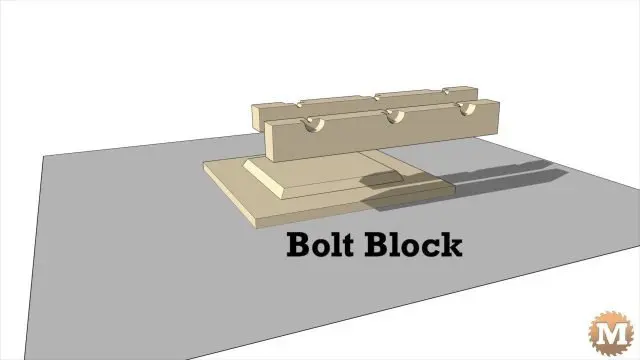
A two part block holds the seat bolts in place and can be taken apart after casting.
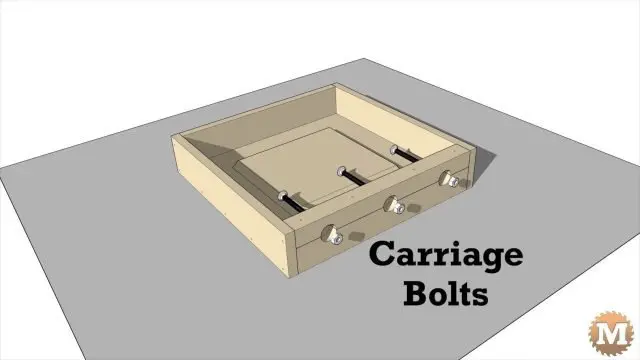
The end wall and side walls are made of plywood. The anchors are 3/8th’s galvanized carriage bolts 3 1/2″ long.
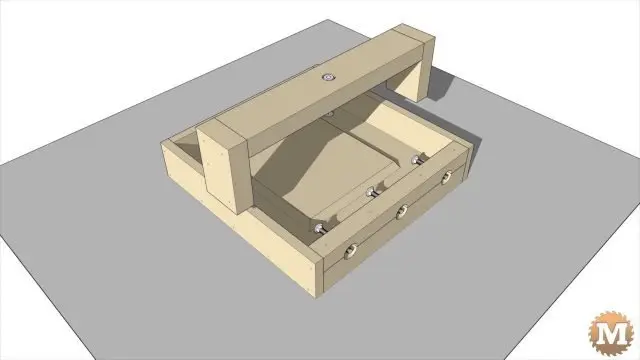
The form has a bridge that holds the stretcher bolt in place.
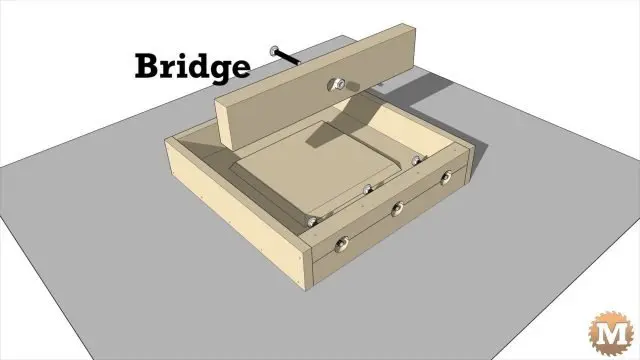
This stretcher helps to prevent side to side racking, as the seat boards have only a single attachment point on each end.
Building the plywood form to cast the bench legs
The bolt block and bridge are made from standard framing lumber. When assembled, concrete is poured in to fill the form.
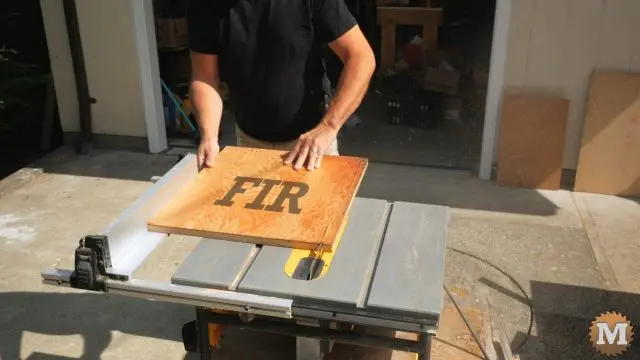
I’ll start by cutting plywood on the table saw and checking that it’s square. For these forms I used plywood as it’s what I already had around the shop. The legs are identical so one form is enough but, as I was filming and prototyping, I built two.
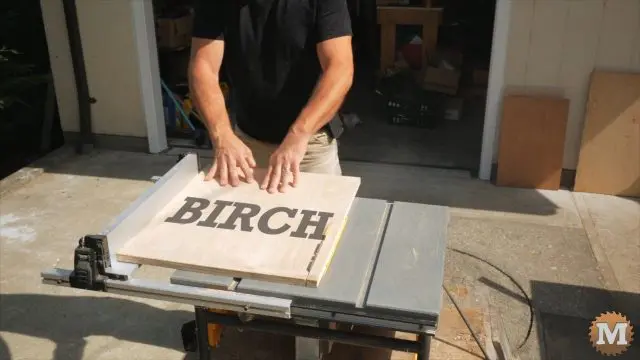
One from recycled fir plywood, and one from birch.
You don’t need a lot of power tools to built the forms or the bench. You can get by just fine with a circular saw, drill, and driver. You could use a circular saw, a home-made guide, and clamps for these cuts as well.
If you’ve built the garden box forms then this should be pretty straightforward.
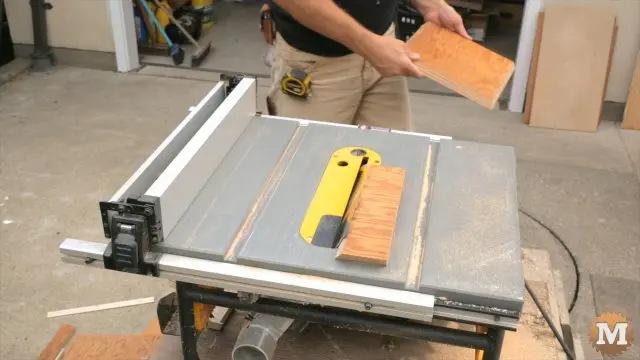
Attach the Inset
Like the base, the inset is plywood but beveled at 30 degrees. I make one inset from birch, and the other from fir.
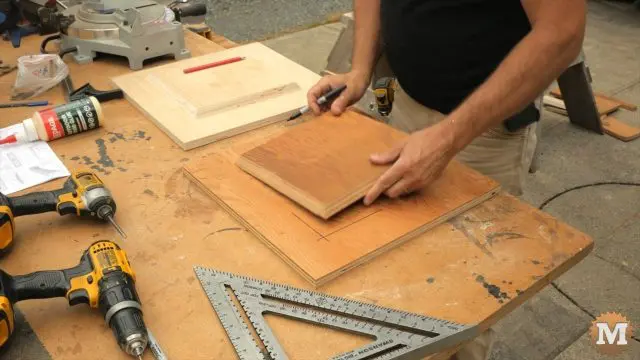
I lay out and mark the corner locations on the base and drill pilot holes for the screws that will attach the inset. I apply a little glue then attach the inset with screws from the underside of the base.
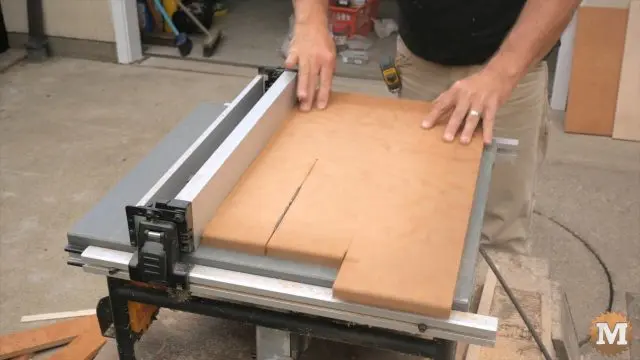
Next I’ll cut the three plywood sides for the form. I rip them to width then cut them to length with a mitre saw. You could use a speed square and circular saw to make these cuts instead of a miter saw.
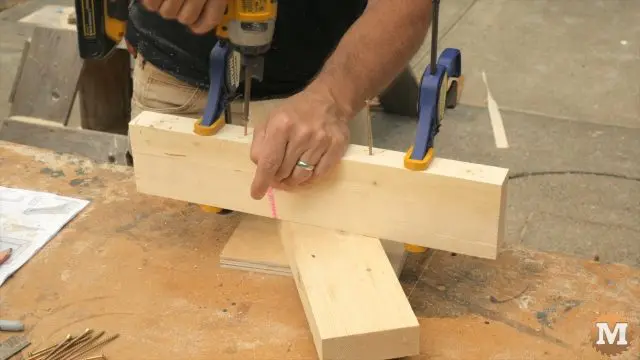
The bolt block is made from two pieces of framing lumber. I rip the upper and lower pieces from a 2×6. I rough cut these an inch longer than needed as I will trim it to final length after the pieces are screwed together. It’s easier to align this way. I mark the location for the three bolt holes and mark the screw locations between them. I use four screws to attach these two pieces together. I clamp them, drill pilot holes, then run the screws in.
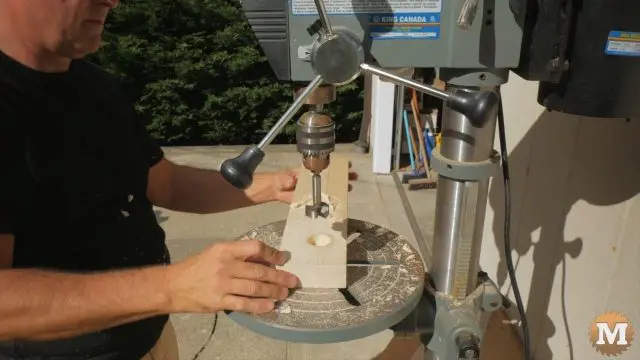
I’ll trim it to it’s final length then take this bolt block to the drill press to cut three counterbores on the outside face. I swap bits and drill three holes on the inside face to hold the bolts. I’ll talk more about the reason for the counterbore later.
The thru hole is 3/8’s diameter and the bolts fit snug with little or no play. I want the bolts to be held firmly and to not move once they are set in place.
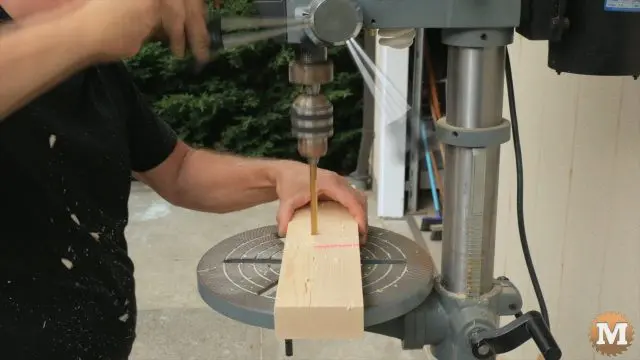
I mark and drill pilot holes for the screws that will hold the bolt block to the base and sides. I use the drill press for this but you can freehand these.
The bridge is made from a 2×4 and holds the bolt for the stretcher.
Assembling the form parts
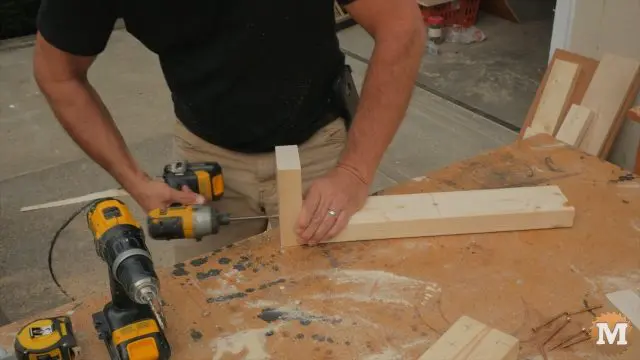
I cut the span and two supports to length and mark the center for the bolt. I counterbore and drill on the drill press.
All holes and counterbores could also be done using a drill guide instead of a drill press.
I mark and drill pilot holes in the supports. Then assemble the bridge with 3″ screws.
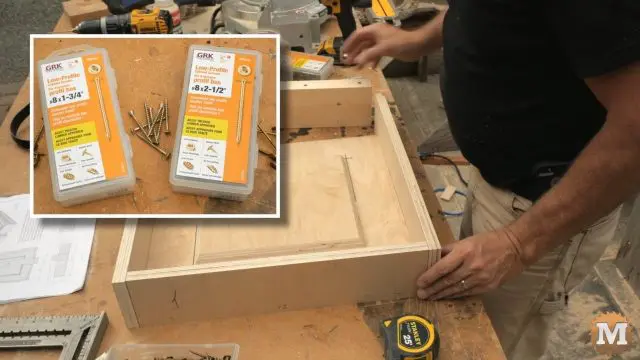
With all the parts done I’ll do a test assembly of the form to see if everything fits together as planned. I’ll use self drilling, washer head style cabinet screws for most of this. Along with some two inch and three inch wood screws.
The pilot holes really help speed this up.
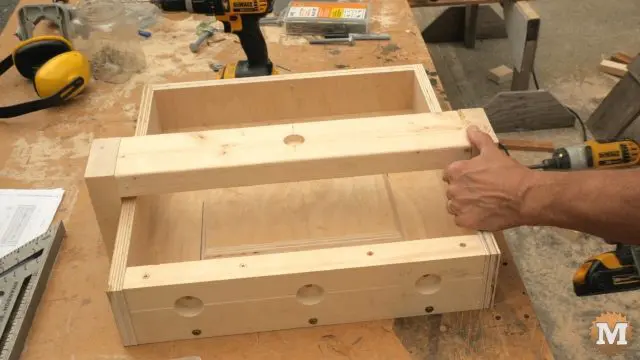
Now I’ll check the fit of the bridge and attach it to the walls of the form with 2″ screws.
It doesn’t always go this well but everything fit the first time for both forms. I mark each part with a sharpie, so I can reassemble it the same way.
