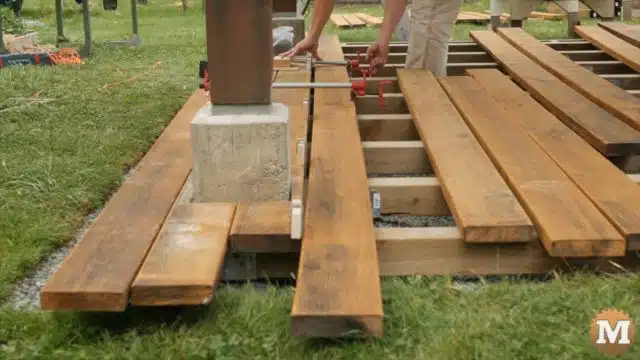
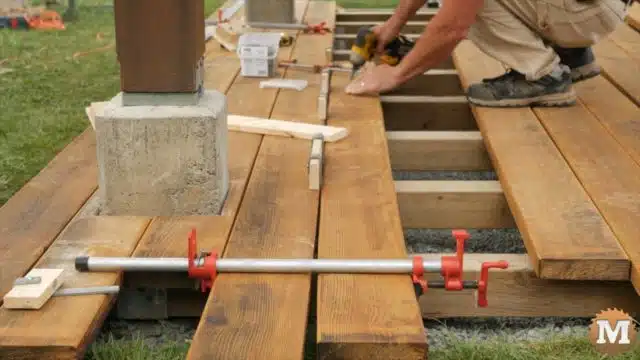
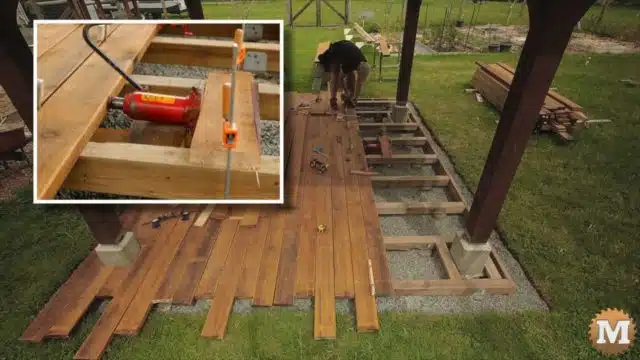
Pipe Clamps and Bottle Jacks to straighten Floating Deck Boards
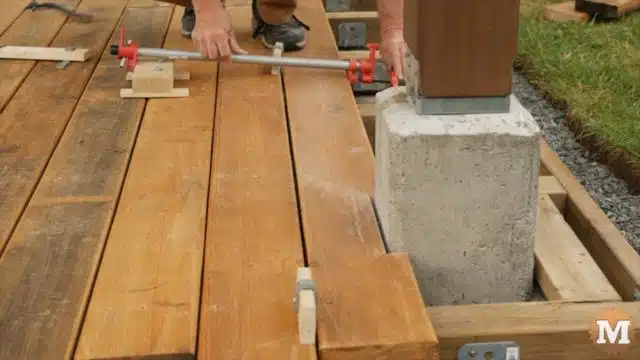
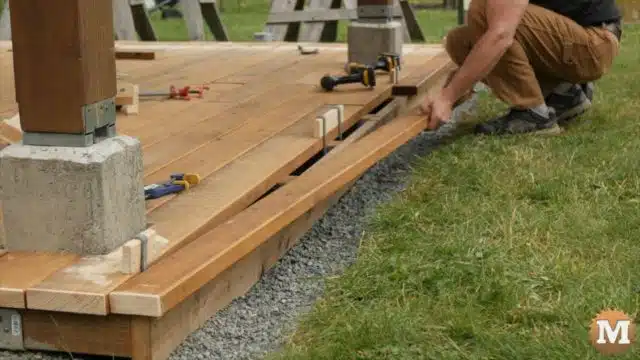
And now I could tackle my first long crooked deck board. I screwed blocks to some angle iron that I could slide between the decking to give me a point to clamp to to straighten the boards.
This board was pretty bad and I did the best I could with it. The gap at the end was still big but, once all the ends were trimmed later I figured I could live with it.
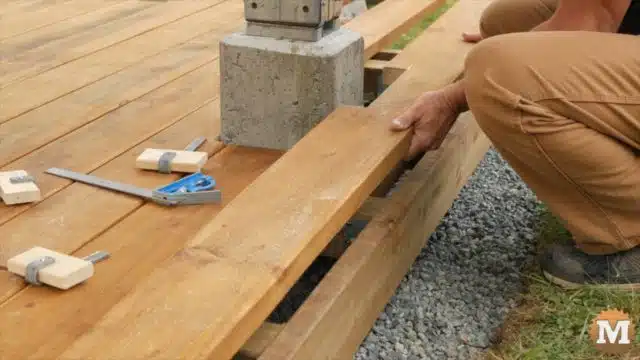
So the following day it was more of the same. I left the most crooked board for last. It was pretty severe but now the floating deck had more integrity and strength and I also had more confidence. I had a bottle jack in the garage so I used it to straighten this one. And it worked well.
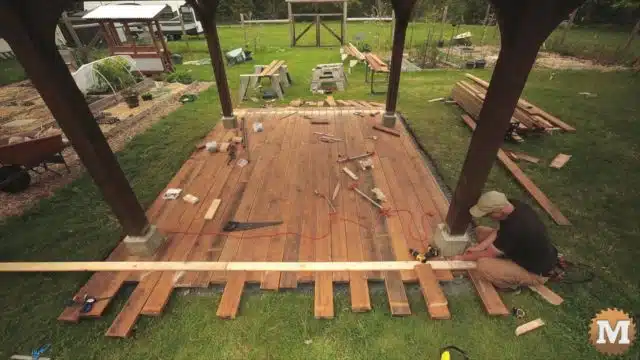
So I got half way done on that first day and I was liking how it looked. There were also some variations in the thickness between boards but I didn’t mind how it gave the deck a more rustic feel. And the chamfering helped.
Where the rim joist attaches to the 4×4 joists I added some angle brackets. Later I’ll be adding a pony wall along this side of the deck and I wanted a bit more support here. And it was easier to do this now instead of later.
Trim Wild Ends of Deck Boards
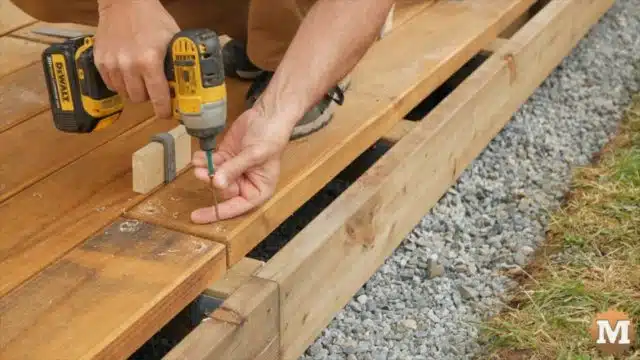
And now I was notching the boards around the east piers and doing some straightening with clamps. Even though I was using the GRK self drilling screws I like to drill pilot holes in the ends of the board. This ensures the screw will not cause a split.
Staining Deck Boards
And these are the last 2×6 boards I’ll need. I’ll be finishing off this side with a couple of 2×4’s. The stain on those is drying so I’ll move on to trimming the boards at the north and south ends of the deck.

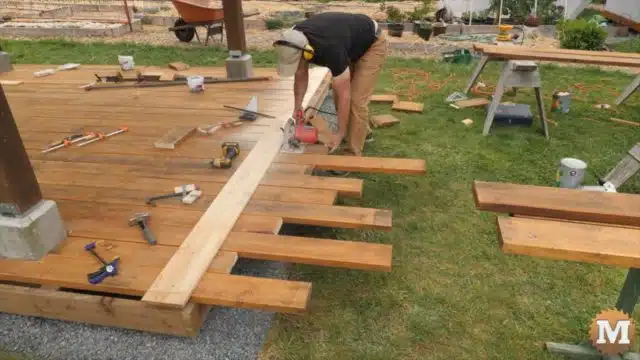
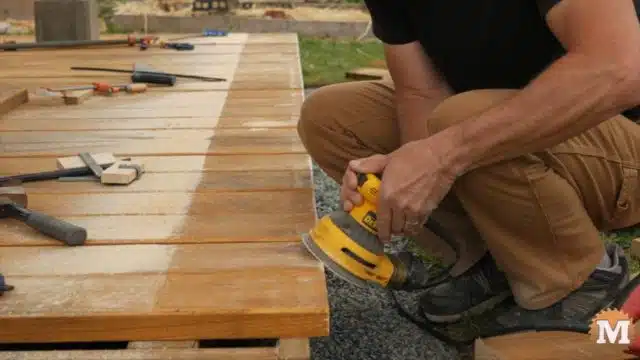
I had a long straight 1×8 that I can use as a guide to make this cut. And the random orbital sander for chamfers all these ends.
On the south end the 1×8 ran into the concrete piers so I used two 1×4’s instead. And that is a very satisfying cut to make.
(Disclaimer: As an Amazon Associate I earn from qualifying purchases. Thank you for helping to support my content this way. )
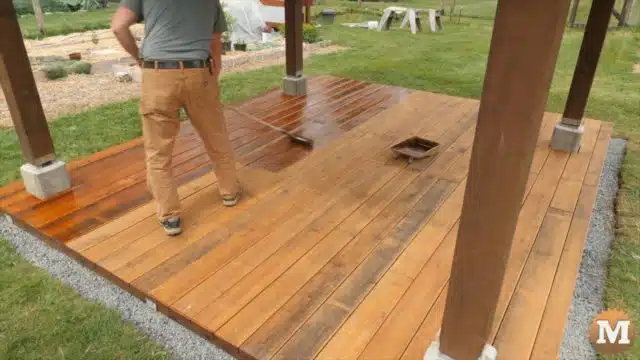
I’ll now add the final two floating deck boards to complete the carpentry stage of this floating low-profile deck. The fresh cut ends will get a few coats of stain. Along with the rim joists.

And finally the second coat of stain is rolled on and this deck is finished.
Let me know what you think in the comments below. Later this summer I’ll be adding a pony wall to the East side of the deck to block some of the consistent wind we get from that direction. Thanks for reading!