Adding the Deck Rim Joists
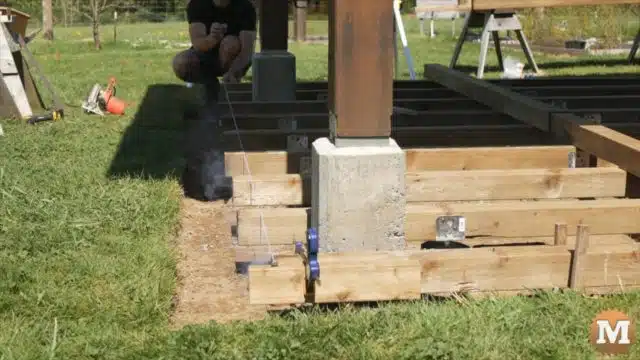
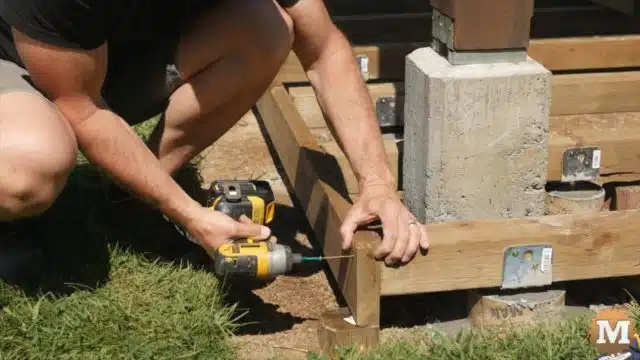
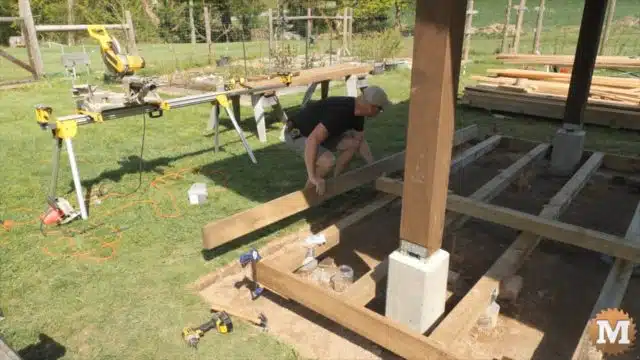
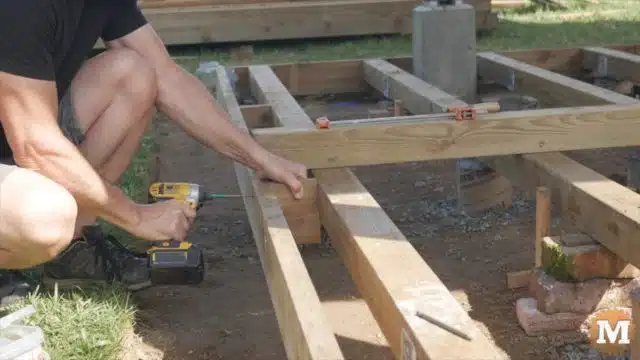
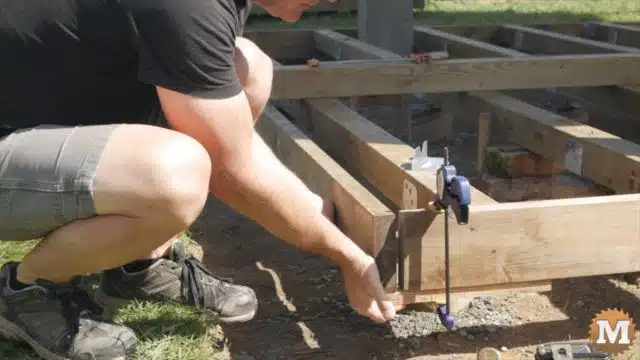
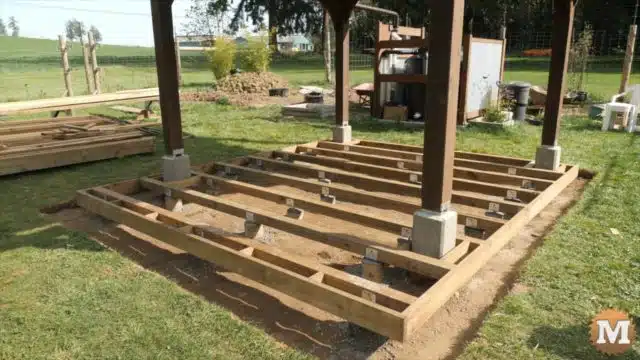
And now finally the frame is done.
Prep the Deck Boards
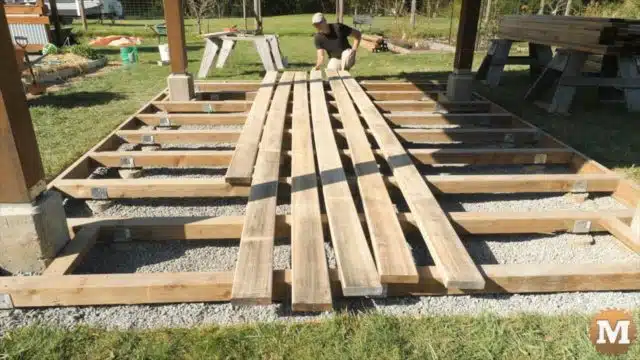
I have a stack of 2×6 fir boards that were milled from trees that we felled on our property. These have air dried for two years and will be used for the decking. They were cut one and a half inches thick so I can space my joists around 24″ without worrying about any flex in these deck boards.
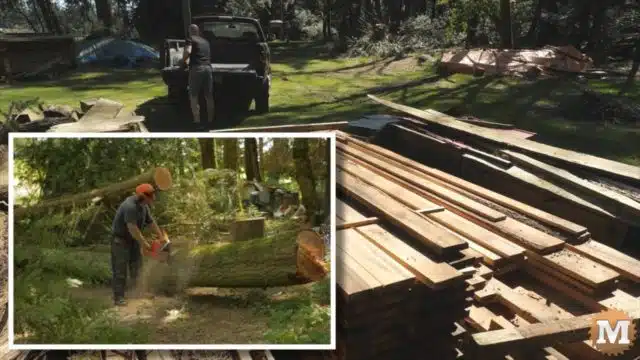
This variety of Fir, Grand Fir, is not known for it’s rot resistance so I’ll keep the deck within the drip line of the pavilion roof to try and keep the wood dry as much as possible.
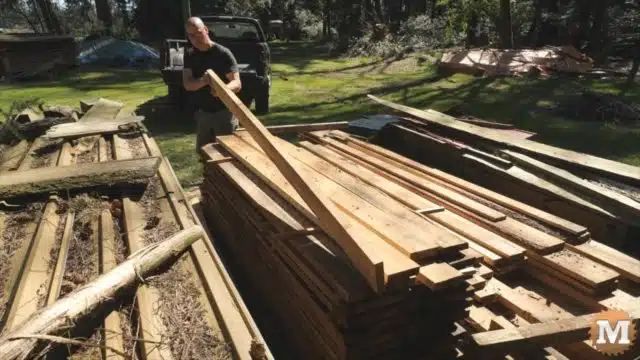
Wood is expensive so you have to sometimes use what you got.
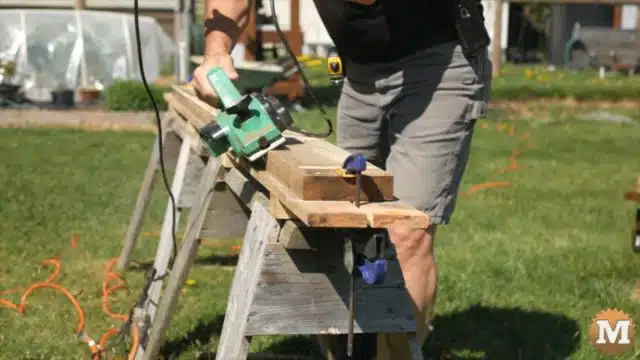
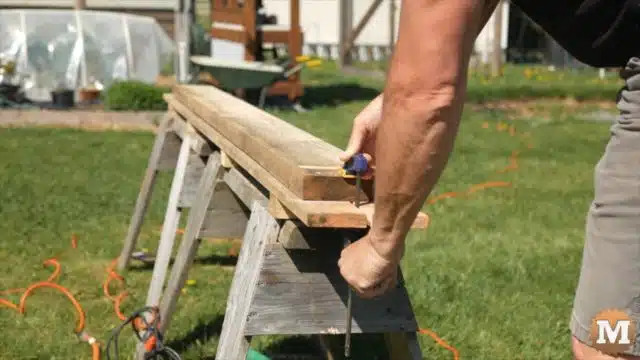
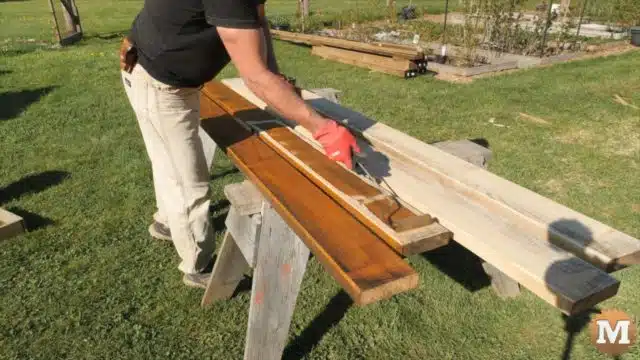
I have the stack of grand fir deck boards to prep before I can screw them to the frame. I’ll be cutting a chamfer on their edges and sanding the saw marks left by the mill.
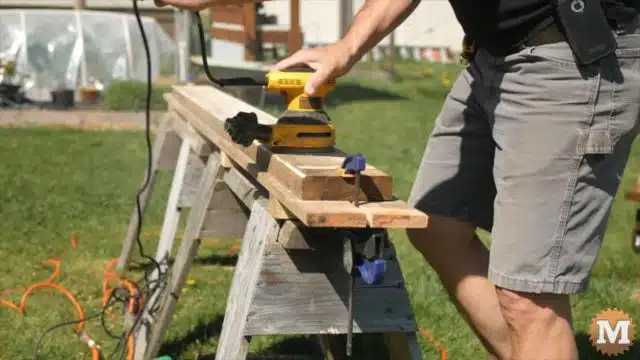
I made a jig to make this faster and easier. Across two end-to-end sawhorses I attached a board with a slot in each end. This slot allows me to slide a clamp onto the board to secure them while I chamfer. This jig will give me full clearance for the power plane along each edge. And the slot cut in the jig allows for variations in the length of the boards.
I also trim one end square and chamfer it as well. And I can use the orbital sander for this.
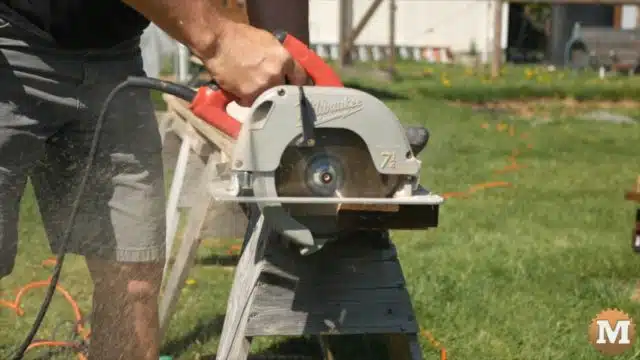
So that was my day. One by one I prepped and sorted these boards.
Crushed Gravel added under Deck Frame
We picked up a yard of crushed gravel and shovelled and raked that around under the frame. And that went pretty fast. I’m hoping that the gravel will help with drainage and dry faster under the deck.
(Disclaimer: As an Amazon Associate I earn from qualifying purchases. Thank you for helping to support my content this way. )
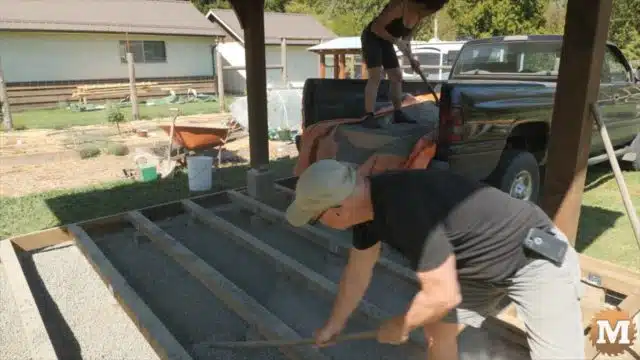
Quite a few of my deck boards were severely crooked. And being one and a half inch thick fir they would be a challenge to straighten. But before I started laying them down I wanted to apply a coat of stain first. And that finished off a long and productive day.
Staining the Deck Boards
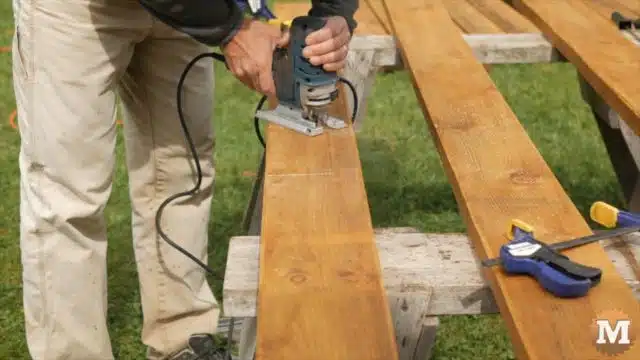
I
Notching the Deck Boards
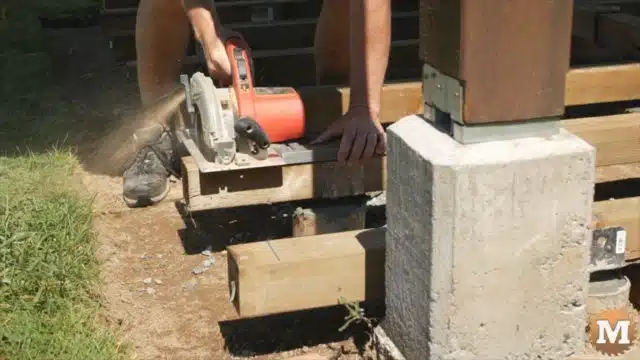
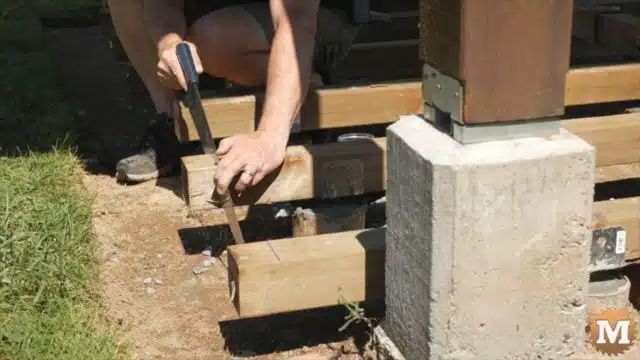
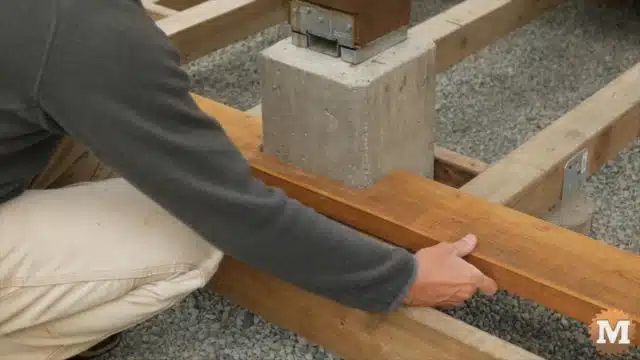
‘ll need to notch the deck boards around the concrete piers and I can do that with circular saw and jig saw.
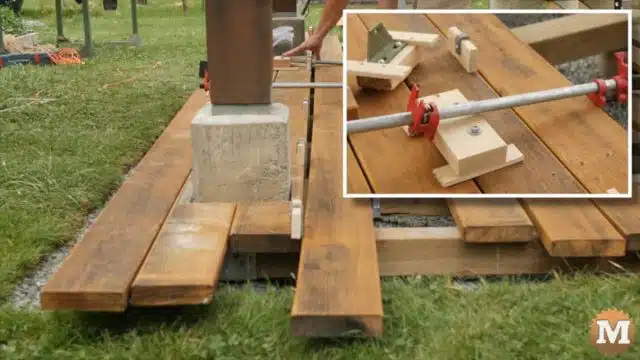
I picked my straightest boards to get a good start with. I found some hooked metal bars to use as board spacers. At 3/16 thick they were perfect for what I needed. I added a small block of wood to the looped part so they would stay in place while a ran in screws.
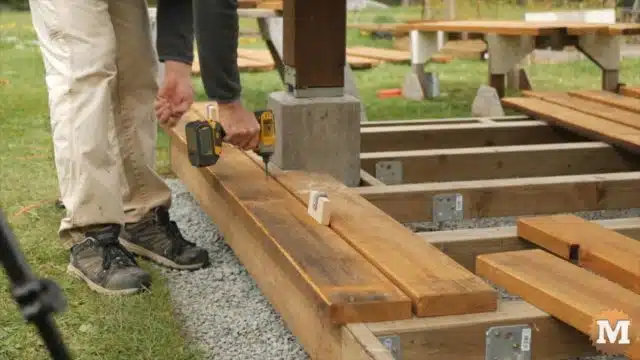
At the beginning I simply used a pipe clamp to straighten any boards with a mild crook.
Straighten the Deck Boards
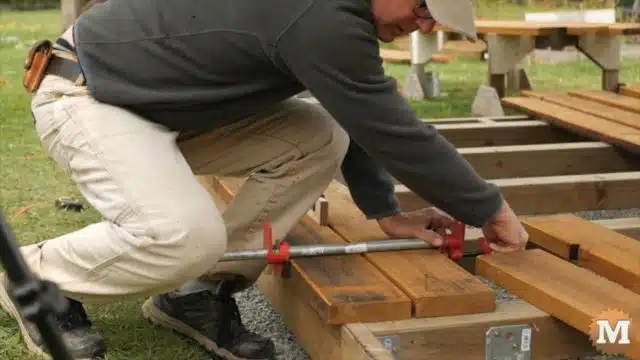
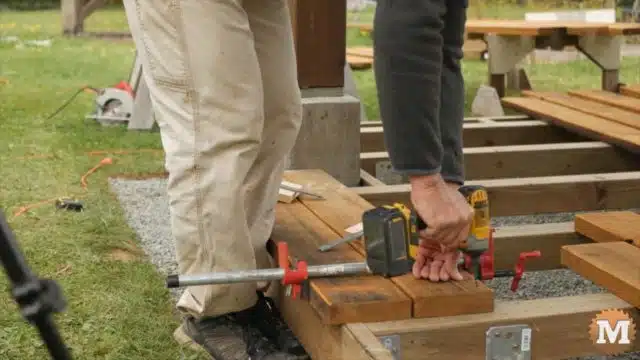
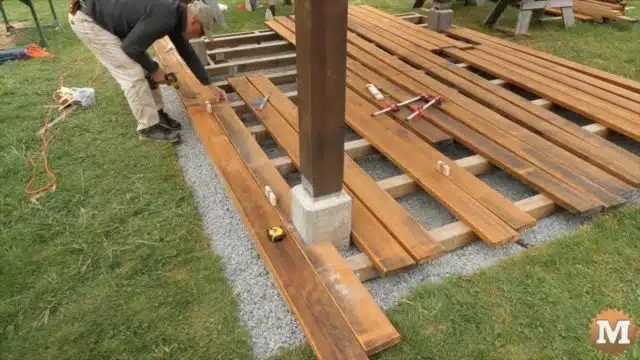
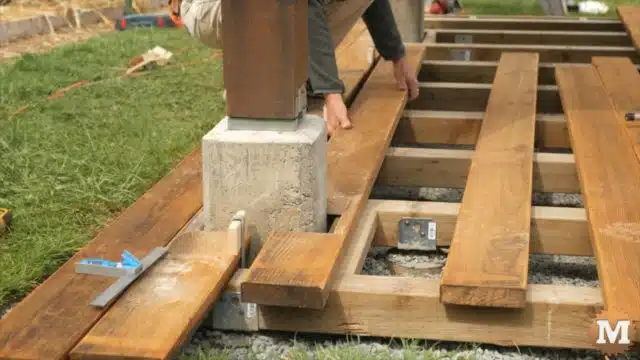
It took some time to make the cuts around the piers so I had a slow start to the day. It didn’t feel like I was making any progress — until I could get into the middle section of the deck.
