Filling Forms with Concrete
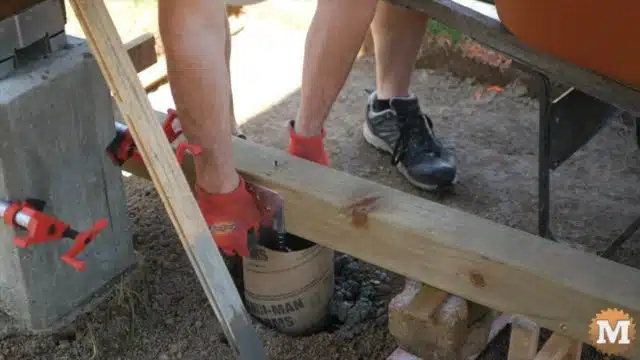
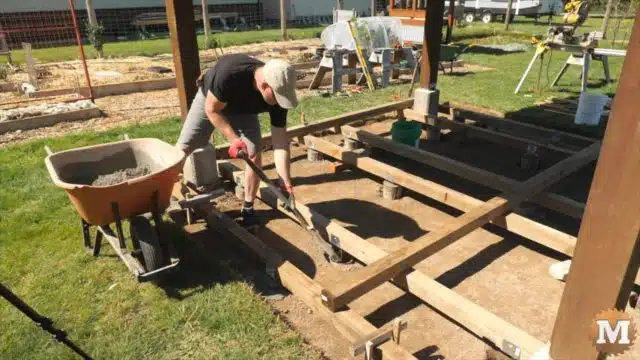
This corner is the high point so there’s not much clearance between the ground and the bottom of the joist. It made it a bit difficult to fill the tube. Because of this short ground clearance I went with pressure treated lumber for the deck frame.
I did think about using deck blocks set on the ground or a bed of gravel but I didn’t want the deck to potentially heave every winter. I just wanted to do this once so I decided that I would pour a number of footings.
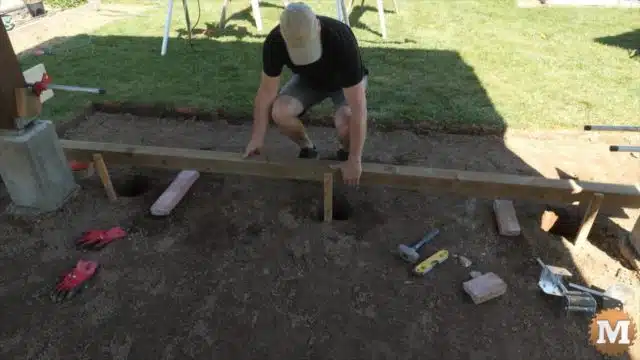
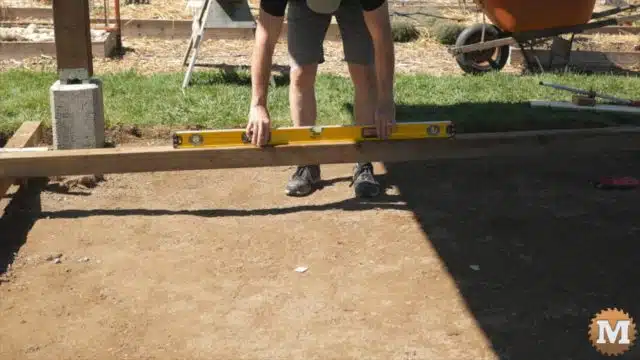
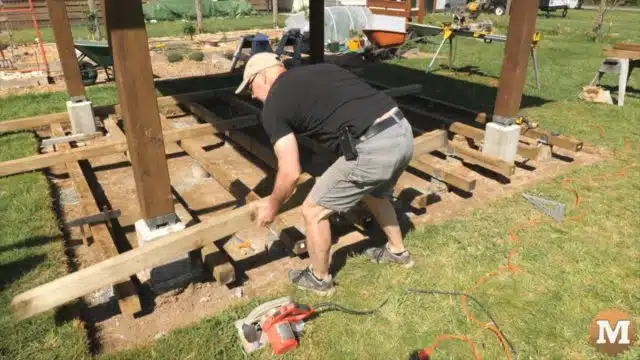
Then I will move over to the north end of the pavilion and repeat these steps for the second joist. I will reference the tops of the piers and check for level along the joist (East to West). I also will lay a 4×4 over these first two joists to check for level north to south. Now these are parallel and are on the same level plane.
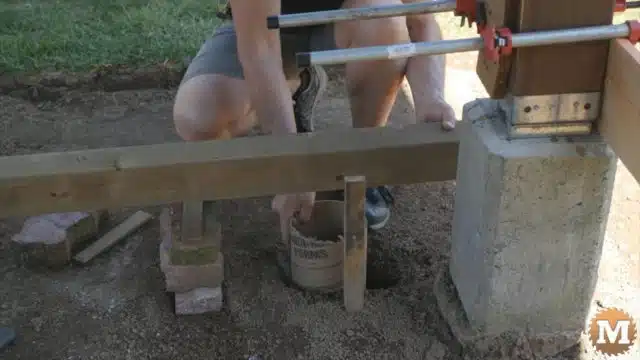
These first two joists I cut to their final length so I can quickly square them up as well before I add the infill joists.

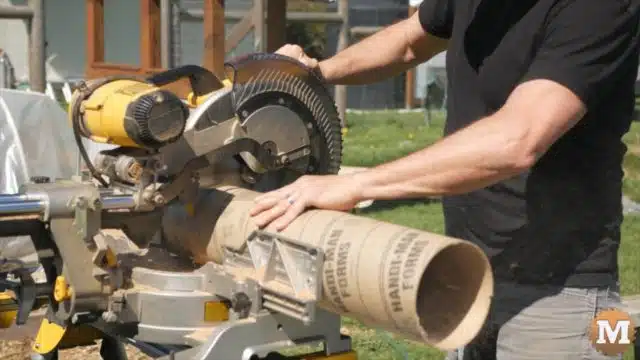
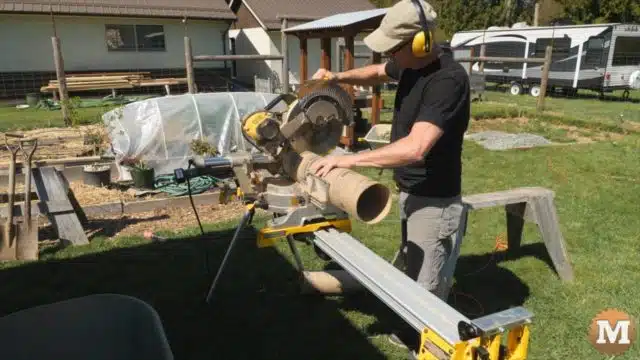
The concrete tubes are easy to cut on the miter saw by rotating them. I cut these a few inches shorter to make filling them easier. I’ll pull them up closer to the joist when they are nearly full.
Squaring and Levelling the Deck Joists
These are 6 inch diameter tubes and I figured that would be adequate. Since I have 27 footings in total. That’s a lot of load sharing. So even that might be more than what’s needed.
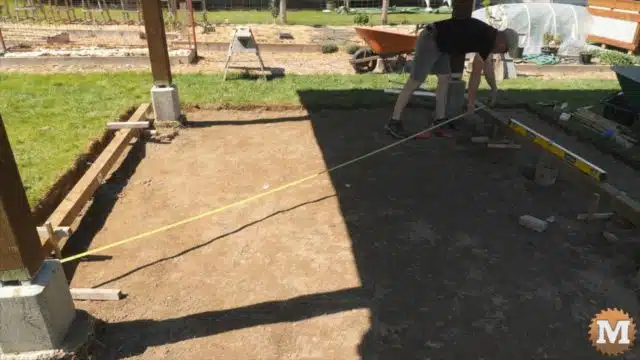
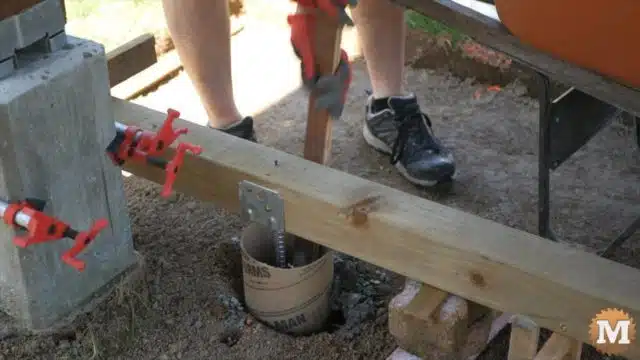
I set a screw in from each end of the first two joists to check for square. Before I fill the concrete forms on that north joist. The piers from the pavilion were in the way of going corner to corner so referencing screws set in an equal distance from the joist ends worked well.
And I’ll lay a 4×4 over these to check for level before I fill these three forms.
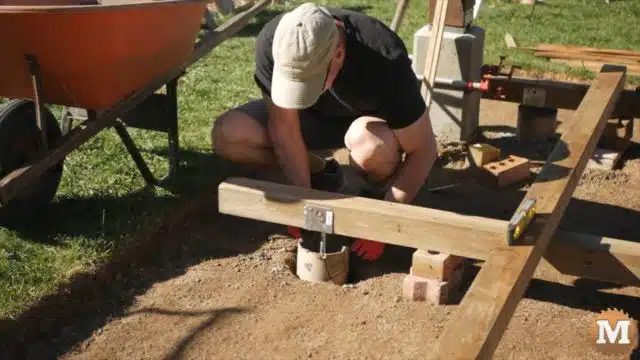
The next day I’ll add one of the middle joists. Now the framing is getting faster and easier. I’ll suspend this joist from a 4×4 laid over my first two. And I will let the ends run long as I’ll cut them all at once later.
(Disclaimer: As an Amazon Associate I earn from qualifying purchases. Thank you for helping to support my content this way. )
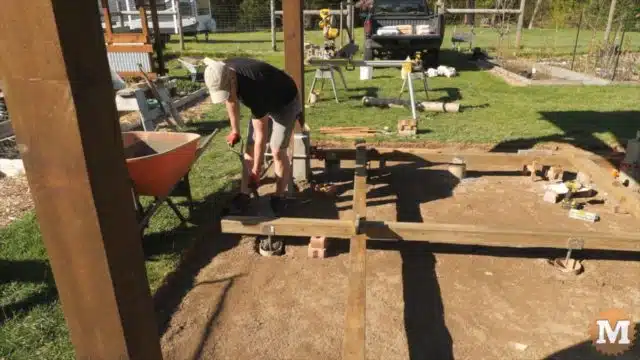
Adding the Rest of the Floating Deck Joists
And the day after that I’ll add three more joists. With the concrete set up I can now hang more joists at a time.
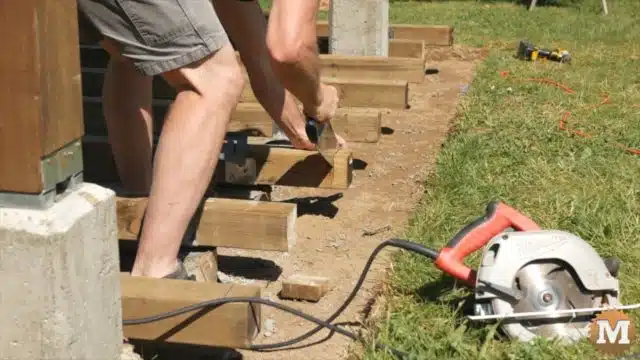
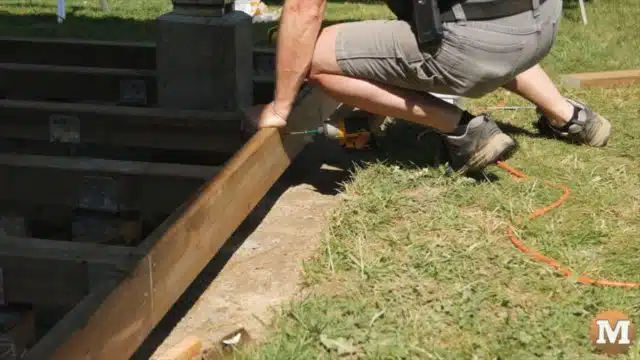
Now with all my joists secured to concrete footings I can remove the support 4×4’s. I’ll snap a chalk line then trim each joist. Then attach the 2×6 rim joists.
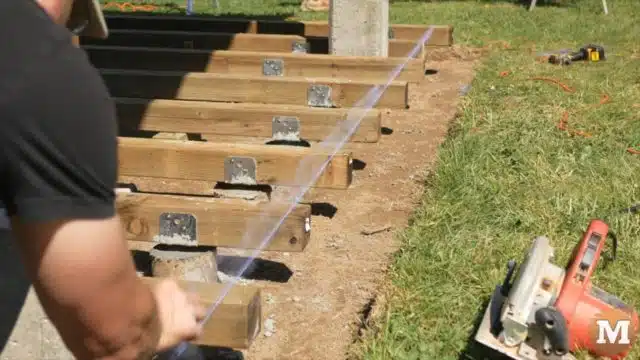
Trimming the Deck Joists
And I can repeat this on the west side. I messed up one joist and cut it too short. So I added a shim when I attached the rim joist.
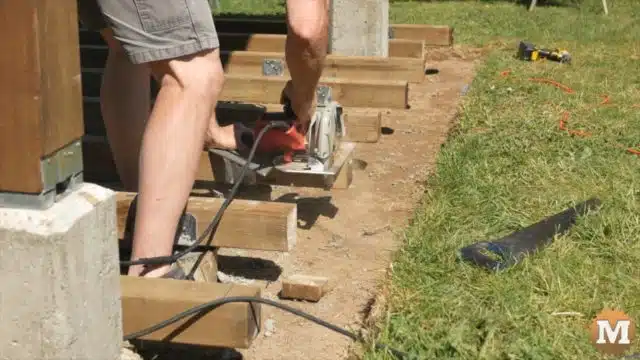
The rim joist on the north end is cantilevered past the 4×4 a few inches. I’ll need to add some blocking to support it. This will hide the galvanized saddles from the 4×4 joist just behind it. And give the deck that floating look.
