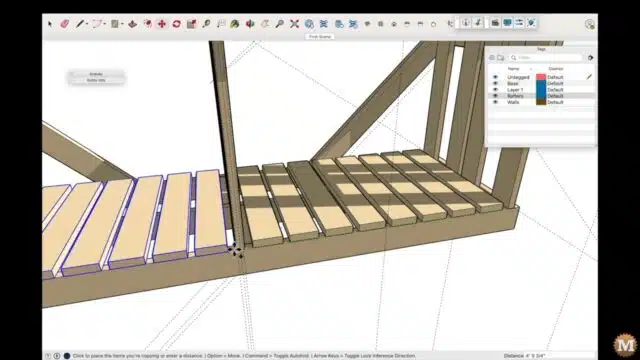
Adjusting the Rear Brace
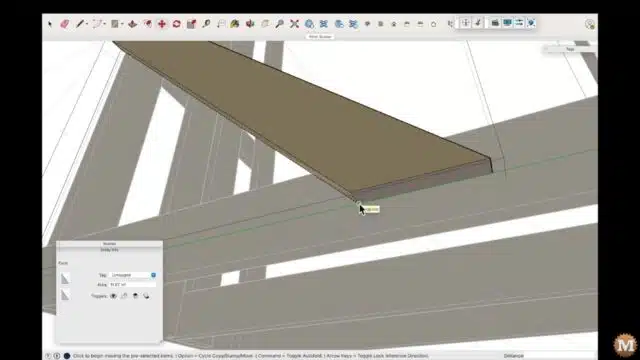
I decided the rear brace was too low so I slid it up to where the underside intersected the bottom edge of the wall connector. I’ll add some grid lines to trim the end of the rear brace.
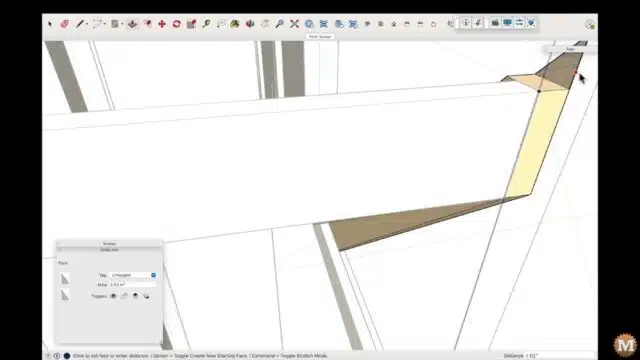
Sometimes I need to temporarily hide a part from view, if it’s in the way of an operation or task I want to complete. As in the case of that rear-most vertical 2×6.
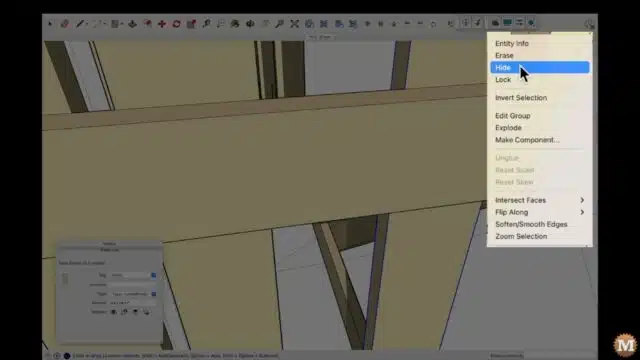
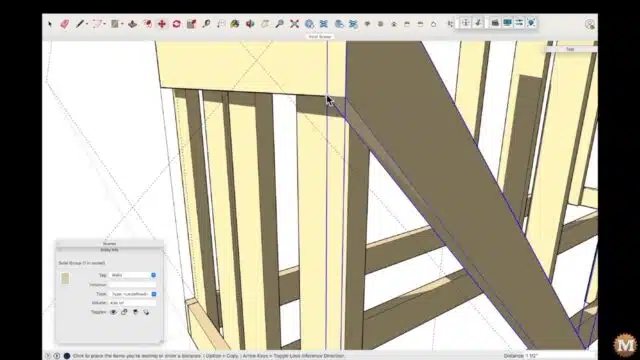
The low end of this brace needs to be extended to reach the bottom of the floor. This is the beauty of 3D modelling in my mind.
Upper Wall Connections
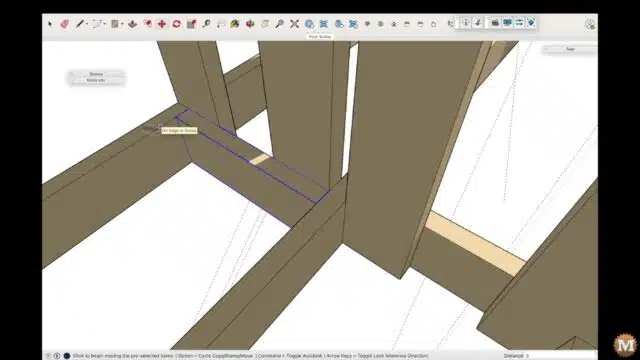
To attach the middle wall to the floor I need to add some 2×6 pieces between the joists. I’ll draw a rectangle on the face of the middle joist then push/pull it out to reach the front joist.
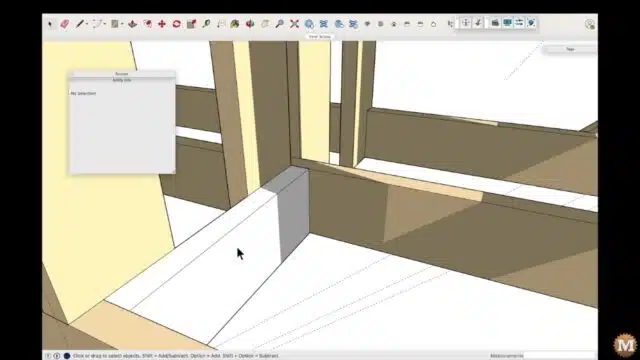
And I’ll duplicate that piece and move the new copy into place on the other side of the wall.
Modelling the Firewood Drying Shed Rafters
I’ll create a 1×6 on the top of the right wall. And I’ll first add some grid lines. Then trace a line around the intersecting points to make a face. Then push/pull that to thicken it.
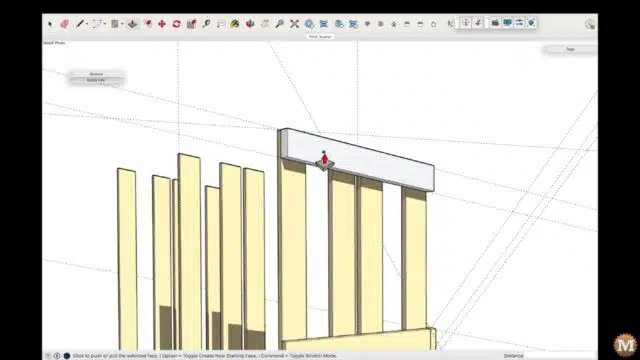
And I’ll create a layer for the rafters and move it there.
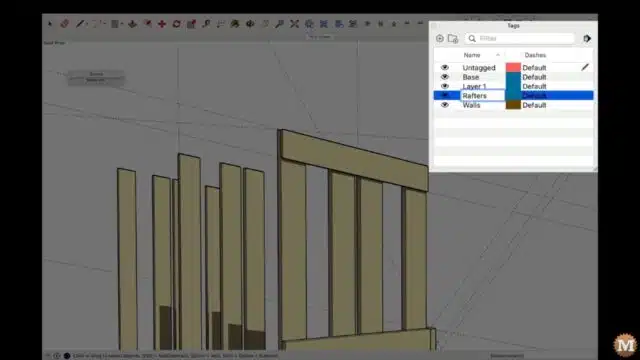
I’ll then make this 1×8 longer by extending the front and rear faces along the grid line. Here the distance I keyed in was 14 inches. For the rear overhang it’s 13 inches.
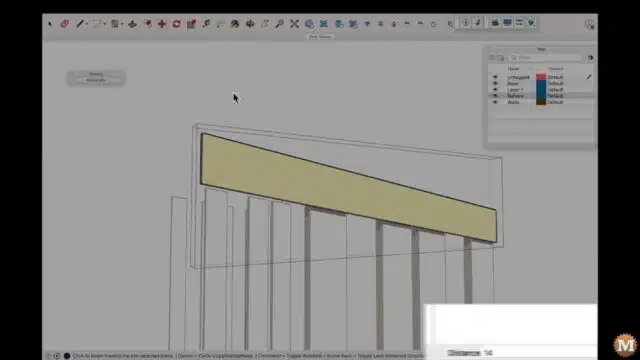
And I can make copies of it to the top of the interior and left wall.
(Disclaimer: As an Amazon Associate I earn from qualifying purchases. Thank you for helping to support my content this way. )
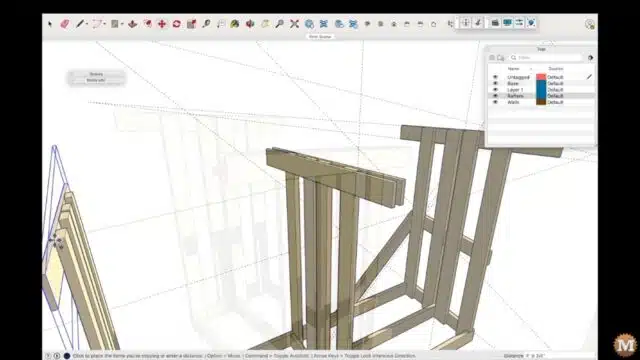
Rafter Blocking from 2×6’s
I’ll add some 2×6 blocks to connect the 1×6’s on the interior wall. I drag a grid line off the edge of the board in the direction I need, then key in the exact distance. Here it’s the thickness of the 2×6 block I’ll use. Which is 5.5 inches. You can see those values I key in down at the bottom right of the screen.
Groups and Components
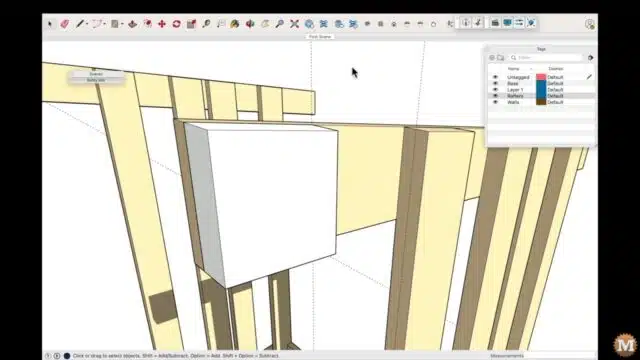
As I make new faces and push/pull them into objects, I will group all the geometry together. Ultimately each unique part of this project will become a component. And all the subsequent copies of each component are linked. If I change one component, then those changes will be reflected in all the other copies.
Another way to make an item unique, and on its own, is to simply group the geometry together. In the beginning I often use groups as I’m modelling.
Adding Facia Boards
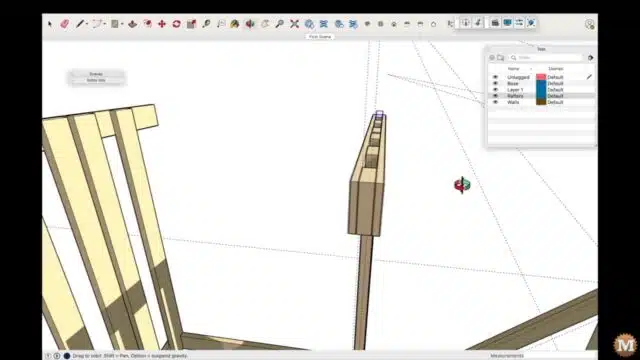
Then I can add a facia board that connects the middle wall to the right wall. Here the thickness is 0.75 or three quarters of an inch. I’ll lengthen this board then copy it over to the left side of the shed.
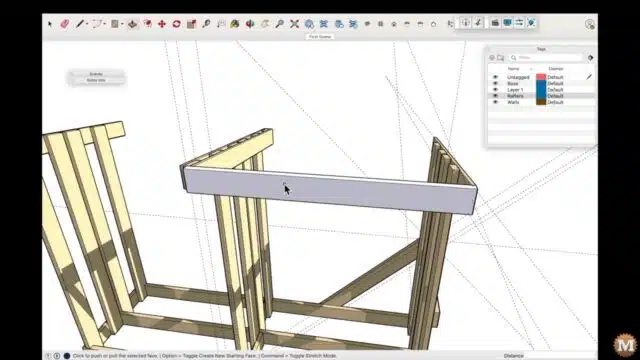
Then copy both of those to the rear of the rafters.
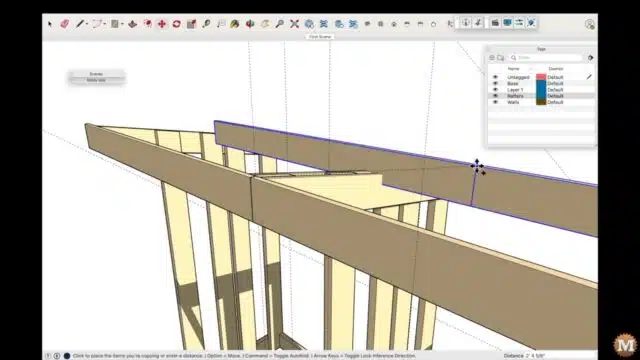
And to finish this overhang I’ll copy each outside rafter to the end of the facia boards.
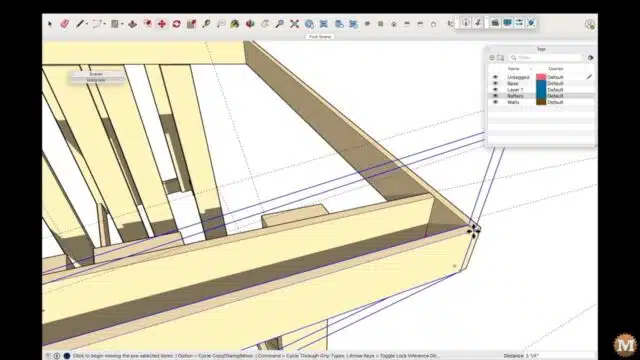
I’ll add more blocking to the top of the interior wall. This will support the 1×6’s that will connect the frontmost vertical 2×6.
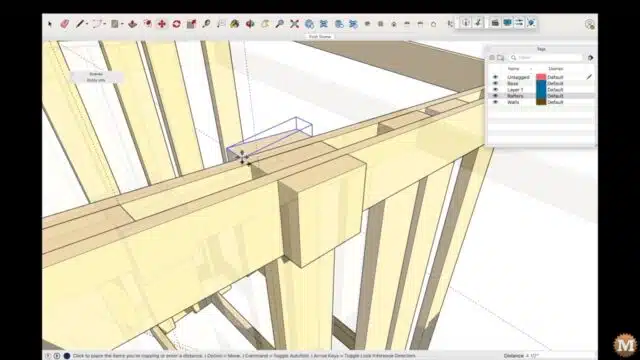
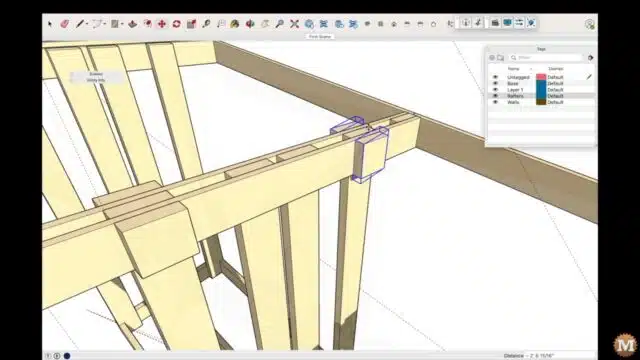
The copied 1×6 will be trimmed to length. Then moved down to be flush.
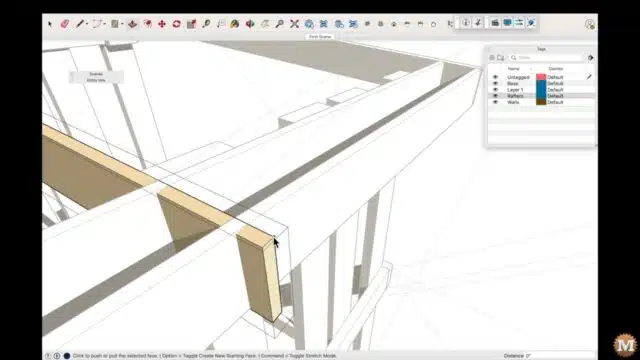
The vertical cross brace is copied from the right wall over to the left. Along with a rotated copy of the rear brace. I know there is a mirror command in Sketchup but, I don’t use it very much. So in this case I just rotated, then translated.
Adding a Floor
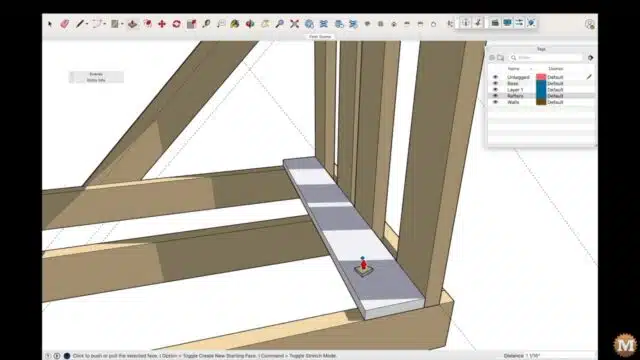
Now I’ll create a floor board. Then copy it over from the right wall to the interior wall, and tell Sketchup to fill in that span with 6 additional, equally-spaced pieces.
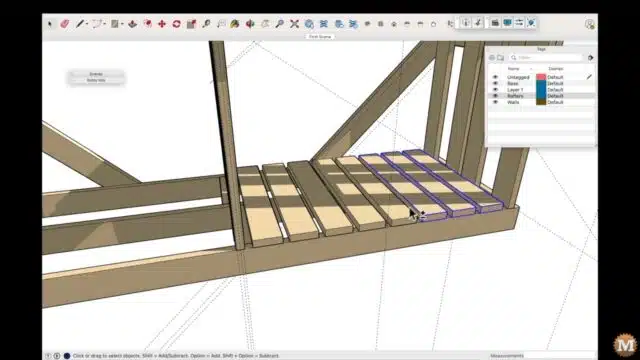
Then I can select all of these and copy them over to the left bay of the shed.
