Animated assembly of the Firewood Drying Shed
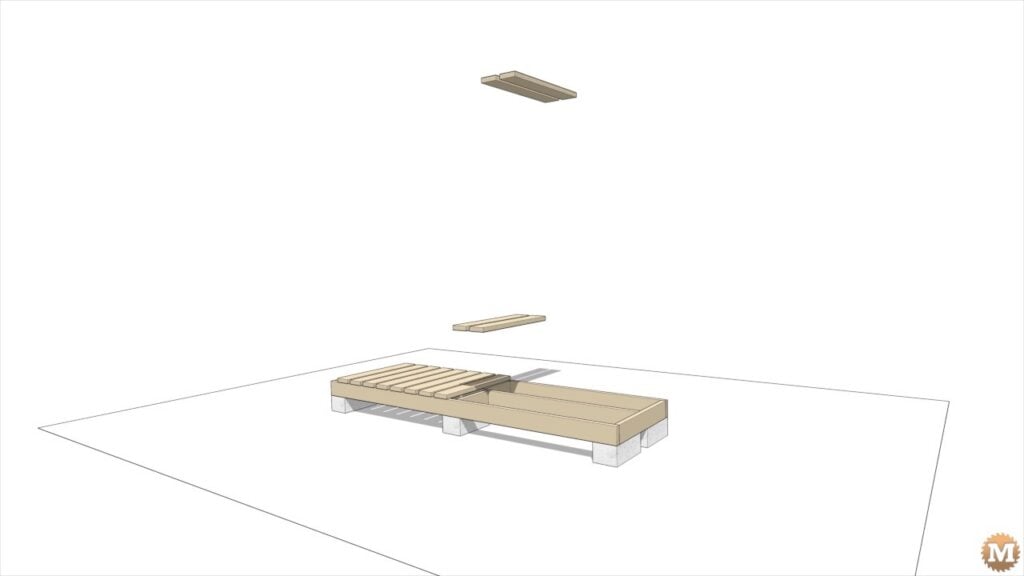
For the Firewood Drying Shed model I’ll use nominal 2×6 and 1×6 framing lumber. The shed sits on 6 concrete blocks or can be secured to poured footings with post saddles. Over the blocks are floor joists topped with deck boards.


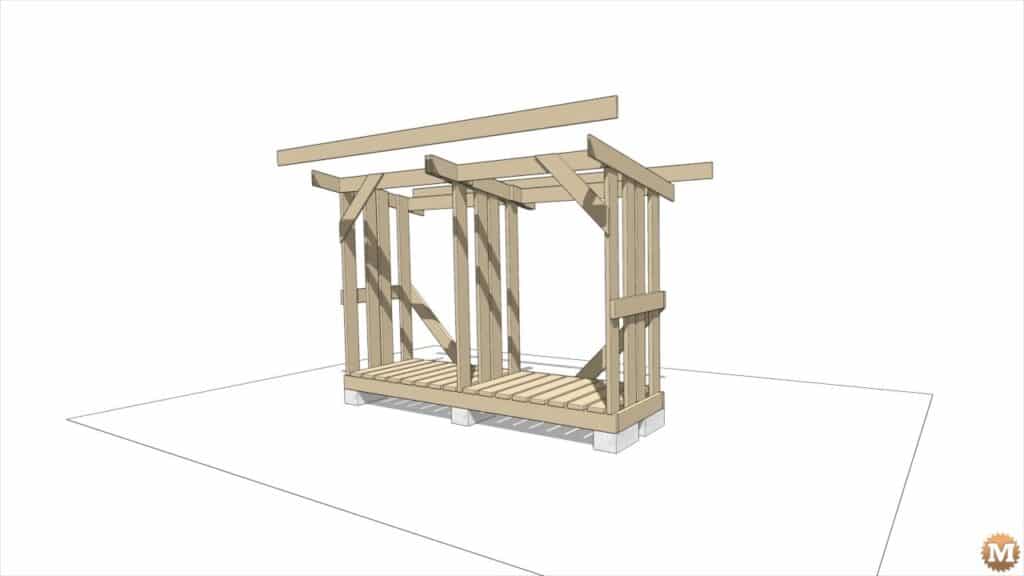
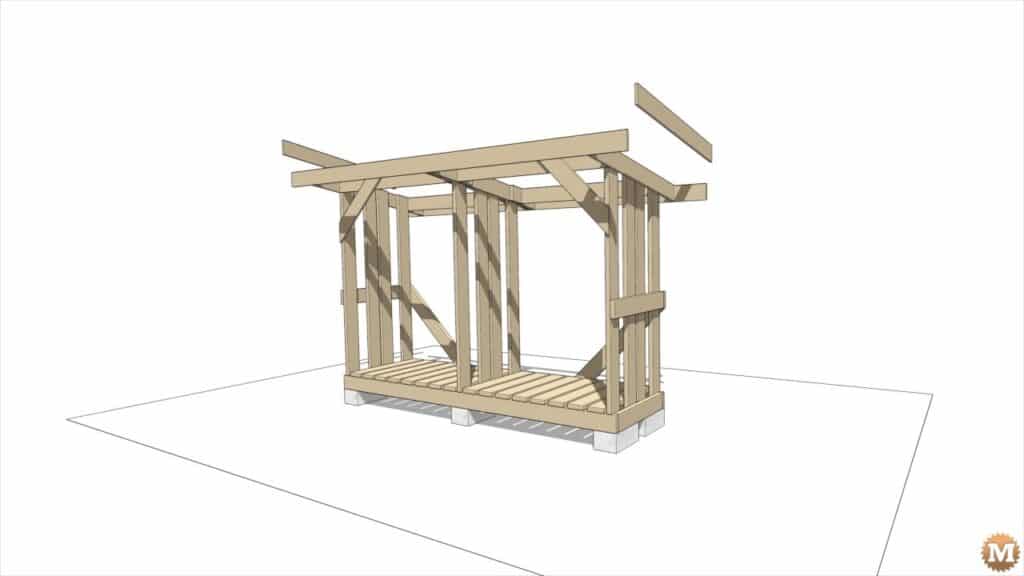
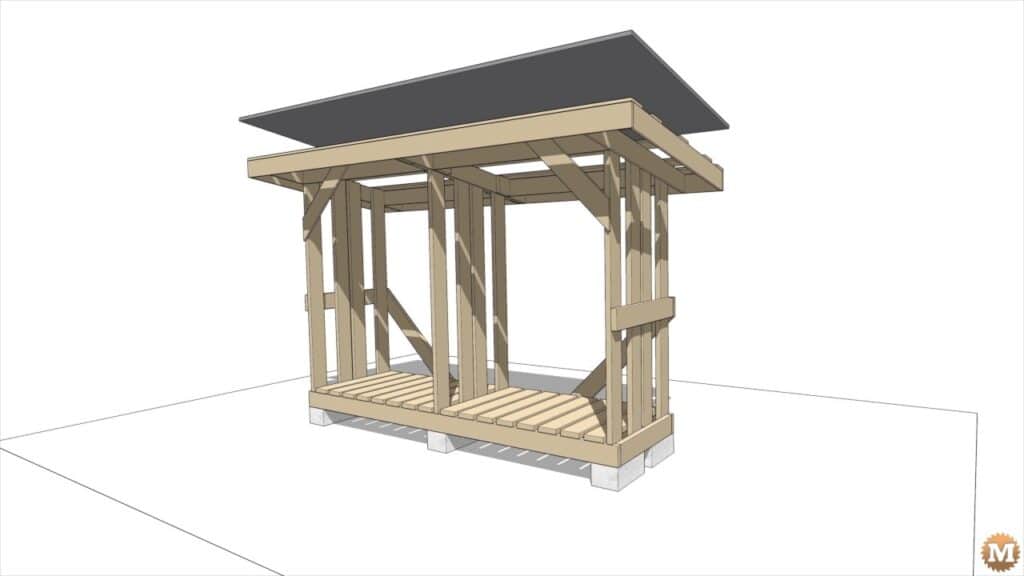
There’s two outside walls and a middle dividing wall creating two firewood storage bays. Then, two floor braces around the back and 4 rafters with blocking.
Connecting the walls and rafters are 4 1×6’s and front corner braces. Facia boards complete the overhangs and the shed is topped with strapping boards and a metal roof.
In the next episode and blog post I’ll show you how I made that animation.
Modelling the Floor and Walls in Sketchup Pro
So with my sketches and notes at hand I can sit down at my computer and get to work on this.

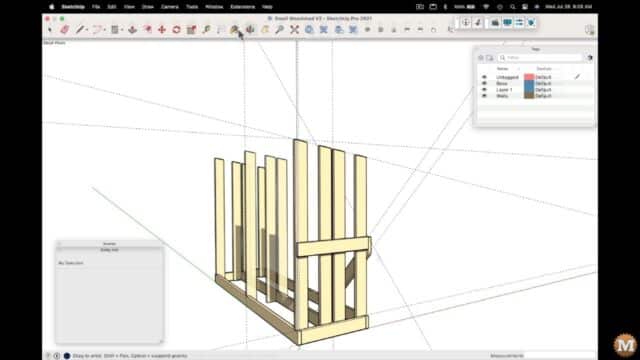
Sketchup Push-Pull Operation
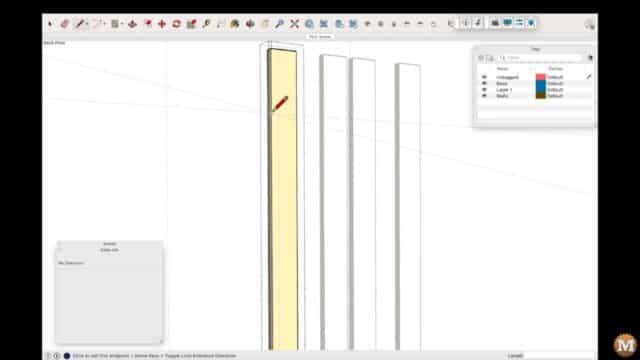
I began by modelling the 2×6 floor. Then added the 4 vertical two by sixes that make up the wall on the right side. I rotated a dashed grid line to represent the slope of the roofline.

Where this grid line touches the face of the vertical 2×6’s I can draw a line on each face then erase, or cut off the top section. In Sketchup I use the push/pull command to do this.
Now I’ll take a cross member from the floor and move it up the wall. This will add strength to the wall by sharing the horizontal load of the stacked firewood.
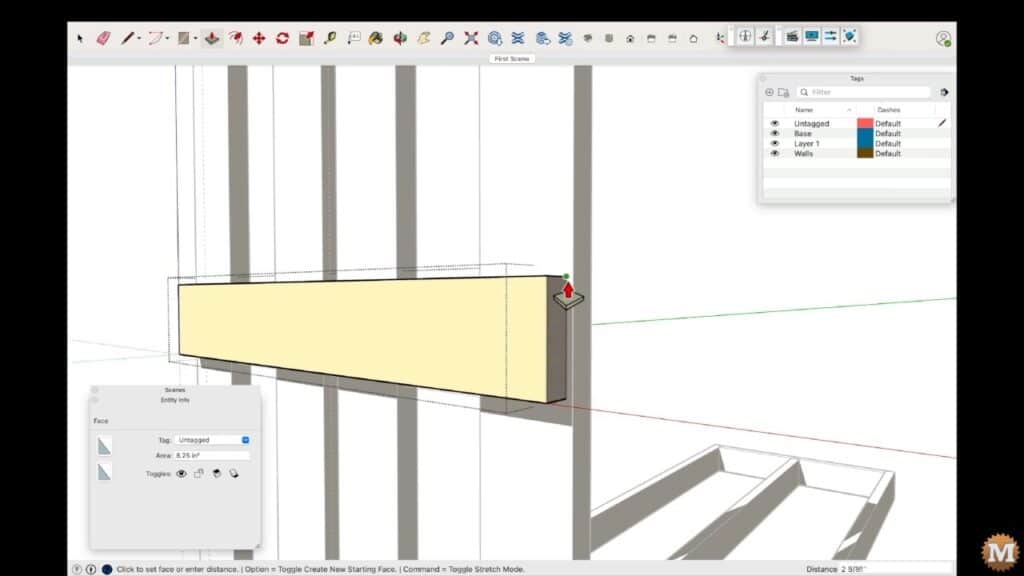
And I can pull the end out to make it the correct length. And I forgot to copy this piece when I first moved it up. But I can quickly fix that by putting a copy back. Then I had to shorten it.
(Disclaimer: As an Amazon Associate I earn from qualifying purchases. Thank you for helping to support my content this way. )

And this happens as you are modelling. It’s not always a clean step forward as you go along. Mistakes are made and sometimes you have to back track and fix things.
Using Grid or Construction Lines in Sketchup
Now from around the back of the shed I’ll add construction (or grid lines) to start modelling a 45 degree floor brace. I’ll rotate the grid line. Then make a new line perpendicular to that one.

The Rear Floor Brace
Then with the pen tool I can make a closed face from point to point to create one side of the brace. Then push/pull that to thickness. After I pull the face, I can key in the desired thickness afterward. Here the thickness is 1.5 inches.

And paint it the same colour as the rest of the parts.
Stay organized to Layers (Tags)
As I work on each of the parts I try to stay organized by putting each into an appropriate layer. And these are rough groupings at the beginning. I will add more and more layers and become more specific as I go along. This will help with the drawing and animation later.
Duplicating Walls
Now I will select the 4 vertical 2×6’s and copy them over to the other end of the shed. And specify to add an additional copy half way. And this will make up the interior wall.