Assemble the Concrete Garden Bed
Over beside one of our rainwater tanks I have a proper place to assemble the concrete panels and make a raised bed. I already have a half inch water line underground that’s secured to a wooden stake. We had some squash growing in a mound of soil here last year.
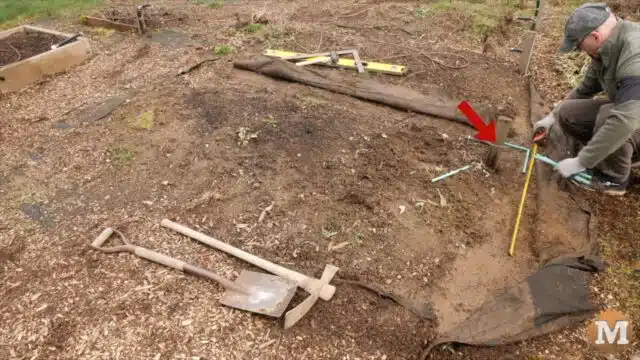
For this bed assembly I’ll need a level, a framing square, a rubber mallet and some 12″ long pieces of 3/8″ rebar. Along with a shovel, a grubber, wheelbarrow, and some sand.
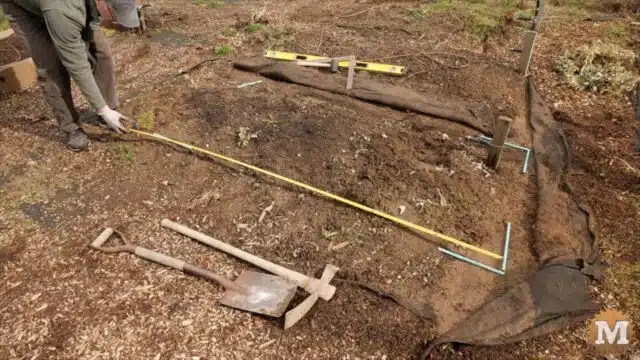
I’ll measure and mark the approximate location of the rectangular bed. I’ll be using 6 36 inch panels here. I’ll use these 12 inch sections of rebar to roughly mark the corners.
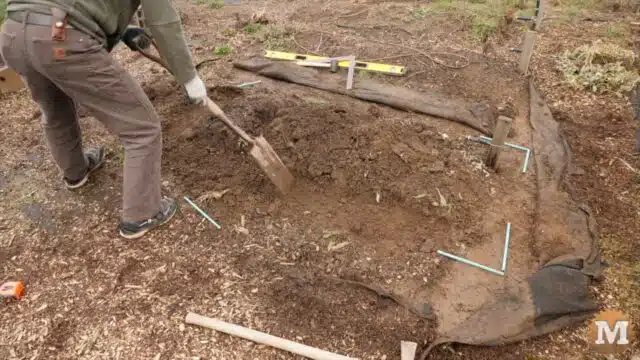
Dig a Shallow Trench
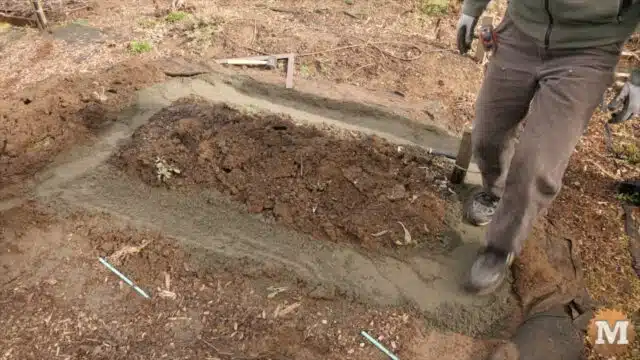
Then I’ll scrape away the dirt to make a shallow trench. I’ll scrape a bit more dirt trying to get it pretty close to level.
Now I’ll add a few inches of sand to this trench. Fine crushed gravel would work here as well. I can then smooth it out and pack it underfoot.
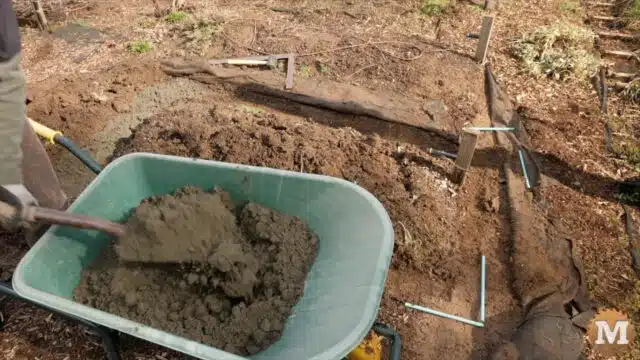

The sand or gravel will help hold the panels in place as you set the rebar in — as these panels have that slight draft angle from the molds. And the sand or gravel will give water a place to drain away if rain or irrigation water fills the holes in the panels.
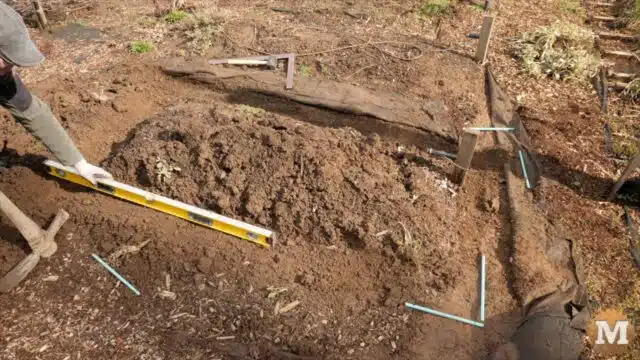
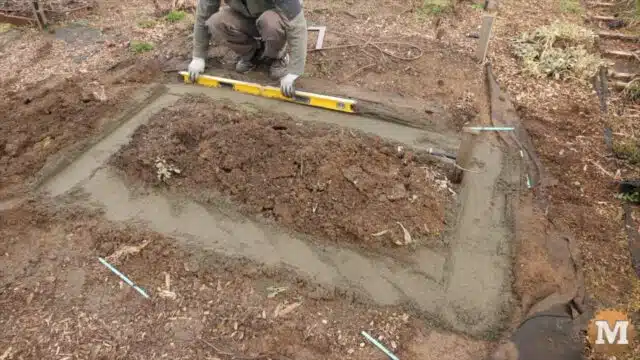
Then I’ll bring back the spirit level and scrape forward and back trying to get the sand layer as level as possible.
Set the Concrete Panels in Place
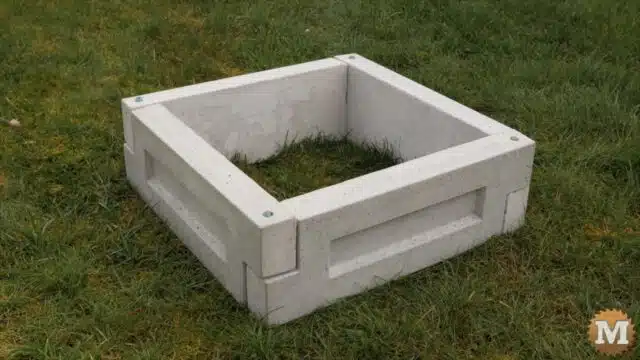
Now I’ll bring in the panels and set the first one in place. And adjust it until it’s level and set into the sand.
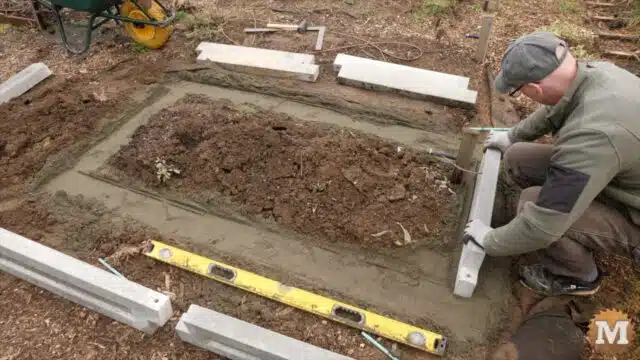
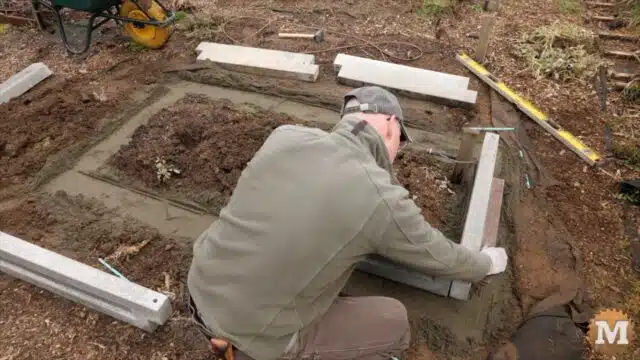
And I’ll bring the second one and square it to the first. Check that it’s also level. And slide in a piece of rebar to pin the corner together. The rebar should go in without any resistance. If so, check your hole alignment or wiggle the panels a bit to mate them closer together.
(Disclaimer: As an Amazon Associate I earn from qualifying purchases. Thank you for helping to support my content this way. )
Make it Level and Square
It may seem overly fussy, using a level and a square here but, the panels are designed to go together when the corners meet at 90 degrees and they are all on the same level plane. So, I’d say it’s worth the effort to get them placed right the first time and never have to worry about it again.
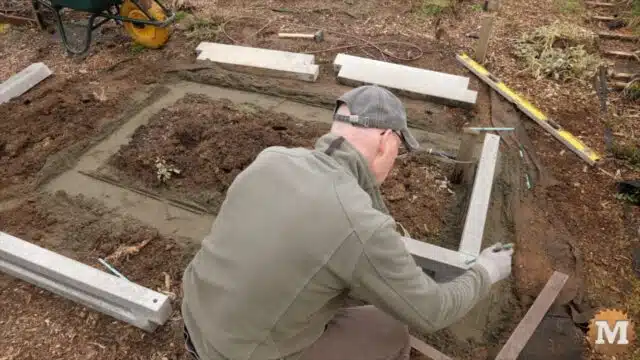
The third panel is aligned end to end with the second one. Checked that it’s in line and level.
My trench was a bit undersized so I had to scrape a bit of soil away to fit and square the next panel to the first one.
Then the fifth one is slid into place and rebar dropped in.
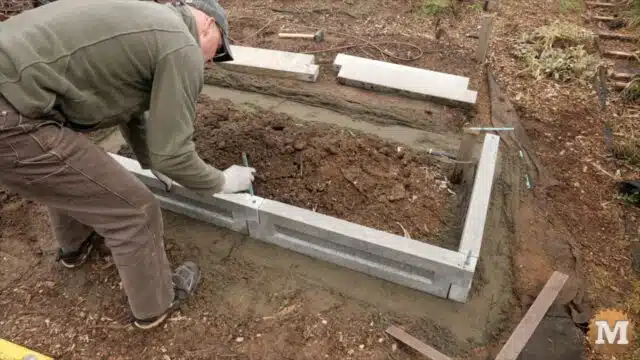
A few more checks with the square to see if anything has moved. And I’ll measure side to side to see if the last panel will fit. Again, I needed to remove a bit of dirt and add some sand as my trench was off a bit.
Tap the Rebar into the Ground
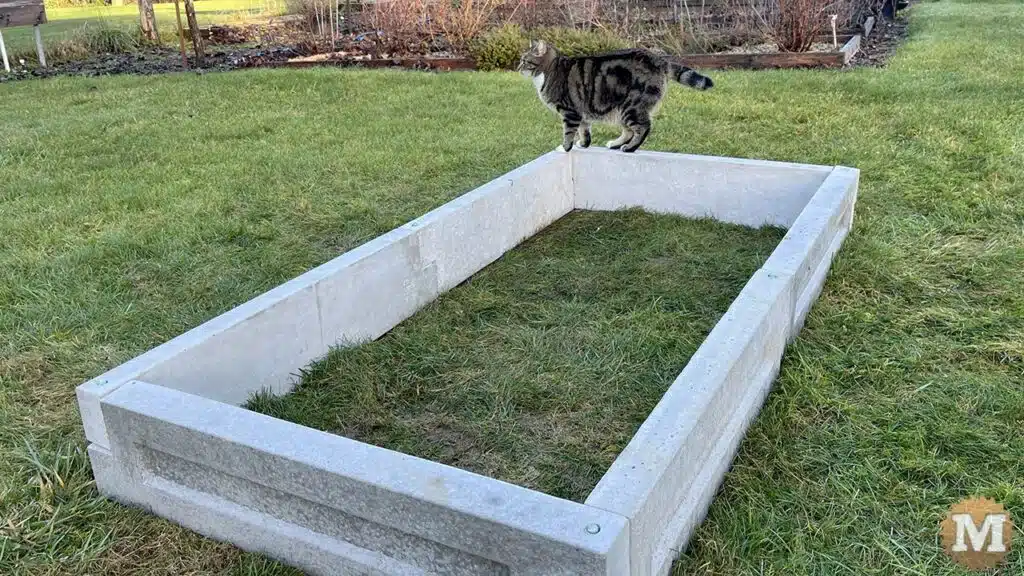
With the final panel pinned in place I added a bit of sand around the inside edge before tapping the rebar into the ground with a rubber mallet.
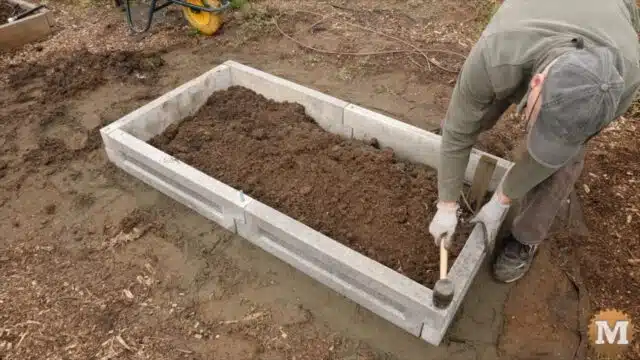
I can now add some soil to this raised bed.
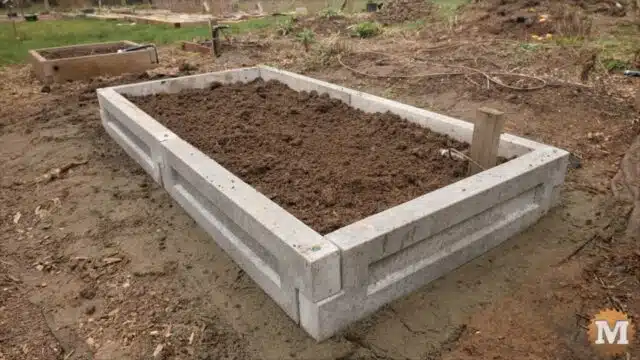
From start to finish, that took just over 20 minutes.
Wrap Up
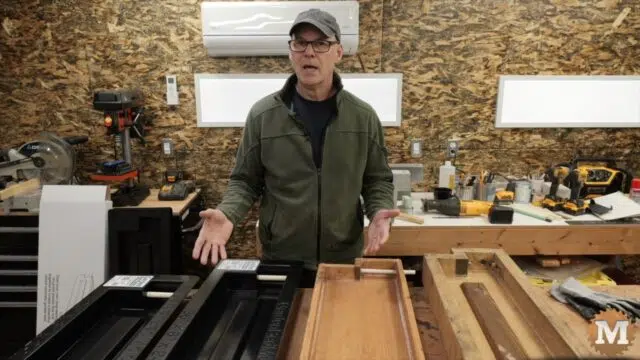
So, let me know what you think of these new plastic molds. And if you have any questions leave them in the comments section below. In the next episode I’ll try a few lightweight concrete blends in these new molds so, watch for that coming right up. Alright, we’ll see ya next time.
(patent pending)