Ready Mix Concrete Blend
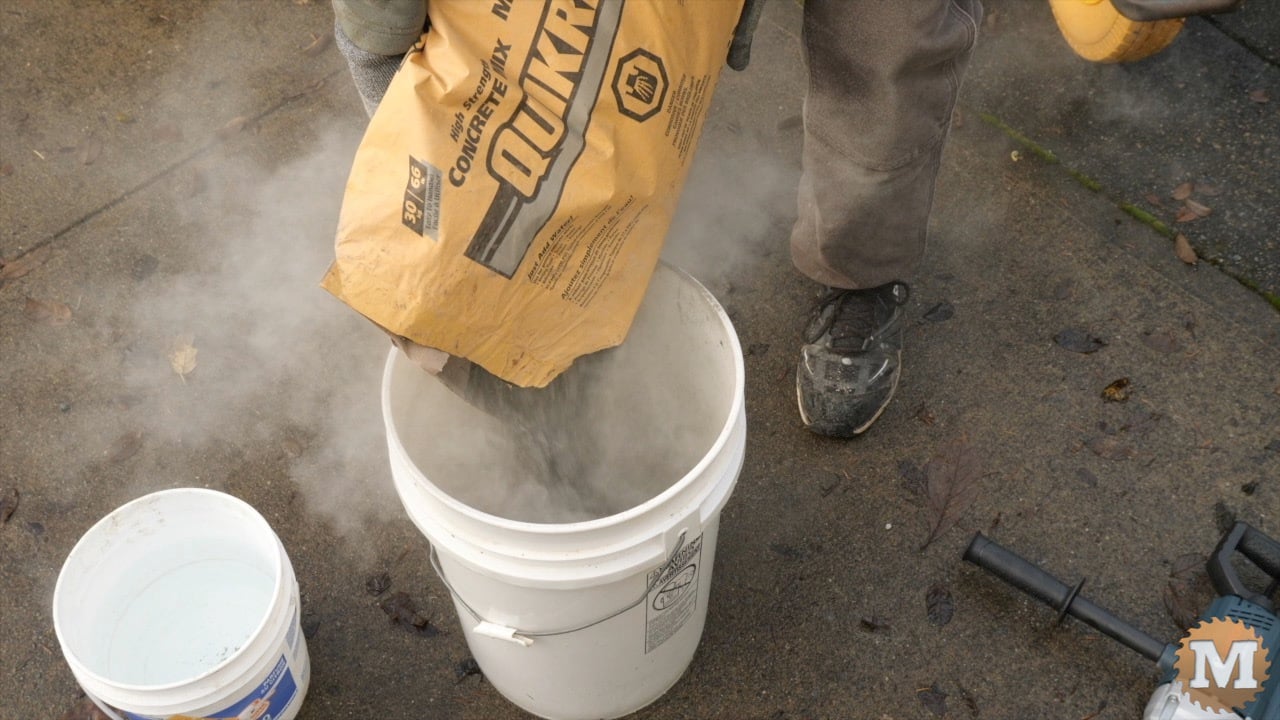
For this first pour I’ll just be using the standard ready mix concrete available at any building supply store.
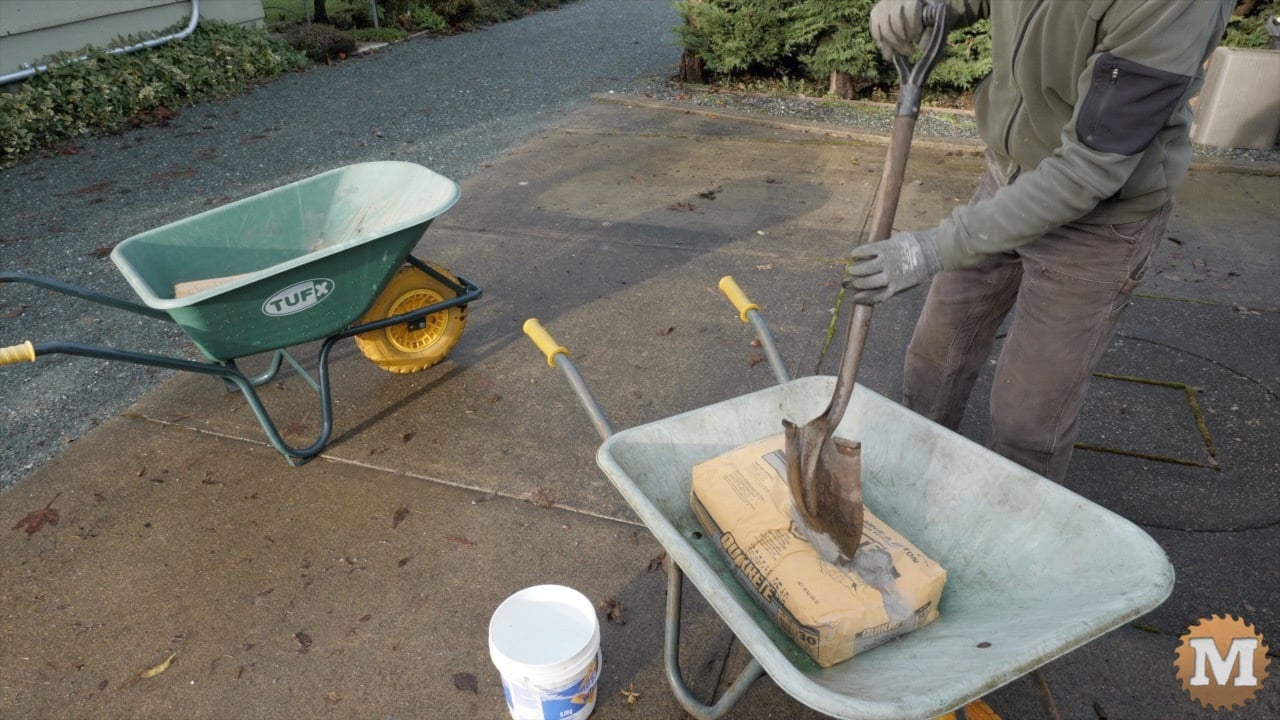
As concrete mix is dusty, I like to mix it outside in a wheelbarrow then bring that into my shop to shovel into the molds. It’s also winter here so, I want the concrete to stay warm while it sets up.
I have 60 pound bags of concrete here and I need only 50 so I’ll leave some in the bag. Also, this is good practice in case you add too much water and need to add more dry mix.
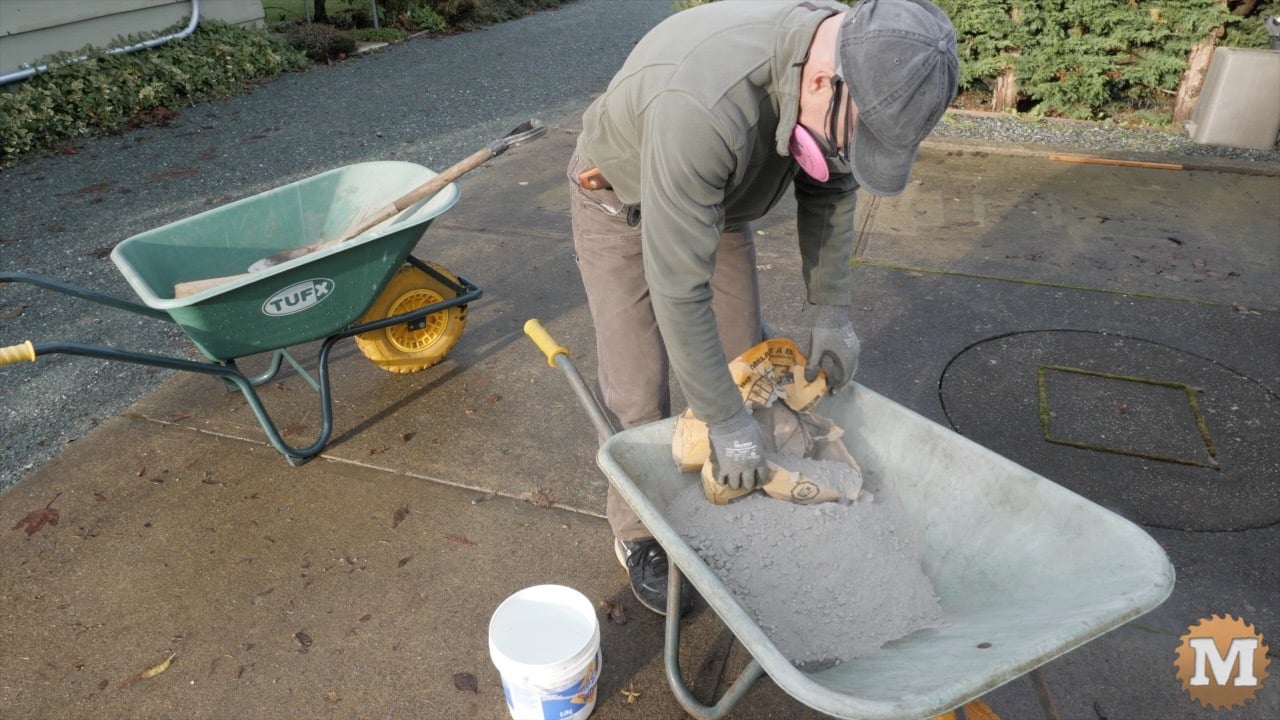
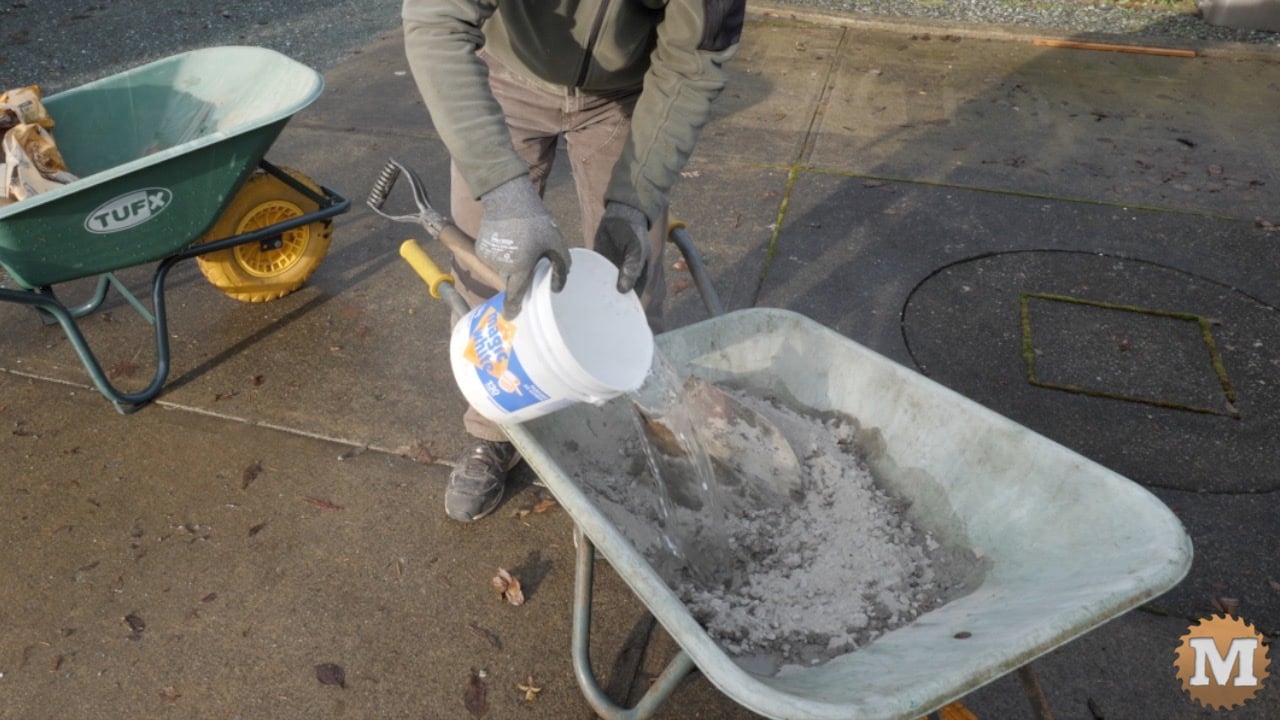
So I slowly add water while mixing and turning with a shovel. I want the mix to be fully wet but not to settle like a wheelbarrow full of water.

When you shovel the mix it should still hold its peaks. It might take some practice if you are new to mixing concrete. Be patient.

Concrete as a Building Medium
I’m sure I’ve said this before in other videos but, I really like working with concrete. I think it’s such an amazing building medium. It’s very long lasting, durable and rot-proof. And it can be formed in so many different shapes and for so many applications. And for what you end up with, it’s still relatively cheap. Especially when you consider the potential lifespan of whatever your casting.
Filling the Molds with Concrete
In the shop I shovel some concrete into the form.
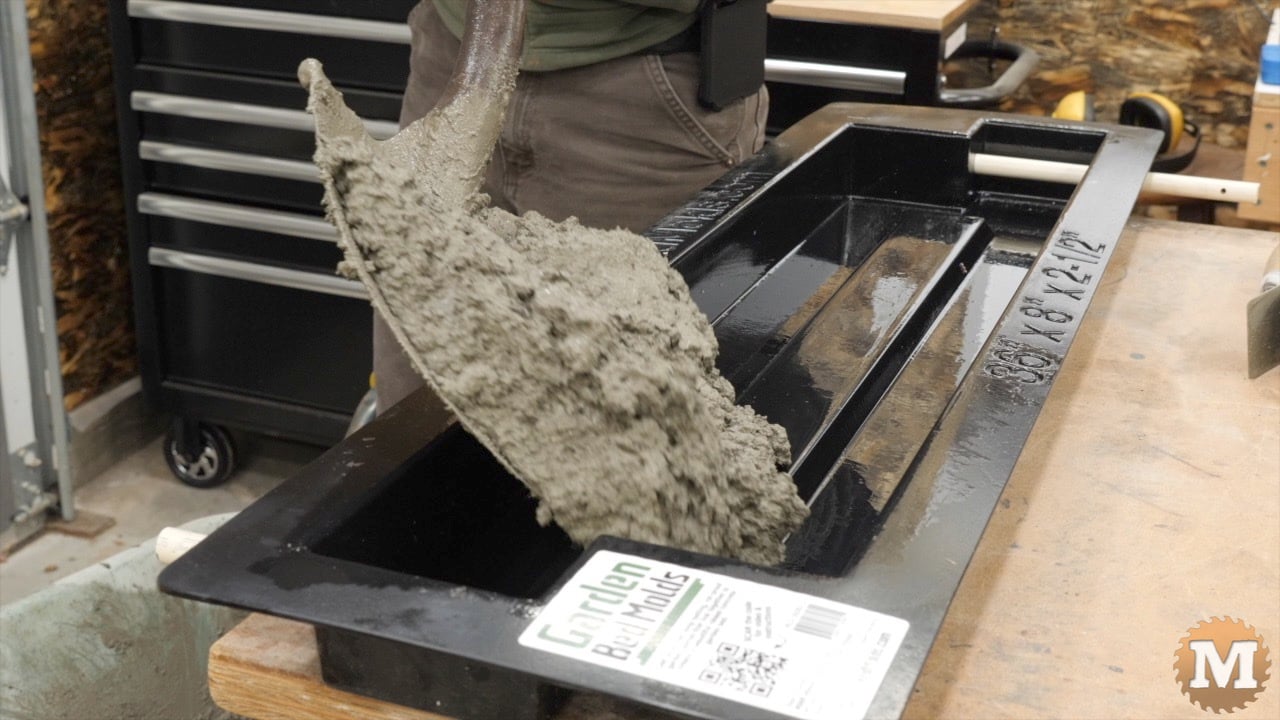
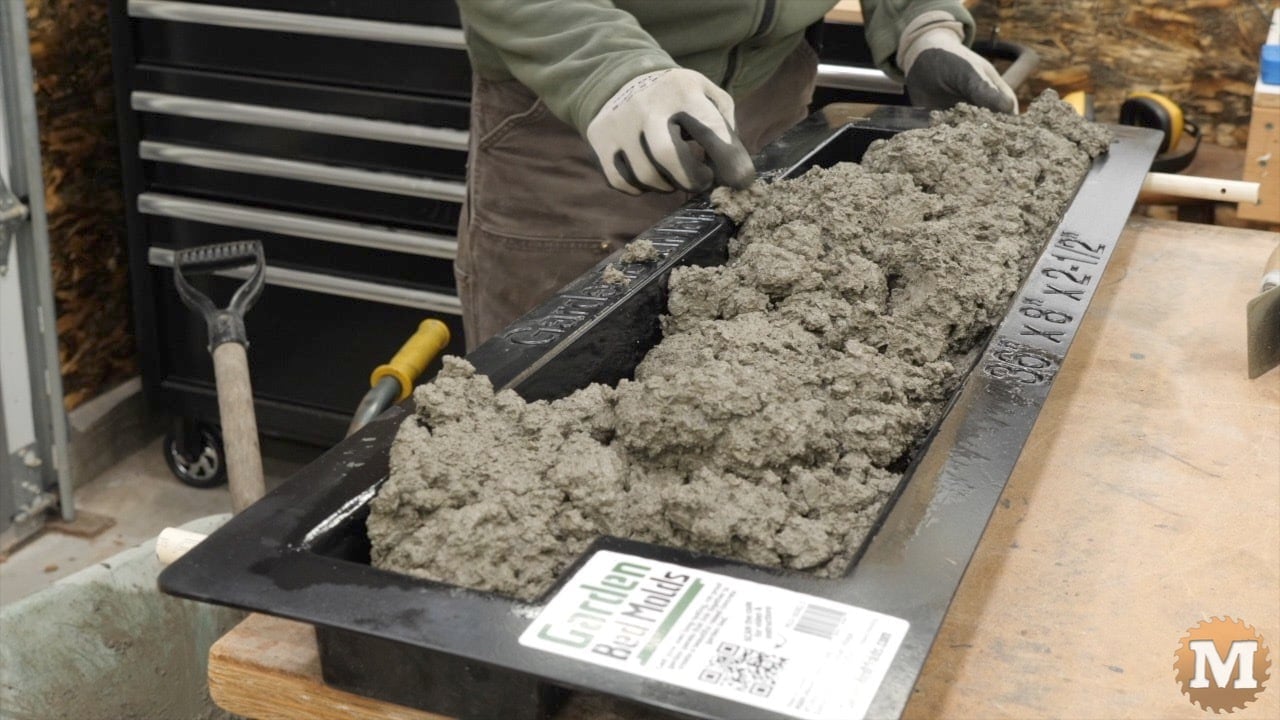
Then I give the form a shake to settle the concrete into the corners.
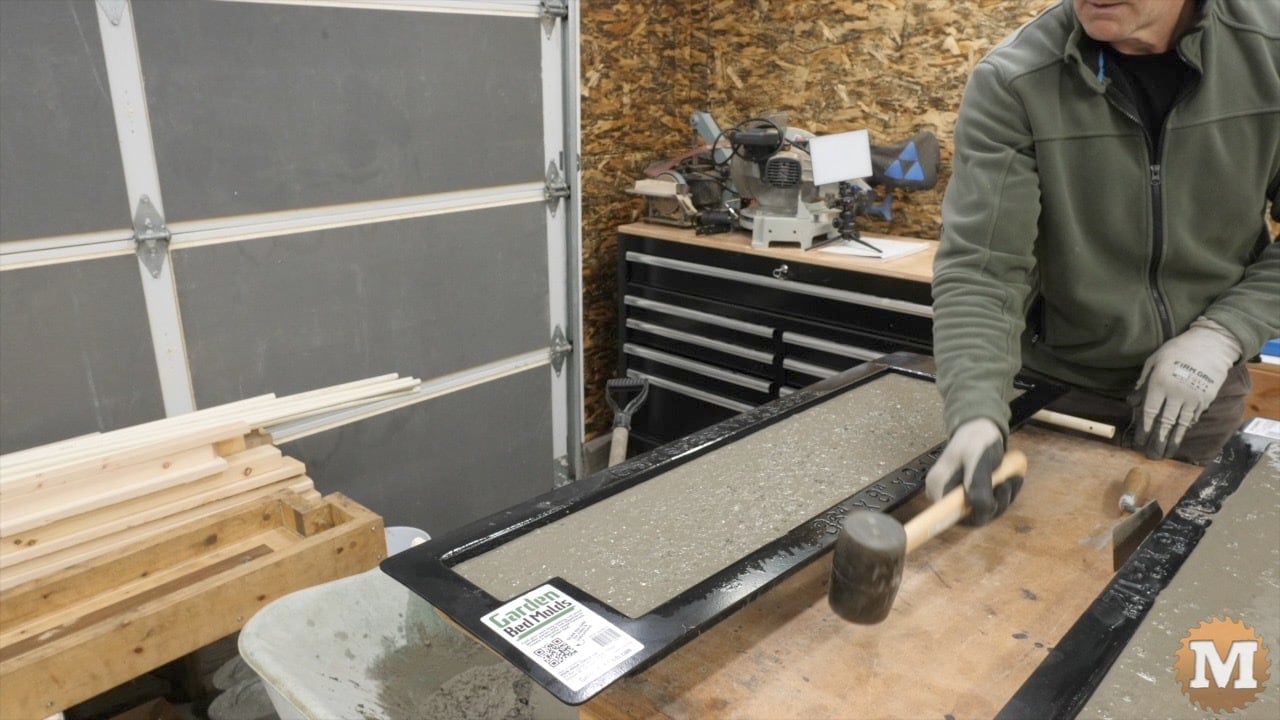
You can further settle the mix and get trapped air to come to the surface by tapping the workbench with a rubber mallet.
(Disclaimer: As an Amazon Associate I earn from qualifying purchases. Thank you for helping to support my content this way. )
I can then add some more wet mix to top up the form.
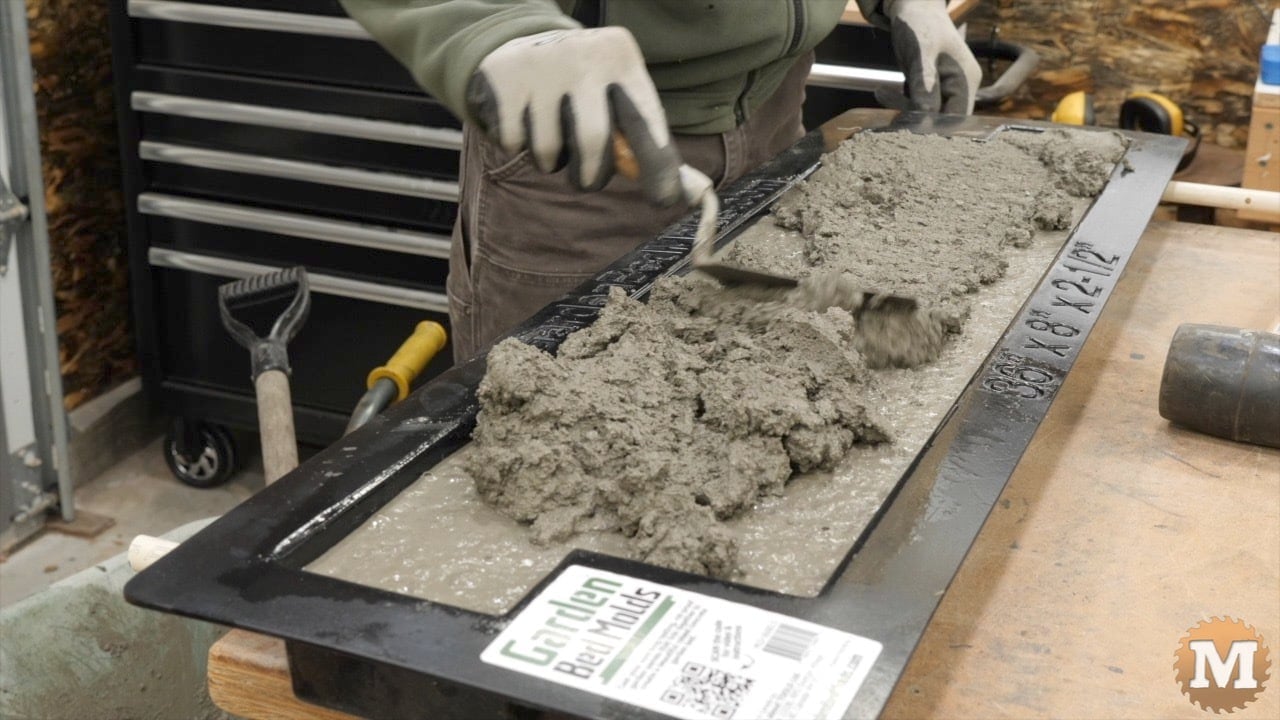
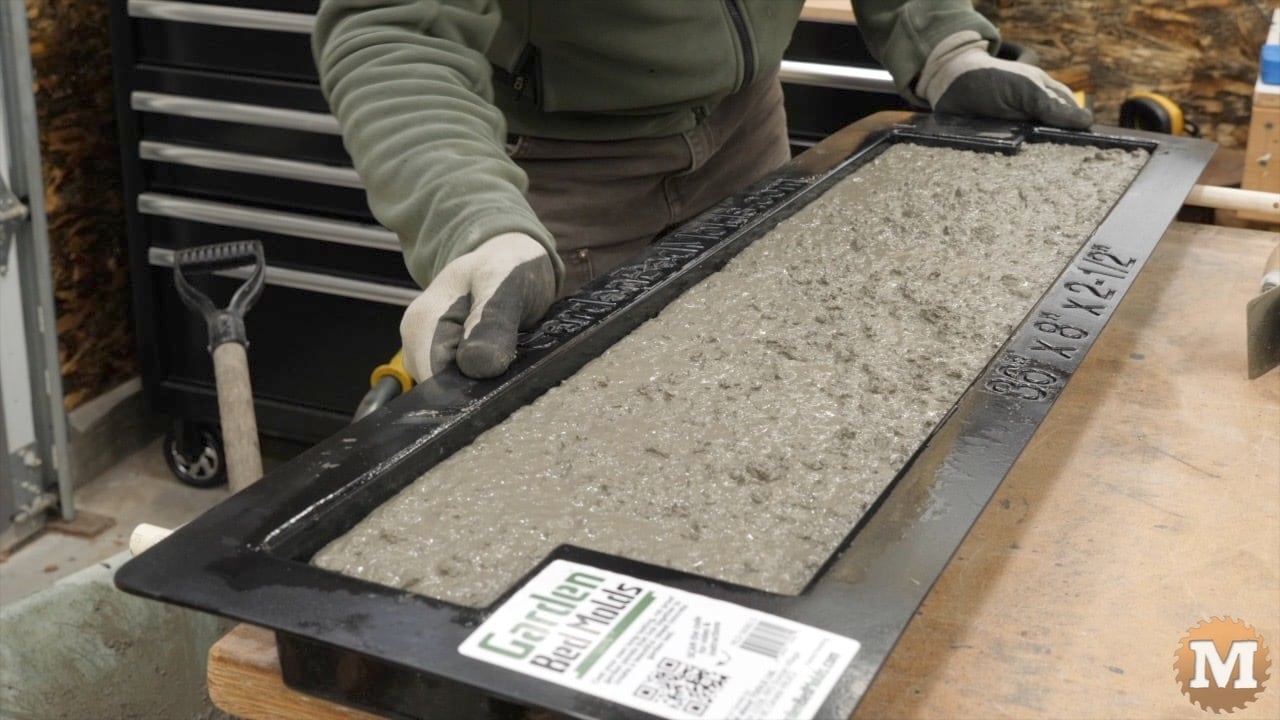
A small trowel is handy to spread the wet concrete around and toward the corners. Tap or vibrate it again, then smooth it level with the top of the form.

You only want the form filled to the top (or slightly below). Overfilling will make the panel too thick and may make the hole alignment off when you mate it to another panel.
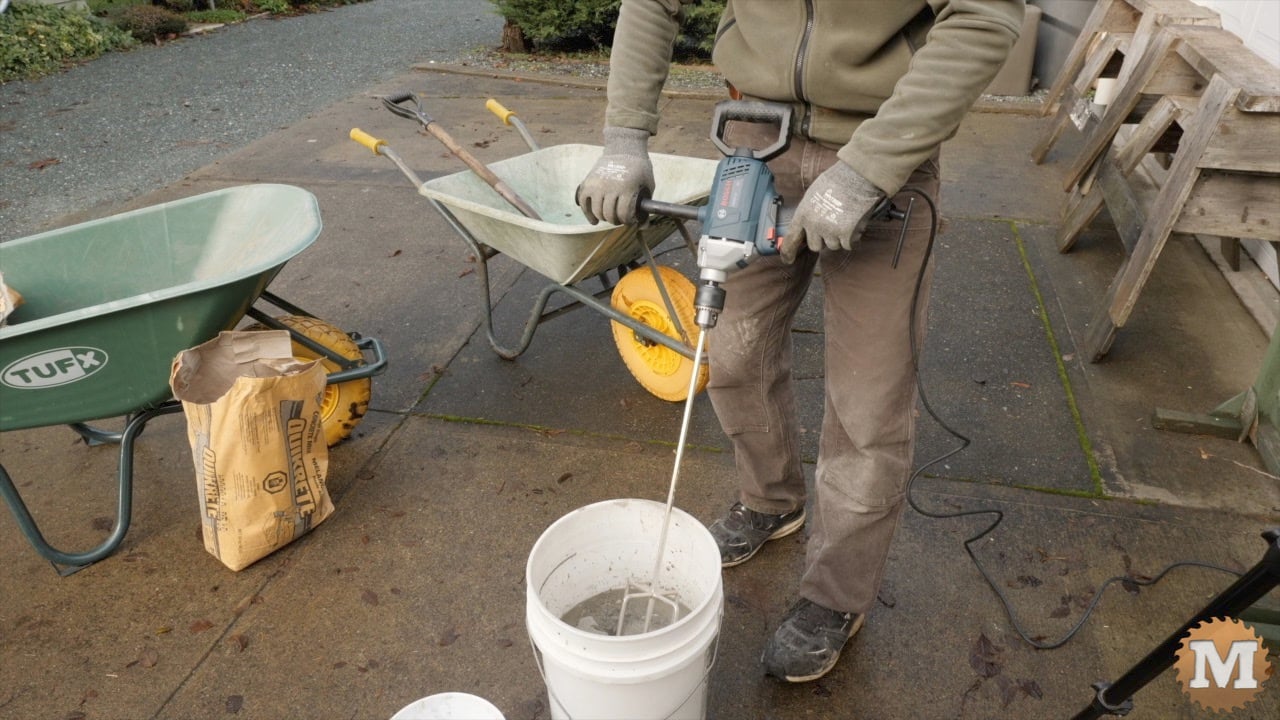
Alternative Concrete Mixing Technique
Instead of wheelbarrow and shovel, another way is to mix the concrete in a pail with a high-torque heavy-duty drill and mixing attachment.

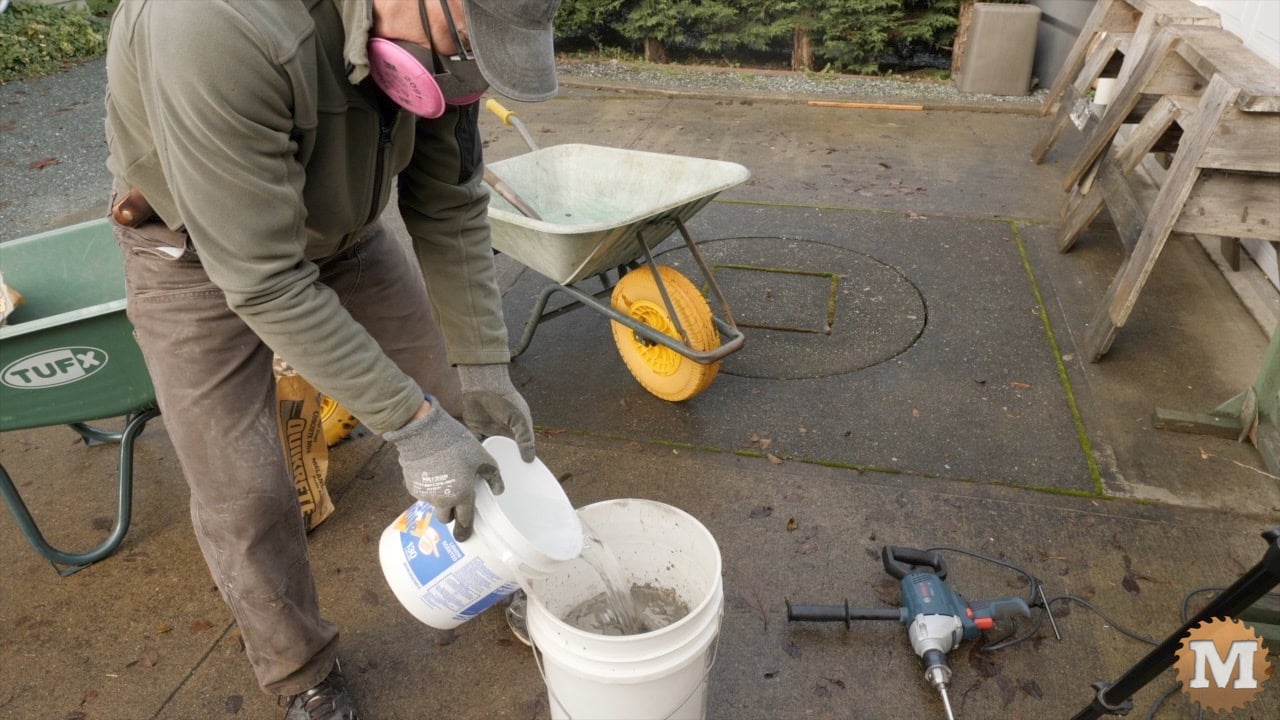
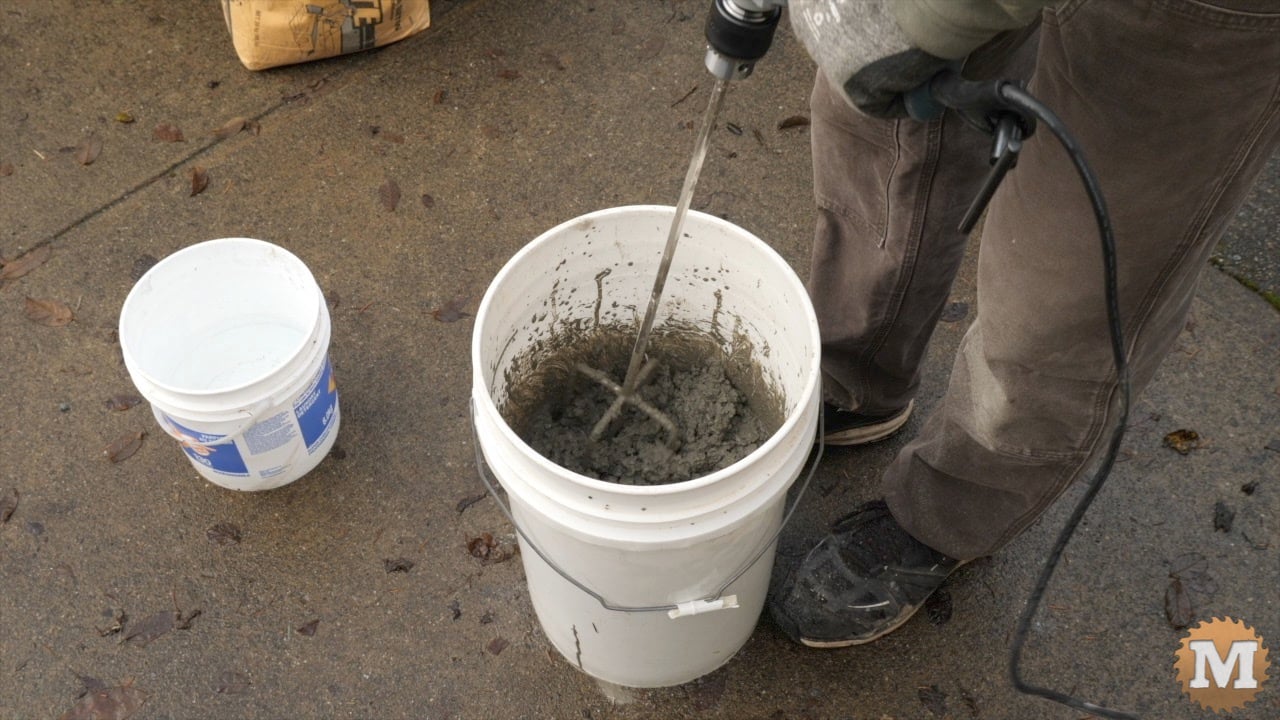
Some water is first added to the pail, then concrete, then mix it with the drill.

More water is added until you get a smooth wet consistency that’s not soupy.
Here’s the second form being filled from the pail.

This does work but, carrying the pail and pouring it into the form can be challenging for some. So, I prefer the wheelbarrow and shovel method myself.


Vibrating the Wet Concrete
I also like to use my reciprocating saw (without a blade) to vibrate the table to bring any trapped air to the surface.

A light troweling will give the inside surface of the panel a smoother finish and, I also do that to make sure it’s level to or slightly below the top of the mold cavity.
When filled and troweled smooth and level, I cover the forms with plastic. I don’t want the concrete to dry much. It undergoes a chemical reaction that generates its own heat as it uses the water in the mix to create strong bonds.
I like to keep my shop at around 70 degrees Fahrenheit. If it’s too cold and it will take the wet concrete longer to harden.

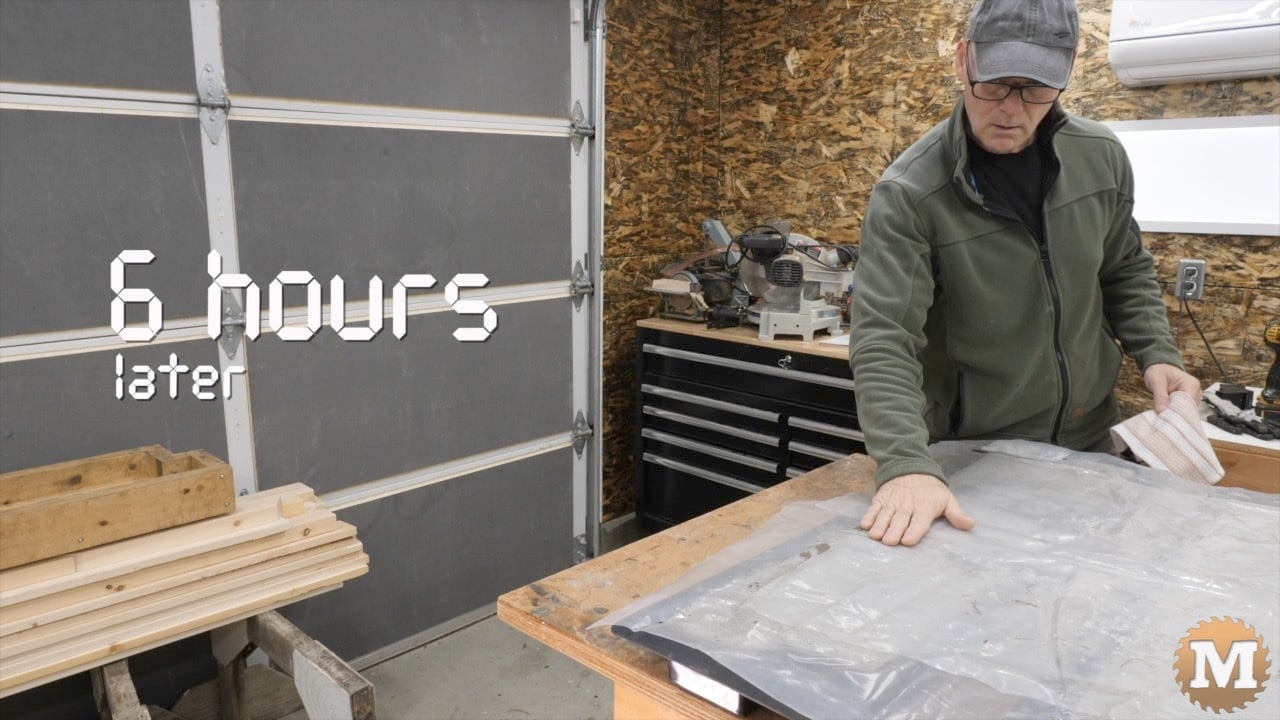
Wait Until Concrete Solidifies
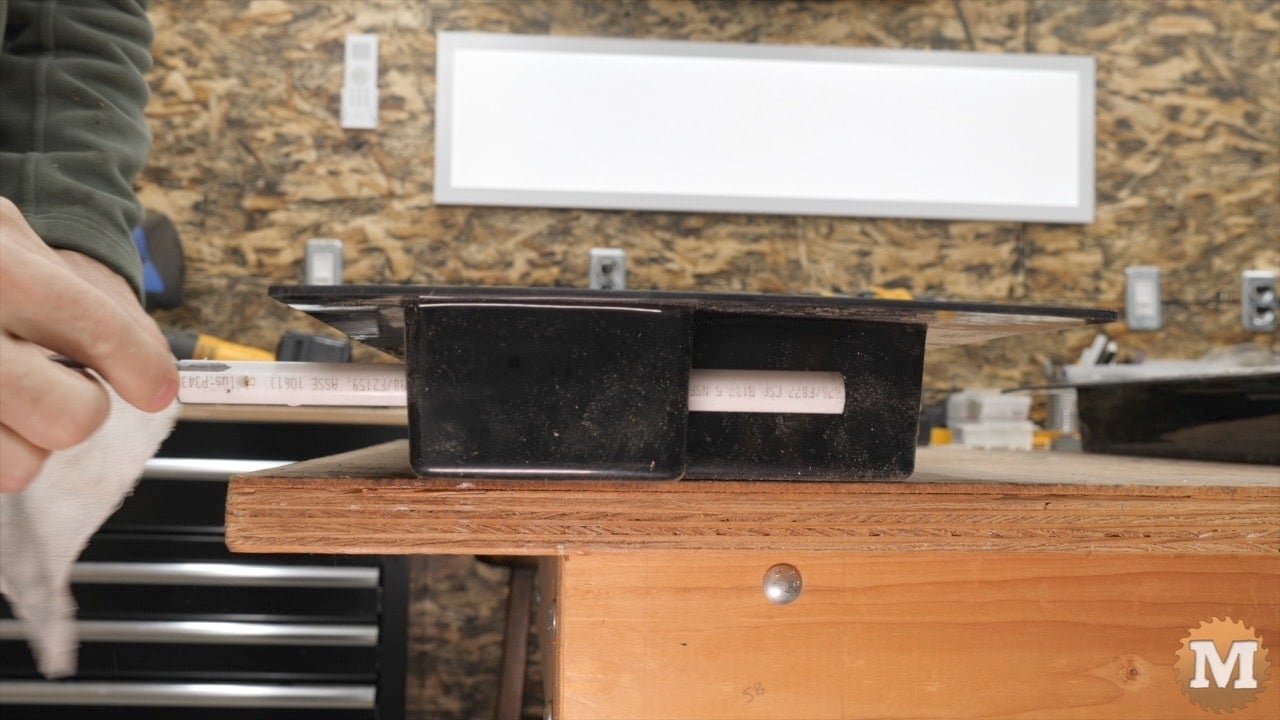
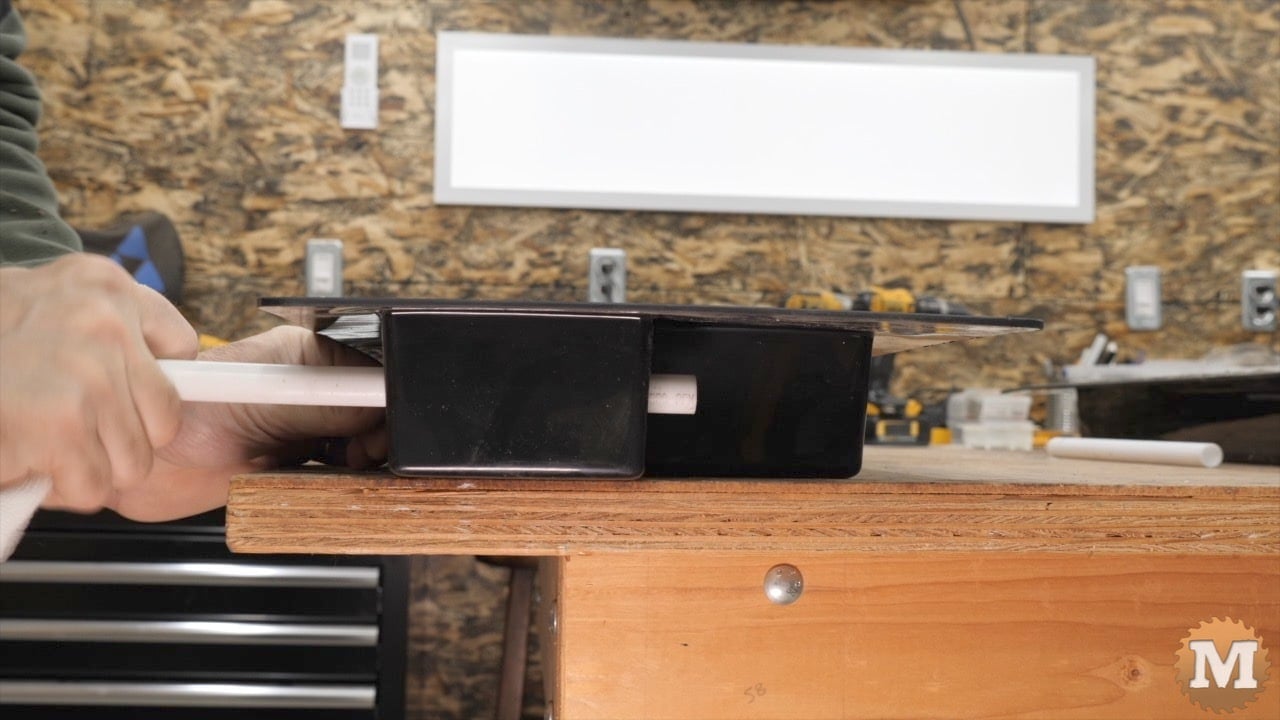
In these ideal conditions the concrete should be solidified enough after 6 hours to remove the pipes. I slide a nail into the small hole in the pipe and with a twisting motion I slowly extract the pipes. And I’ll repeat that for the other three pipes.

I think there’s some resistance due to the plastic pipe rubbing against the hole in the plastic mold. Plus the pipe rubbing against the solidified concrete. I designed the holes in the mold with a tight tolerance and to be just a few thousands of an inch larger than the diameter of the pipe. So the pipe has an interference fit. It should stay in place but also be able to slide.
I wanted the pipe to make a seal when it’s inserted so no wet concrete would leak. So the tradeoff can be a little more effort when you go to remove them.
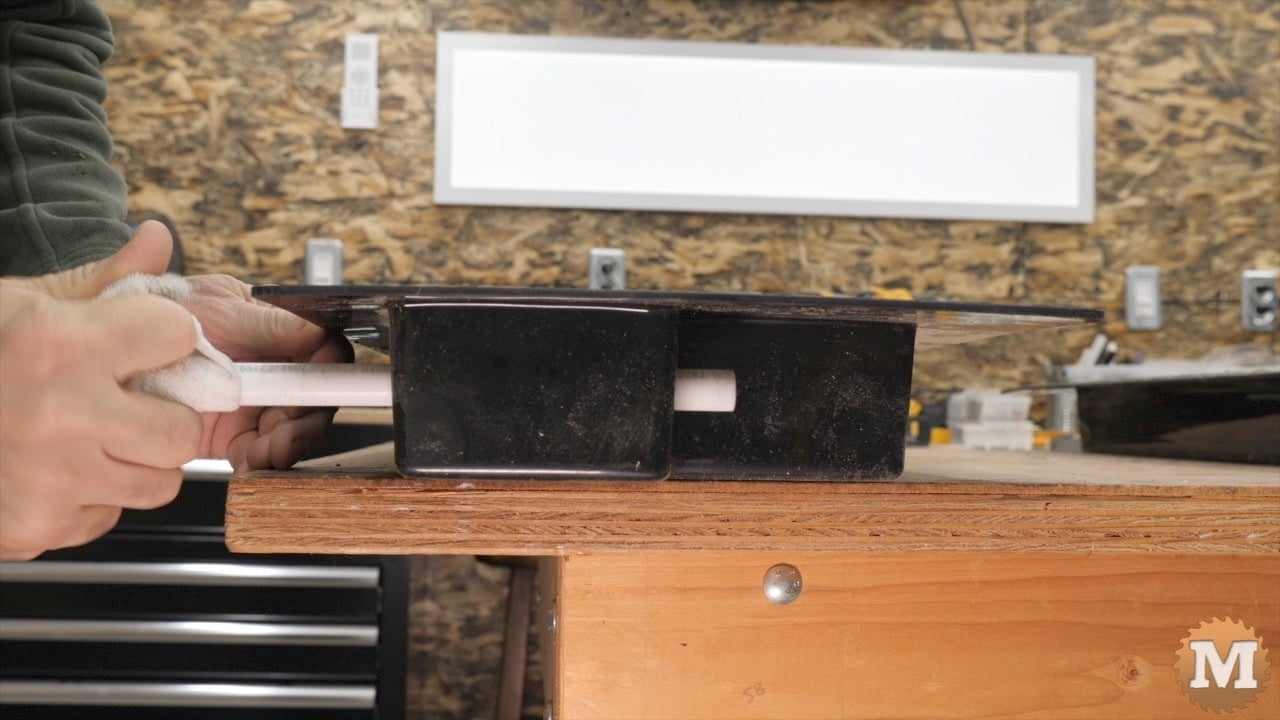
At this point the concrete is still moist and the pipes come out without too much effort.
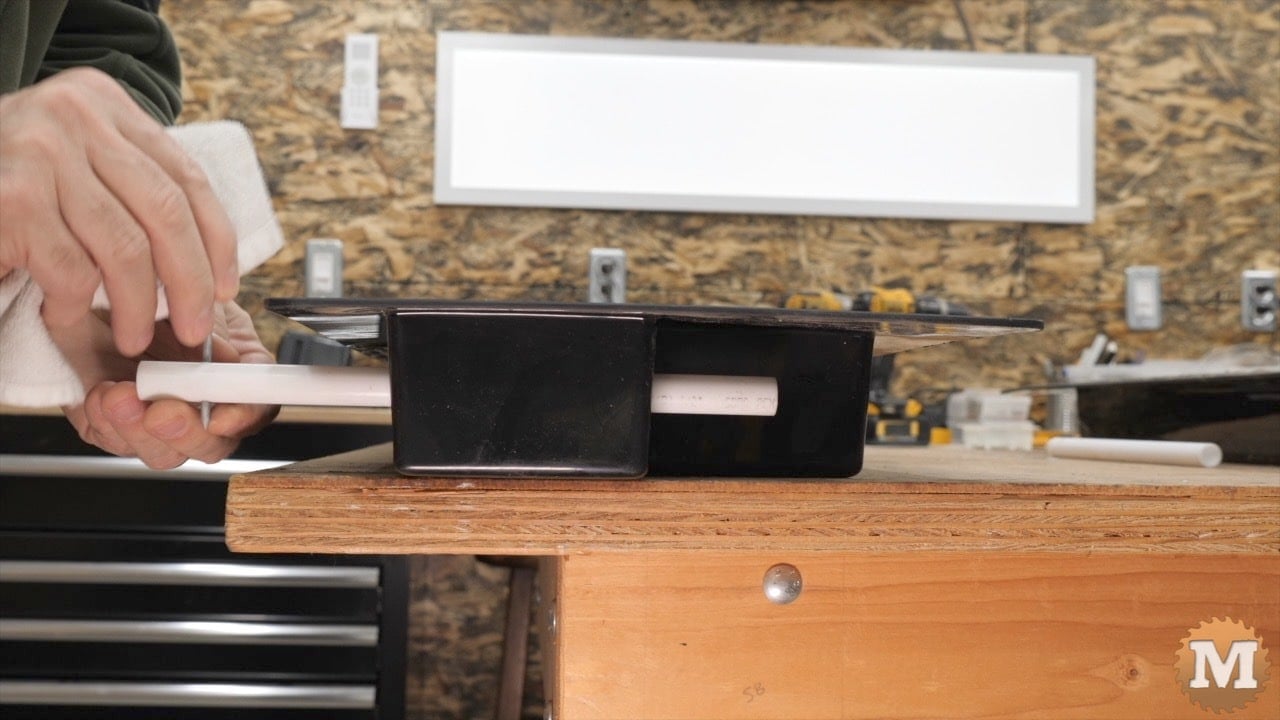
If the pipes are really stuck you can give them a gentle tap with a rubber mallet to free them.
Followed by the twisting and pulling method. This can happen sometimes if I wait longer than six hours or so to pull the pipes.

Careful not to damage the end of the pipe hit with the rubber mallet. You don’t want to flair the end and increase its diameter.
With that done, I will cover the forms with the plastic sheets again.

